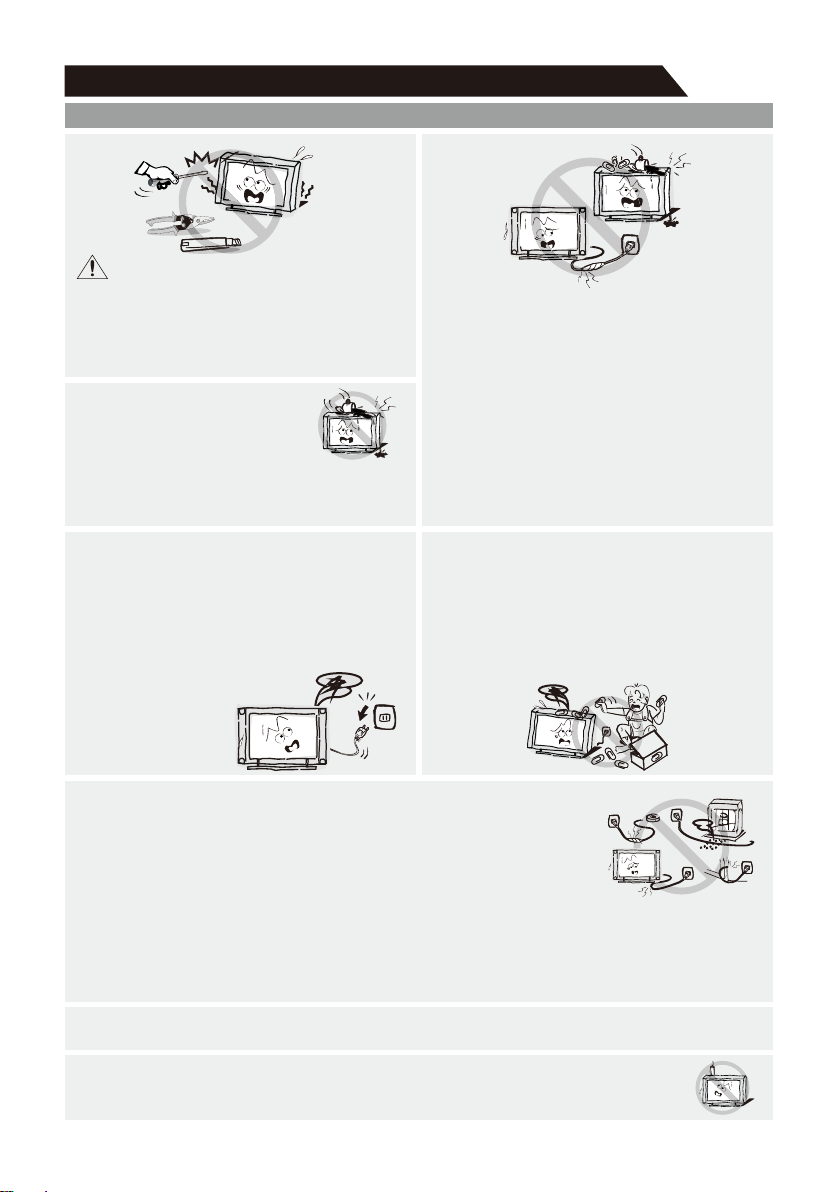
Important Information4Table of ContentsIf a television is not positioned in a sufficiently stable location, it can be potentially hazardous due to falling. Many injuries, particularly to children, can be avoided by taking simple precautions such as:• Using cabinets or stands recommended by the manufacturer os the television.• Only using furniture that can safely support the television.• Ensuring the television is not overhanging the edge os the supporting furniture.• Not placing the television on tall furniture (for example, cupboards or bookcases) without anchoring both the furniture and the television to a suitable support.• Not standing the televisions on cloth or other materials placed between the television and supporting furniture.• Educating children about the dangers of climbing on furniture to reach the television or its controls.• Keep small accessories out of reach of children so they are not mistakenly swallowed.
5
6
6
7
8
9
9
10
11
13
13
13
14
14
15
15
15
16
Accessories-------------------------------------------------------------------------------------------------------------
Introduction-------------------------------------------------------------------------------------------------------------
Features-------------------------------------------------------------------------------------------------------------------
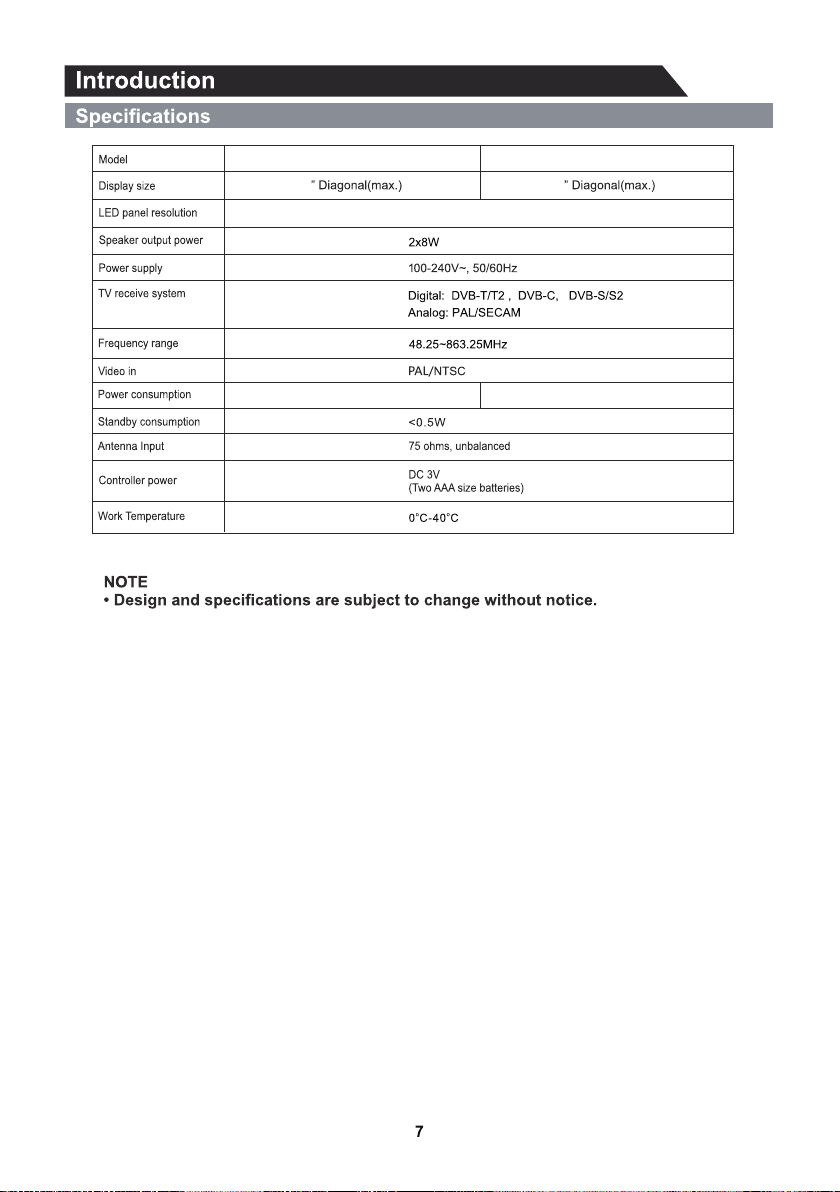
Specifications-------------------------------------------------------------------------------------------------------------
Stand and wall-mounting instructions (optional)-----------------------------------------------------------
General Description--------------------------------------------------------------------------------------------------
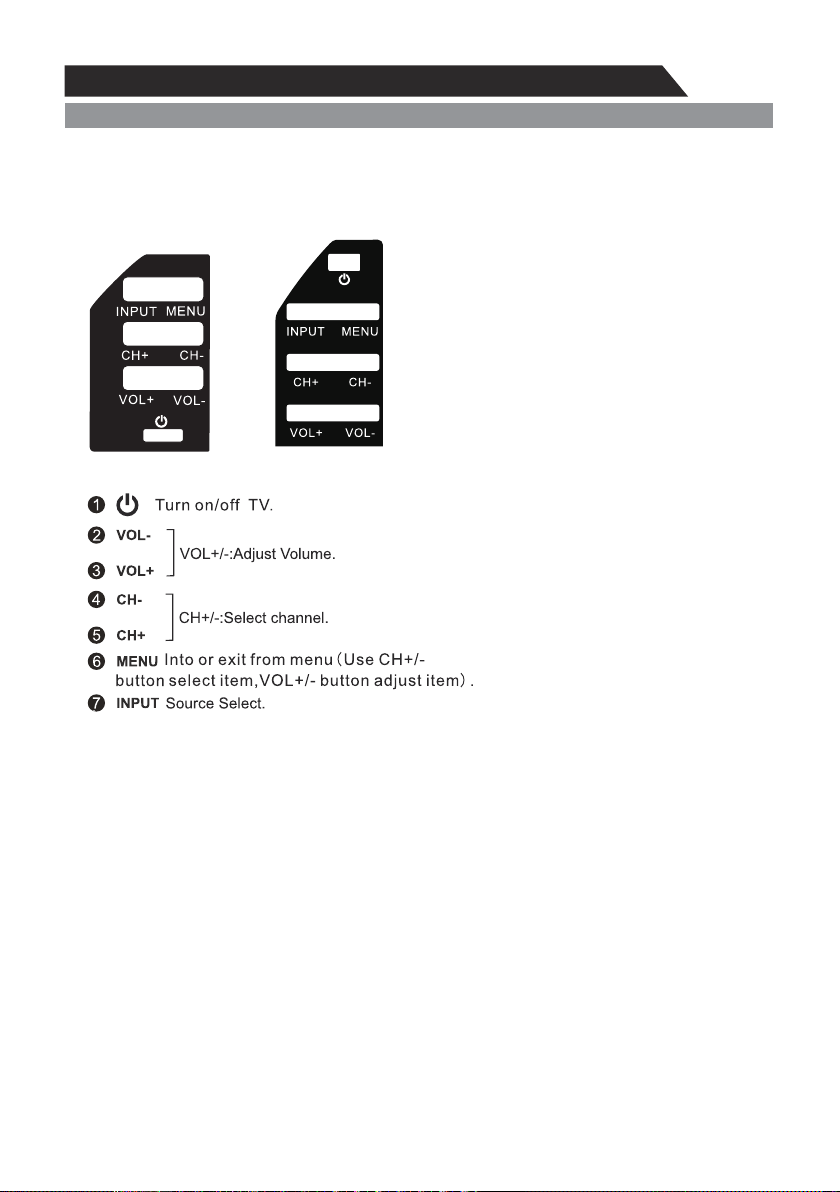
Overview of front panel------------------------------------------------------------------------------------------------
Overview of back panel------------------------------------------------------------------------------------------------
Overview of remote control--------------------------------------------------------------------------------------------
Installing Batteries in the Remote Control-------------------------------------------------------------------------
External Connection--------------------------------------------------------------------------------------------------
Antenna connection-----------------------------------------------------------------------------------------------------
Basic operation---------------------------------------------------------------------------------------------------------
Turning the TV on and off----------------------------------------------------------------------------------------------
---------------------------------------------------------------------------------------------------------------------
Source
-----------------------------------------------------------------------------------------------------------------
Media part
---------------------------------------------------------------------------------------
------------
------------------
TV Menu
-----------------------------------------------------------------------------------------------------------------------
Home -----------------------------------------------------------------------------------------------------------------------20
Settings---------------------------------------------------------------------------------------------------------------------20
Network --------------------------------------------------------------------------------------------------------------------21
Sound ---------------------------------------------------------------------------------------------------------------------- 21
Apps ------------------------------------------------------------------------------------------------------------------------21
reset------------------------------------------------------------------------------------------------------------------------- 22
Troubleshooting --------------------------------------------------------------------------------------------------------23
Picture
Sound
16
------------------------------------------------------------------------------------------------------------------ 19
---------------------------------------------------------------------------------------------------------------
Android part 20
-------------------------------------------------------------------------------------------------------------
Channel