Safety guidelines while using the
appliance
WARNING
• This appliance dispenses very hot water
and there is a high risk of scalding. Keep
the appliance and its accessories away from
children.
• If a child operates the appliance, they must be
supervised by an adult at all times.
CAUTION
• Keep the appliance upright at all times.
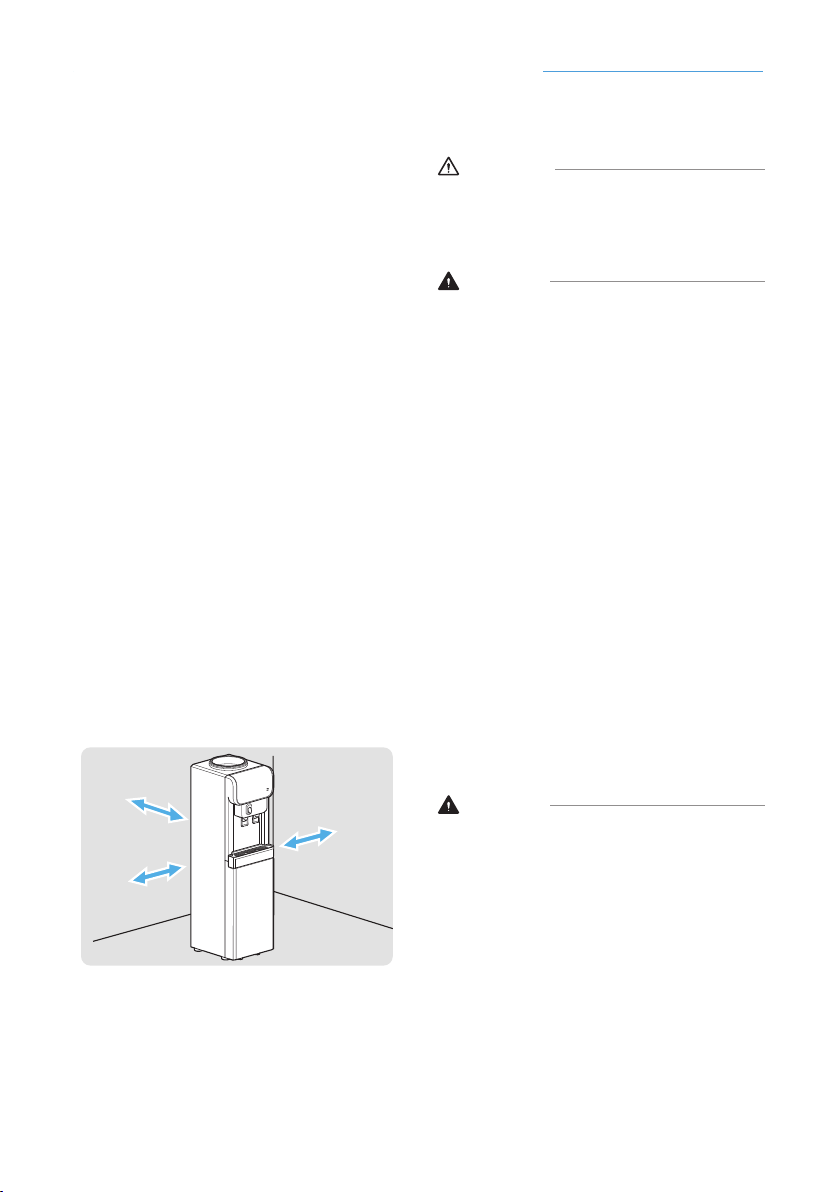
• This appliance is designed for indoor use. Do not
use this appliance outdoors.
• This appliance is suitable for indoor use in
domestic, commercial, and industrial locations.
It should not be used in locations that may be
exposed to direct sunlight, rain or snow. Failure
to comply voids the warranty.
• The appliance must be used according to all
the specications and instructions listed in this
manual.
• Do not use water from a source that is
microbiologically unsafe or of unknown quality
as it may cause diseases or product failures.
We recommend you to use lters to get potable
water.
• Do not place heavy objects on top of the
appliance and never climb or stand on the
appliance to prevent personal injury or damage
to the appliance.
• Do not use this appliance for purposes other
than its intended use. This appliance is designed
to supply hot and cold water in accordance with
the instructions in this manual. Manufacturers
or distributors do not accept liability for damage
that occurs if the appliance is not used for its
intended purpose.
• The limited warranty is void if the appliance is
modied or altered. Alteration may cause serious
ooding, electrical shock or a re.
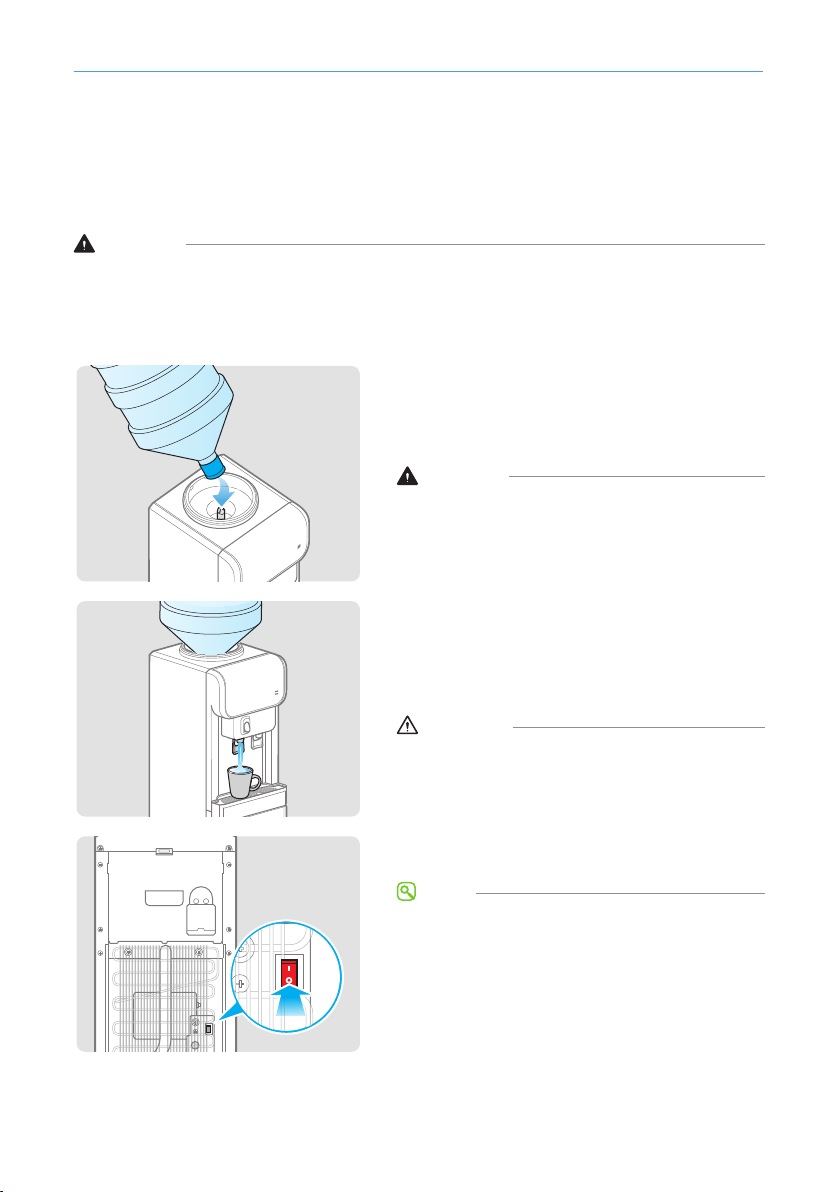
• Prior to drinking water from the appliance, run
water through the hot and cold faucets for a
minimum of ve minutes until there is no dust or
air in the lines.
• A fully lled water bottle is very heavy. Be
careful not to drop the bottle while transporting,
loading, or unloading it as it may cause injury.
• Stretch your back naturally and bend your knees
when lifting the water bottle to prevent injury.
• Depending on the individual, the water bottle
may be too heavy to lift. If necessary, ask for
assistance when lifting the bottle.
• Be careful not to get your ngers and other body
parts caught underneath the bottle.
• Wipe up any water spills immediately after
loading or unloading the water bottle.
Safety guidelines for maintenance
WARNING
• Unplug the appliance from the power outlet
before cleaning it. There is a risk of electric
shock.
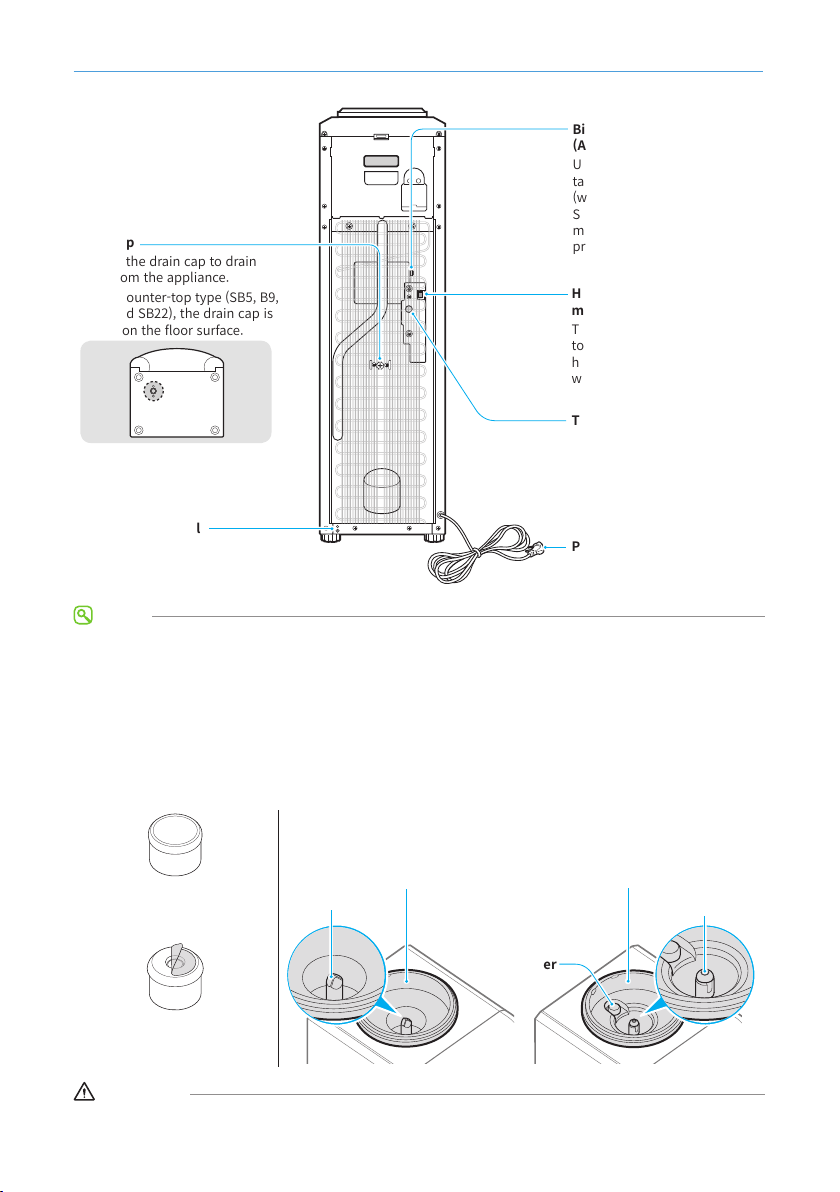
• Do not open the appliance's back panel. The
panel does not provide access to owner-
serviceable parts and there is a high risk of
electric shock.
• Do not rinse the appliance under owing
water. If water gets into the appliance, it may
cause electric shock or damage to electronic
components. If this happens, stop using the
appliance and contact the customer service
center for a service.
• Before maintaining or cleaning the appliance,
wait long enough to allow it to cool. Hot water
contained in the appliance may cause burns.
CAUTION
• Periodically inspect the appliance for leaks. If
the unit is suspected of any leaks, immediately
disconnect the unit from the power source.
• Do not use abrasive material, bleach or synthetic
detergents while cleaning inside.
• Keep the inside of the appliance away from dust.
Cooling performance will decrease if the wire
condenser is stained or soiled.
• Do not use metallic brush to clean the wire
condenser inside as it may cause damage to the
appliance.
• Use only a neutral detergent and soft cloth for
cleaning the exterior surfaces.
• Wear rubber gloves while cleaning the appliance
and draining hot water as the hot water could
cause burns or scalding.
• Always drain the water completely before storing
the appliance to avoid stagnation and to reduce
potential bacterial growth.
• If you disconnect the plug from the power outlet,
wait at least 5 minutes to reconnect it.