manuals.online logo
Brands
  1. Home
  2. •
  3. Brands
  4. •
  5. Watts
  6. •
  7. Industrial Electrical
  8. •
  9. Watts WUV2 Series Instruction manual

Watts WUV2 Series Instruction manual

#
Please read carefully before proceeding with installation. Failure to follow attached instructions or
operating parameters may lead to the product’s failure. Please save this manual for future reference.
I STALLATIO , OPERATIO
& MAI TE A CE MA UAL
#%665=!";56)/5
Models WUV2 (6, 8 & 12)
© Watts 2010
M-WQP-WUVSYS-1049
Clearance equal to chamber length for lamp removal
 
 ;2-'%.
  
1(). .19%6)
+2/ -2)-<) -/)05-105:#: .)'64-'%.
WUV2-110 2 1/2" M PT 18 x 6 x 5 3/8" 110-130V / 50-60Hz
WUV2-230 2 1/2" M PT 18 x 6 x 5 3/8 200-250V / 50-60Hz
WUV6-110 6 3/4" M PT 25 1/2 x 6 x 5 3/8" 110-130V / 50-60Hz
WUV6-230 6 3/4" M PT 25 1/2 x 6 x 5 3/8" 200-250V / 50-60Hz
WUV8-110 8 3/4" M PT 32 x 8 1/4 x 3 3/4" 110-130V / 50-60Hz
WUV8-230 8 3/4" M PT 32 x 8 1/4 x 3 3/4" 200-250V / 50-60Hz
WUV12-110 12 1" M PT 4 1 1/2 x 8 1/4 x 3 3/4" 110-130V / 50-60Hz
WUV12-230 12 1" M PT 4 1 1/2 x 8 1/4 x 3 3/4" 200-250V / 50-60Hz
  Line cord and lamp lead wire omitted for clarity.
 
1. Install sterilizer equipment in a readily accessible and well lit location to facilitate inspection and maintenance.
2. Inspect for hidden electrical wiring or plumbing prior to drilling holes.
3. Attach mounting clips to the wall.
4. Insert chamber through mounting clips.
5. Connect to plumbing.
6. Install quartz sleeve and lamp.
16) 81-(617',-0+6,)5-()51*6,)37%46<5.))8)%0(.%/2,%0(.)&;6,))0(510.;
a. Remove the retainer nut.
b. Slide the quartz sleeve into the chamber - closed end first.
c. Side the O-ring over the open end of the quartz sleeve.
d. Tighten the retainer nut hand tight.
e. Slide the lamp into the quartz sleeve.
f. Connect the lamp to the plug in the transformer.
g. Cover the lamp connection with the vinyl cap
7. Turn on the water and inspect for leaks. Repair if necessary.
8a. 14"1.6!0-65 Plug the transformer into an electrical outlet. An electrical outlet protected by a Ground Fault Interrupt (GFI)
circuit is recommended.
b. 14"1.6!0-65 Obtain the appropriate plug for your type of receptacle and attach it to the end of the power cord and plug it in.


!""!"$ 
 81-(617',-0+6,)5-()51*6,)37%46<5.))8)%0(.%/2,%0(.)&;6,))0(510.;
6)2 Disconnect power.
6)2 Turn water off and open valve down stream of system to relieve pressure.
6)2 Remove vinyl cap and unscrew the nut.
6)2 Carefully withdraw lamp approximately 2 inches from chamber.
6)2 While holding lamp end carefully remove lamp socket on end now exposed.
)26 Carefully withdraw lamp from chamber.
6)2 Carefully remove O-ring from the end of quartz sleeve.
6)2 Carefully remove quartz sleeve.
6)2 To reinstall follow steps 8 through 1 in reverse.
 ! 
To operate the sterilizer properly and attain its maximum efficiency it is recommended that the user performs the following maintenance:
1. Quartz sleeve cleaning or replacement:
a. Quartz sleeve is to be cleaned every 6 -12 months. Clean with glass cleaner.
b. Quartz sleeve is to be replaced every 24 months.
2. UV lamp replacement is recommended every 8000 - 9000 hours or operation (approx. 12 months of continuous service).
!  Ultraviolet lamp and quartz sleeve are easily damaged. Pay attention when removing or replacing lamp and quartz sleeve!
$
# Germicidal ultraviolet rays are harmful to eyes and skin.
     !
1 Ballast Assembly WUVBALLAST2 (or 6, 8, 12) available in 110V or 230V
2 Germicidal Ultraviolet Lamp WUVLAMP2 (or 6, 8, 12)
3 Rubber O-Ring T1200-0116
4 Quartz Sleeve WUVQS2 (or 6,8,12)
5 Chamber /A
6 Mounting Clip C2500W

This manual suits for next models

8

Popular Industrial Electrical manuals by other brands

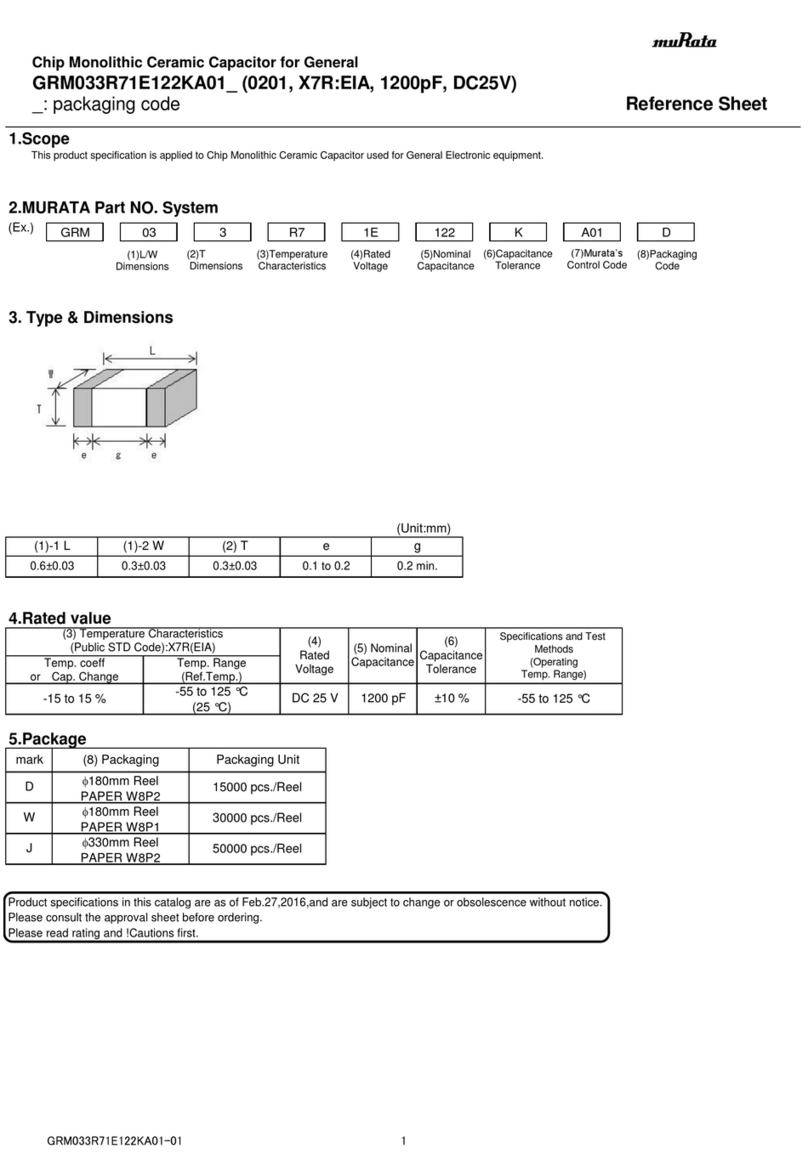
Murata GRM033R71E122KA01 Series Reference sheet

Murata

Murata GRM033R71E122KA01 Series Reference sheet

Traffic Logix SafePace 500 installation manual

Traffic Logix

Traffic Logix SafePace 500 installation manual

Eaton Power Defense NZM-XBZ225 Instruction leaflet

Eaton

Eaton Power Defense NZM-XBZ225 Instruction leaflet

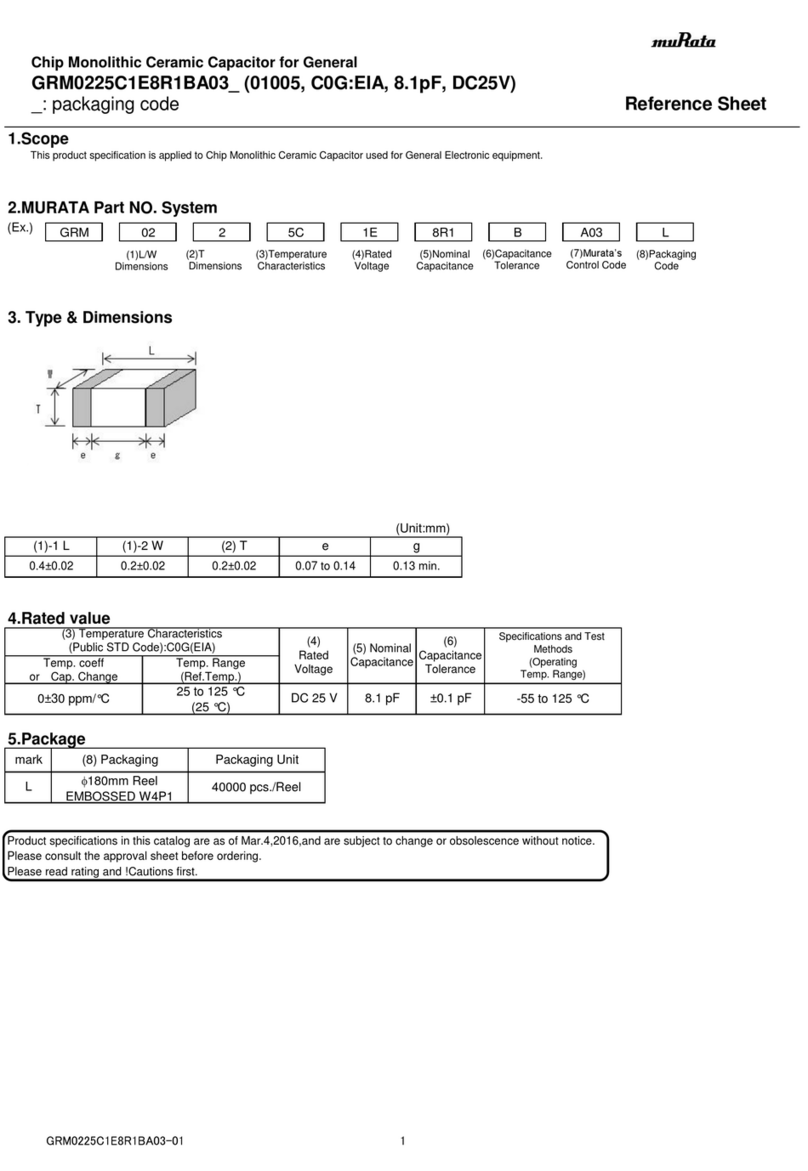
Murata GRM0225C1E8R1BA03 Series Reference sheet

Murata

Murata GRM0225C1E8R1BA03 Series Reference sheet

Siemens 3TM operating instructions

Siemens

Siemens 3TM operating instructions

SEA LE manual

SEA

SEA LE manual

Murata GRM0335C1E561GA01 Series Reference sheet

Murata

Murata GRM0335C1E561GA01 Series Reference sheet

Murata GRM0335C1E821GA01 Series Reference sheet

Murata

Murata GRM0335C1E821GA01 Series Reference sheet

Murata GRM0335C1E2R2WA01 Series Reference sheet

Murata

Murata GRM0335C1E2R2WA01 Series Reference sheet

Panduit FST24S installation instructions

Panduit

Panduit FST24S installation instructions

Graco Series A Repair instructions

Graco

Graco Series A Repair instructions

Murata GQM1555C2D6R8CB01 Series Reference sheet

Murata

Murata GQM1555C2D6R8CB01 Series Reference sheet

Murata GRM32ER71H106MA12 Series Reference sheet

Murata

Murata GRM32ER71H106MA12 Series Reference sheet

OEZ OD-FH-SK Instructions for use

OEZ

OEZ OD-FH-SK Instructions for use

Murata GRM0335C1E8R9DA01 Series Reference sheet

Murata

Murata GRM0335C1E8R9DA01 Series Reference sheet

Weidmüller PVNCM1I3S1F3V101TXPX10 operating instructions

Weidmüller

Weidmüller PVNCM1I3S1F3V101TXPX10 operating instructions

Murata GRM1555C1H7R9CA01 Series Reference sheet

Murata

Murata GRM1555C1H7R9CA01 Series Reference sheet

Siemens TA6PG750 installation instructions

Siemens

Siemens TA6PG750 installation instructions

manuals.online logo
manuals.online logoBrands
  • About & Mission
  • Contact us
  • Privacy Policy
  • Terms and Conditions

Copyright 2025 Manuals.Online. All Rights Reserved.