-10 -
3.
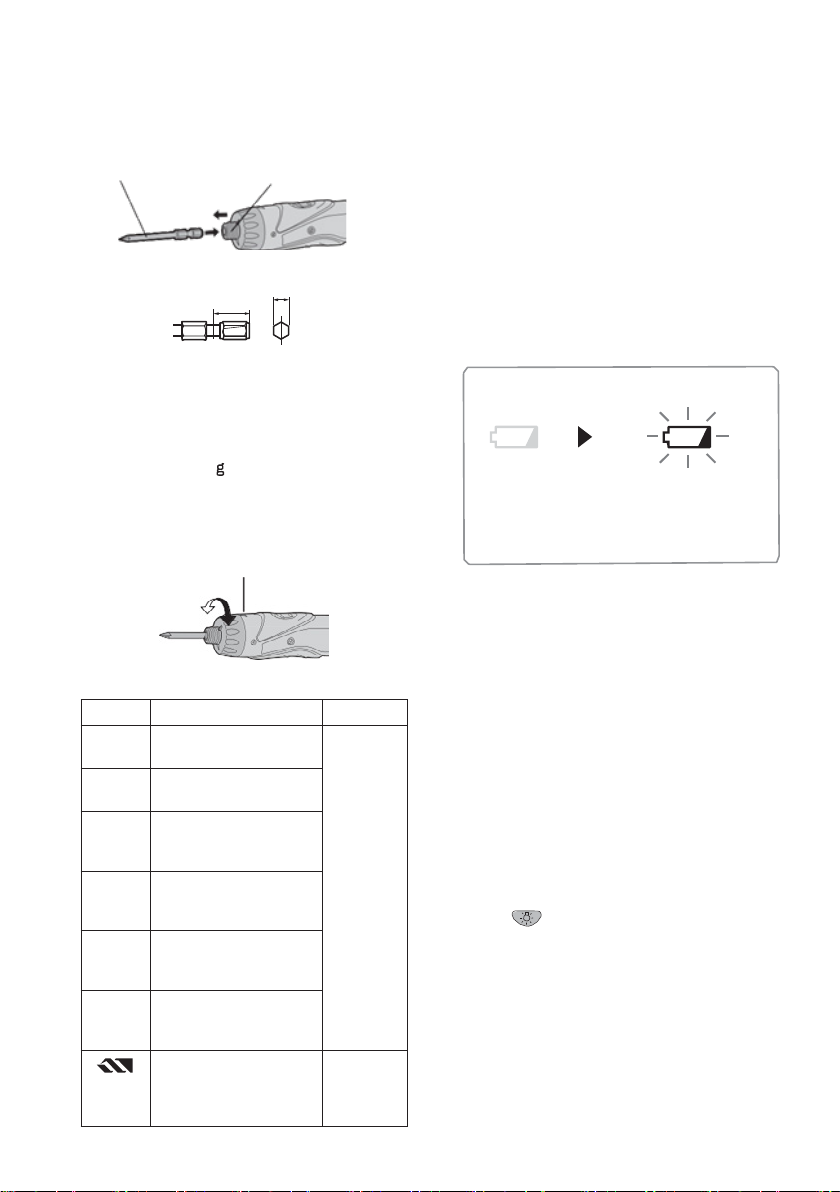
4. During charging, the charging lamp will be lit.
When charging is completed, an internal
electronic switch will automatically be trig-
gered to prevent overcharging.
• Charging will not start if the battery pack
is warm (for example, immediately af-
ter heavy-duty operation). The orange
battery cools down. Charging will then
begin automatically.
5.
the battery is approximately 80% charged.
6. When charging is completed, the
green color.
7. If the temperature of the battery pack is
0°C or less, charging takes longer to fully
charge the battery pack than the standard
charging time. Even when the battery is ful-
ly charged, it will have approximately 50%
of the power of a fully charged battery at
normal operating temperature.
8. If the power lamp does not light immediate-
ly after the charger is plugged in, or if after
the standard charging time the charging
-
sult an authorized dealer.
9. If a fully charged battery pack is inserted
into the charger again, the charging
lamp lights up. After several minutes, the
the charging is completed.
Ni-Mh Battery Pack
NOTE:
When you charge the battery pack for
charge it for about 24 hours to bring the
battery up to full capacity.
Battery charger
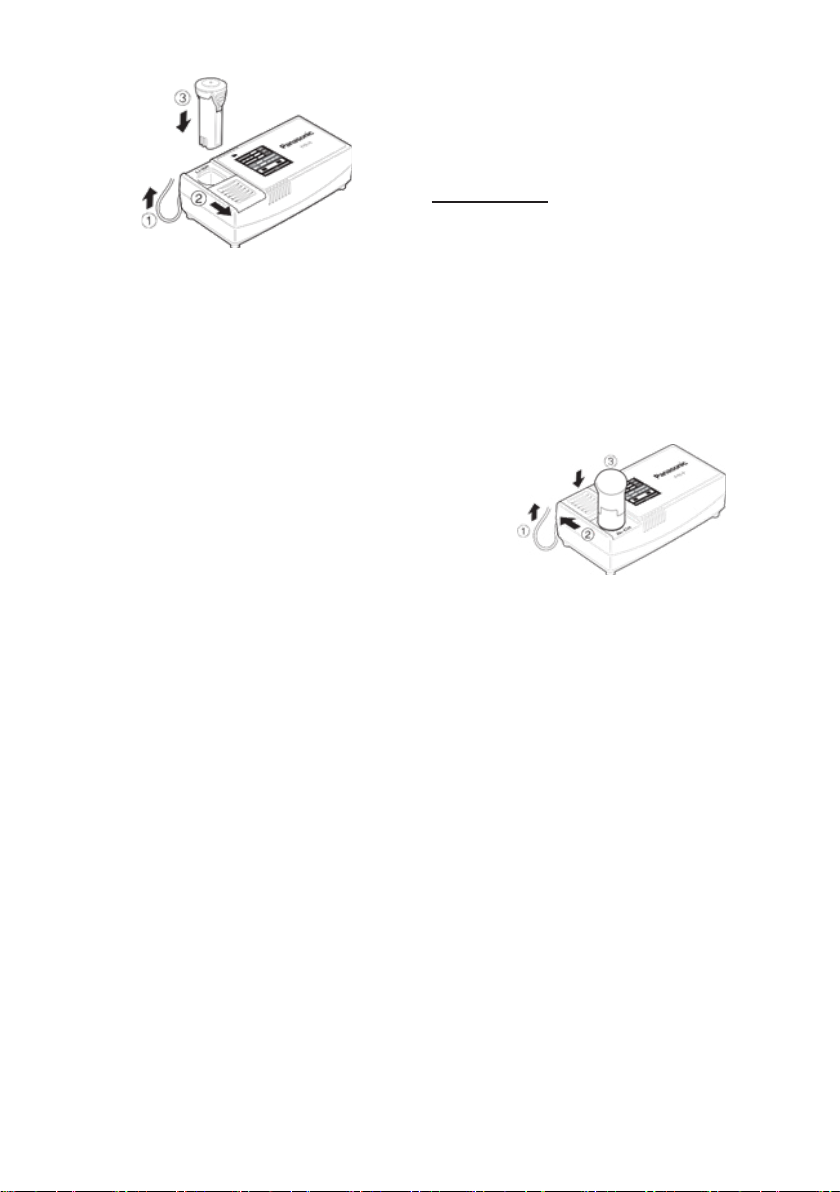
1. Plug the charger into the AC outlet.
NOTE:
Sparks may be produced when the plug
is inserted into the AC power supply, but
this is not a problem in terms of safety.
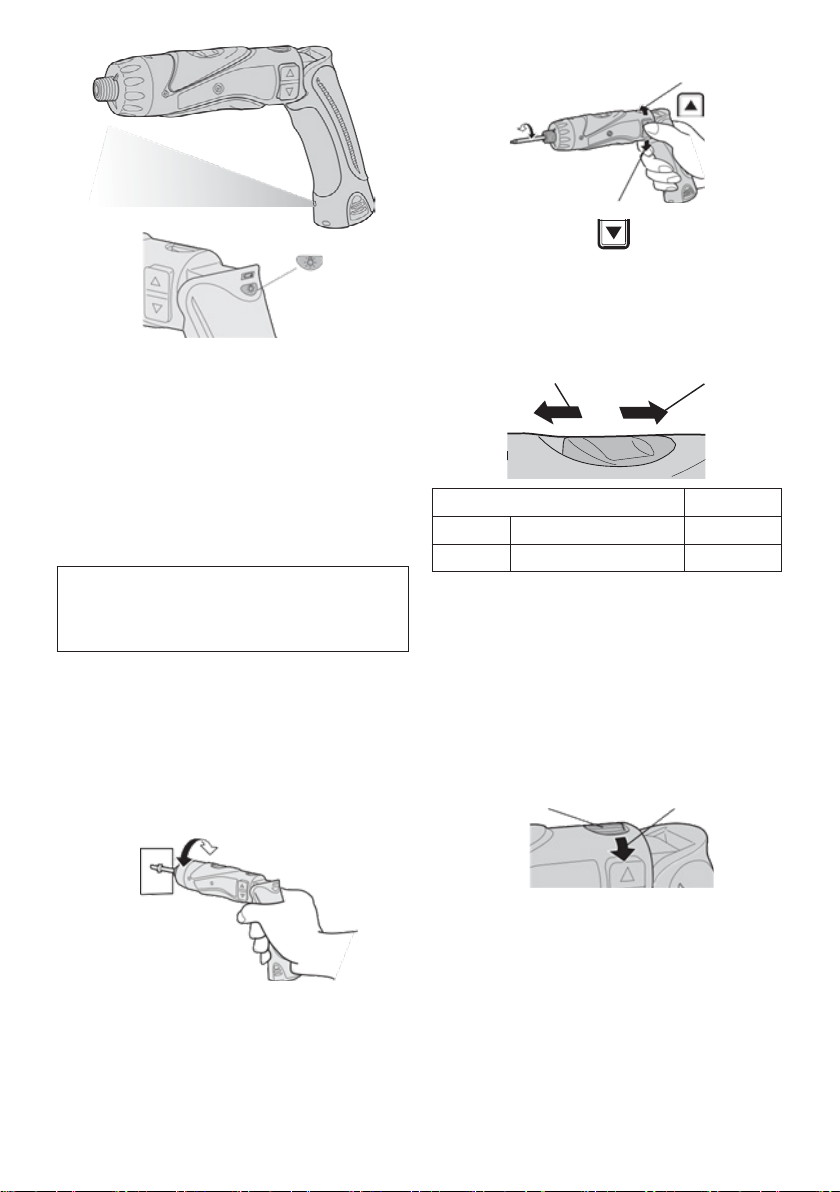
2. Slide the battery dock cover back to allow
insertion of the Ni-Mh battery pack.
• Verify that the cover is locked securely
in place.
3.
4. During charging, the charging lamp will be lit.
When charging is completed, an internal
electronic switch will automatically be
triggered to prevent overcharging.
• Charging will not start if the battery pack
is warm (for example, immediately after
heavy-duty operation).
until the battery cools down. Charging will
then begin automatically.
5. When charging is completed, the charging
6. If the power lamp does not light immediate-
ly after the charger is plugged in, or if after
the standard charging time the charging
-
sult an authorized dealer.
7. If a fully charged battery pack is inserted
into the charger again, the charging
lamp lights up. After several minutes, the
the charging is completed.
To AC outlet
To AC outlet