Wessex AT110 User manual

ABroadwood International Product
Operation Manual and Parts Book
Wessex AT110Trailed Rotary Mowers
Serial Numbers after 110778
Manufacturers and Distributors of Quality Equipment
Product Code: L2017
Issue May 2011
GB


CONTENTS
Welcome to your new Wessex Product . . . . . . . . . . . . . . . . . . . . . . . . . . . . . . . . . . . . . . . . .2
Safety Decals . . . . . . . . . . . . . . . . . . . . . . . . . . . . . . . . . . . . . . . . . . . . . . . . . . . . . . . . . . .3, 4
Important Safety Warnings . . . . . . . . . . . . . . . . . . . . . . . . . . . . . . . . . . . . . . . . . . . . . . . . . . .5
Important Safety Warnings . . . . . . . . . . . . . . . . . . . . . . . . . . . . . . . . . . . . . . . . . . . . . . . . .6, 7
Warranty . . . . . . . . . . . . . . . . . . . . . . . . . . . . . . . . . . . . . . . . . . . . . . . . . . . . . . . . . . . . . . . . .8
Setting up your Wesex Country Mower . . . . . . . . . . . . . . . . . . . . . . . . . . . . . . . . . . . . . . . . .9
Using your Wesex Mower / Cutting Height Adjustment . . . . . . . . . . . . . . . . . . . . . . . . . . . .10
Maintenance / Belt Tension / Belt Change / Blades . . . . . . . . . . . . . . . . . . . . . . . . . . . . . . .11
Lubrication / General . . . . . . . . . . . . . . . . . . . . . . . . . . . . . . . . . . . . . . . . . . . . . . . . . . . . . . .12
Troubleshooting . . . . . . . . . . . . . . . . . . . . . . . . . . . . . . . . . . . . . . . . . . . . . . . . . . . . . . . . . . .13
Winter Storage . . . . . . . . . . . . . . . . . . . . . . . . . . . . . . . . . . . . . . . . . . . . . . . . . . . . . . . . . . . .13
Parts Illustration - AT110 Mainframe Assembly . . . . . . . . . . . . . . . . . . . . . . . . . . . . . . . . . . .14
Parts List - AT110 Mainframe Assembly . . . . . . . . . . . . . . . . . . . . . . . . . . . . . . . . . . . . . . . .15
Parts Illustration - Spindle Assembly . . . . . . . . . . . . . . . . . . . . . . . . . . . . . . . . . . . . . . . . . . .16
Parts List - Spindle Assembly . . . . . . . . . . . . . . . . . . . . . . . . . . . . . . . . . . . . . . . . . . . . . . . .16
CE Certificate . . . . . . . . . . . . . . . . . . . . . . . . . . . . . . . . . . . . . . . . . . . . . . . . . . . . . . . . . . . .17
1

2
WELCOME TO YOUR NEW WESSEX PRODUCT
Thank you for purchasing a Wessex product. As a Broadwood customer, you now number among
the most important people of our business and we will endeavour to give you the best service
available through our dealer network.
Please read this Manual carefully and familiarise yourself and other persons that will be using the
machine with its contents, to ensure the optimum performance and working life of your machine. It
is advisable that a copy of this Manual is kept in the workshop and one copy with the machine.
Further copies are available through your dealer.
On delivery, your dealer should go through the workings of the machine with you, explaining the
setting up procedures, all of which are contained in this manual for further reference. The Warranty
Registration Form must also be completed and returned to us within 7 days of delivery in order
to validate the Warranty.
PLEASE READ THE FOLLOWING PAGES CAREFULLYBEFORE USING YOUR MACHINE
AND KEEP THIS MANUAL IN ASAFE PLACE.
THIS SAFETY SYMBOL IS TO ALERT OPERATORS OF AHAZARD
THAT MAYRESULT IN INJURY.
ALWAYS FOLLOW INSTRUCTIONS CAREFULLY

3
SAFETY DECALS
GB ATTENTION Description of pictograms.
FATTENTION Description des pictogrames.
DVORSICH Beschreigung der piktogramme.
GB Read Operating manual before use.
FLisez Manual D’Opéreration avant l’utilisation.
D Vor der Benutzung, Betriebshandbuch lesen.
GB Ear defenders must be worn.
FDéfenseurs des oreilles doivent être portés.
DGehörschutz getragen werden.
GB Never remove guards or attempt adjustment until rotor has stopped.
FNe retirez jamais les gardes ou d'ajustement tentative jusqu'à ce que toutes les pièces mobiles ont
été interrompus.
DSchutzvorrichtung niemals abnehmen oder einstellung versuchen, bevore der rotor abstellt.
GB Bystanders must be at least 20 metres from machine range of action.
FDes spectateurs doivent s’écarter au moins 20 mètres du rayon d’action de la machine.
DUmstenhenden müßen sich mindestens 20 meter vom maschinenbetriebsraum entfernen.
GB Stand clear. Flying objects possible.
FS’écartez! Possibilité d’objets volants.
DZurückbleiben! Herumfliegende objekte möglich
GB Examine blades regularly. The operator is responsible for machine damage caused by unbalanced
rotors.
FExaminez des lames régulièrement. L’opérateur est responsable des dommages à la machine
provoqés par des rotors mal equilibrés
DKlingen regelmäßig kontrollieren. Der abeiter ist an den durch unausgewogenen rotoren
maschinenschäden verantwortlich.
GB Keep hands and feet clear
FGarder les mains et les pieds.
DHalten Sie Ihre Hände und Füße.
GB Grease points
FLes points de graissage
DGrease Punkte.
GB Liftt Machine before turning
FLevez la machine avant de la tourner
DMaschine aufheben, bevor man sie umdreht.

4
SAFETY DECALS
GB It is the operators responsibility to ensure that the machine is compatible with the load-
ing capacity of the towing vehicle.
FIl est de la responsabilité des opérateurs afin de s’assurer que la machine est compati-
ble avec la capacité de chargement du véhicule tracteur.
DEs ist den Betreibern dafür zu sorgen, dass die Maschine mit der Belastbarkeit des
Zugfahrzeugs ist.
GB Never carry passengers on implements unless designed to do so.
FNe jamais transporter des passagers sur instruments sauf s’ils sont conçus pour le
faire.
DNiemals Passagiere implementiert, es sei denn ausgelegt, dies zu tun.

5
IMPORTANT SAFETY WARNINGS
Wessex machines are guarded for your protection, but you must always observe certain
elementary precautions. Machines are potentially dangerous and should be used with the greatest
respect and ALL OPERATORS MUST read this manual and be are aware of all safety
precautions.
1. NEVER attempt any adjustment whatsoever, unless the machine is COMPLETELYat a
standstill.
2. NEVER attempt to clear any obstructions around the mower unless the machine is
COMPLETELYat a standstill.
3. NEVER remove belt guards unless the machine is COMPLETELYat a standstill.
4. NEVER remove safety guards which are provided for your protection.
5. NEVER operate the mower with people behind, keep everybody (especially children and
animals) at a safe distance, minimum 20 metres.
6. Stand well back from the machine when cutters are spinning.
7. Regularly inspect the BLADES AND FIXING BOLTS to ensure that they are in tip-top
condition. Replace blades IMMEDIATELYif any signs of fracture or excess wear becomes
apparent. Serious damage, which is excluded from our warranty conditions, may result from
using your mower with an unbalanced rotor. When replacing blades, always fit new
mounting bolts and nuts to ensure that the rotor is balanced and running smoothly.
HEALTH AND SAFETY - Noise at Work Regulations
READING AT THE OPERATORS EAR
Wessex AT Rotary Mower: Approximately 98 D.B.A
Depending on conditions and material being cut, this reading may alter, it is therefore advisable for
users to do their own assessment.
In compliance with the above regulations, Ear Protectors must be worn when
operating machinery.

6
READ THE FOLLOWING CAREFULLY
IMPORTANT SAFETY INSTRUCTIONS ON COUPLING IMPLEMENTS AND
ATTACHMENTS TO ATV’S
TRAINING
=
It is most essential that all operators of ATV’s are trained by a certified training organisation.
=
It is strictly forbidden that any person under 16 years of age should ride an ATV.
=
Any person 17 years of age must have had training before towing a trailer with an ATV.
=
Contact your local HSE office for approved training courses.
BODY PROTECTION
=
Remember that when riding on an ATV the only form of protection that you have is what you
wear. ALWAYS wear a helmet, eye protection and suitable robust clothing.
=
Never operate an ATV or attachments while under the influence of alcohol or non-prescription
drugs.
=
Contact your doctor before operation of an ATV or attachments while under the influence of any
prescription drugs.
ATV MANUAL
=
Before coupling any implement to your ATV refer to your ATV handbook.
STABILITY
=
When using equipment coupled to an ATV it is very important to remember that the handling
characteristics of your ATV will change dramatically, whether the additional load is placed on
the front or rear rack or trailed on the towing ball hitch.
WEIGHT CAPACITY
=
Always ensure that the implement or attachment that your are coupling to the ATV is within the
ATV’s drawbar loading or weight carrying capacity. Refer to the ATV manufacturer’s handbook
to obtain information on the specific capacities.
=
It is most important that you know the weight of your load, especially when on slopes or
hillsides.
=
As a guide, on level ground with an unbraked implement, the weight of the implement should
be approximately no more than twice the unladen weight of the ATV. This should be reduced
on sloping, uneven or rough ground.
WEIGHT TRANSFER
=
Always take great care when towing loads which may be subject to weight transfer e.g. liquids
or livestock, especially on hillsides and slopes.
=
Always restrict the movement of animals or rolling objects in a trailer.
IMPORTANT ATV SAFETY WARNINGS

7
TOWING
=
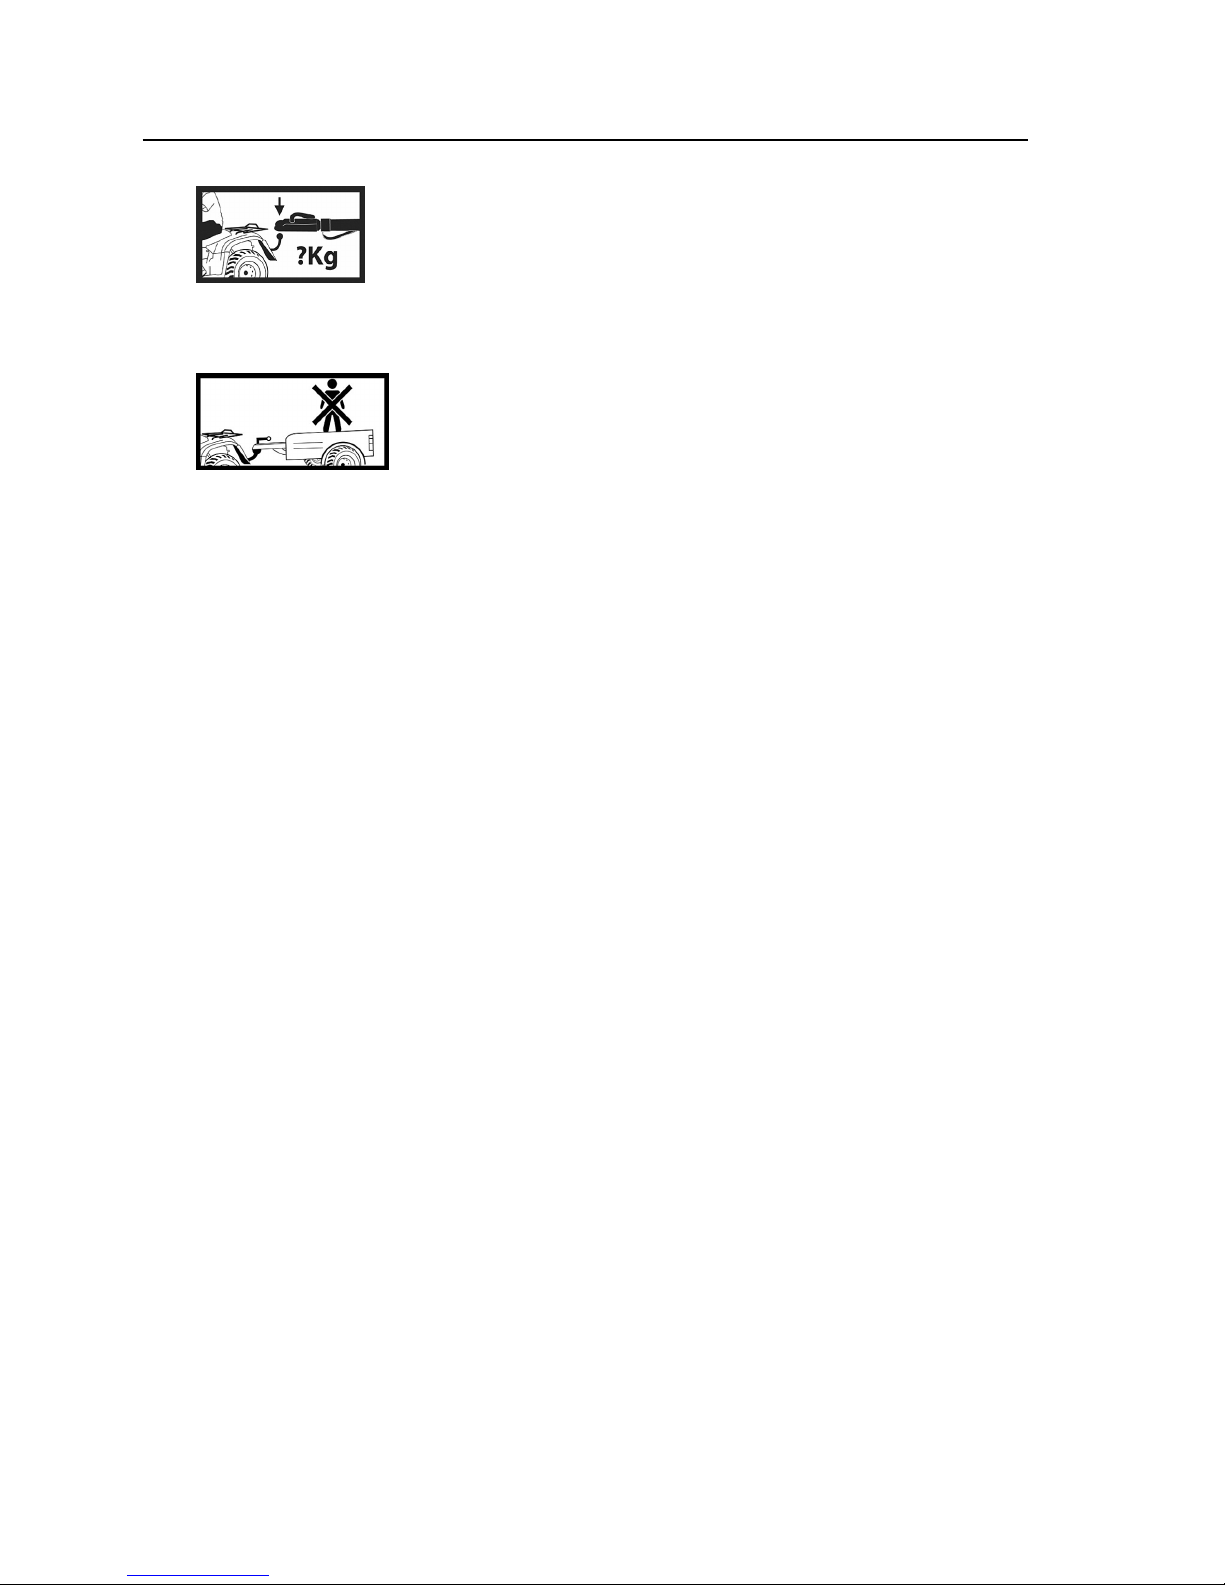
Never tow loads larger or heavier than recommended for your ATV. (See ATV hand book).
=
Never tow or turn across a slope.
=
Never tow down a steep slope with a large or heavy load.
=
When towing heavy loads there is a significant risk of jack-knifing or overturning.
ROUGH TERRAIN
=
Always take care when operating implements on rough terrain or uneven ground.
=
Take special care when operating on slippery surfaces especially hill sides or slopes.
=
Take extra care when towing on hillsides, slopes or rough terrain.
OPERATING ON ROADS
=
Implements are not designed for travelling distances on roads but when crossing or going short
road distances always travel slowly and do not exceed 20 KPH.
=
Make sure that your equipment complies with Road Vehicle Lighting Regulations.
=
Ensure that you have the correct insurance cover and comply with all relevant laws.
LOAD SECURITY
=
Always secure your load firmly with ratchet straps.
=
Make sure that your load is evenly; distributed.
=
Never stack a high load, high loads increase the risk of overturning.
PASSENGERS
=
Never carry passengers on any kind of implement or attachment, especially children.
MAINTENANCE
=
Service your ATV and attachments as per the manufacturer’s handbook. Regular servicing of
your ATV will ensure that it will steer, stop and handle to its best ability and your attachment will
operate as safely and effectively as possible. Regular servicing helps ensure the longest
possible working life for your equipment.
EQUIPMENT SAFETY INSPECTION
=
Check tyre pressure, incorrect tyre pressure can seriously affect the handling of your ATV.
(See Operators handbook).
=
Maintain your equipment regularly to keep it in safe working order.
ROUTE / RISK ASSESSMENT
=
Assess and plan the route that you intend to travel to avoid any type of hazards i.e. rocks,
boulders, ditches, hidden fences or wire, pot holes, low hanging branches or any other type of
hazard.
=
Where possible stay with a routine route to avoid hazards.
=
The risk may change in wet or wintery conditions, avoid slopes where possible.
IMPORTANT ATV SAFETY WARNINGS

8
WARRANTY
Your Broadwood product or equipment is warranted free from defect in workmanship or
manufacture for one year from date of purchase. Any parts which appear to us to be defective,
either in material or workmanship shall be replaced or repaired at no cost to the purchaser, subject
to the following conditions:
1. The registration card enclosed with this booklet must be returned to us within seven days of
purchase.
2. Any failure in the machine should be reported in the first instance immediately to your
dealer, who will act on your behalf to resolve the matter to your satisfaction.
3. The defective parts will be returned by your dealer to us, accompanied by a full statement
describing the failure and the circumstances and conditions in which the failure occurred.
4. The following are specifically excluded from our terms of warranty:
a) Fair wear and tear, especially to belts, brushes, blades and spinners.
b) Damage to blades or brushes caused through incorrect positioning of the rotor (see
instructions).
c) Damage caused by neglect or lack of lubrication.
d) Damage caused by misuse or abuse.
e) Damage caused whilst the machine is in transit.
f) Damage caused to the frame of the machine by running the machine with unbalanced
rotors, blades or spinners.
g) Damage caused to the machine by use with loose nuts, bolts, screws or any other type
of fittings.
5. The warranty is for the benefit of the first user only.
6. Broadwood International decisions will be final and binding.
Note:
It is recommended that every machine is inspected after one hour of operation to check that
all nuts, bolts, screws or any other types of fixings are tight and any loose fixings or
components should be rectified as appropriate.
Further inspections should be carried out at regular intervals thereafter.

9
SETTING UP YOUR WESSEX COUNTRYMOWER
1. Attach the towbar to the mower as shown below using the supplied bolts and knobs. The mower
can be pulled directly behind your ATV or it can be offset to either side by changing the position
of the towbar.
2. Reverse your towing vehicle up to the machine, and connect to the ball hitch, ensuring that it is
locked in position.
3. With the vehicle and machine on level ground, ensure that both wheels are set at the same
height. Adjust the drawbar so that the deck is tilting slightly forward. To adjust the drawbar
loosen the two thumb screws on the drawbar and adjust to required position.

10
1. The engine on your mower can be started either with the throttle set at high or low revs, but
always ensure that the revs are immediately adjusted so that the centrifugal clutch is either
completely disengaged or completely engaged. Running the machine with the clutch partially
engaged will rapidly cause wear to the clutch.
2. Depending on the volume of material to be cut, you will quickly arrive at the optimum forward
speed that will not strain the engine, but will also give a fine cut. You will establish by
experience what is the optimum forward speed for your conditions, but on regularly maintained
grass you should achieve a good finish at 5 -6 mph (8 - 9 km/h).
3. Long, wet grass will have to be cut more slowly. In very difficult conditions better results are
obtained by making two passes, in opposite directions - lowering the cutting height for the
second pass.
WARNING
When starting and stopping the engine keep hands and feet clear of deck. Always stop the
engine before making any adjustments to the mower. After stopping the engine the blade
will continue to rotate for up to 1 minute.
CUTTING HEIGHT ADJUSTMENT
1. Height adjustment change must be made with the engine switched off.
2. When adjusting the height of the cut always have the mower attached to the towing vehicle.
3. Simply put the end of the height adjustment lever under the edge of the mower deck close to the
wheel.
4. Put your foot onto the non slip part of the lever and push down with your foot. Hold down while
you adjust the height of the wheel by removing the pin from the wheel bracket then reposition
the wheel bracket to the required height of cut and replace the pin. Slowly lower the mower
deck down.
5. Repeat this procedure on the other side
of the mower.
6. Always ensure that both wheels are set
to the same height.
Height Adjustment Lever Part No. WX-21280
USING YOUR WESSEX MOWER

11
MAINTENANCE
BELT TENSION
=
Check belt tension after the first hour of work and then after every 20 hours of work.
=
The correct belt tension is approximately 12-15mm of deflection under thumb pressure halfway
between the pulleys.
=
To tighten the belts simply loosen off the four engine mounting bolts. Then adjust by pulling the
engine back with the adjusting bolt situated in the centre at the rear of the engine mounting
bracket.
=
Having adjusted the belt then retighten the four engine mounting bolts.
BELT CHANGE
=
To change the belt simply loosen off the belt adjusting bolts.
=
Remove the 6 engine mounting plate bots and nuts.
=
From the rear of the engine lift the engine plate up approximately 100-150mm and place a
block underneath.
=
Remove the old belt and replace with a new belt.
=
Retighen and adjust belt to correct tension.
BLADES
=
Check condition of blades periodically. If blunt they can be sharpened by grinding. Always
ensure to sharpen them evenly to keep in balance.
=
Do not run with an unbalanced rotor as this wil cause damage to the machine. Damage
caused by use with an unbalanced rotor is not covered by warranty.

12
=
Check engine oil (See Engine Manual).
=
Follow the recommended service intervals from the Engine Manual.
=
Grease the ball hitch periodically.
=
Grease the main cutter spindle every 20 hours. The grease nipple is on top of the main spindle
underneath the front of the engine.
GENERAL
=
Periodically check all nutsand bolts are tight.
=
Replace any worn or missing parts.
=
Before winter storage clean the machine and lubricate as recommended.
LUBRICATION

13
WINTER STORAGE
Before winter storage, the AT110 Rotary Mower should be thoroughly inspected:-
=
Repair or replace any worn or broken parts.
=
Take special care to look at the flail blades, rotor and the bearings.
=
Remove the belts and ensure that the rotor is free-spinning.
=
Make sure that the belts are in good condition before re-fitting.
=
Thoroughly wash the machine to remove all oil, grease, debris and materials.
=
Grease up all grease points before storage to avoid any corrosion.
=
Check or change the engine oil depending on the hours of work.
TROUBLESHOOTING
FAULTCAUSE REMEDY
Leaving wheel track uncut 1. Forward speed too fast
2. Cutting height too high
Reduce forward speed
Lower cutting height
Bad quality of cut 1. Forward speed too fast
2. Excessive blade wear
3. Belts slipping
Reduce forward speed
Replace blades
Tighten belts
Excessive vibration 1. Damaged or missing blades
2. Bent flail rotor
3. Main rotor bearing failed
4. Loose part
Inspect and replace blades
Inspect rotor
Inspect bearing, replace if damaged
Check all nuts and bolts are tight
Excessive scalping 1. Cutting height too low Raise cutting height

14
PARTS ILLUSTRATION - AT110 MAINFRAME ASSEMBLY- PLATE 1
PLATE 1

15
PARTS LIST - AT110 MAINFRAME ASSEMBLY- PLATE 1
Item No. Part No. Description Qty. per Machine
1WX-0106 Blade Fastening Set 1
2WX-10770 Blade 1
3WX-0220 Fibre Washer 1
4WX-5966B Spindle Assembly 1
5WX-18879 Mower Deck 1
6WX-0527 Linch Pin 2
7WX-6052 Wheel 2
8WX-32501 Wheel Fastening Set 2
9WX-15151 Left Hand Wheel Bar 1
10 WX-15377 Left Hand Wheel Guard 1
11 WX-32701 Wheel Guard Fastening Set 2
12 WX-13457 Adjuster Bracket 1
13 WX-32601 Adjuster Bolt 1
14 WX-13557 Engine Mounting Plate 1
15 WX-32701 Engine Mounting Plate Fastening Set 6
16 WX-5160 Engine (12.5 hp - B & S) 1
17 WX-17656 3100mm Throttle Cable 1
18 WX-5734 Belt 1
19 WX-12362 Pulley 1
20 WX-12562 Clutch Assembly 1
21 WX-12462 Taper Lock 1
22 WX-1347 Engine Key 1
23 WX-0147 Key 1
24 WX-2356 Ball Hitch 1
25 WX-9501 Ball Hitch Fastening Set 1
26 WX-19179 Drawbar 1
27 WX-2829 Thumb Wheel Knob 2
28 WX-32801 Drawbar Fastening Set 1
29 WX-15477 Right Hand Wheel Guard 1
30 WX-15251 Right Hand Wheel Bar 1
31 WX-33001 Clutch Fastening Set 1
32 WX-16466 Top Hat Spacer 1
N/S WX-21280 Height Adjustment Lever 1

16
PARTS ILLUSTRATION - SPINDLE ASSEMBLY- PLATE 2
PLATE 2
PARTS LIST - SPINDLE ASSEMBLY- PLATE 2
Item No. Part No. Description Qty. per Machine
1WX-1722 Circlip 1
2WX-0838 Spindle Top Bearing 1
3WX-5966 Spindle Housing 1
4WX-0938 Spindle Bottom Bearing 1
5WX-0147 Key 1
6WX-6066 Spindle 1
7WX-10770 Blade 1
8WX-0106 Fastening Set 1
9WX-0220 Washer 1
10 WX-2801 Spindles Housing Fastening Set 1
11 WX-5966B Spindle Assembly 1

AT110
Rotary Mower
August 2011

Broadwood International
Trading Estate, Oakhanger Road, Bordon, Hampshire. GU35 9HH
Telephone: 01420 478111 Fax 01420 483000
e-mail: [email protected]
www.broadwoodintl.co.uk
Manufacturers and Distributors of Quality Equipment
Table of contents
Other Wessex Lawn Mower manuals

Wessex
Wessex CRX-320 User manual

Wessex
Wessex AF120 User manual

Wessex
Wessex RMX Tri-Deck 560 User manual

Wessex
Wessex 12WS230 User manual

Wessex
Wessex AFE160 User manual

Wessex
Wessex WFM 125 User manual

Wessex
Wessex AF160 User manual

Wessex
Wessex AFE120 User manual

Wessex
Wessex TRMX TRIPLE 560 User manual

Wessex
Wessex CRX150 User manual