Wessex TRMX TRIPLE 560 User manual

ABroadwood International Product
Operation Manual
RMX TRIPLE 560/680 ROLLER MOWERS
Manufacturers and Distributors of Quality Equipment
Product Code: L2043
Issue March 2013
GB


CONTENTS
Welcome to your new Wessex Product . . . . . . . . . . . . . . . . . . . . . . . . . . . . . . . . . . . . . . . . .3
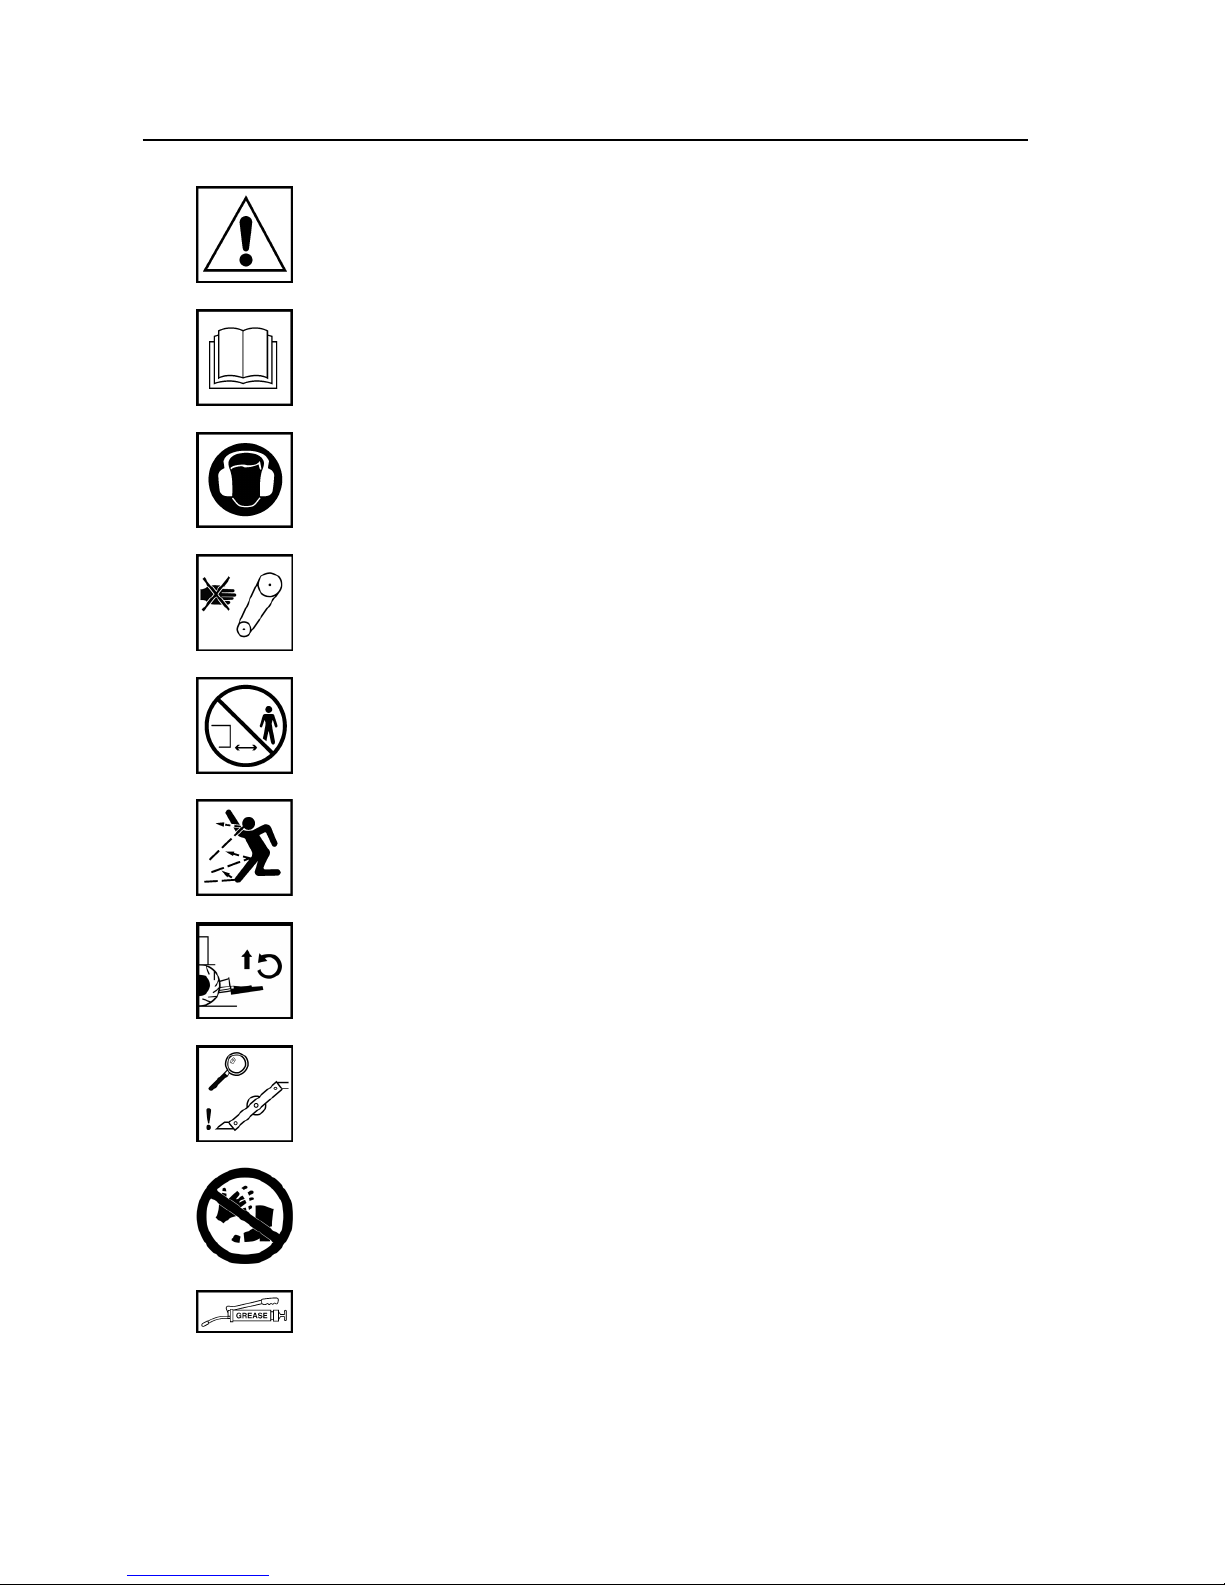
Safety Decals . . . . . . . . . . . . . . . . . . . . . . . . . . . . . . . . . . . . . . . . . . . . . . . . . . . . . . . . . . .4, 5
Important Safety Warnings . . . . . . . . . . . . . . . . . . . . . . . . . . . . . . . . . . . . . . . . . . . . . . . . . . .6
Warranty . . . . . . . . . . . . . . . . . . . . . . . . . . . . . . . . . . . . . . . . . . . . . . . . . . . . . . . . . . . . . . . . .7
Linking up to the Tractor . . . . . . . . . . . . . . . . . . . . . . . . . . . . . . . . . . . . . . . . . . . . . . . . . . . .8
Using the RMX Triple . . . . . . . . . . . . . . . . . . . . . . . . . . . . . . . . . . . . . . . . . . . . . . . . . . . . .8, 9
Altering the Cutting Height . . . . . . . . . . . . . . . . . . . . . . . . . . . . . . . . . . . . . . . . . . . . . . . . . .10
Maintenance . . . . . . . . . . . . . . . . . . . . . . . . . . . . . . . . . . . . . . . . . . . . . . . . . . . . . . . . . . . . .11
Lubrication / Belt Adjustment (Mowing Decks) . . . . . . . . . . . . . . . . . . . . . . . . . . . . . . . . . . .11
Replacing Drive Belts on the Main Drive Chassis . . . . . . . . . . . . . . . . . . . . . . . . . . . . . . . .12
Travelling on the Public Highway . . . . . . . . . . . . . . . . . . . . . . . . . . . . . . . . . . . . . . . . . . . . .13
Troubleshooting / Winter Storage . . . . . . . . . . . . . . . . . . . . . . . . . . . . . . . . . . . . . . . . . . . . .14
Cutting Blades / Specifications . . . . . . . . . . . . . . . . . . . . . . . . . . . . . . . . . . . . . . . . . . . . . . .15
Parts Illustration - RMX 180 / 240 / 300 - Mainframe Assembly . . . . . . . . . . . . . . . . . . . . . .16
Parts List - RMX 180 / 240 / 300 - Mainframe Assembly . . . . . . . . . . . . . . . . . . . . . . . . . . .17
Parts Illustration / Parts List - Drive Belts RMX180 . . . . . . . . . . . . . . . . . . . . . . . . . . . . . . .18
Parts Illustration / Parts List - Drive Belts RMX240 . . . . . . . . . . . . . . . . . . . . . . . . . . . . . . .19
Parts Illustration / Parts List - Drive Belts RMX300 . . . . . . . . . . . . . . . . . . . . . . . . . . . . . . .20
Parts Illustration - RMX 180 / 240 / 300 - Spindles Assembly . . . . . . . . . . . . . . . . . . . . . . .21
Parts List - RMX 180 / 240 / 300 - Spindles Assembly . . . . . . . . . . . . . . . . . . . . . . . . . . . . .21
Parts Illustration / Parts List - Deck Gearbox . . . . . . . . . . . . . . . . . . . . . . . . . . . . . . . . . . . .23
Parts Illustration - Triple Main Assembly . . . . . . . . . . . . . . . . . . . . . . . . . . . . . . . . . . . . .24, 26
Parts List - Triple Main Assembly . . . . . . . . . . . . . . . . . . . . . . . . . . . . . . . . . . . . . . . . . .25, 27
Parts Illustration - Right Hand Wing Assembly . . . . . . . . . . . . . . . . . . . . . . . . . . . . . . .28, 30
Parts List - Right Hand Wing Assembly . . . . . . . . . . . . . . . . . . . . . . . . . . . . . . . . . . . . .29, 31
Parts Illustration - Left Hand Wing Assembly . . . . . . . . . . . . . . . . . . . . . . . . . . . . . . . . .32, 34
Parts List - Left Hand Wing Assembly . . . . . . . . . . . . . . . . . . . . . . . . . . . . . . . . . . . . . .33, 35

CONTENTS
Parts Illustration - Triple Chassis Assembly . . . . . . . . . . . . . . . . . . . . . . . . . . . . . . . . . .36, 38
Parts List - Triple Chassis Assembly . . . . . . . . . . . . . . . . . . . . . . . . . . . . . . . . . . . . . . . .37, 39
Parts Illustration - Rear Deck Assembly . . . . . . . . . . . . . . . . . . . . . . . . . . . . . . . . . . . . . . . .40
Parts List - Rear Deck Assembly . . . . . . . . . . . . . . . . . . . . . . . . . . . . . . . . . . . . . . . . . . . . .41
Parts Illustration / Parts List - Tensioner Arm Assembly . . . . . . . . . . . . . . . . . . . . . . . . . . . .42
P.T.O. Shaft - Operation and Maintenance . . . . . . . . . . . . . . . . . . . . . . . . . . . . . . . . . . .43, 44
Safety Training Induction . . . . . . . . . . . . . . . . . . . . . . . . . . . . . . . . . . . . . . . . . . . . . . . . . . . .45
Daily Inspection Record . . . . . . . . . . . . . . . . . . . . . . . . . . . . . . . . . . . . . . . . . . . . . . . . . . . .46
CE Certificate . . . . . . . . . . . . . . . . . . . . . . . . . . . . . . . . . . . . . . . . . . . . . . . . . . . . . . . . . . . .47

3
WELCOME TO YOUR NEW WESSEX PRODUCT
Thank you for purchasing a Wessex product. As a Broadwood customer, you now number among
the most important people of our business and we will endeavour to give you the best service
available through our dealer network.
Please read this Manual carefully and familiarise yourself and other persons that will be using the
machine with its contents, to ensure the optimum performance and working life of your machine. It
is advisable that a copy of this Manual is kept in the workshop and one copy with the machine.
Further copies are available through your dealer.
On delivery, your dealer should go through the workings of the machine with you, explaining the
setting up procedures, all of which are contained in this manual for further reference. The Warranty
Registration Form must also be completed and returned to us within 7 days of delivery in order
to validate the Warranty.
PLEASE READ THE FOLLOWING PAGES CAREFULLYBEFORE USING YOUR MACHINE
AND KEEP THIS MANUAL IN ASAFE PLACE.
THIS SAFETY SYMBOL IS TO ALERT OPERATORS OF AHAZARD
THAT MAYRESULT IN INJURY.
ALWAYS FOLLOW INSTRUCTIONS CAREFULLY

4
SAFETY DECALS
GB ATTENTION Description of pictograms.
FATTENTION Description des pictogrammes.
DVORSICH Beschreibung von Piktogrammen.
GB Read Operating manual before use.
FLire le Manuel d’utilisation avant l’utilisation.
D Vor Benutzung Betriebsanleitung lesen.
GB Ear defenders must be worn.
FPorter des protections d’oreilles.
DGehörschutz muss getragen werden.
GB Never remove guards or attempt adjustment until rotor has stopped.
FNe jamais retirer les protections ni tenter des ajustements si les rotors sont en mouvement.
DNiemals Schutzvorrichtungen abnehmen oder eine Einstellung versuchen, bevor der Rotor stillsteht.
GB Bystanders must be at least 20 metres from machine range of action.
FLes personnes présentes doivent s’écarter d’au moins 20 mètres du rayon d’action de la machine.
DUmstehende müssen mindestens 20 m vom Wirkungsbereich der Maschine entfernt sein.
GB Stand clear. Flying objects possible.
FS’éloigner ! Possibilité d’objets volants.
DZurückbleiben! Herumfliegende Objekte möglich.
GB Examine blades regularly. The operator is responsible for machine damage caused by unbalanced
rotors.
FExaminer les lames régulièrement. L’opérateur est responsable des dommages à la machine
provoqués par des rotors mal équilibrés.
DDie Messer regelmäßig untersuchen. Der Bediener ist für Maschinenschäden verantwortlich, die
durch unwuchtige Spindeln entstehen.
GB Keep hands and feet clear
FNe pas approcher les mains et les pieds.
DHände und Füße fernhalten.
GB Grease points
FPoints de graissage.
DSchmierpunkte.
GB Liftt Machine before turning
FSoulever la machine avant les virages.
DDie Maschine vor dem Wenden anheben.

5
SAFETY DECALS
GB CORRECT BELTTENSION: Check belt tension regulary:
10mm of belt deflection at thumb pressure between pulleys.
FTENSIONNEMENT CORRECT DE LA COURROIE : Contrôler le tensionnement régulièrement :
la déflexion de la courroie sous la pression du pouce entre les deux poulies doit être de 10 mm.
DKORREKTE RIEMENSPANNUNG: Riemenspannung regelmäßig überprüfen:
10 mm Eindrücktiefe bei Daumenduck zwischen Riemenscheiben.
10 mm
GB Lifting Point
FPoint de levage
DHebepunkt
GB Always lock all cutter decks in the up position when travelling on the highway.
F Toujours verrouiller les plateaux de coupe en position verticale lors du transport sur les routes.
DBeim Transport auf der Straße immer alle Mähdecks in der oberen Stellung verriegeln.
GB Stand clear of lowering cutting decks.
FS’écarter des plateaux de coupe lorsqu’ils s’abaissent.
D Von Mähdecks, die abgesenkt werden, fernhalten.
GB Caution, Pinch Points.
FAttention, points de pincement.
D Vorsicht, Einklemmgefahr.

6
IMPORTANT SAFETY WARNINGS
Wessex machines are guarded for your protection, but you must always observe certain
elementary precautions. Machines are potentially dangerous and should be used with the greatest
respect and ALL OPERATORS MUST read this manual and be are aware of all safety
precautions.
1. NEVER attempt any adjustment whatsoever, unless the machine is COMPLETELYat a
standstill and the power units (tractor) engine is switched off.
2. NEVER attempt to clear any obstructions around the mower unless the machine and its
moving parts are COMPLETELYat a standstill.
3. NEVER remove belt guards unless the machine and its moving parts are COMPLETELYat
a standstill.
4. NEVER remove safety guards which are provided for your protection.
5. NEVER operate the mower with people behind, keep everybody (especially children and
animals) at a safe distance, minimum 20 metres.
6. Stand well back from the machine when cutters are spinning.
7. Regularly inspect the BLADES AND FIXING BOLTS to ensure that they are in tip-top
condition. Replace blades IMMEDIATELYif any signs of fracture or excess wear becomes
apparent. Serious damage, which is excluded from our warranty conditions, may result from
using your mower with an unbalanced rotor. When replacing blades, always fit new mounting
bolts and nuts to ensure that the rotor is balanced and running smoothly.
HEALTH AND SAFETY - Noise at Work Regulations
READING AT THE OPERATORS EAR
Wessex RMX Roller mower: Approximately 96 D.B.A
Depending on conditions and material being cut, this reading may alter, it is therefore advisable for
users to do their own assessment.
In compliance with the above regulations, Ear Protectors must be worn when
operating machinery.

7
WARRANTY
Your Broadwood product or equipment is warranted free from defect in workmanship or
manufacture for one year from date of purchase. Any parts which appear to us to be defective,
either in material or workmanship shall be replaced or repaired at no cost to the purchaser, subject
to the following conditions:
1. The registration card enclosed with this booklet must be returned to us within seven days of
purchase.
2. Any failure in the machine should be reported in the first instance immediately to your dealer,
who will act on your behalf to resolve the matter to your satisfaction.
3. The defective parts will be returned by your dealer to us, accompanied by a full statement
describing the failure and the circumstances and conditions in which the failure occurred.
4. The following are specifically excluded from our terms of warranty:
a) Fair wear and tear, especially to belts, brushes, blades and spinners.
b) Damage to blades or brushes caused through incorrect positioning of the rotor (see
instructions).
c) Damage caused by neglect or lack of lubrication.
d) Damage caused by misuse or abuse.
e) Damage caused whilst the machine is in transit.
f) Damage caused to the frame of the machine by running the machine with unbalanced
rotors, blades or spinners.
g) Damage caused to the machine by use with loose nuts, bolts, screws or any other type
of fittings.
5. The warranty is for the benefit of the first user only.
6. Broadwood International decisions will be final and binding.
Note:
It is recommended that every machine is inspected after one hour of operation to check that
all nuts, bolts, screws or any other types of fixings are tight and any loose fixings or
components should be rectified as appropriate.
Further inspections should be carried out at regular intervals thereafter.

8
LINKING UP TO THE TRACTOR
1. Always hitch and unhitch on level ground for safety reasons.
2. When hitching up, never allow anyone to stand between the tractor and the implement.
3. Reverse the tractor up to the RMX Triple and hitch up to the towing hitch. When using a
drawbar pin ensure that it is secured with a lynch pin.
4. When in work the drawbar of the RMX Triple should be level with the ground, to adjust simply
remove drawbar holding bolts and pivot up or down, or turn the drawbar over for extra
adjustment.
5. Couple the P.T.O. Shaft to the tractor putting the wide angle joint onto the tractor. Secure the
P.T.O. Cover Chains. Ensure that the P.T.O. Shaft is correctly located and locked in place.
(See P.T.O. Shaft Instructions at the back of the book).
6. Connect the lighting plug into the tractor.
7. Connect the hydraulic hoses to the tractor.
8. IMPORTANT:Ensure that the bottom link arms of the tractor do not come into contact the the
P.T.O. Shaft when turning. We recommend that you remove or raise up the tractor link arms by
adjustment of the arms.
USING THE RMX TRIPLE
1. Having hitched up to the tractor you are now ready to lower the mowing decks to the ground.
2. Operate the hydraulic functions to take the weight off the safety catches of the side and rear
deck carriers.
3. Release the safety catches by activating the catch lever beside the drawbar at the front of the
machine, then slowly activate the hydraulics to lower the decks to the ground.
4. Important Ensure that all bystanders are at a safe distance from the machine before lowering
the decks.
5. It is important that the hydraulic spools on the tractor are in the float position so that the
machine will float and follow the ground contours.
6. NEVER USE THE MOWER IN P.T.O. SPEEDS IN EXCESS OF 540 RPM.
7. Slowly engage the P.T.O. drive and select the forward speed carefully. Start off slowly until you
are confident with the working width and capability of the machine.
8. When mowing longer thicker grass a slower forward speed will need to be selected.

9
9. When mowing the RMX Triple is capable of following very undulating ground conditions and
with care the side arms will happily run up or down banks of up to 30 degrees.
10.When the mowing decks go beyond 30 degrees the drive will automatically disengage from
driving the mowing decks.
11. When lifting the mowing decks up and out of work drop the tractor revs down and put the P.T.O.
out of gear before lifting. This will prolong the life of the main drive belts.
ALTERING THE CUTTING HEIGHT
1. Lift the mower decks slightly off the ground on the hydraulic linkage and switch off the tractor.
2. Loosen, but do not remove the skid fixing bolts. There are two each side of the main deck.
3. Turn the adjusting screws clockwise to lower the rollers, thus increasing the cutting height, or
anticlockwise to raise the rollers, thus reducing the height of cut. Ensure that all screws are
adjusted by the same amount otherwise the cut will be uneven. There is a line of increments
on the skid to assist in checking for even adjustment.
4. Tighten all skid fixing bolts.
USING THE RMX TRIPLE
1
2
3
4
5
6
7
Adjusting Screw
Skid Fixing Bolt

10
MAINTENANCE
To keep your RMX Triple in excellent working condition we recommend that you follow this
maintenance programme:-
REGULARLY:-
=
Lubricate your RMX as indicated in this manual.
=
Check the wheel nuts for tightness particularly on the first days work.
=
Check all drive belts on cutting decks and replace if cut, frayed or worn.
=
Remove the top belt guard and inspect the main central drive belts. (These are self
tensioning).
=
Inspect all blades regularly and replace any that are badly worn, chipped or broken.
=
DO NOT RUN MACHINE WITH UNBALANCED ROTORS THIS WILL CAUSE DAMAGE
(NOT COVERED BY WARRANTY).
=
Inspect front and rear rollers and scraper wires.
=
Regularly clean cut grass from under belt covers. (In dry conditions a leaf blower or airline is
very efficient for this task).
PERIODICALLY:-
=
Inspect the main drive shaft bearings.
=
Inspect all pivot bushes.
=
Inspect safety catches, cables and springs.
=
Inspect small guide rollers on belt engagement levers.
=
Inspect all bolts and nuts for tightness.
=
Inspect all pivot pins and retainers.
=
At the end of the grass cutting season always clean the RMX thoroughly and grease before
winter storage.
Only use genuine Wessex parts in the event of replacing worn parts. This will ensure the
continued safe use of your RMX Triple and the validity of your warranty.

11
BELT ADJUSTMENT (MOWING DECKS)
The drive belts are tensioned by adjusting the jockey
pulleys. Theses are accessed by removing the belt
guards. Loosen the locking nut securing the jockey bracket
to the main frame and turn the adjuster nut clockwise to
tighten or anti-clockwise to slacken the belts.
The correct belt tension is approximately 10mm of
deflection under thumb pressure halfway between the
pulleys.
To replace the belts simply slacken off all adjusters remove
old belts and replace with only genuine spare parts.
Re-tighten all tensioners and clamping nuts. New belts
always stretch after 3-4 hours work. Re-tension all belts
after 4 hours of work, then inspect periodically thereafter.
LUBRICATION
Clamping
Nut
Adjusting
Nut
DAILY:- (Every 8-10 hours of operation).
=
Grease Cutter Spindle bearings.
=
Grease Roller bearings.
=
Grease P.T.O. Shaft bearings and P.T.O. Shaft Safety Cover bearings. (See separate P.T.O.
handbook originally zip tied to each P.T.O. Shaft).
=
Grease P.T.O. Tube slides.
PERIODICALLY:- (Every 40 hours of operation).
=
Grease height adjustment points.
=
Check Gearbox oil level.
=
Lubricate all adjusting threads.
=
Grease all other nipples marked with yellow sticker.

12
1. Stop the tractor engine and disconnect the main P.T.O. shaft from the tractor before making
any adjustments.
2. With the wings in the lowered position remove the top plastic belt guard.
3. Remove the central pulley belt retainers, See Figure ’A’.
4. Lift the side decks to the raised position.
5. Remove the gearbox mounted belt retainers, See Figure ‘B’.
6. Remove the worn or damaged belts from the pulleys.
7. Replace with new belts, Wessex Part No. WX-5934.
8. Refit the gearbox mounted belt retainers.
9. Lower the side decks to the ground. Ensure that all bystanders are clear
of the decks when lowering.
10. Replace the central pulley belt retainers, ensure that they do not touch
the belts when the belts are tensioned in the driving position.
11. Refit the top plastic guard, ensuring that the guard is properly seated at
all location points. Take care to ensure that the guard is running in
location groove around the gearbox pulley.
Figure ‘B’
Figure ‘A’
REPLACING DRIVE BELTS ON THE MAIN DRIVE CHASSIS

13
1. Check the local highway code of regulations before travelling on the highway.
2. Before travelling on the highway always ensure that all mower deck retaining safety
catches are in locked position.
3. Ensure that all lights, indicators and flashing beacon are working and that the number
plate is visible.
4. If hydraulic braking option is fitted make sure that it is connected to the tractor and well
maintained.
5. The RMX Triple is fitted with suspension and rides smoothly on the road, but take special
care when cornering and approaching roundabouts and bends in the road.
6. Turning sharply at high speeds may result in overturning causing possible injury or
death.
TRAVELLING ON THE PUBLIC HIGHWAY

WINTER STORAGE
Before winter storage, the RMX Triple should be thoroughly inspected:-
=
Repair or replace any worn or broken parts.
=
Check oil level in the gearbox. Top up or change with EP90 gear oil depending on hours of
operation.
=
Take special care to look at the blades, rotor and the bearings.
=
Remove the belts and ensure that the rotor is free-spinning.
=
Make sure that the belts are in good condition before re-fitting.
=
Grease all grease points before storage to avoid any corrosion.
=
Thoroughly wash the machine to remove all oil, grease, debris and materials.
=
After pressure washing always run mower for a short time to expell any water from bearings.
TROUBLESHOOTING
FAULTCAUSE REMEDY
Leaving wheel track uncut 1. Forward speed too fast
2. Cutting height too high
Reduce forward speed
Lower cutting height
Poor cut quality 1. Forward speed too fast
2. Excessive blade wear
3. Belts slipping
Reduce forward speed
Replace blades
Tighten belts
Narrow strip uncut 1. Possibly missing or broken
blade
Inspect blades and replace as
necessary
Excessive vibration 1. Damaged or missing blades
2. Main spindle bearing worn
3. Loose part
Inspect and replace blades
Inspect bearing, replace if damaged
Check all nuts and bolts are tight
Excessive scalping 1. Cutting height too low Raise cutting height.
14

15
=
Inspect the Cutting blades regularly.
=
Badly worn or broken blades will unbalance rotors causing vibration.
=
Do not use with unbalanced rotors. Damage caused by use with unbalanced rotors is
not covered by warranty.
=
Always replace blades on both ends of bars to avoid imbalance.
=
Always lift machine with a hoist when changing blades. Never work beneath an unsupported
machine.
=
To change the blade tips remove the blade retaining bolt using a 19mm socket/spanner.
=
Replace blade tips using new locking nuts.
SPECIFICATIONS
Wessex Proline RMX Roller Mowers
Model: RMX 560 RMX 680
Cutting Width: 5.6m 6.8m
Overall Width: 5.74m 6.94m
Overall Transport Width 2.54m 2.54m
Overall Length: 5.19m 5.19m
Weight: 2900kg 3100kg
Cutting Height Range: 10-100mm 10-100mm
No. of Cutting Spindles: 10 12
Gearbox Oil: EP90 EP90
CUTTING BLADES

16
PARTS ILLUSTRATION - RMX 180 / 240 / 300 MAINFRAME
39
3,4,5,6
1,2 10,11
12
17,18
27,28
38
37
36
35
34
33
32
31
30
29
15,16
{
44
40 48 41 42
43
45
46
47
50
52
51
51
49

17
PARTS LIST - RMX 180 / 240 / 300 MAINFRAME
Item
No.
RMX180
Part No.
QTY RMX240
Part No.
QTY RMX300
Part No.
QTY Description
1WX-11457 1WX-11457 1WX-11457 1Gearbox Mounting Plate
2WX15003 1WX15003 1WX15003 1Gearbox Plate Fastening Set
3WX-5857 1WX-5857 1WX-5857 1Gearbox
4WX-0801 1WX-0801 1WX-0801 1Gearbox Fastening Set
5WX-1878 1WX-1878 1WX-1878 1Cone Guard
6WX-5103 1WX-5103 1WX-5103 1Cone Guard Fastening Set
10 WX-10678L 1WX-10778L 1WX-10878L 1Belt Cover Left Hand
11 WX-2729 4WX-2729 4WX-2729 4Belt Cover Fastening Set
12 WX-11379 1WX-11479 1WX-11579 1Mainframe
15 N/A 0WX-11778 1N/A 0Pulley Cover Plate
16 N/A 0WX-15403 1N/A 0Pulley Cover Plate Fastening Set
17 WX-10578 1WX-10578 1WX-10578 1Centre Belt Cover
18 WX-2729 4WX-2729 4WX-2729 4Centre Belt Cover Fastening Set
27 WX-10678R 1WX-10778R 1WX-10878R 1Belt Cover - Right Hand
28 WX-2729 4WX-2729 4WX-2729 4Belt Cover Fastening Set
29 WX-0705 1WX-0705 1WX-0705 1Adjuster Cover Fastening Set
30 WX-14456 4WX-14456 4WX-14456 4Adjuster Cover
31 WX-8002 4WX-8002 4WX-8002 4Skid Bolt
32 WX-0246 4WX-0246 4WX-0246 4Grease Nipple
33 WX-14556 4WX-14556 4WX-14556 4Height Adjustment Nut
34 WX-14656 4WX-14656 4WX-14656 4Height Adjustment Thread
35 WX-2420 4WX-2420 4WX-2420 4Nylon Washer
36 WX-4222 4WX-4222 4WX-4222 4Roll Pin
37 WX-14756 4WX-14756 4WX-14756 4Height Adjustment Hexagon
38 WX-3574 2WX-3574 2WX-3574 2Roller Carrier
39 WX-6530 1WX-6630 1WX-6730 1Roller Scraper
40 WX-15603 1WX-15603 1WX-15603 1Roller Spindle Fastening Set
41 WX-4355 1WX-4355 1WX-4355 1Central Spindle
42 WX-15803 1WX-15803 1WX-15803 1Roller End Fastening Set
43 WX-4255 1WX-4255 1WX-4255 1Roller End
44 WX-6755 1WX-6955 1WX-7055 1Roller
45 WX-7355 1WX-7355 1WX-7355 1Shim
46 WX-0614 1WX-0614 1WX-0614 1 Washer
47 WX-0514 1WX-0514 1WX-0514 1Nut
48 WX-6355 1WX-6355 1WX-6355 1Roller Spindle (With Flats)
49 WX-0246 1WX-0246 1WX-0246 1Grease Nipple
50 WX-4455 1WX-4455 1WX-4455 1Bearing Shield
51 WX-8038 2WX-8038 2WX-8038 2Bearing
52 WX-2345 1WX-2345 1WX-2345 1Oil Seal

18
PARTS ILLUSTRATION - RMX 180 DRIVE BELTS
Item No. Part No. Description Qty. per Machine
1WX-10362 2 Row Pulley 2
2WX-11362 Taper Lock 2
3WX-0234 Belt 4
4WX-10562 Jockey Pulley 2
5WX-6038 Jockey Bearing 2
6WX-4022 Circlip 2
7WX-15903 Jockey Bolt 2
8WX-11162 Gearbox Pulley 1
9WX-8662 Taper Lock 1
10 WX-0647 Key 1
11 WX-10462 4 Row Pulley 1
12 WX-11362 Taper Lock 1
13 WX-13066 Jockey Bracket 2
14 WX-16003 Jockey Bracket Fastening Set 2
15 WX-12966 Jockey Pillar - High 1
16 WX-12866 Jockey Pillar - Low 1
PARTS LIST - RMX 180 DRIVE BELTS
This manual suits for next models
1
Table of contents
Other Wessex Lawn Mower manuals

Wessex
Wessex CRX-410 User manual

Wessex
Wessex AFR User manual

Wessex
Wessex AT110 User manual

Wessex
Wessex AF120 User manual

Wessex
Wessex RMX Tri-Deck 560 User manual

Wessex
Wessex AF160 User manual

Wessex
Wessex CRX150 User manual

Wessex
Wessex CRX-320 User manual

Wessex
Wessex AFE120 User manual

Wessex
Wessex WFM 125 User manual
Popular Lawn Mower manuals by other brands

GreenWorks
GreenWorks 25292 owner's manual

Troy-Bilt
Troy-Bilt TB 2246 Operator's manual

McCullochlloch
McCullochlloch CABRIO 320-321-340-341/34cc instruction manual

Craftsman
Craftsman 917.270623 owner's manual

Black & Decker
Black & Decker LM175 instruction manual

Craftsman
Craftsman 517.372500 owner's manual