Please note: A qualified electrician must install this product. Whale® accepts no responsibility or liability for
damage to equipment, injury, or death that may result from improper installation or operation of this product.
When using electrical appliances, basic safety precautions to reduce the risk of fire, electrical shock, or
personal injury to persons must be followed.
1. The appliance must be installed outdoors on a leisure vessel or recreational vehicle only. If it is intended for use
for any other purpose it is the user's responsibility to ensure that the appliance is suitable for the intended use.
2. Electric only model - Not suitable for use with any other firelighters, flammable liquids, diesel, chemicals etc.
3. Flammable materials (such as gas canisters) must not be stored near to the appliance.
4. In the event of a grease fire, do not use water – smother the fire or flame or use a dry chemical / foam type
extinguisher. The correct fire extinguisher must be kept on your vessel as a safety precaution.
5. Never leave the appliance unattended when turned on and keep close supervision of children and vulnerable
adults to ensure they do not come into contact with the appliance. Never allow anyone to sit or stand on any part
of the appliance.
6. Appropriate apparel is required for using this product – loose fitting or hanging garments must not be worn
while using this appliance.
7. Ensure the appliance is fully dry before use. Water on the surface may heat when in use and cause a steam that
could cause burns to skin.
8. This appliance is for outdoor use only. Never use your appliance for warming or heating the room.
9. Do not heat unopened containers. Build-up of pressure may cause container to burst and result in injury.
10. After use, the appliance and any utensils used may still be hot to touch. Depending on installation, working
surfaces near to the appliance may also become hot during use. Take care to allow the appliance and the
surrounding area to fully cool before cleaning.
11. WARNING: Fire hazard. Wiring must comply with applicable electrical standards and include a properly sized
fuse or circuit breaker. Improper wiring can cause a fire resulting in injury or death. Switch off the power while
making connections. Suggested wiring information is given as guidance only. For full information, refer to the
USCG, ABYC and ISO regulations for marine applications and wiring gauges, connectors and fuse protection.
NOTE: Incorrect installation will invalidate warranty.
Preparation - Always disconnect power sources before installing. Ensure your appliance is properly installed and
grounded by a qualified electrician.
8.i Location
• The appliance must be installed outdoors in a well
ventilated area.
• Ensure the product is accessible for maintenance - Install
and locate this product only in accordance with the
provided installation instructions.
• The minimum clearance between the top of the cooking
surface and the bottom of the unprotected combustible
surfaces must be no less than 30” (762mm).
• The distance from the top of the cooktop to the bottom of
cabinets above can be reduced to 24" (610mm) minimum
when the bottom of the wood or metal cabinet is protected
by not less than ¼” (6mm) thick flame retardant mill-board
covered with no less than No. 28 MSG sheet steel, 0.015”
(0.3mm) thick stainless steel, 0.024” (0.6mm) thick
aluminium or 0.020” (0.5mm) thick copper.
• The minimum distance between the back edge of the cut
out and the nearest surface or feature must be no less
than 3” (76mm).
8.ii Mounting Instructions
Note: Mount the grill on horizontal surface only.
Step 1 Locate in a dry accessible area with adequate ventilation
and mark out your cut out area.
Step 2 Cut-out the following countertop to the dimensions:
7. WARNINGS
8. INSTALLATION
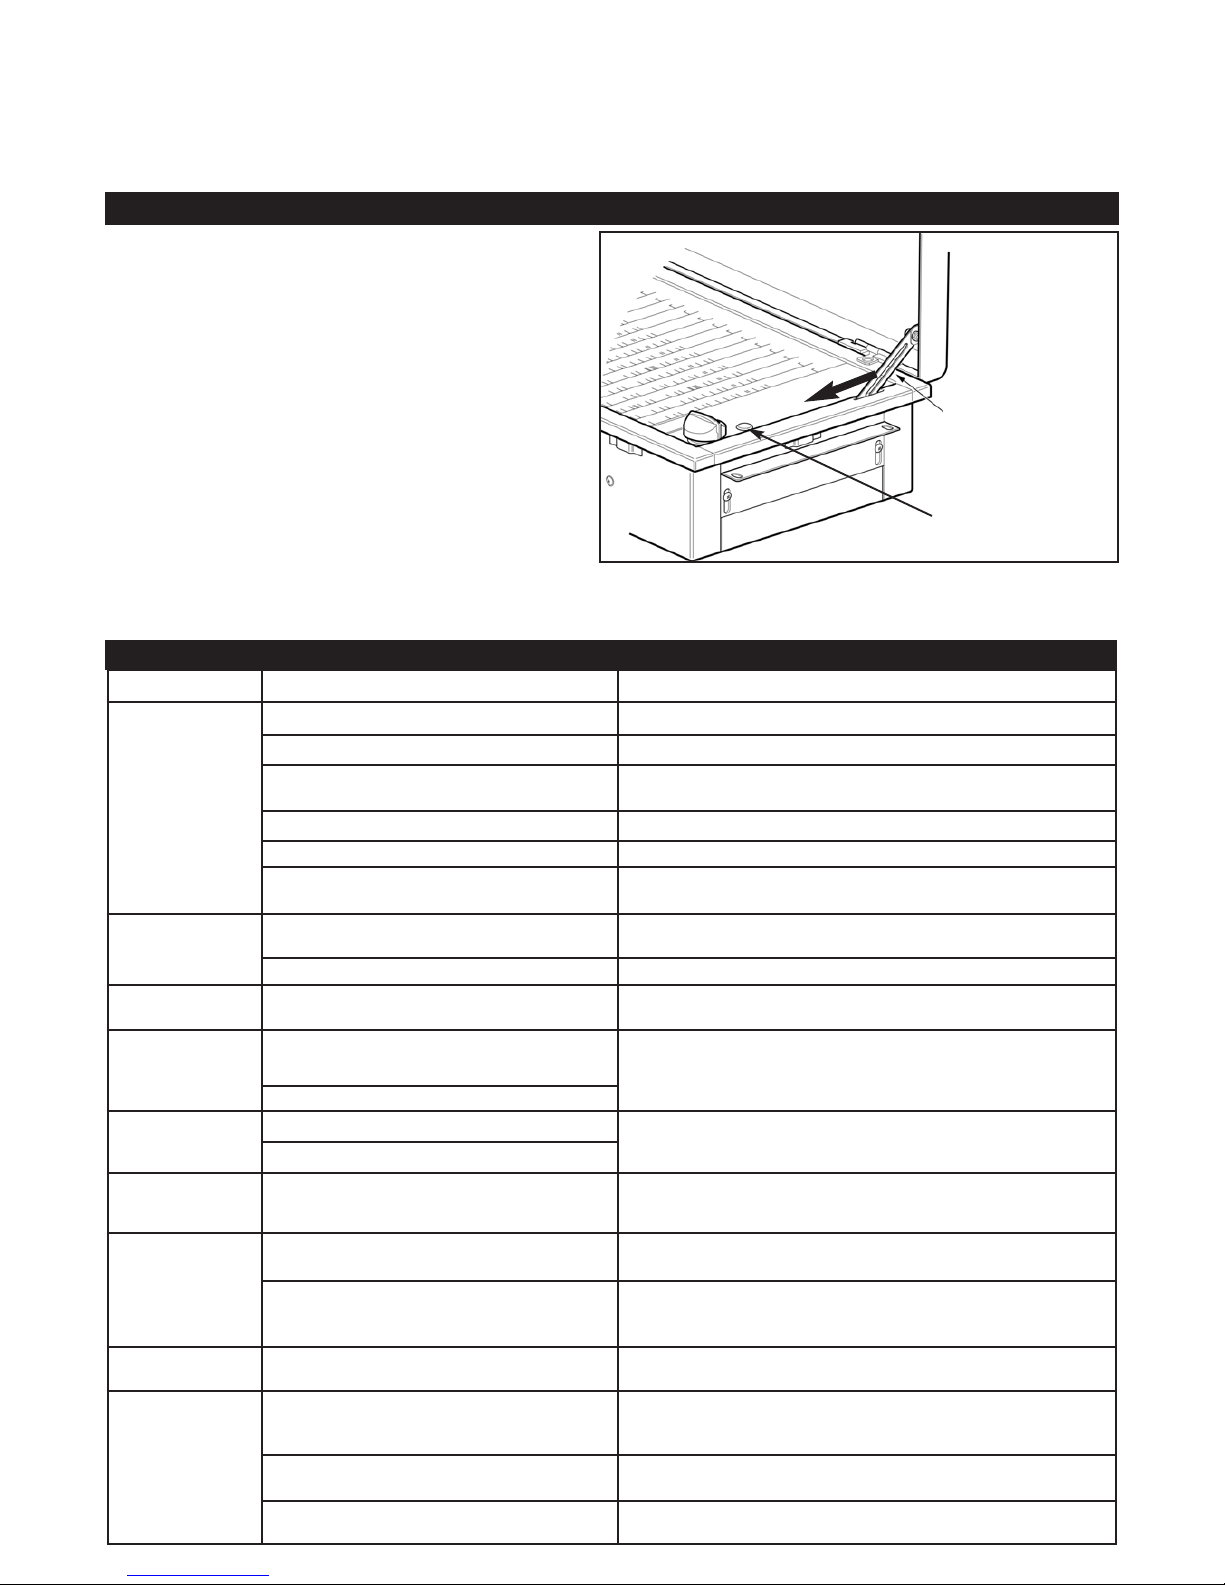
Figure 1 -
Locating the Grill
Width 20 ¾” (527mm)
Depth 11 ¾” (298mm)
Minimum Depth Below
Counter Top 6” (152mm) Figure 2 - Cut Out Dimensions - Plan View
3” (76mm)
Minimum
11 3/4”
(298mm)
20 3/4”
(527mm)
30” (726mm)