manuals.online logo
Brands
  1. Home
  2. •
  3. Brands
  4. •
  5. Whirlpool
  6. •
  7. Freezer
  8. •
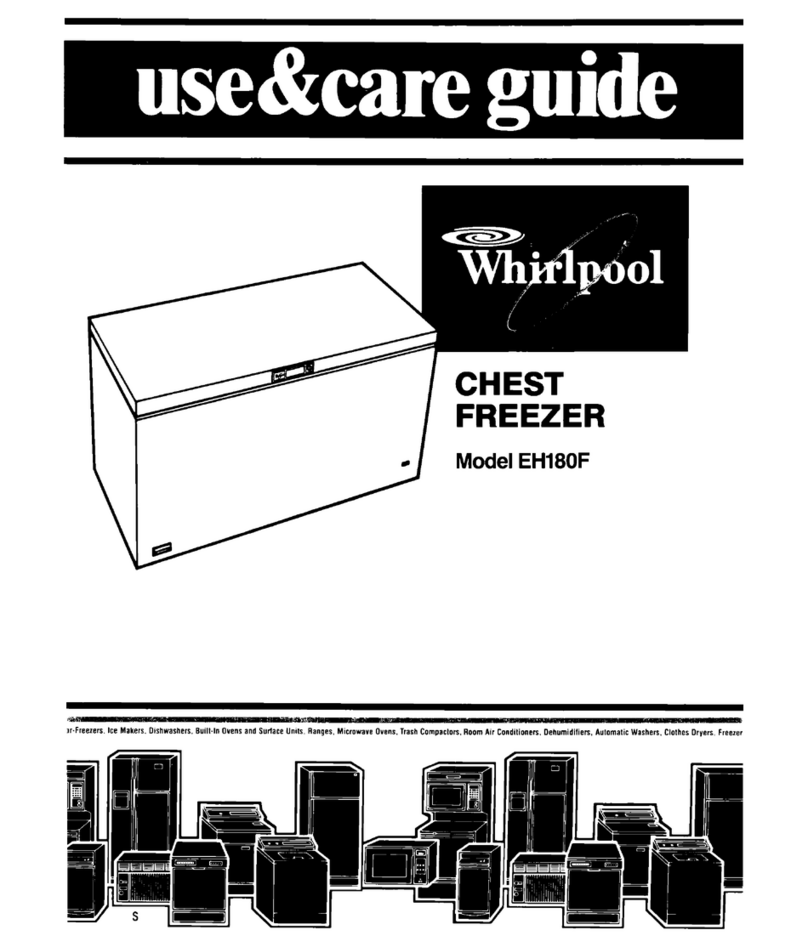
  9. Whirlpool EH15VSXL User manual

Whirlpool EH15VSXL User manual

TKi+l 01
2
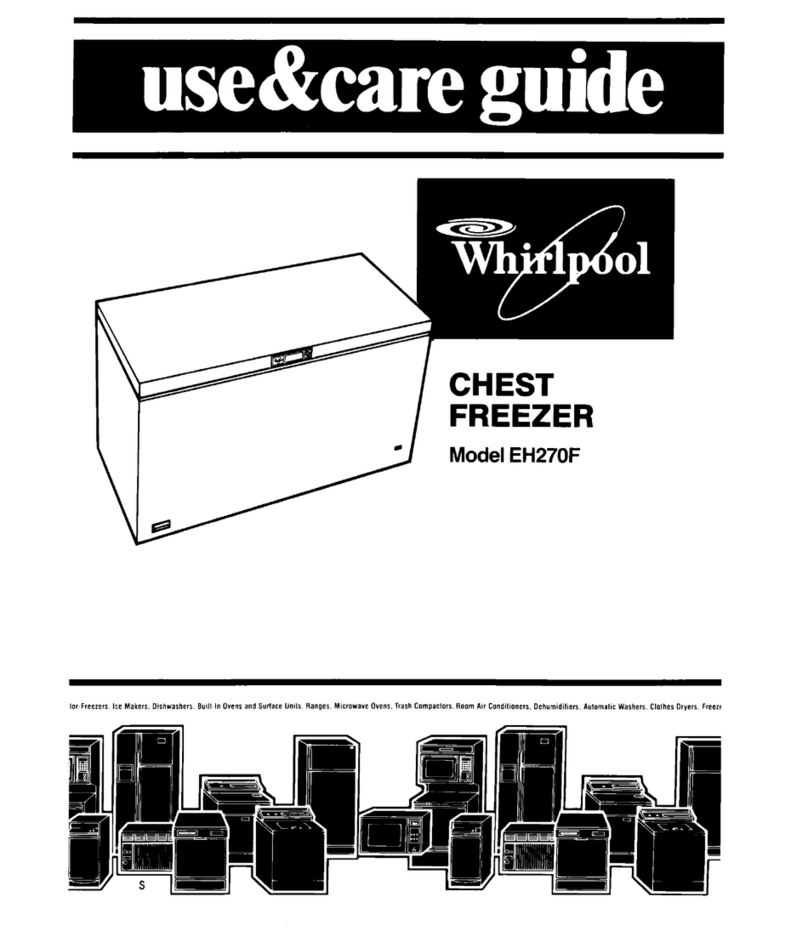
CHEST FREEZER
Model EHI 8VSXL
Model EHl SVSXL
USC
and Care
Key-Eject
lock
Guide
Alarm Switch Number
Plate
Copy Your Model Number
and Serial Number Here
When you need service, or
call with a question, have
this information ready:
1. Complete Model and Se-
rial Numbers (from the plate
on the lower right side of the
cabinet).
2. Purchase date from sales
slip.
Copy this information in
these spaces. Keep this
book, your warranty and
sales slip together in a handy
place.
Model Number
Serial Number
Purchase Date
Service Company and Telephone Number
Before you plug it in
Before using Your freezer, You are personally
responsible for making sure that it...
l
is installed and leveled on a floor that will
hold the weight, and in an area suitable for
its size and use.
l
is connected only to the right kind of outlet,
with the right electric supply and grounding
(see below).
l
is used only for jobs expected of home
freezers.
l
is not near an oven, radiator or other heat
source.
l
is properly maintained.
l
is in a dry sheltered area.
l
is used in an area where the room tempera-
ture will not exceed 110°F(43.3-C].
l
is not run where there are explosive fumes.
l
is not used by children or others who may not
understand how it should be used.
l
is not loaded with food before it has time to
get properly cold.
Install Properly. ..
II
3 inches 3 inches
1. Check the strength of the floor. It should hold
weight of fully loaded freezer.
2. Allow at least 3 inches (7.5 cm] air space on
all sides of freezer and 2 inches [5 cm) at
back. Leave room at top for lid to open all the
way.
3. It should not be necessary to remove the lid
during installation. If, for any reason, the hinges
need adjustment, see Your authorized
WHIRLPOOL dealer.
4. Do not cover the freezer with items such as
blankets, sheets, tablecloths, etc.
Remove Sales label...
Remove the Consumer Buy Guide label before
using the freezer. Remove any left over glue with
rubbing alcohol.
Note: DO NOT REMOVE the Care and Ser-
vice label on the inside lid. This permanent
label provides immediate information
should it be needed. Do not remove Tech
Sheet permanently attached to back of
cabinet.
Clean It...
Clean your freezer before using it. See clean-
ing instructions on page 5.
2
level Chest Freezer.. .
from end to end and front to back so that the lid
will seal properly
Install the Battery...
You will find the freezer key and a 9-volt al-
kaline battery packed inside the freezer. Install
the battery by following instructions on page 4.
The Temperature Alarm will sound a continu-
ous tone if the Temperature Alarm Switch is in the
ON or TEST position. Move the switch to OFF until
the freezer is cold. Then move if to ON.
Install the Defrost Drain Cover...
Packed inside the freezer is the Defrost Drain
Cover and a hose adapter. Keep the hose
adapter in a handy place to use when defrost-
ing the freezer. Install the Defrost Drain Cover
over the opening in the lower left, front corner of
your freezer. *‘$3.
Plug It In...
grounding plu
Recommended Grounding Method
A 120 Volt, 60 Hz., AC only, 15 ampere fused
electrical supply is required. It is recommended
that a separate circuit serving only this appli-
ance be provided. The receptacle should not
be controlled by a wall switch or pull chain.
Attach retaining clip over power cord plug
from the literature package inside your freezer.
Do not use an extenslon cord.
Using your freezer
Setting the Cold Control...
1. Insert a coin In the slot of the Cold Control to
turn it
Note: When freezer is first started the compressor
will run constantly until the cabinet is cooled. It
may take up to 6 to 8 hours or longer, depending
on room temperature and the number of times
the freezer lid is opened.
2. Turn control to Number 3 This settrng WIII marn- After the cabinet is cooled the compressor will
tarn zero zone temperatures under normal op- turn on and off as needed to keep freezer at
erating conditions proper temperature.
Adjusting Cold Control ...
l
Turn control to higher number for colder
temperatures
l
Turn to lower number for less cold temperatures
The outside of your freezer may feel warm. This
is normal. The freezer’s design and main function
is to remove heat from packages and air space
inside the freezer. This heat is transferred to the
room air so the walls of the freezer may be warm.
Coollng Freezer First.. .
l
Allow freezer to cool 6 to 8 hours before filling
with frozen food.
l
Let it cool overnight before adding large
amount of unfrozen food.
Temperature Alarm.. .
When the Temperature
Alarm Switch is ON, the
Temperature Sensor in the
ON
freezer senses freezer tem-
perature. If the temperature becomes too warm,
the Temperature Alarm is designed to sound a
continuous tone.
You will hear a different sound if the battery is
a boutto wear out.The alarm is designed to beep
(chirp) every 30 to 60 seconds to indicate a fail-
ing battery.
If the Temperature Alarm
sounds a continuous tone
and the Temoerature OFF lml
The Temperature Alarm [located on the lower
right front of the freezer] works together with an
electronic Temperature Sensor (located inside
the freezer - sensing freezer temperature) to
alert the user to an abnormal condition which
has caused freezer temperature to rise to a level
which may be unsafe for frozen food storage. It is
designed to sound a continuous tone if the
freezer becomes warm.
Freezer temperature may become too warm
if...
l
The lid is not tightly closed.
l
The lid has been opened too many times, or
has been left open too long.
l
The Cold Control is not set correctly.
l
A large food load has been added.
l
The freezer is disconnected.
*There has been a power failure, or a circuit-
breaker is tripped or a fuse blown.
Alarm switch is ON, move
the switch to OFF.
Make sure you know why the freezer became
too warm. If the problem is serious (power failure]
and service or assistance is needed, see page
8. If the problem is simple [lid open, freezer un-
plugged] correct it. Move the switch back to ON
when the freezer is cold again.
Check the battery often
by moving the Tempera-
ture Alarm Switch to the
Test position. The alarm
should sound a continuous
TEST
tone, regardless of freezer
temperature. If the alarm doesn’t sound a tone
with the switch in the TEST position, replace the
battery immediately. 3
Installing or
Replacing the Battery...
Battery
ClamD
Temperature
Alarm Switch
Installing:
Battery
Connector
Replacing:
I. Move the Temperature Alarm Switch to OFF. 1. Pull top of Temperature Alarm small door to-
2. Pull top of Temperature Alarm small door to- ward you.
ward you. 2. Carefully pull the battery forward out of the
3. Attach 9-volt alkaline battery to connector. clamp.
4. Fit battery under clamp. 3. Unplug the battery.
5. Push Temperature Alarm small door back into 4. Install a new 9-volt alkaline battery.
place. 5. Replace the battery in the clamp.
6. Move the Temperature Alarm Switch to the 6. Push Temperature Alarm small door back into
TEST position. The alarm should sound. place.
7. Move the switch to OFF until the freezer is cold. 7. Test the battery.
Then move the switch to ON. 8. Move the Temperature Alarm Switch to ON.
The battery.. .
l
A new alkaline battery should last about one year. Test the battery often.
l
If the freezer temperature should become too warm, a new battery should sound the
alarm for about 48 hours.
l
The “low battery” beep (chirp) should last about 7 days. Replace the failing battery
immediately. The beep (every 30 to 60 seconds) cannot be turned off.
l
If you have been away from home for more than a day, always check your freezer and
TEST the battery.
Key Eject lock...
The key eject lock can help reduce the hazard
of child entrapment.
To lock or unlock the freezer you must hold the
key in the lock while turning. The lock is spring
loaded so the key cannot be left in the lock.
Ifthe key is lost, contact your WHIRLPOOL dealer
for a replacement.
4
Replacing Interior light.. .
1. Unplug freezer.
2. Replace bulb with a 15watt appliance bulb.
3. Plug in freezer.
Sliding Baskets...
can be moved from side to side when load-
ing or unloading food below it. The basket also
can be lifted out of the freezer completely.
Cleaning your freezer
The freezer should be cleaned when frost has
built up to about J/4inch (6 mm) thickness. Com-
plete defrosting and cleaning should be done at
least once a year. In high humidity areas, a freezer
may need more frequent defrosting.
To clean:
1. Unplug it.
2. Take out all frozen food and sliding baskets
Note: Wrap frozen foods and packages in sev-
eral layers of newspaper and cover with a blan-
ket. Food will stay frozen several hours.
3. Remove drain cover by pulling out
4. Insert hose adapter provided into drain outlet.
5. Remove rubber stopper from inside bottom of
freezer.
6. Place a pan under the drain, or attach a hose
to the threaded end of the adapter and direct
water into a separate drain.
7. Clean freezer according to the following
directions.
After defrosting:
1. Remove hose adapter.
2. Replace drain cover and rubber stopper.
3. Plug in freezer
4. See directions for “Setting the Cold Control,”
page 3.
Part
Removable sliding
basket
Outside
What to use
Sponge, cloth or
paper towel; mild
detergent, warm water.
Sponge, cloth or
paper towel; mild
detergent, warm water.
How to clean
l
Wash with warm water and a mild
detergent.
l
Rinse and dry.
l
Wash with warm water and a mild
detergent.
l
Rinse and dry.
l
Do not use abrasive or harsh
cleansers.
Waxing is recommended in high humidity areas. Use a good
auto paste wax or an appliance wax on painted metal surfaces.
Inside walls Plastic scraper, pans of
hot water, electric fan,
sponge or towel,
baking soda, warm
water.
0 Use plastic scraper to remove frost.
l
Place pans of hot water in freezer with
lid open to speed melting. Directing
air from an electric fan into the freezer
will also help.
l
Wipe water from walls with towel or
sponge.
l
Wash with solution of 2 tablespoons
(26 g] baking soda to 1 quart (.95 I)
warm water.
l
Rinse and dry.
DO NOT USE an Ice pick, knlte or other sharp-polnted tvl or
any type ot electric defroster to defrost freezer. They can
cause damage to the liner and lnterlor parts.
Lid gasket and trim
strip Sponge, soft cloth or
l
Wash with mild detergent and warm
paper towel; mild water.
detergent, warm water.
l
Rinse and dry.
DO NOT USE cleaning waxes, concentrated detergents,
bleaches or cleansers contalnlng petroleum on plastic parts.
* I
5

This manual suits for next models

1

Other Whirlpool Freezer manuals

Whirlpool EH270F User manual

Whirlpool

Whirlpool EH270F User manual

Whirlpool WZC5422DW User manual

Whirlpool

Whirlpool WZC5422DW User manual

Whirlpool EV20VS User manual

Whirlpool

Whirlpool EV20VS User manual

Whirlpool ET14AK User manual

Whirlpool

Whirlpool ET14AK User manual

Whirlpool EV181NZTQ Assembly instructions

Whirlpool

Whirlpool EV181NZTQ Assembly instructions

Whirlpool EH150FXR User manual

Whirlpool

Whirlpool EH150FXR User manual

Whirlpool EH060FXK User manual

Whirlpool

Whirlpool EH060FXK User manual

Whirlpool EV090F User manual

Whirlpool

Whirlpool EV090F User manual

Whirlpool EV200NZTQ Assembly instructions

Whirlpool

Whirlpool EV200NZTQ Assembly instructions

Whirlpool EV161NZRQ04 User manual

Whirlpool

Whirlpool EV161NZRQ04 User manual

Whirlpool EVISOF User manual

Whirlpool

Whirlpool EVISOF User manual

Whirlpool EH150C User manual

Whirlpool

Whirlpool EH150C User manual

Whirlpool EH150FXR Parts list manual

Whirlpool

Whirlpool EH150FXR Parts list manual

Whirlpool ADN 248FS User manual

Whirlpool

Whirlpool ADN 248FS User manual

Whirlpool EV160FXBQ Assembly instructions

Whirlpool

Whirlpool EV160FXBQ Assembly instructions

Whirlpool EV209NBTN00 User manual

Whirlpool

Whirlpool EV209NBTN00 User manual

Whirlpool AFB 6520 User manual

Whirlpool

Whirlpool AFB 6520 User manual

Whirlpool EH150FXRQ Assembly instructions

Whirlpool

Whirlpool EH150FXRQ Assembly instructions

Whirlpool EV200 Service manual

Whirlpool

Whirlpool EV200 Service manual

Whirlpool EH101FXRQ00 User manual

Whirlpool

Whirlpool EH101FXRQ00 User manual

Whirlpool EV150NXK User manual

Whirlpool

Whirlpool EV150NXK User manual

Whirlpool EVIIOCXR User manual

Whirlpool

Whirlpool EVIIOCXR User manual

Whirlpool EV150CXR User manual

Whirlpool

Whirlpool EV150CXR User manual

Whirlpool EH101FXMQ01 User manual

Whirlpool

Whirlpool EH101FXMQ01 User manual

Popular Freezer manuals by other brands

LG freezer owner's manual

LG

LG freezer owner's manual

Ryobi P3370 Operator's manual

Ryobi

Ryobi P3370 Operator's manual

Iceking IK2022WE Installation and operating manual

Iceking

Iceking IK2022WE Installation and operating manual

SEVERIN DT 8760 Instructions for use

SEVERIN

SEVERIN DT 8760 Instructions for use

mykin MCF146W quick start guide

mykin

mykin MCF146W quick start guide

Haier HCM070EA user manual

Haier

Haier HCM070EA user manual

Haier DW-86L486 After-sales Service Manual

Haier

Haier DW-86L486 After-sales Service Manual

DAEWOO ELECTRONICS DAEMA DFZ-685CG user manual

DAEWOO ELECTRONICS

DAEWOO ELECTRONICS DAEMA DFZ-685CG user manual

Siemens GU..D SERIES Instructions for use

Siemens

Siemens GU..D SERIES Instructions for use

Omcan FR-CN-0155 instruction manual

Omcan

Omcan FR-CN-0155 instruction manual

Electrolux ARCTIS G 8 60 50-6I user manual

Electrolux

Electrolux ARCTIS G 8 60 50-6I user manual

Frigidaire FV 1246 H Instruction book

Frigidaire

Frigidaire FV 1246 H Instruction book

Electrolux EUF2042AOX user manual

Electrolux

Electrolux EUF2042AOX user manual

Dometic CoolFreeze CFX95DZ operating manual

Dometic

Dometic CoolFreeze CFX95DZ operating manual

Electrolux EUF7000W1 user manual

Electrolux

Electrolux EUF7000W1 user manual

SAF PRESTOTIG 200AC/DC Installation and instruction manual

SAF

SAF PRESTOTIG 200AC/DC Installation and instruction manual

Zanussi ZFT11407WA user manual

Zanussi

Zanussi ZFT11407WA user manual

Taylor C712 Service manual

Taylor

Taylor C712 Service manual

manuals.online logo
manuals.online logoBrands
  • About & Mission
  • Contact us
  • Privacy Policy
  • Terms and Conditions

Copyright 2025 Manuals.Online. All Rights Reserved.