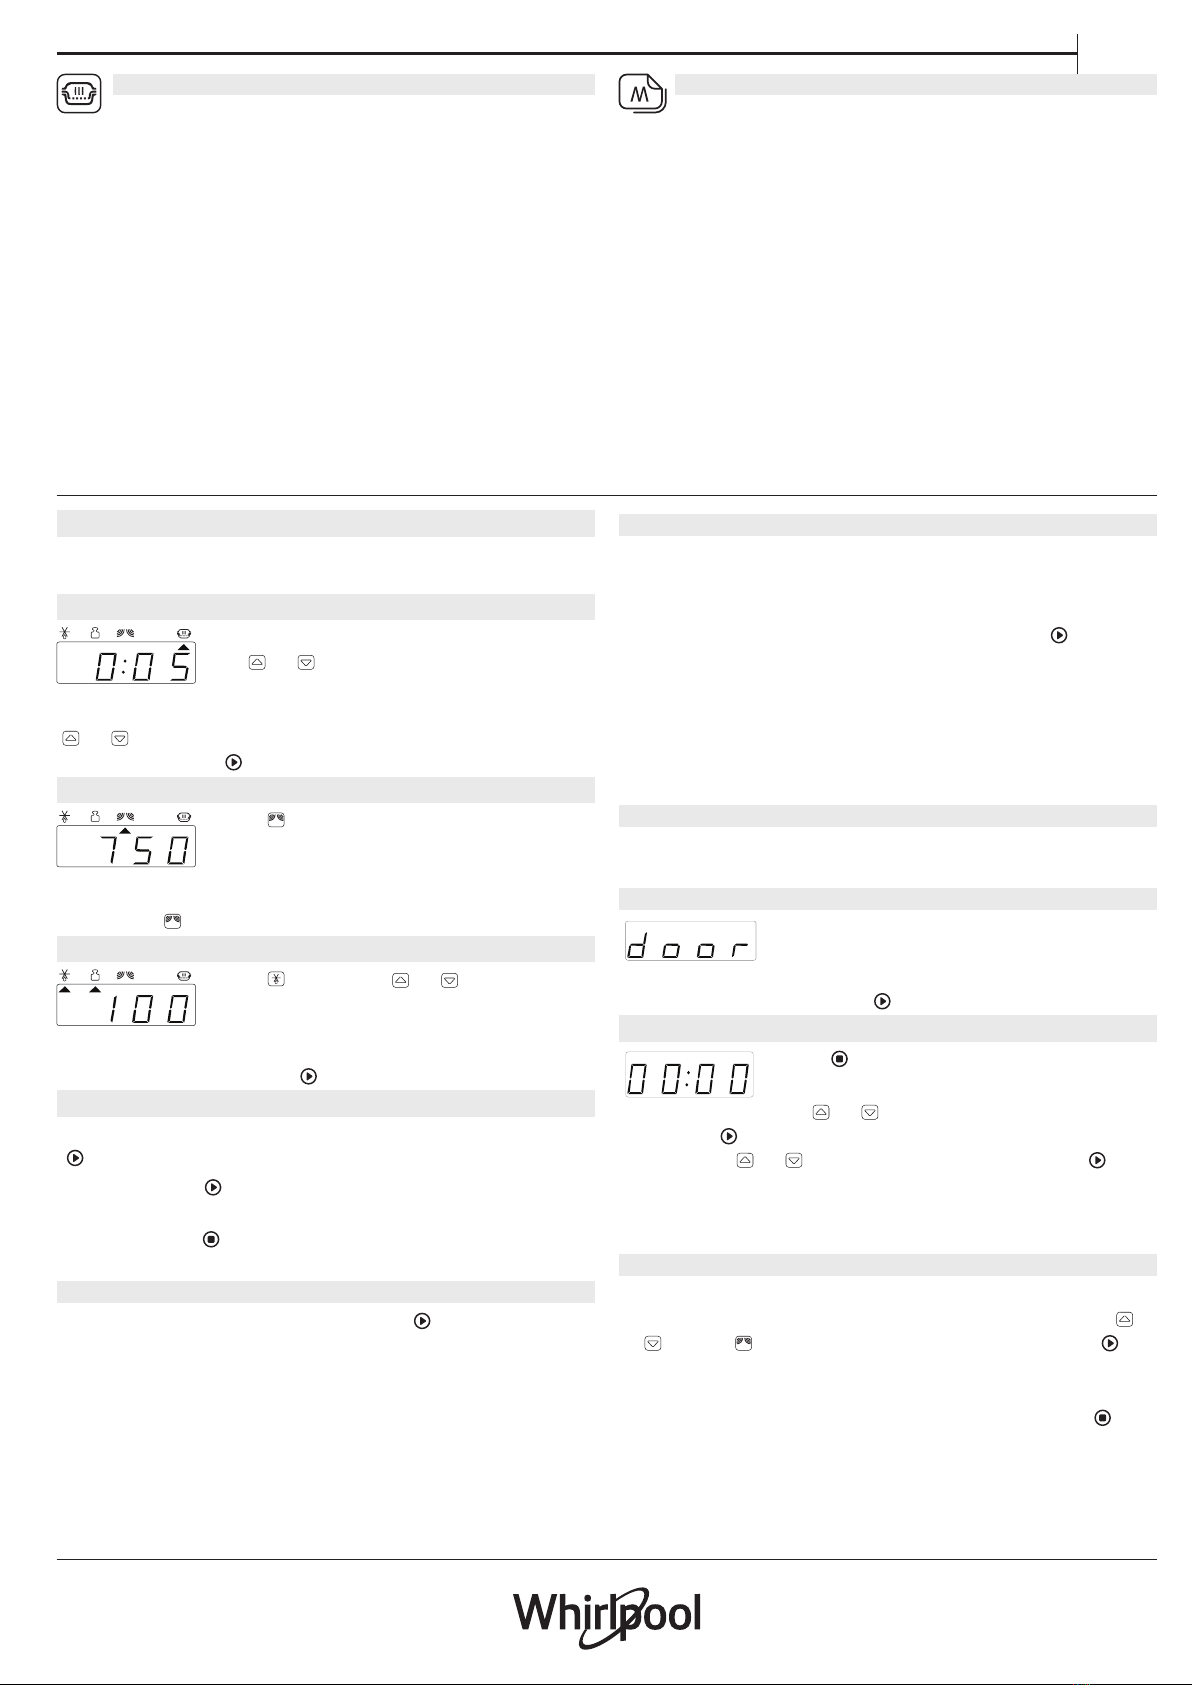
manuals.online logo
Brands
  1. Home
  2. •
  3. Brands
  4. •
  5. Whirlpool
  6. •
  7. Microwave Oven
  8. •
  9. Whirlpool AMW4910 Installation and operation manual

Whirlpool AMW4910 Installation and operation manual

Other Whirlpool Microwave Oven manuals

Whirlpool YUMV4084BS User manual

Whirlpool

Whirlpool YUMV4084BS User manual

Whirlpool GH4155XPQ0 User manual

Whirlpool

Whirlpool GH4155XPQ0 User manual

Whirlpool wmc10511 User manual

Whirlpool

Whirlpool wmc10511 User manual

Whirlpool MS1600XW User manual

Whirlpool

Whirlpool MS1600XW User manual

Whirlpool MWX 201BL User manual

Whirlpool

Whirlpool MWX 201BL User manual

Whirlpool MH3184XP Manual

Whirlpool

Whirlpool MH3184XP Manual

Whirlpool MH6300XM1 User manual

Whirlpool

Whirlpool MH6300XM1 User manual

Whirlpool MH6600XM-2 User manual

Whirlpool

Whirlpool MH6600XM-2 User manual

Whirlpool MAGICOOK 20 L Classic-W User manual

Whirlpool

Whirlpool MAGICOOK 20 L Classic-W User manual

Whirlpool WMC30311LD User manual

Whirlpool

Whirlpool WMC30311LD User manual

Whirlpool GMH3204XV User guide

Whirlpool

Whirlpool GMH3204XV User guide

Whirlpool SM958PES User manual

Whirlpool

Whirlpool SM958PES User manual

Whirlpool MWP 253 User manual

Whirlpool

Whirlpool MWP 253 User manual

Whirlpool JT 358 User manual

Whirlpool

Whirlpool JT 358 User manual

Whirlpool MH1170XSY4 User manual

Whirlpool

Whirlpool MH1170XSY4 User manual

Whirlpool MT4078SPB0 User manual

Whirlpool

Whirlpool MT4078SPB0 User manual

Whirlpool KM-24 User manual

Whirlpool

Whirlpool KM-24 User manual

Whirlpool GH7208XRY User manual

Whirlpool

Whirlpool GH7208XRY User manual

Whirlpool Electric Built-In Microwave/Oven User manual

Whirlpool

Whirlpool Electric Built-In Microwave/Oven User manual

Whirlpool GT1196SH User manual

Whirlpool

Whirlpool GT1196SH User manual

Whirlpool GT 288 User manual

Whirlpool

Whirlpool GT 288 User manual

Whirlpool MH3184XPY1 User manual

Whirlpool

Whirlpool MH3184XPY1 User manual

Whirlpool MH1141XMB0 User manual

Whirlpool

Whirlpool MH1141XMB0 User manual

Whirlpool Microwave Oven User manual

Whirlpool

Whirlpool Microwave Oven User manual

Popular Microwave Oven manuals by other brands

Sharp R-390D manual

Sharp

Sharp R-390D manual

PROFILO MD1000 instruction manual

PROFILO

PROFILO MD1000 instruction manual

Candy MIC 201 EX User instructions

Candy

Candy MIC 201 EX User instructions

PITSOS GMW3101B user manual

PITSOS

PITSOS GMW3101B user manual

Sears 5648744780 Use & care manual

Sears

Sears 5648744780 Use & care manual

BOMANN CB 1272 Instruction manual & guarantee

BOMANN

BOMANN CB 1272 Instruction manual & guarantee

Conrad Electronic 2372935 operating instructions

Conrad Electronic

Conrad Electronic 2372935 operating instructions

GE Spacemaker JVM1440BH datasheet

GE

GE Spacemaker JVM1440BH datasheet

DAEWOO ELECTRONICS KOR-6L8K5S83 Operating instructions & cook book

DAEWOO ELECTRONICS

DAEWOO ELECTRONICS KOR-6L8K5S83 Operating instructions & cook book

DAEWOO ELECTRONICS KOR-1N5A9S Operating instructions & cook book

DAEWOO ELECTRONICS

DAEWOO ELECTRONICS KOR-1N5A9S Operating instructions & cook book

Daewoo KQG-6617G Operating instructions & cook book

Daewoo

Daewoo KQG-6617G Operating instructions & cook book

Samsung M1779 Owner's instructions

Samsung

Samsung M1779 Owner's instructions

GE JES1143 Use and care & cooking guide

GE

GE JES1143 Use and care & cooking guide

Miele H6200BM(TB) Operating and installation instructions

Miele

Miele H6200BM(TB) Operating and installation instructions

Jocel JMO011480 instruction manual

Jocel

Jocel JMO011480 instruction manual

Sharp R-752M Operation manual with cookbook

Sharp

Sharp R-752M Operation manual with cookbook

Electrolux EVL8E00X user manual

Electrolux

Electrolux EVL8E00X user manual

STOVES Q900GRF DO User, installation & servicing instructions

STOVES

STOVES Q900GRF DO User, installation & servicing instructions

manuals.online logo
manuals.online logoBrands
  • About & Mission
  • Contact us
  • Privacy Policy
  • Terms and Conditions

Copyright 2025 Manuals.Online. All Rights Reserved.

1
EN
DAILY REFERENCE
GUIDE
THANK YOU FOR PURCHASING A
WHIRLPOOL PRODUCT
To receive more comprehensive help and
support, please register your product at
www.whirlpool.eu/register
WWW
You can download the Safety Instructions
and the Use and Care Guide by visiting our
website docs.whirlpool.eu and following the
instructions on the back of this booklet.
Before using the appliance carefully read the Health and Safety guide.
PRODUCT DESCRIPTION
1. Control panel
2. Identification plate
(do not remove)
3. Door
4. Light
5. Turntable
CONTROL PANEL DESCRIPTION
12 43 6 7 8 95
1. STOP
For stopping a function or an
audible signal, cancelling the
settings and switching off the oven.
2. MICROWAVE FUNCTION/POWER
For selecting the microwave
function and setting the required
power level.
3. STEAM FUNCTION
4. MEMORY
5. DISPLAY
6. + / - BUTTONS
For adjusting the settings of a
function (e.g. length, weight).
7. JET DEFROST FUNCTION
8. START
For starting a function.
9. DOOR OPENING BUTTON
1
3
6
5
4
2
2
ACCESSORIES
TURNTABLE
Placed on its support, the glass
turntable can be used with all
cooking methods.
The turntable must always be used
as a base for other containers or accessories.
TURNTABLE SUPPORT
Only use the support for the glass
turntable.
Do not rest other accessories on the
support.
STEAMER
3
2
1To steam foods such as fish or
vegetables, place these in the
basket (2) and pour drinking
water (100 ml) into the bottom
of the steamer (3) to achieve the
right amount of steam.
To boil foods such as potatoes,
pasta, rice or cereals, place
these directly on the bottom of the steamer (the basket
is not required) and add an appropriate amount of
drinking water for the amount you are cooking.
For best results, cover the steamer with the lid (1)
provided.
Always place the steamer on the glass turntable and
only use it with the appropriate cooking functions, or
with microwave function.
The steamer bottom has been designed also to be used
in combination with the special steam clean function.
The number and the type of accessories may vary depending
on which model is purchased.
Other accessories that are not supplied can be purchased
separately from the After-sales Service.
There are a number of accessories available on the
market. Before you buy, ensure they are suitable for
microwave use and resistant to oven temperatures.
Metallic containers for food or drink should never be
used during microwave cooking.
Always ensure that foods and accessories do not
come into contact with the inside walls of the oven.
Always ensure that the turntable is able to turn freely
before starting the oven. Take care not to unseat
the turntable whilst inserting or removing other
accessories.
FUNCTIONS
MICROWAVE
For quickly cooking and reheating food or drinks.
POWER (W) RECOMMENDED FOR
750 W Quickly reheating drinks or other foods with a high
water content or meat and vegetables.
500 W Cooking fish, meaty sauces, or sauces containing
cheese or egg. Finishing off meat pies or pasta bakes.
350 W Slow, gently cooking. Perfect for melting butter or
chocolate.
160 W Defrosting frozen food or softening butter and
cheese.
0 W When using the minuteminder only.
JET DEFROST
For quickly defrosting food such as meat, poultry
and fish weighing between 100 g and 2 kg. Food should
be placed directly onto the glass turntable. Turn the
food when prompted.
3
EN
STEAM
For steam-cooking foods such as vegetables
or fish, using the steamer provided. The preparation
phase automatically generates steam, bringing the
water poured into the bottom of the steamer to the
boil. Timings for this phase may vary. The oven then
proceeds with steamcooking the food, according to the
time set.
Set 1 - 4 minutes for soft vegetables such as broccoli
and leek or 4 - 8 minutes for harder vegetables such as
carrots and potatoes. Allow to stand for 1 - 2 minutes
after cooking.
Do not open the door during this function.
Required accessory: Steamer.
MEMORY
The memory function provides you with an easy
way to quickly recall a preferred setting.
The principle of the memory function is to store
whatever setting that is currently displayed.
• Press the memo button and then press the start
button.
How to store a setting:
• Select any function and make the necessary setting.
• Press and keep the memo button for 3 seconds until
an acoustic signal is heard: the setting is now stored.
You may reprogram the memory as many times as
you wish.
DAILY USE
. SELECT A FUNCTION
Simply press the button for the function you require to
select it.
.SET THE LENGTH
After selecting the function you require,
use or to set the length for it to
run.
The time can be changed during cooking by pressing
or or by increasing the length for 30 seconds each
time by pressing .
.SET THE POWER OF THE MICROWAVE
Press as many times as required to
select the power level for the
microwave.
Please note: You can also change this setting during cooking
by pressing .
.JET DEFROST
Press , then use or to set the
weight of the food. During defrosting,
the function will pause briefly to allow
you to turn the food. Once the operation is complete,
close the door and press .
. ACTIVATE THE FUNCTION
Once you have applied the settings you require, press
to activate the function.
Every time the button is pressed again, the cooking
time will be increased by a further 30 seconds.
You can press at any time to stop the function that
is currently active.
. JET START
When the oven is switched off, press to activate
cooking with the microwave function set at full power
(750 W) for 30 seconds.
. PAUSE
To pause an active function, for example to stir or turn
the food, simply open the door.
The setting will be maintained for 10 minutes.
To start it up again, close the door and press .
A beep will signal once ot twice a minute for 10 minutes
when the cooking is finished. Press the STOP button or
open the door to cancel the signal.
Please note: The oven will only hold the setting for 60
seconds if the door is opened and then closed after the
cooking is nished.
.COOLING DOWN
When a function is finished, the oven may carry out a
cooling procedure the oven switches off automatically.
. SAFETY LOCK
This function is automatically activated
to prevent the oven from being
switched on accidentally. Open and
close the door, then press to start the function.
. SET THE TIME OF THE DAY
Press until the two digits for the
hour (on the left) starting flashing.
Use or to set the correct hour
and press to confirm: The minutes will flash on the
display. Use or to set the minutes and press to
confirm.
Please note: You may need to set the time again following
lengthy power outages.
. MINUTEMINDER
The display can be used as a timer. To activate the
function and set the length of time you require, use
or . Press to set the power to 0 W, then press to
activate the countdown.
Please note: The timer does not activate any of the
cooking cycles. To stop the timer at any time, press .
4
PRODUCT FICHE
WWW The product fiche with energy data of this
appliance can be downloaded from Whirlpool website
docs.whirlpool.eu
HOW TO OBTAIN THE USE AND CARE GUIDE
> WWW Download the Use and Care Guide
from our website docs.whirlpool.eu (you can
use this QR Code), specifying the product’s
commercial code.
> Alternatively, contact our Client After-sales Service.
CONTACTING OUR AFTER-SALES SERVICE
You can find our
contact details
in the warranty
manual. When
contacting our
Client After-sales
Service, please state
the codes provided
on your product’s
identification plate.
XXX/XXX
XXXXXXXXXXXX
XXXXXXXXXXXX
400011369338
Printed in Italy
CLEANING
Make sure that the appliance has cooled down before
carrying out any maintenance or cleaning.
Never use steam cleaning equipment.
Do not use wire wool, abrasive scourers or abrasive/
corrosive cleaning agents, as these could damage the
surfaces of the appliance.
INTERIOR AND EXTERIOR SURFACES
• Clean the surfaces with a damp microfibre cloth.
If they are very dirty, add a few drops of pH-neutral
detergent. Finish off with a dry cloth.
• Clean the glass in the door with a suitable liquid
detergent.
• At regular intervals, or in case of spills, remove the
turntable and its support to clean the bottom of the
oven, removing all food residue.
ACCESSORIES
All accessories are dishwasher safe. For stubborn dirt,
rub gently with a cloth.
TROUBLESHOOTING
Problem Possible cause Solution
The oven is not working. Power cut.
Disconnection from the mains.
Check for the presence of mains electrical power and
whether the oven is connected to the electricity supply.
Turn off the oven and restart it to see if the fault persists.
The display is showing “Err”. Software fault. Contact you nearest After-sales Service Centre and state
the letter or number that follows “Err”.