WiebeTech TT4 User manual

T o u g h T ec h U s e r M a nu a l - 1 -
ToughTech™
USER’S MANUAL
Covers the following models:
ToughTech 400, ToughTech 800, ToughTech eSATA
Revised January 22, 2008
Thank you for purchasing WiebeTech’s ToughTech – our toughest FireWire desktop enclosure
with FlexMount™ Anti-shock Protection!
Features
Fast speed – Data transfers up to 800 Mbps
through FireWire (1394b) or 3.0 Gbps through
eSATA.
Plug and Play – The ToughTech works right out
of the box with no new drivers needed. It works
with any modern operating system including Mac
OS X and Windows XP, as well as any distribution
of Linux that supports the connection type used.
Easy to Use – ToughTech is used by anyone who
needs more storage space for backups, music,
games, Internet downloads, photography,
audio/video editing or server storage; and they use
it everywhere from homes to government labs.
Shock absorbers for your hard drive – Your car has shock absorbers, so why not your hard drive?
ToughTech introduces FlexMount Anti-Shock Protection™. FlexMount is a shock absorber that mounts
between the drive and the enclosure protecting your data against bumps and vibrations.
Cool and quiet – ToughTech has an all aluminum design meant to draw heat away from the hard drive.
The entire product acts like a heat dissipater, helping to keep your drive cool. And because it doesn't
need a fan, ToughTech is quiet.
Table of Contents
Before Installation 2
Drive Installation Instructions 3
Connecting to a computer 6
Usage with Macs 7
Usage with Windows Computers 7
Technical Specifications 8

WiebeTech LLC
T o u g h T ec h U s e r M a n u a l - 2 -
Before Installation
1. Check the accessories with your ToughTech. Please contact WiebeTech if any items are missing or
damaged. The box should contain:
2. Identify the parts of your ToughTech.
ToughTech eSATA ToughTech 800
ToughTech enclosure 1
FireWire cable (ToughTech 400/800) 1
USB2 cable (ToughTech 400/800) 1
eSATA cable (ToughTech eSATA) 1
Screws for hard drive 4
Power adapter with wall cord 1
Manual and Warranty information (on CD)
A
= FireWire 400 (1394a) port
B= FireWire 800 (1394b) port
C= USB2 mini port
D= eSATA port
E= Power input
F= Power Switch
ToughTech 400

WiebeTech LLC
T o u g h T ec h U s e r M a n u a l - 3 -
Hard Drive Installation
These instructions are only necessary if you’re installing your own hard drive inside the ToughTech. If
you purchased the product with a hard drive pre-installed, you may skip to the next section (Connecting
the ToughTech to a Computer).
1. Disassemble the rear panel from the housing by removing one screw from each side with a small
Phillips screwdriver. Remove another screw from the bottom of the ToughTech.
2. Carefully remove the rear panel from the enclosure.
3. Push the bottom panel out of the housing. Adequate
pressure must be applied to slide it out.
When disassembled, the enclosure will appear as shown below.
2
1

WiebeTech LLC
T o u g h T ec h U s e r M a n u a l - 4 -
NOTE: ToughTech 400 & 800 use IDE drives (a.k.a.
EIDE, ATA, or Parallel-ATA), characterized by a 40-
pin data interface. The ToughTech eSATA uses
SATA drives (a.k.a. Serial-ATA), which use a smaller
connector with an “L” shaped notch.
4. Locate the plastic bag containing four auto-limiting screws included in the package.
Ensure that the shock absorbers are installed in the mounting
brackets with the “thin” side part facing out.
5. Rest your 3.5” hard drive in the tray. Connect
the data and power cables to the receptacles on
the hard drive, as shown in the pictures.
6. Position the hard drive between the shock absorbers, so that the holes in the shock absorbers line up
with the screw holes in the sides of the drive.
Auto-limiting Screw
WARNING: When attaching a 40-
pin IDE connector, be careful not
to bend any of the fragile pins.
IDE Cable 4-wire power

WiebeTech LLC
T o u g h T ec h U s e r M a n u a l - 5 -
7. Insert and tighten each of the four drive screws. The shock absorbers will compress slightly, but do
not over-tighten the screws.
8. Align the edges of the hard drive platform with the internal rails of the outer housing, and carefully
slide the platform into the enclosure.
9. Ensure that the LED indicator is properly aligned with the opening on the front panel of the enclosure.
12
4
3

WiebeTech LLC
T o u g h T ec h U s e r M a n u a l - 6 -
NOTE: Most computers do not have a built-in eSATA
connection. If you wish to connect this way, you may
need to install an expansion card inside your computer
to add eSATA connectivity. Such cards are sold by
WiebeTech and other dealers of computer hardware.
10. Fasten the rear panel to the enclosure housing by replacing the three screws removed in step 1.
2
1
The ToughTech is now assembled and ready for connection to a computer.
Connecting the ToughTech to a Computer
Connect the AC/DC power adapter.
Connect the USB, FireWire, or eSATA connector
into the corresponding port.
Plug the USB, FireWire, or eSATA cable to an available port on the computer. Turn on the power switch;
ensure that the green LED indicator is active. When connected via FireWire or USB, the LED indicator will
blink orange when the drive is accessed.
1
1 2
2

WiebeTech LLC
T o u g h T ec h U s e r M a n u a l - 7 -
(Windows XP)
Your ToughTech is now ready to use!
If your hard drive is already formatted, you can begin using it right away. New hard drives will need to be
formatted before they can be used.
Usage with Macintosh Computers
Compatibility
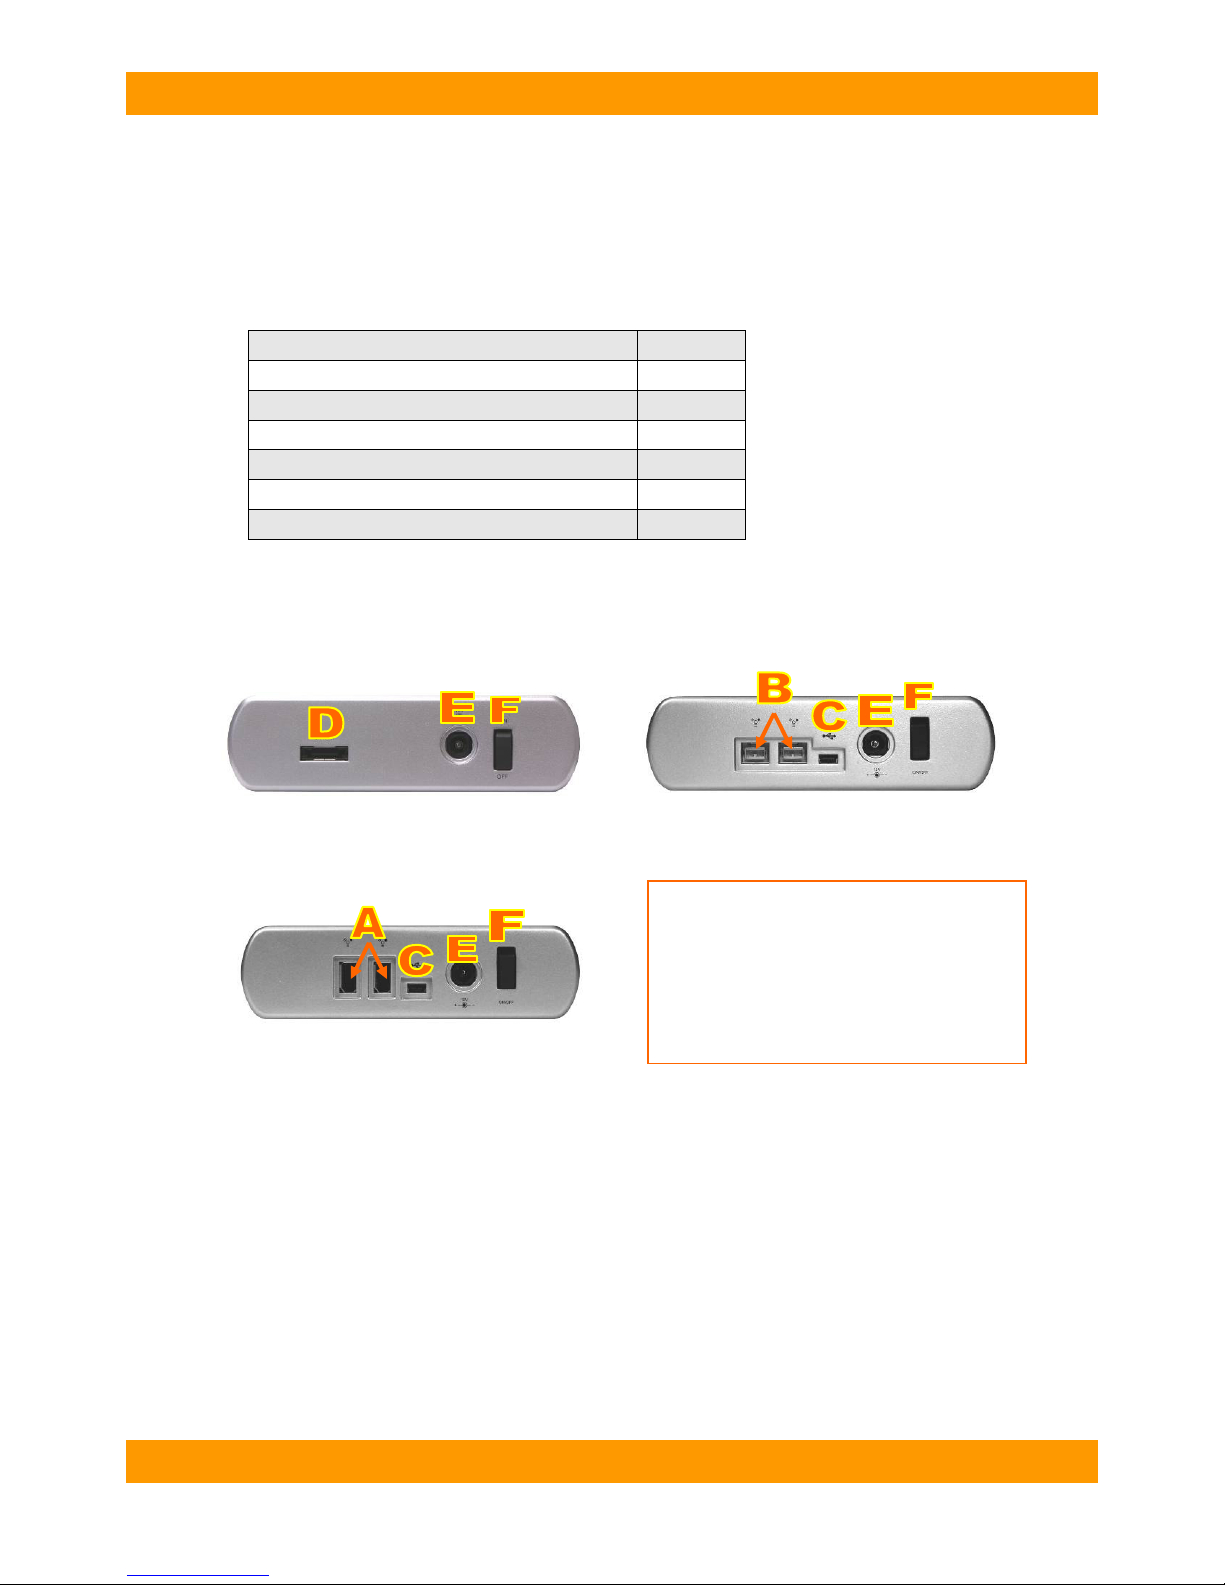
The ToughTech is fully plug-and-play under Mac OS 9.1, 9.2 and OS X. No drivers are needed. The USB2 port is
USB 1.1 compatible. ToughTech 400/800 use IDE (parallel-ATA) hard drives only. ToughTech eSATA is compatible
with SATA hard drives only (serial-ATA).
Mounting and Unmounting Volumes
If the hard drive installed in the ToughTech is already formatted, an icon representing the drive’s
volume will appear (mount) on the desktop. You can begin using the volume right away. If the
drive is unformatted, a message will appear on the desktop saying that the disk is unreadable.
You can use OS X’s Disk Utility to easily format the drive.
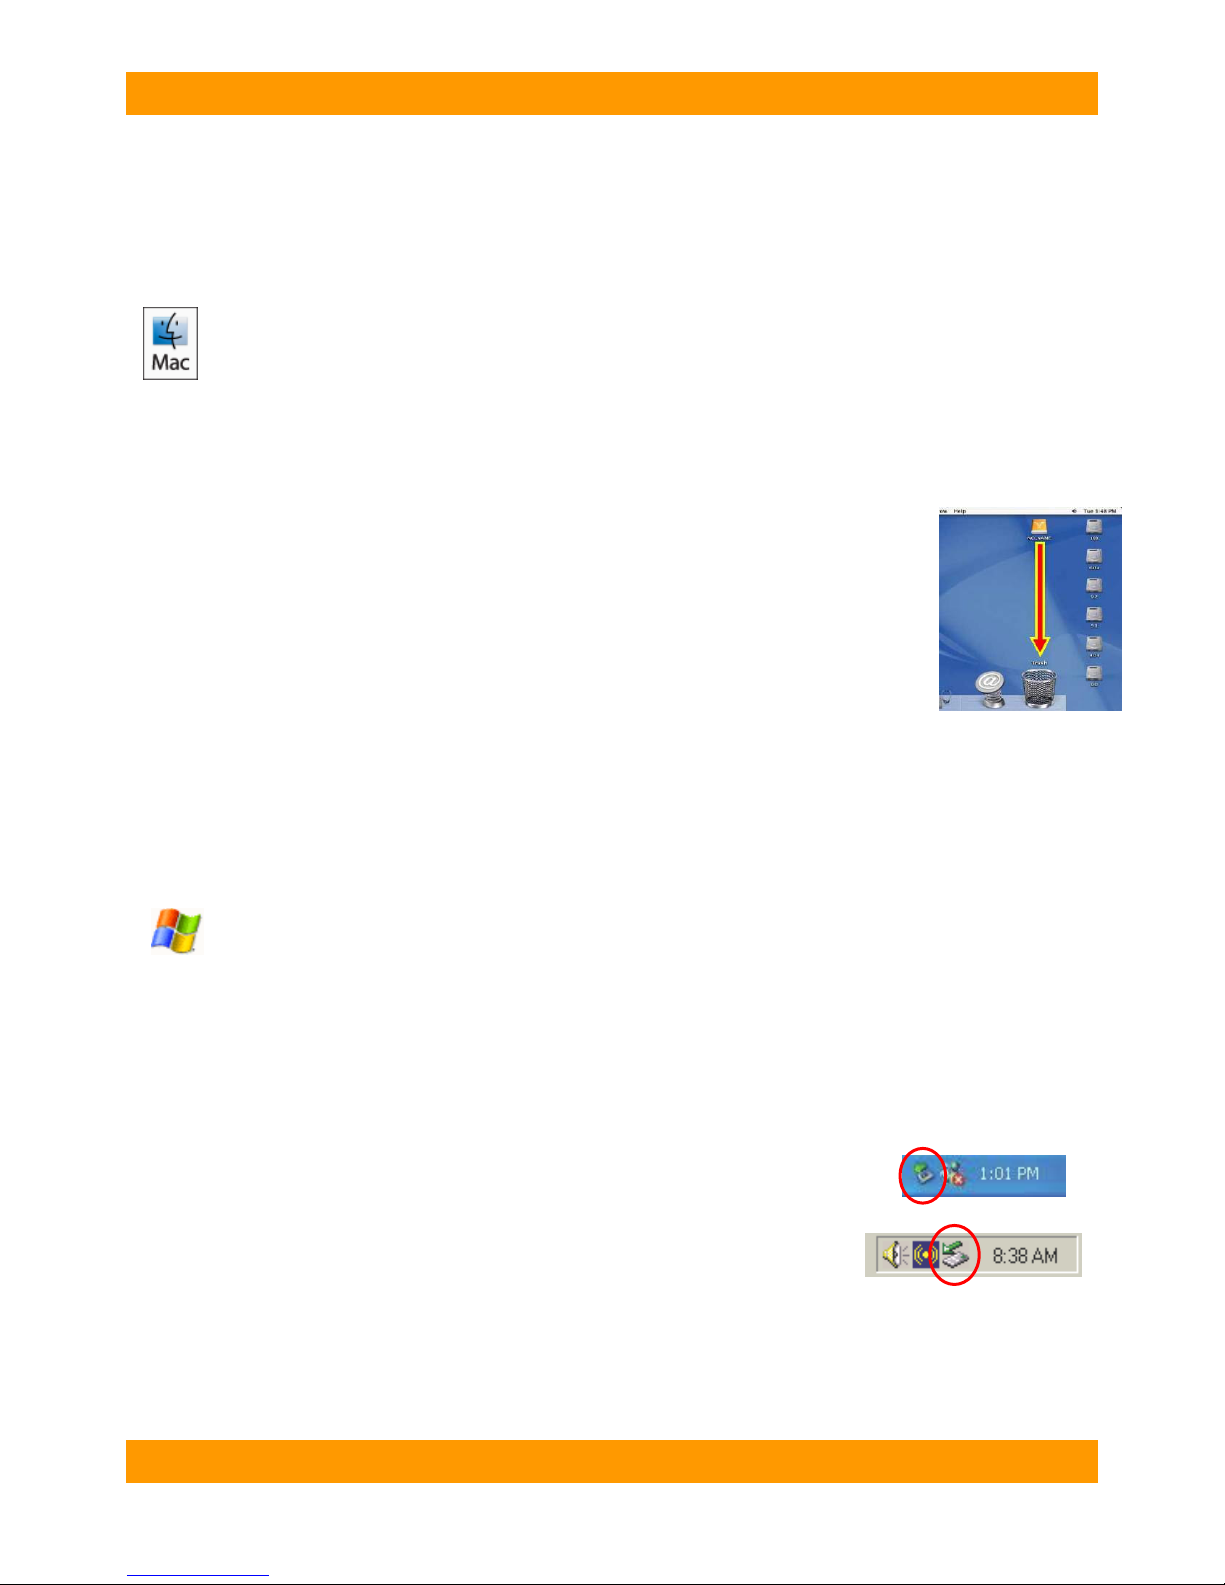
Unmount the volume before powering down the unit by dragging the volume’s icon to the trash
bin, or by selecting the volume then pressing Command-E. Shutting down the unit without first
unmounting the volume can result in data loss.
Booting from your ToughTech
Some Macs support booting from a FireWire device. To activate this feature, you must first install OS X on the
external volume. The easiest way to do this is to clone an existing system drive using a utility such as Carbon Copy
Cloner or Super Duper. Next, go to System Preferences Startup Disk. A window will list the available bootable
volumes. Select the volume from which you wish to boot. Another method is to hold down the Option key during
boot up. A screen should appear that allows you to select the volume you wish to use. This is useful if you wish to
boot from your ToughTech only some of the time.
Usage with Windows Operating System
Compatibility
The ToughTech is fully plug-and-play with Windows XP. No drivers are needed on this operating system. The USB2
port is USB 1.1 compatible. ToughTech 400/800 use IDE (parallel-ATA) hard drives only. ToughTech eSATA is
compatible with SATA hard drives only (serial-ATA).
Mounting and Ejecting Volumes
If the hard drive attached to the ToughTech is already formatted, you can begin using the volume right away. When
the ToughTech is properly connected and turned on, a window may open to allow you access to the volume. If no
window appears, you can find the volume by double-clicking the “My Computer” icon.
Eject the ToughTech before powering it down by single-clicking the green arrow icon on the
task bar, then selecting “Safely remove….” Windows will indicate when it is safe to
disconnect the ToughTech. Shutting down the unit without first ejecting it can result in
data loss. NOTE: The ToughTech may not be ejected when connecting via eSATA.
Make sure no data input/output processes are taking place when shutting off the
ToughTech. If you want to disable the device before disconnecting, this is possible using Device Manager.
Booting from your ToughTech
Some PC motherboards support booting from an external device. To activate this feature, you will need to adjust the
motherboard’s BIOS settings. Check with your motherboard’s manufacturer or owner’s manual for details.

WiebeTech LLC
T o u g h T ec h U s e r M a n u a l - 8 -
Technical Specifications
Product Names (& Codes) ToughTech 400 (TT4); ToughTech 800 (TT8); ToughTech eSATA (TTE)
Interface Types & Speeds
FireWire 800 port
: up to 800 Mbps
FireWire 400 port: up to 400 Mbps
USB 2.0 port: up to 480 Mbps
eSATA port: up to 3.0 Gbps (when used with a SATA 3G drive and host)
Chipset
TT4
: Initio 1530, Cypress EZ-USBAT2
TT8: Oxford OXUF922
TTE: none
Drive Compatibility TT4/TT8: IDE (PATA) 3.5” hard drives
TTE: SATA1 & SATA2 hard drives
Ports / Connection Types
TT4:
One USB mini-B port, two 6-pin 1394a (FireWire 400) ports
TT8: One USB mini-B port, two 9-pin 1394b (FireWire 800) ports
TTE: One eSATA port
Operating System
Requirements
Windows XP
Mac OS X
Linux distributions that support the connection type used
External Power Supply 100-240VAC +12V / 3A (included)
Certification FCC, CE
Shipping Weight 4 pounds (without drive)
Dimensions 9” x 5.25” x 1.5” (229mm x 133mm x 38mm)
Warranty
1-year limited warranty. See warranty statement for details and limitations.
We don’t want anything to go wrong with your WiebeTech product. But if it does, Tech
Support is standing by and ready to help. We offer 90 days of free phone support at 1-
ToughTech and FlexMount Anti-Shock Protection are trademarks of WiebeTech LLC. Other marks are the property of their
respective owners.
© 2004-2007 WiebeTech LLC. All rights reserved.
FCC Compliance Statement: “This device complies with Part 15 of the FCC rules. Operation is subject to the following two conditions: (1) This
device may not cause harmful interference, and (2) this device must accept any interference received, including interference that may cause undesired
operation.”
In the event that you experience Radio Frequency Interference, you should take the following steps to resolve the problem:
1) Ensure that the case of your attached drive is grounded, either to the ToughTech case or to an Earth ground.
2) Use a data cable with RFI reducing ferrites on each end.
3) Use a power supply with an RFI reducing ferrite approximately 5 inches from the DC plug.
If you have any questions or problems, please contact [email protected] for technical support. If you are
interested in purchasing more WiebeTech products, check our website or contact sales@wiebetech.com. We
appreciate being able to serve you!
ToughTech
Tested to comply
with FCC standards
FOR HOME OR OFFICE USE
This manual suits for next models
5
Table of contents
Other WiebeTech Firewire manuals