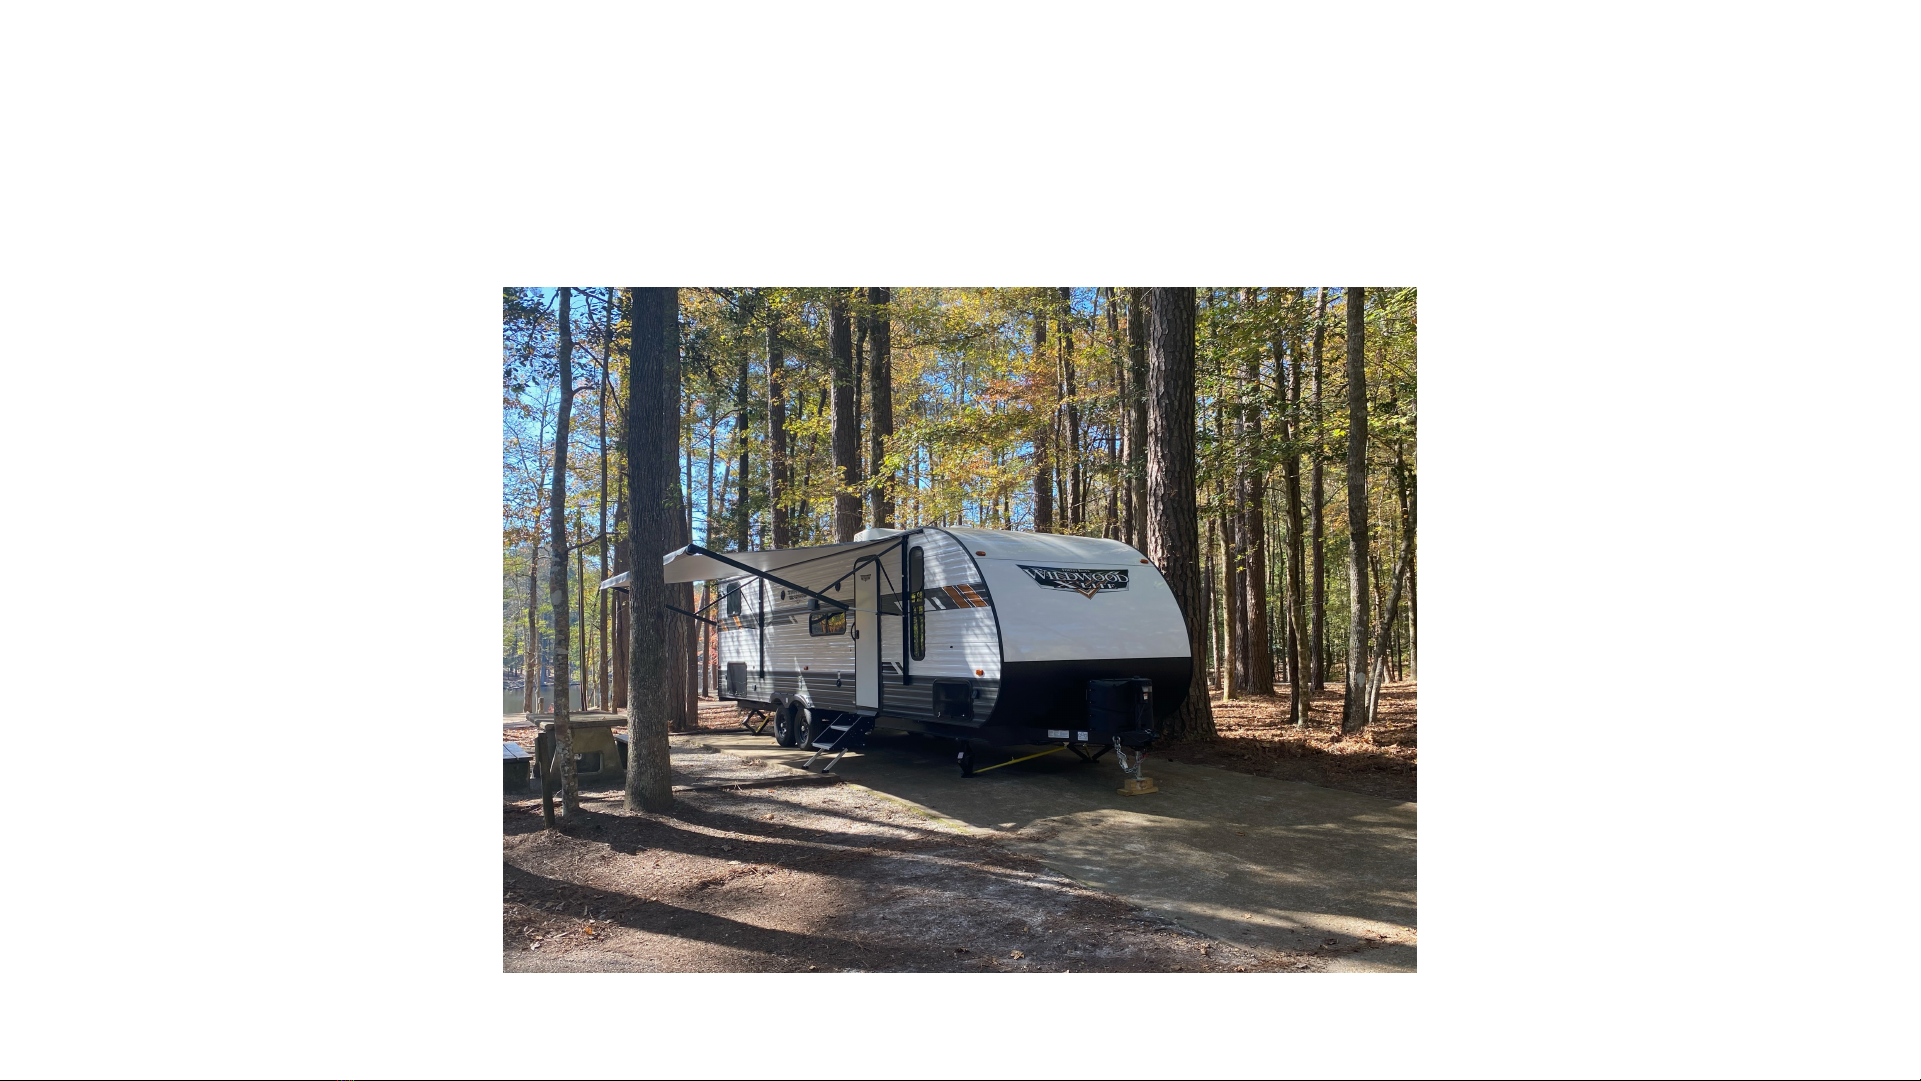
Wildwood 282QBXL User manual

Mobile Bay Camper Rentals
2021 Forest River Wildwood 282QBXL

Awning Usage
•DO NOT LET THIS HAPPEN TO
YOU ààà
•Awning is for SHADE ONLY and
not for rain
•Roll in during ANY rain
conditions, light or heavy.
•Roll in during windy conditions
•DO NOT leave rolled out
unattended
•DO NOT leave rolled out at night

Bathtub and Sink backing up???
•If the bathtub and/or sink happen to back up do not fear! All you
need to do is go outside and open up the GREY WATER valve.
•The grey water tanks hold approximately 32 gallons of liquid and will
fill up fast! Usually 3 showers and one round of dishes will fill it up.
For longer trips, you can leave this valve opened, but make sure to
close before dumping the black waste.

Toilet Paper
•ONLY use RV/Marine grade toilet
paper inside camper toilet.
•DO NOT put anything in the
toilet except waste and toilet
paper.
•NO wipes or feminine products
allowed in the toilets please!

Light Switches
•The main light switch by the
door only turns on 2 lights by
the entryway.
•Every other light in the camper is
a push button and on its own
circuit. Push the button in the
middle of the light itself to turn
on/off.

Hooking to Tow Vehicle
1) Connect camper coupler to hitch ball.
2) Raise jack up to take pressure off tow vehicle.
3) Connect load leveling bars by inserting into hitch and
connecting pins.
4) Raise jack up far enough so the bars sit on the “L”
bracket on the tongue.
5) Sit bars on “L” bracket and insert “L” shaped pins.
6) Lower jack all the way.
7) Secure safety chains and emergency brake cable to
tow vehicle.
8) Plug in trailer lights plug.
9) Do items in reverse to take camper off tow vehicle.


Setting up
After camper is safely removed from tow vehicle, proceed
by following these steps.
1) Level camper front to back by placing provided level on
the floor inside cabin and then raising/lowering camper
until the bubble is in the middle. Make the camper just a
little bit unlevel to the back so the condensation from
the AC will drain towards the back of the camper.
2) If camper is unlevel side to side, you may need to ramp
one sides tires on to blocks.
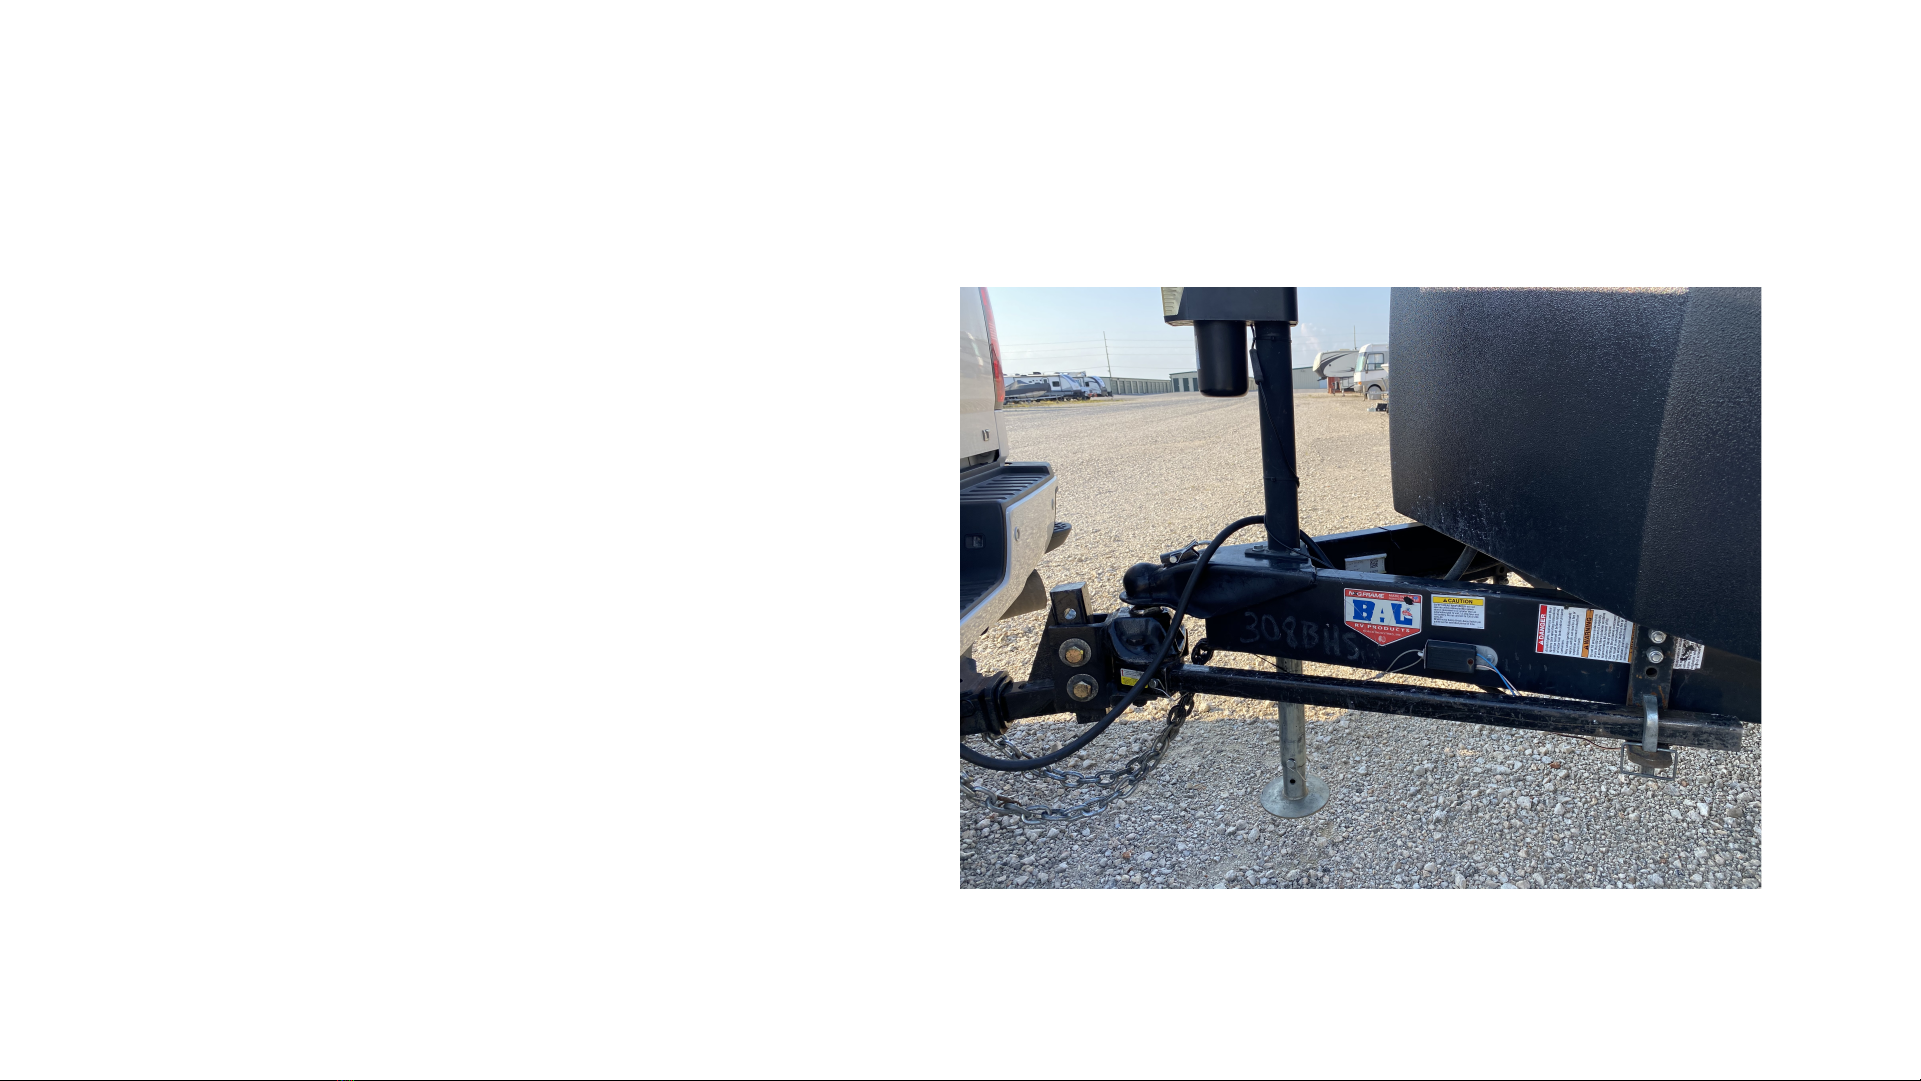
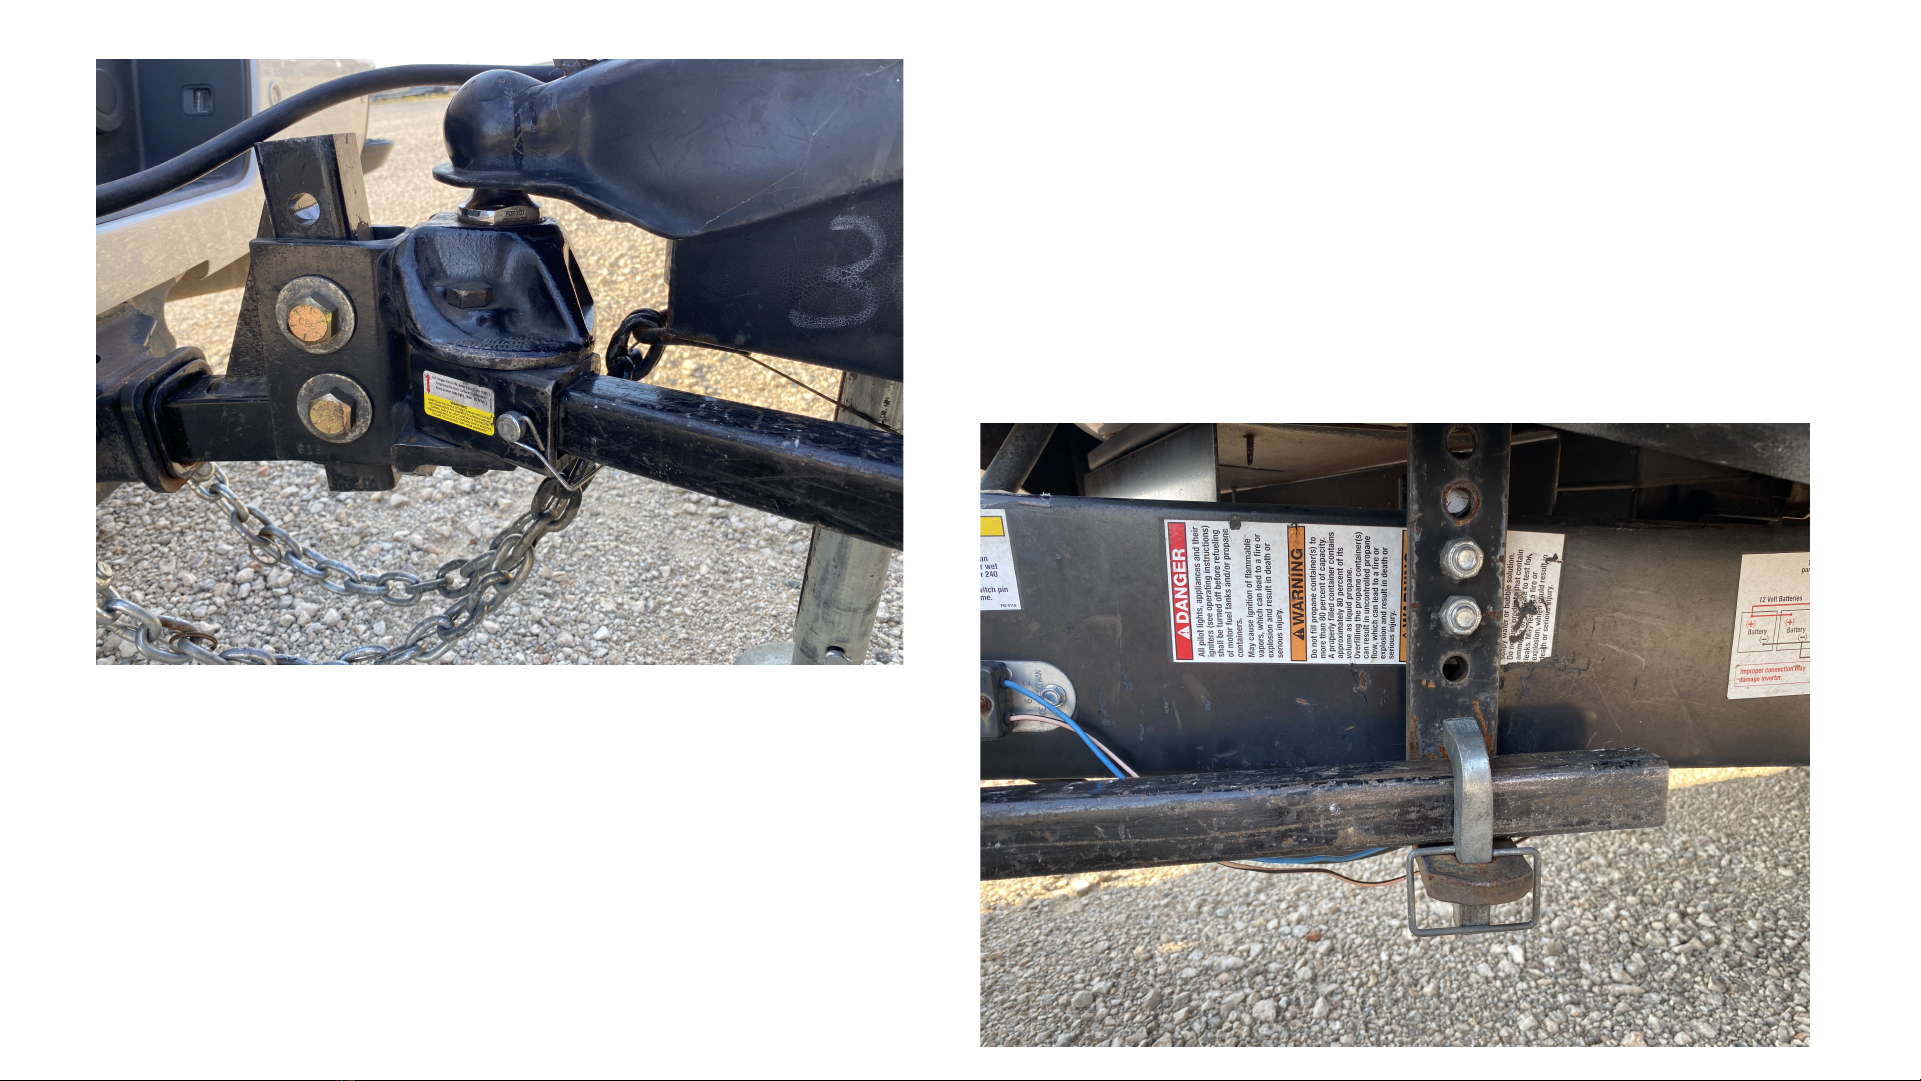
3) Once level, lower the stabilizer jacks using manual tool
provided. An electric impact drill with ¾” Socket works
best (impact not provided). These are for stabilization
purposes only and are not meant to help level the
trailer. The rear jacks will need to sit on blocks.
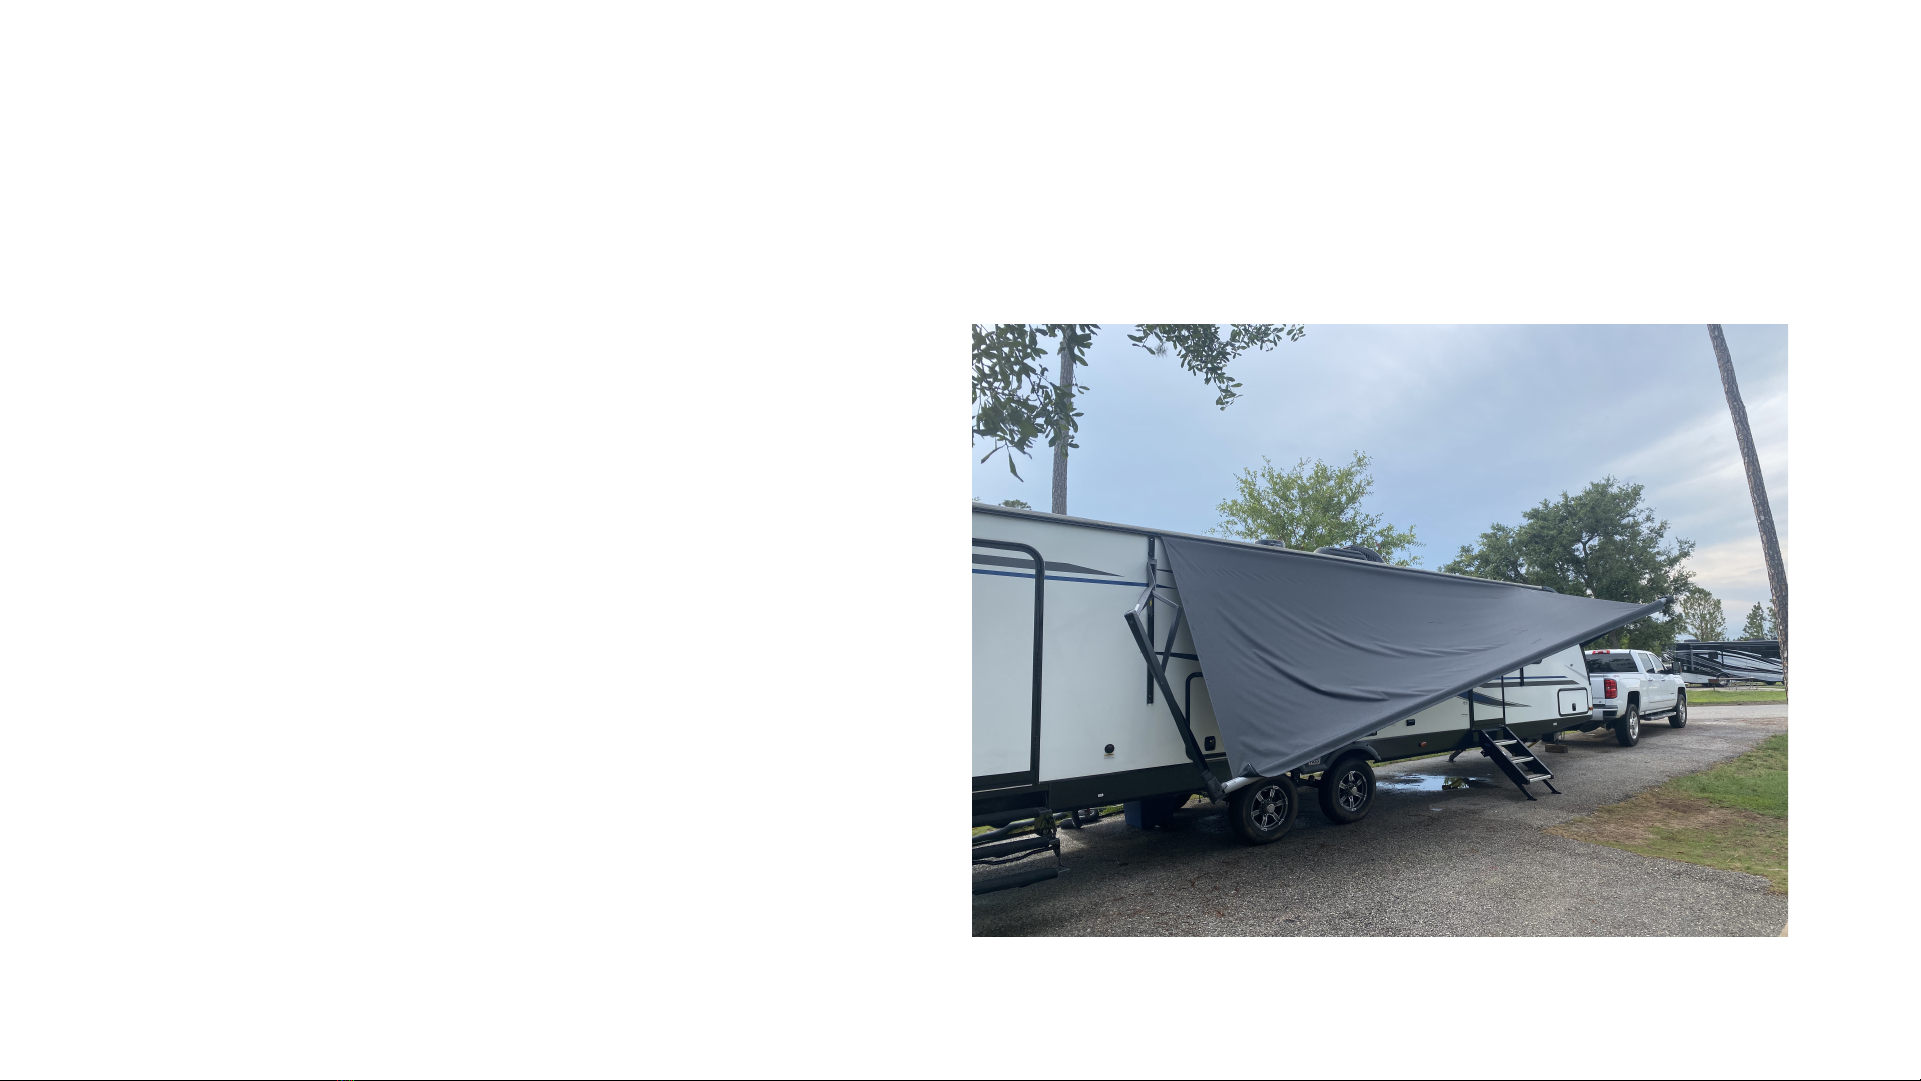
4) Extend slide once camper is level and stabilized.

Power Hookup
1) Pull out 30amp cable out of it’s
compartment on the side of the camper.
2) Plug male end of plug into campsite power
box. Use the 30amp outlet.
3) Make sure breaker on power box is turned
on.

Water Hookups
•Connect one end of the water hose to the “City
Water” connection and the other end to the spigot
at the campsite. Turn water on. Connecting to
water this way will create enough pressure to use
the sink/shower without needing to use the water
pump. Hookup is on back of camper
•When removing hose, relieve pressure from spigot
first, then remove from camper.
•If campsite does not have a water connection, then
fill the freshwater tank and use the water pump
when needed. DO NOT leave the pump on at all
times. Turn it on as needed and then turn back off.
Water pump switch is by front door.

Sewer Hookups
1) Connect one end of the sewer hose to the
twist lock connection under the camper.
2) Connect 90 degree fitting to other end of
hose and insert it to sewer connection at
campsite or tank disposal site.

Black/Grey Tank Instructions
1) Connect end of hose to to tank valves and 90 degree fitting at
other end of the hose to the sewer connection in the ground.
If camper was delivered, this is already set up for you.
2) Pull both black handles on the left to empty toilet waste.
Drain completely. Close valve handles.
3) Pull grey handle on the right to empty sink/shower waste.
Drain completely. Close valve handle.
•There may still be fluids in the hose and you will need to lift
the hose off the ground to get everything out of it. Do not
leave fluids in the hose.
•Black valve handles must remained closed at all times unless
it is being flushed. It is recommended to drain black tank
every other day, but it may need to be drained more often
depending on usage.
•Grey tank waste will need to be drained every day or
sometimes twice a day depending on usage. If water starts to
back up in the sink or shower, that means the grey tank is
full and needs to be drained. Follow step #3.

Black Tank Flush Instructions
After the end of your trip, flush the black
tank by following these steps.
1) Hook water hose up to black tank flush connection on the back of the
camper.
2) Make sure waste hose is connected to camper and to sewer connection
at campsite.
3) Open black water valve. Do not open grey at same time.
4) Turn water on at spigot. Do not turn on water with black water valve
handles closed.
5) Run water through black tank until water is consistently coming out
clean. This can take up to 5-15 minutes depending on amount of waste
in tank.
6) Once tank is clean, shut black water valve handle and let water run into
it for 15 seconds. There needs to be fluid inside of the tank.
7) Turn off water spigot and disconnect water hose.
This can be done after each flush every day or at end of trip.

Water Pump/Heater Switches
•DO NOT turn on the water pump switch unless you are NOT
connected to city water. If connected to city water, then the pressure
will be sufficient to operate all systems.
•Water heater is powered by Propane. Make sure propane is on before
turning on switch. Turn the switch on a few minutes before needing
hot water to light the pilot. After using, MAKE SURE TO TURN SWITCH
OFF, to avoid using up all of the propane.

Outside Kitchen
•The griddle outside runs on
propane and will need to be
plugged into the propane line
underneath the camper to
operate.
•Propane female connection is
located under back bumper.

Breaker Box
•If power goes out, check the outside breakers first. Box is located in
the bunk room.
•If outside breakers are good, then check the inside breakers.
•Flip the breaker switches off, then on to reset power.
•To open the breaker box, gently push the top lid and it will fold down.

Additional Information
•ONLY use the RV GRADE TOILET PAPER provided. Regular toilet paper will create a clog in the drain pipes.
•AWNING can be extended/retracted by pushing the awning button by the door. Make sure the door is not in the way of the awning arm. DO NOT leave the awning out with the
camper unattended. Make sure to retract before storms and at night.
•LIGHTS: Living area lights can be turned on/off by the switches by the front door. Some lights are on their own circuits and have push buttons in the middle of them to turn
on/off.
•TV: TV has a built in firestick and can connect to a campgrounds wifi. Make sure to log out of your account after using if you choose to use this. To connect to local channels you
may need to do a channel scan.
•REFRIGERATOR can take up to 24hrs to reach its proper temperature. It should start to cool down after a few hours but please be aware not to put food in it right away.
•STOVE lights by turning the knob to the light position and then turn the pilot knob on the left. Make sure propane is turned on. Make sure glass top is UP.
•OVEN lights by holding knob on the right in for 30 seconds to allow for gas flow, then turn the pilot knob to light. Use a torch lighter is pilot is not lighting it.
•THERMOSTAT: We recommend leaving the fan on high at all times. If it gets too cold then you can change the fan to low. If on auto, then it tends to kick on and off constantly.
•WATER HEATER: The water heater is gas only and has to be turned on/off by the switch by the front door. Make sure propane is turned on and then turn on switch about 10
minutes before using the shower. MAKE SURE to turn off after use or it will use all the propane.
•WATER PUMP: Only turn on the water pump switch if you are not connected to city water and need to pump water from the fresh water tank. Do not leave on continually or it
will burn up the water pump.
•BREAKER BOX is located in the bunkroomand may need to be accessed if the power trips. If a breaker flips then open the compartment and turn the main switch off and then
back on again. If this doesn’t solve the problem then it is likely the outside breaker on the campground power box.
•GFI OUTLET is located in the bathroom. If the power outlets are not working, then check to see if this has tripped.

Cleaning Checklist
1) All bedding/laundry stripped and left on Main Bed
2) All dishes cleaned and stored properly
3) Toilet cleaned & sanitized (around base also)
4) Shower/Tub cleaned & sanitized
5) Sinks cleaned & sanitized
6) Refrigerator/Freezer emptied, cleaned & sanitized
7) Stove cleaned & sanitized. Remove grating and clean them also
8) Stove glass top sanitized & cleaned with glass cleaner
9) Microwave cleaned on inside & outside (no smudges & fingerprints on outside)
10) All windows & mirrors cleaned with glass cleaner
11) TV wiped (no smudges & fingerprints)
12) All surfaces wiped down & sanitized
13) Floors swept
14) Floors mopped if muddy
15) Black/Grey tanks emptied & flushed
16) Outside refrigerator emptied, cleaned & sanitized (if applicable)
17) Outside stove cleaned & sanitized (if applicable)
18) Camp chairs back in bags and stored in outside compartment (if applicable)

Contact Information
•Eddie Tarkany
•251-802-9130
•Storage Address: 10870 County
Road 64, Daphne, AL 36526
Table of contents