4
Preparing for Solid Surface Mounting
Included Parts
Depending on the size and shape of the cutout the dimensions of the mounting shims and accessories will change, but the
instructions to install are the same. There are several parts to allow proper adjustment for a fully flush mount speaker to be properly
installed.
•ICS3-Backbox Mounting Plate / Subwoofer Port Tube and Grille Catch
•Mounting Ring Shim 1/4” (6.35mm) Shim - (2 included)
•Mounting Ring Shim 1/8” (3.175mm) Shim - (3 included)
Note: The Mounting Plate has a floating magnet ring that can be adjusted up or down to allow for the grill to fit perfectly flush
with the ceiling. This is done with the 3 set screws inside the Mounting Plate. Adjust this when the grill is installed for a perfect fit.
Accessories and Supported Options
The solid surface mounting kit can be used with both ICS3 and SUB1 installations. Make sure you have the correct speaker pre-
construction and final assembly parts for the installation.
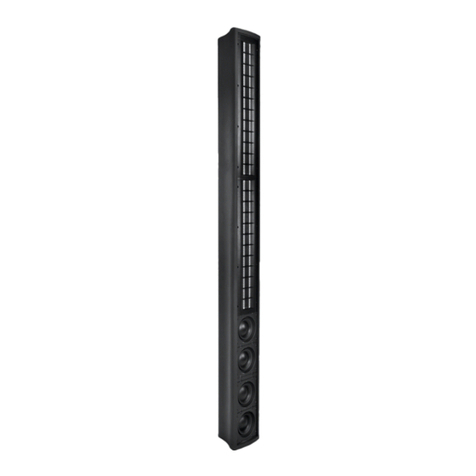
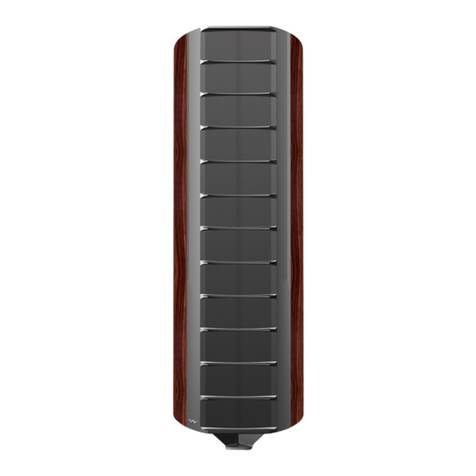
•ICS3-Backbox with mid-bass driver for pre-construction and ICS3-SPMD (Spiral Planar Magnetic Driver) final assembly
•SUB1 band-pass box (pre-construction)
•Grille Options
o3” (76mm) Square Grill
o4” (102mm) Square Grill
o3” (76mm) Round Grill
o4” (102mm) Round Grill
Installation and template tool accessories for customized cutting of the mounting material have been combined into one complete
toolkit. Only one (1) needs to be purchased and can be re-used for multiple jobs.
•Routing Template & Tool Kit, includes all configurations:
o3” (76mm) Round and 3” (76mm) Square Routing Template
o4” (102mm) Round and 4” (102mm) Square Routing Template
oRouter Collar: 5/8” and 3/8”(3/8” is only used with 3” openings)
oRouter Bits: 1/4” (Up Cut/spiral) x2
Tools Needed for Routing Template
Two touters are suggested for use with the 3” round and 3” square template for quickly cutting multiple mounts without needing to
reset the tool. Only one router is needed for 4” size. At least one router with the ability to install a template bushing in the base is
required. A plunge cut router is recommended for easiest cutting of the opening but is not required.
ICS3 Prewire and Pre-Construction Preparation
For ICS3 the only preparation before mounting the speakers with the prepared solid surface is to pre-wire as you normally would.
The ICS3-Backbox with mid-bass driver will be attached to the rear (in-ceiling) solid surface after correct cutout and shim installation
and installed as one unit. The ICS3-SPMD (Spiral Planar Magnetic Driver) can be installed either during or after installation of the
solid surface.
SUB1 Prewire and Pre-Construction Preparation
The SUB1 bass driver and band-pass box with port tube need to be installed and prewired before installing the solid surface
platform. No access to the band-pass box is possible after the solid surface is installed. Install the band pass box between 12” and
24” from where the grill location cutout will be and ensure the port tube is fully installed on the band-pass box before continuing.
The bass tube must also be attached to the back of the mounting plate before fully closing the ceiling as no access to the bass port
tube is possible from in the room. NOTE: Bass Snorkel Tube length is not to be altered as it will severely impact the operation of
the subwoofer.
