Woolly Mammoth Stoves - Issue 7 03/02/21 4
The Clean Air Act 1993 and Smoke Control Areas
Under the Clean Air Act, local authorities may declare the whole or part of the district of the
authority to be a smoke control area. It is an offence to emit smoke from a chimney of a building,
from a furnace or from any fixed boiler if located in a designated smoke control area. It is also an
offence to acquire an ‘unauthorised fuel’ for use within a smoke control area unless it is used in an
‘exempt’ appliance (‘exempted’ from the controls which generally apply in the smoke control
area).
In England, appliances are exempted by publication on a list by the Secretary of State in
accordance with changes made to sections 20 and 21 of the Clean Air Act 1993 and by section 15
of the Deregulation Act 2015. Similarly, in Scotland, appliances are exempted by publication on a
list by Scottish Ministers under section 50 of the Regulatory Reform (Scotland) Act 2014.
In Northern Ireland, appliances are exempted by publication on a list by the Department of
Agriculture, Environment and Rural Affairs under Section 16 of the Environmental Better
Regulation Act (Northern Ireland) 2016.
In Wales, appliances are exempted by regulations made by Welsh Ministers. Further information
on the requirements of the Clean Air Act can be found at www.gov.uk/smoke-control-area-rules
Your local authority is responsible for implementing the Clean Air Act 1993 including designation
and supervision of smoke control areas and you can contact them for details of Clean Air Act
requirements.
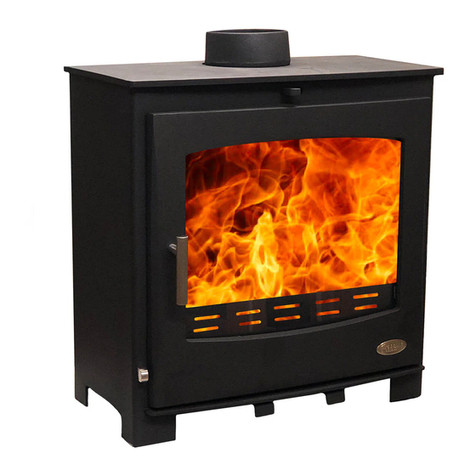
The Woolly Mammoth 5 mk2, Woolly Mammoth 5 Widescreen mk2 and Woolly Mammoth 8mk 2
have been recommended as suitable for use in smoke control areas when burning wood logs. The
Woolly Mammoth 5 mk2 and Woolly Mammoth 5 Widescreen 5 mk2 must be fitted with a
permanent stop to prevent closure of the secondary air controller beyond 50% open. The Woolly
Mammoth 8 mk2 must be fitted with a permanent stop to prevent closure of the tertiary air
controller beyond 100% open. For full details of how to install the smoke control slide plate see
the dedicated section on page 7. Authorised solid mineral fuels can also be used in smoke control
areas. A list of Authorised fuels can be found at www.smokecontrol.defra.gov.uk/fuels.php.
EcoDesign 2022 and Clear Sky Initiative
In a bid to reduce any potential impact the burning of solid fuels may have on our environment,
the bodies that govern our industry (DEFRA, Stove Industry Alliance and HETAS) have introduced
stricter guidelines concerning reduced particle emissions (PM2.5), lower Carbon Monoxide
emissions and improved efficiency levels through better fuel standards and sustainability, by which
a multitude of appliances manufactured after 1st January 2022 and sold in the UK (and Ireland)
must adhere. These are known as Eco Design 2022 Ready or Clear Skies and your Woolly
Mammoth stove has been tested and approved as exceeding these requirements.


