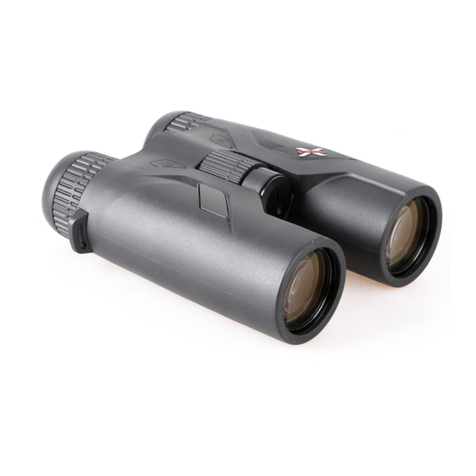
BASIC RANGING OPERATION
• Rotate the eyepiece to focus the diopter
• Press the power button once to turn the unit on.
• Aim at the target with the sight
• Press the power button with target acquired
• The laser indicator will flash on, then display the distance to the target.
• Press and hold the power button to enter scan mode, which rapidly provides distances as you move the
rangefinder.
• Power will turn off automatically after 30 seconds when not in use.
RANGING MODES
To toggle between modes, press the MODE button.
• Standard Ranging (no icon displayed) provides distance and angle measurement
• Rain mode is for use on rainy or foggy days where the target distance is greater than 30 yards, with
horizontal distance (HD) provided
• Golf mode gives the priority to the nearer object, helpful in picking out a flag from objects behind it.
If the rangefinder obtains multiple distances, it will display the nearest option along with a circle around
the flag . If it only obtains one target, no circle will be displayed .
HD provided.
• Hunt mode gives preference to the further object, ignoring interfering objects like bushes and
branches. If the rangefinder obtains multiple objects, it will display the furthest option along with the
circle around the hunt icon . If one object is attained, no circle will be displayed .
HORIZONTAL DISTANCE VS ANGLE DISPLAY
• In Standard Ranging Modes, the Angle of the target
objective compared to the position of the rangefinder
will be shown, in degrees, and the Angle Measurement
icon will be present in the lower-left corner of the
display.
• In all other modes, Horizontal Distance is shown,
indicated by the HD icon in the lower-left corner of the
display. While the ranging distance will always display
the point-to-point distance, accounting for elevation
changes, the Horizontal Distance considers the distance
without the angle accommodation.
Figure 3


