Xilver Droplet User manual

DropletTM , automated LED luminaire
User manual v2.0
2
DECLARATION OF CONFORMITY
Manufacturer: Xilver B.V.
Address: Stationsstraat 44a
6247 BL Gronsveld
The Netherlands
Declares that the product
DropletTM
Is in compliance with the following standards:
CE-measurements in accordance with the EMC and LvD standards
EN 55103-1Part1: Emission
EN 55103-2Part 2: Immunity
EN 61000-4-2ESD
EN 61000-4-3HF immunity
EN 61000-4-4EFT
EN 61000-4-5Surge
EN 61000-4-6CDN / Clamp injection
EN 61000-4-8Power Magnetic field, extended to 10kHz
EN 61000-4-11 Dips and Voltages Fluctuations
EN 61000-4-16 Immunity to conducted common mode disturbance
EN 61000-3-2Harmonic currents
EN 61000-3-3Flicker
EN 60598 Electrical Safety for Luminaires
Maastricht, March 2003
Ing. R. Buskens
©2003 Xilver B.V.
All rights reserved.
No part of this document may be reproduced, stored in a retrieval system, or transmitted, in any form, or by any
means, mechanical, electronic, photocopying, recording, or otherwise, without the prior written permission of Xilver
B.V.
No patent liability is assumed with respect to the use of the information contained herein. Moreover, because Xilver
B.V. is constantly striving to improve its high-quality products, the information contained in this manual is subject to
change without notice. Every precaution has been taken in the preparation of this manual. Nevertheless, Xilver B.V.
assumes no responsibility for errors or omissions. Neither is any liability assumed for damagesresulting from the
use of the information contained in this publication.
Xilver™and DropletTM are trademarks of Xilver B.V.

3
TABLE OF CONTENTS
Declaration of conformity ............................................................................................................... 2
1. Introduction......................................................................................................................... 4
2. Product description.............................................................................................................. 5
2.1. Configuration ...................................................................................................................... 5
2.1.1. Unpack the Droplet .......................................................................................................... 5
2.1.2. Install the Droplet ............................................................................................................. 5
2.2. Functionality ....................................................................................................................... 9
2.3. Accessories .......................................................................................................................12
2.4. Place of usage ...................................................................................................................12
2.5. Maintenance......................................................................................................................13
2.6. Safety warnings .................................................................................................................13
3. Terms of warranty ..............................................................................................................14
4. Appendices........................................................................................................................15
4
1. INTRODUCTION
Thank you for buying the Xilver DropletTM , an entirely new concept in lighting technology and lighting
application.
The DropletTM is the smallest and first moving LED luminaire with accurate 16 bit fully adjustable pan
and tilt. With a pan travel of 360°and a tilt of 260°. The LED light source is comparable in white output
to a 50 Watts halogen reflector bulb and in colors even brighter. It has an expected lifetime of 100.000
hours.
The color combining system enables you to produce virtually any color with HSI(Hue, Saturation and
Intensity) or RGB color mixing without having multi-color shadows. It is possible to create either fluent
or lightning fast color changes. Impressive white and full color strobes can be controlled by the
frequency and duration channel.
Prepared for installation: low power consumption, light weight, small size,universal mounting plate, no
cables or connectors visible, extension shaft available and custom housing colors make full integration
in its environment possible.
The luminaire is convection cooled, direct driven by stepper motors and needs therefore low
maintenance.
Read this manual carefully Before using the DropletTM and use it as a guide to guarantee proper use of
this new concept in lighting. If you have any questions please contact your supplier.
This manual will first explain you how to use the DropletTM , 2.1 Configuration. In part 2.2 Functionality
you can find a detailed description of all the functions. To adapt the DropletTM fully to your desires we
offer some accessories to extend the applicability. The place of usage, maintenance requirements and
terms of warranty will be quoted in the last 3 paragraphs.
To this manual is added 1 appendix, one sheet that gives you an overview of the technical
specifications, the dipswitch functions and the DMX mapping.

5
2. PRODUCT DESCRIPTION
2.1. Configuration
2.1.1. Unpack the Droplet
The DropletTM is delivered in a custom designed packing to protect the unit during transport. Refuse
parcels in damaged condition!
Use this package always to transport the DropletTM.
The package contains:
?DropletTM luminaire
?User manual
?DropletTM quick reference sheet
?Mounting plate, including 4 Plastic feet
?2 M3*10 counter sink screws
2.1.2. Install the Droplet
Make sure the unit is installed in an environment that complies with the prescriptions of paragraph 2.4.
Place of usage. Install the DropletTM in 4 steps:
Mounting the Base Plate
Wiring the Base Plate
Addressing the Droplet
TM
Mounting the
Droplet
TM
on
the Base Plate
Step
3
Step
2
Step
1
Step
4
Figure 1.: Install the DropletTM in 4 steps
6
Step 1: Mounting the Base Plate
Make sure that the base plate is always equipped with the 4 plastic feet when using or installing the
DropletTM .
Standing DropletTM :
The Base Plate is provided with 4 holes.These holes can be used to mount the delivered plastic feet.
Click the narrow part of the foot into the hole, then push the rod into the foot and it is fixed on the Base
Plate.
Hanging DropletTM :
In the centre of the Base Plate is a hole with a diameter of 10mm (0,39inch) reserved for the fixing of
hooks and clamps, for example a G-clamp.
Caution: the Nut, O-ring or Bolt that will be turned to the inside of the DropletTM should not be higher
than 10mm (0,39 inch).
Fixed installation:
There are 2 slotted holes in the base plate, 1 is reserved for the power cable(s)and the other is
reserved for the data cable(s). Before mounting the plate put the wiring for the DropletTM trough the
holes.
The base plate can be fixed on a electric wall box. It is also possible to mount the base plate on wood
or other rigid materials, respecting proper and flat mounting of the base plate. Use screws with a max.
diameter of 3mm / 0.12inch and make sure the base plate is fixed well.
The DropletTM may be used in virtually any direction:standing, hanging in vertical direction as fixed on
a wall, hanging horizontally.
Caution: to guarantee the stability and durability of the unit in horizontal direction make sure that the unit
is placed with the logo’s on the base placed on the vertical axis!
Warning: A DropletTM with extension shaft may only operate hanging (max. extension length: 55cm /
21.65inch) in vertical direction or standing (max. extension length: 20cm / 7.87inch).
Step 2: Wiring the Base Plate
Power
Input
The DropletTM is provided with an internal wide range power supply. It operates on a voltage range
from 100 to 240VAC at a frequency of 50 to 60Hz, no switches that need to be changed.
Consumption
The fixture has a maximum power consumption of 35 Watts.
Wiring
You need a 2 pole power cable of 0.75mm2to 1.5mm2/ 18AWG to 16AWGto provide the DropletTM
with power. Use always stranded wire for the power.
Warning: Do not apply power while connecting the cables!
Connection of the 2 poles into the power connector on the Base Plate:
Fig 2: schematic top view of the Power connector block

7
Pin / Hole Mark Description
a“L” Live
b“N” Neutral
Table 1: power cable specification
The power cables should be stripped for 5mm (0.20inch), crimp a ferrule on the stripped part for a
reliable connection. Push the first conductor into hole ‘a’until the cable isolation touches the
connector. Then tighten screw 1, hand fixed, make sure the cable is well fixed, check this by pulling it
strong. Do the same for the second conductor.
Attention: after turning off the power of the DropletTM wait at least for 5 seconds before turning the
power on again, otherwise it might occur that the DropletTM does not initialize correctly.
Data
Control
The DropletTM can be controlled by theUSITT DMX512 protocol, hereinafter called DMX. The
DropletTM uses minimal 7 channels (reduced mode HSI) and maximal 12 channels (normal mode
RGB).
Wiring
You need a 3 pole data cable to provide the DropletTM with data.For cable requirements see the
USITT DMX512 protocol. Connection of the Data in / out into the data connector on the Base Plate:
picture
Fig 3: schematic top view of the Data connector block
Pin / Hole Mark Description
1Ground out
2+Hot out
3-Cold out
4Ground in
5+Hot in
6-Cold in
Table 2: Data cable specification
The datacables should be stripped for 5mm (0.20inch), crimp a ferrule on the stripped part for a
reliable connection.. Push the first cable:‘ground out’into hole 1 until the cable isolation touches the
connector. Then tighten screw 1, hand fixed, make sure the cable is well fixed, check this by pulling it
once. Repeat this actions for the hot out and cold out, hot in and cold in and for the ground in.
Termination at the end of a DMX line:
?for fixed installation, place a resistor of 120ohm between hole 2 and 3 of the “data out” connector
?termination plug with a resistor of 120ohm between pole 2 and pole 3
Address settings
To control each DropletTM individually via DMX, each unit should have a unique identity. This identity
can be given by the DMX address settings. There is a dipswitch on the bottom of the fixture to set the
DMX address.
Warning: when changing the dipswitch settings of the DropletTM make sure the power of the unit is
turned off!
8
Step 3: Addressing the DropletTM
Dipswitch functions
Dipswitch 12345678910 11 12
Function DMX-LSB DMX-MSB
Mixing Method Address Range Reserved
Address setting (binary) HS I NormalPosition 0
1 124816
32
64
128
256
R G B Compact
Table 3: Dipswitch functions
The Dipswitch of the DropletTM has 12 switches. The first nine switches are meant for the DMX
address setting. Switch number 10 is meant for the method of color mixing and switch 11 defines
whether the DropletTM functions in normal or compact mode to reduce the number of required
channels.
DMX Mapping
Compact Normal
Channel
H S I color mixing R G B color mixing H S I color mixing R G B color mixing
1Reset Reset Reset Reset
2Pan Pan Pan Pan
3Tilt Tilt Tilt Tilt
4Strobe frequency Strobe frequency Speed Speed
5Hue Red Pan Fine Pan Fine
6Saturation Green Tilt Fine Tilt Fine
7Intensity Blue Strobe frequency Strobe frequency
8Intensity Strobe Duration Strobe Duration
9Hue Red
10 Saturation Green
11 Intensity Blue
12 Intensity
Table 4: DMX -mapping
For example:
You have 5 Droplets and you want to control them individually. If you choose for the normal mode and
HSI color mixing each fixture has 11 channels (this is also the default setting), this means each
DropletTM uses 11 addresses from the set start address. So the first DropletTM receives address
number 1, the second 12, the third 23, the fourth 34 and the fifth 45. Make sure the Droplets have
separated addresses!
Mode and address settings with the dipswitch:
Fixture 1:
Fixture 2:
Fixture 3:
Fixture 4:
Fixture 5:
123
4
5678910
11
12
100
0
00000000
123
4
5678910
11
12
001
1
00000000
123
4
5678910
11
12
111
0
10000000
123
4
5678910
11
12
010
0
01000000
123
4
5678910
11
12
101
1
01000000

9
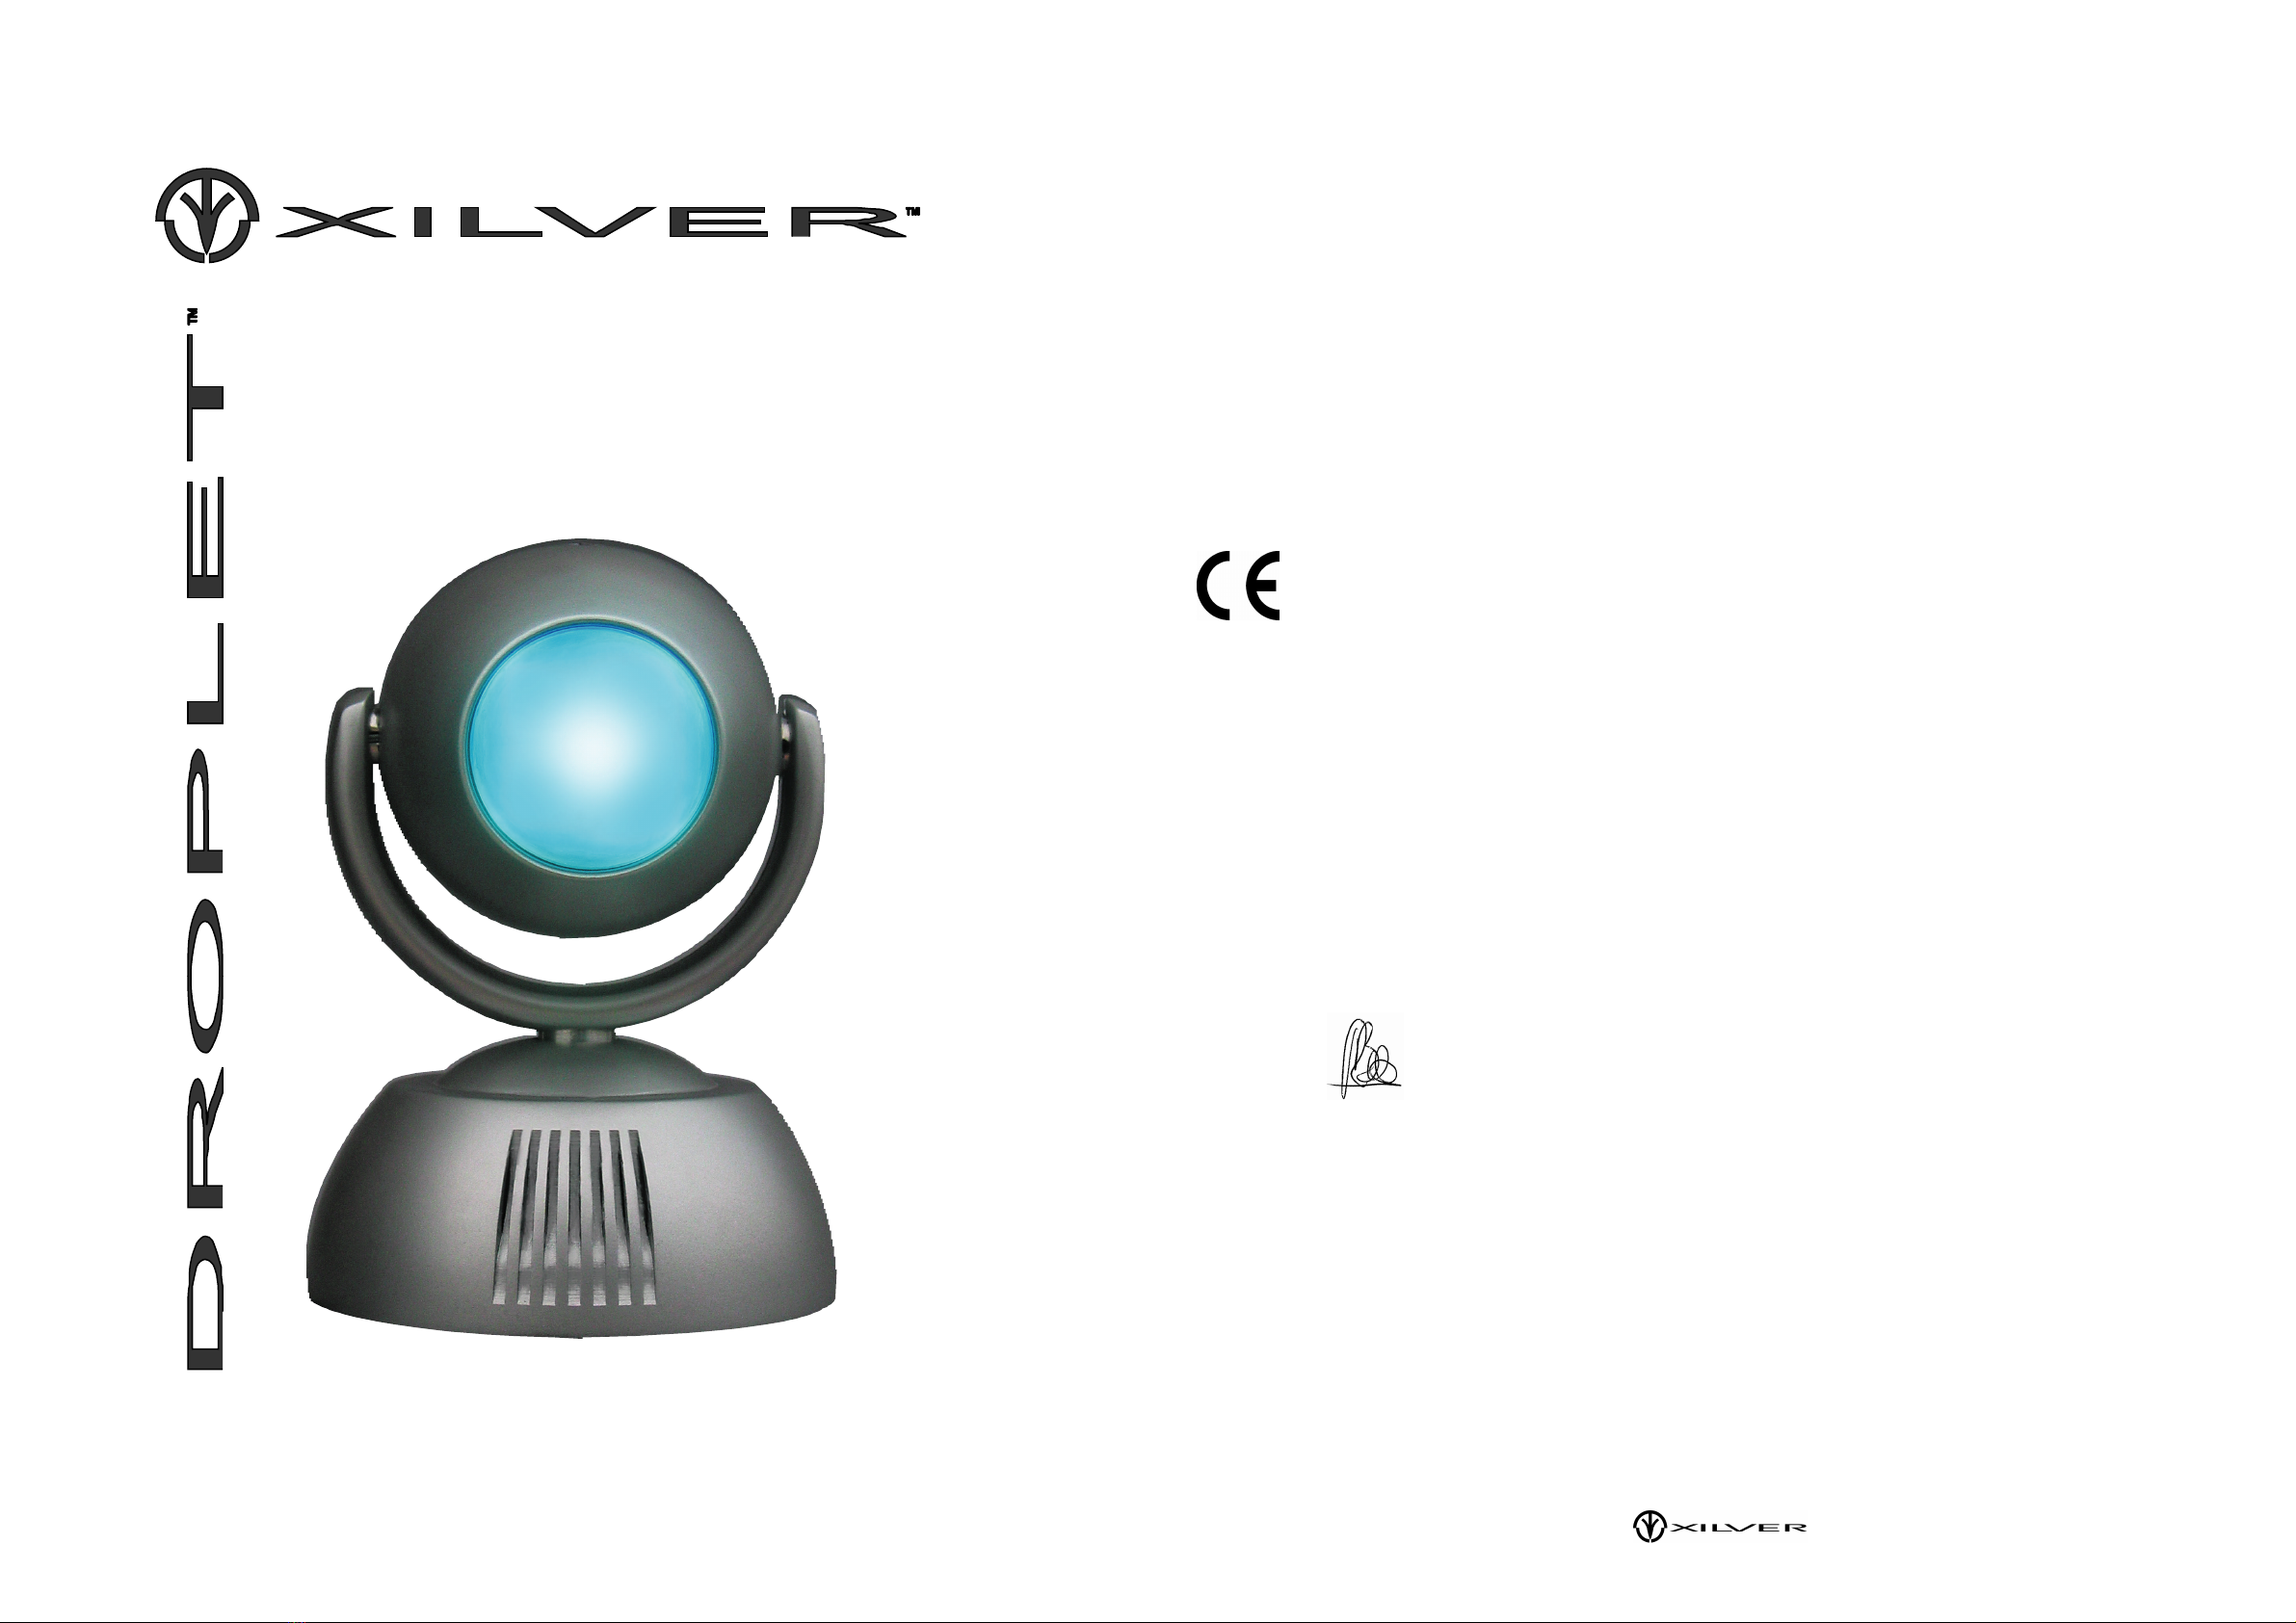
Step 4: Mounting the unit on the Base plate
Make sure spacer 1 fits into hole 1 and spacer 2fits into hole 2. Push until the power and date pins
slide into the connectors I and II on the base plate. The unit will cover the whole base plate.
Fix the unit on the base plate with help of the M3*10 counter sink screws. The screws must be placed
in the two holes on top of the base near the XilverTM logo.
2.2. Functionality
Movement
The DropletTM has a 16bit pan and tilt movement in the normal mode and a 8bit in the compact mode.
In the normal mode the movement is controlled by 5channels (pan, tilt, pan fine,tilt fine and motor
speed). In the compact mode there is no pan and tilt fine and no motor speed channel.
The pan and tilt movement is direct driven by stepper motors. The travel of the pan movement is 360°
and the travel of the tilt movement is 270°. Divided over 255 steps the pan moves 1,41° perstep and
the tilt 1,05° per step, with the fine channels each step is divided again in 255 steps. The pan and tilt
fine are used for precision positioning.
Motor speed
The speed of the pan and tilt movement can be adapted via the motor speed channel. When the
channel is zero (in the compact mode this channel is not available),the DropletTM moves at full speed.
Strobe
The DropletTM has a 2 channel strobe function in the normal mode. The Frequency and the duration
are adjustable. With frequency you can determine how many times the DropletTM should flash per
second, with the duration channel you can determine how long one flash should take. In the compact
mode only the frequency function is available.
Color mixing
HSI-mode
HSI standsfor Hue, Saturation and Intensity. The HSI color mixing mode uses 3 channels.
The Hue channel enables you to choose a color, via this way you can choose up to 255 saturated
colors. The Saturation channel enables you to choose between fully saturated colors and pastel
colors. The Intensity channel functions like a normal dimmer, from no output to full output. By Hue and
Saturation channel zero and the Intensity channel full max, the output of the DropletTM is white.
Changing the Saturation channel to max the output will turn into Red. Now you can choose a color with
the Hue channel.
RGB-mode
RGB is stands for Red, Green and Blue. Each of these colors use one channel, via this channel you
can adjust the output of the concerned color. To vary the output of the 3 colors, you can make each
desired color. Besides there is an Intensity channel to make it easy dimming the total output of the
DropletTM.If the three color channels are max the DropletTM gives no real white, you have to vary the
output of the separate colors to get white.
10
Reset
Via the reset channel the DropletTM can be given its starting values again, so the fixture returns to its
point of departure.
It may occur, due to external causes that the DropletTM gets out of its position. The reset channel can
be used to make sure that the unit follows the given DMX values the right way again.
To give the DropletTM a reset, set the reset channel for 5 seconds max.
Normal mode RGB
Compact mode RGB
DMX
Channel Function Decimal Percent Description
1Reset 0 -249
250 -255 0 -97
98 -100 Reserved for special functions
Hold for 5 seconds to reset the DropletTM
2Pan 0 -255 0 -100 Position from 0°-360°
3Tilt 0 -255 0 -100 Position from 0°-260°
4Speed 0
255 0 -100 Full speed of pan and tilt movement
Slowest pan and tilt movement
5Pan fine 0 -255 0 -100 Fine Positioning of the pan within an angle of 1,41°
6Tilt fine 0 -255 0 -100 Fine Positioning of the tilt within an angle of 1,02°
7Strobe
Frequency
0 -4
5 -204
205 -255
0 -2
3 -80
81 -100
Full on, no strobe
Strobe linear from 1Hz to 25Hz
Strobe linear from 25Hz to 50Hz
8Strobe
Duration 0 -255 0 -100 Linear from 0 –100% with steps of 1,6%
9Red 0 -255 0 -100 Linear Red output from 0 –100%
10 Green 0 -255 0 -100 Linear Green output from 0 –100%
11 Blue 0 -255 0 -100 Linear Blue output from 0 –100%
12 Intensity 0 -255 0 -100 Linear overall output from 0 –100%
DMX
Channel Function Decimal Percent Description
1Reset 0 -249
250 -255 0 -97
98 -100 Reserved for special functions
Hold for 5 seconds to reset the DropletTM
2Pan 0 -255 0 -100 Position from 0°-360°
3Tilt 0 -255 0 -100 Position from 0°-260°
4Strobe
Frequency
0 -4
5 -204
205 -255
0 -2
3 -80
81 -100
Full on, no strobe
Strobe linear from 1Hz to 25Hz
Strobe linear from 25Hz to 50Hz
5Red 0 -255 0 -100 Linear Red output from 0 –100%
6Green 0 -255 0 -100 Linear Green output from 0 –100%
7Blue 0 -255 0 -100 Linear Blue output from 0 –100%
8Intensity 0 -255 0 -100 Linear overall output from 0 –100%

11
Normal mode HSI
Compact mode HSI
DMX ch Function Decimal Percent Description
1Reset 0 -249
250 -255 0 -97
98 -100 Reserved for special functions
Hold for 5 seconds to reset the DropletTM
2Pan 0 -255 0 -100 Position from 0°-360°
3Tilt 0 -255 0 -100 Position from 0°-260°
4Strobe
Frequency
0 -4
5 -204
205 -255
0 -2
3 -80
81 -100
Full on, no strobe
Strobe linear from 1Hz to 25Hz
Strobe linear from 25Hz to 50Hz
5Hue
0
1 -42
43
44 -84
85
86 -127
128
129 -170
171
172 -212
213
214 -254
255
0
1 -16
17
18 -32
33
34 -49
50
51 -66
67
68 -82
83
84 -99
100
Primary colors if Saturation channel has value 255
Red
Red <> Yellow
Yellow
Yellow <> Green
Green
Green <> Cyan
Cyan
Cyan <> Blue
Blue
Blue <> Magenta
Magenta
Magenta <> Red
Red
6Saturation 0 -255 0 -100 Linear fading from white to saturated color chosen via
the Hue channel
7Intensity 0 -255 0 -100 Linear fading from 0 –100% output
DMX ch Function Decimal Percent Description
1Reset 0 -249
250 -255 0 -97
98 -100 Reserved for special functions
Hold for 5 seconds to reset the DropletTM
2Pan 0 -255 0 -100 Position from 0°-360°
3Tilt 0 -255 0 -100 Position from 0°-260°
4Speed 0
255 0 -100 Full speed of pan and tilt movement
Slowest pan and tilt movement
5Pan fine 0 -255 0 -100 Fine Positioning of the pan within an angle of 1,41°
6Tilt fine 0 -255 0 -100 Fine Positioning of the tilt within an angle of 1,02°
7Strobe
Frequency
0 -4
5 -204
205 -255
0 -2
3 -80
81 -100
Full on, no strobe
Strobe linear from 1Hz to 25Hz
Strobe linear from 25Hz to 50Hz
8Strobe
Duration 0 -255 0 -100 Linear from 0 –100% with steps of 1,6%
9Hue
0
1 -42
43
44 -84
85
86 -127
128
129 -170
171
172 -212
213
214 -254
255
0
1 -16
17
18 -32
33
34 -49
50
51 -66
67
68 -82
83
84 -99
100
Linear fading through all saturated colors if the
Saturation channel has value 255
Red
Red <> Yellow
Yellow
Yellow <> Green
Green
Green <> Cyan
Cyan
Cyan <> Blue
Blue
Blue <> Magenta
Magenta
Magenta <> Red
Red
10 Saturation 0 -255 0 -100 Linear fading from white to saturated color chosen via
the Hue channel
11 Intensity 0 -255 0 -100 Linear fading from 0 –100% output
12
2.3. Accessories
Standard supplied
Lenses
When delivered the has a beam angle of 10°. Additional supplied with each DropletTM are two lenses,
one with a beam angle of 18° and the other with a beam angle of 30°.
Replacing a lens
To replace a lens of the DropletTM first take of the front hood by pulling the front hood. The existing lens
or lens dome can be taken out. When you want to have a larger beam angle and the lens dome take
out the black synthetic ring. Than first place the 18° or 30° lens and than the lens dome. The lenses
should be placed with the uncurved side pointing to the DropletTM and the curved side to the outside.
Extension shaft
The head of the DropletTM can be taken of of the base and can be extended this way. Xilver B.V.
supplies optional extension shafts for this purpose.
The following sizes of extension shafts can be delivered out of stock:
?15cm(5,91inch)
?25cm (9,84inch)
?35cm(13,78inch)
Other sizes can be delivered on request.
The extension shaft is standard colored in silver (RAL 9006), black (RAL 9005) or white (RAL 9003).
On request it can be delivered in any RAL color or even in custom color.
Warning: A DropletTM with extension shaft may only operate hanging (max. extension length: 55cm /
21.65inch) in vertical direction or standing (max. extension length: 20cm / 7.87inch).
Cables
The DropletTM is standard delivered without cables andconnectors. On request the DropletTM can be
pre-wired with Data and power cable with the desired connector.
2.4. Place of usage
The DropletTM is mentioned for indoor use only! The product may not be exposed to water orextreme
hotor cold environments.
The DropletTM should not be used in humid environments. The minimum operation temperature of the
DropletTM is 0°C(32°F) and the maximum is 40°C(104°F).The minimum storage temperature of the
DropletTM is -10°C (14°F) and the maximum is 60°C (140°F).
In case of building-in the base of the DropletTM make sure there is enough ventilation so the unit
becomes not overheated.
Should the DropletTM get overheated in case of a too high environment temperature or not enough
ventilation,the DropletTM will limit its light output to protect the LEDs.
Warning: during the use of the DropletTM make sure that no persons or objects get in contact with the
unit in a direct way. The pan and tilt travel should always be free to make sure the unit doesn’t loosesits
position.

13
2.5. Maintenance
Cleaning
The interior of the DropletTM needs low or even no maintenance because the fixture is convection
cooled and the head of the DropletTM is completely closed.
The exterior of the DropletTM can be easily whipped of with a slightly moistened cloth. Make sure that
when doing this, the power of the fixture is turned off!
2.6. Safety warnings
Warning: Do not touch the fixture during operation, the temperature of some parts of the fixturecan rise
up to 80°C (176°F).
Warning: Do not stare into the beam of the DropletTM, the intense light output can cause injuries to your
eyes.
14
3. TERMS OF WARRANTY
By ‘normal’use of the product the manufacturer, Xilver B.V. gives 2 years of warranty. Normal use
means:
Use within the specifications as prescribed in paragraph 2.1. Install the DropletTM .
Use within the specifications as prescribed in paragraph 2.4. Place of usage.
Taking in consideration the maintenance prescriptions of paragraph 2.5. Maintenance.
Returning of the product in case of warranty, always contact your supplier for further instructions.

15
4. APPENDICES
Technical Specifications
Voltage 100-240VAC 50-60Hz
Power Max. 35W
Data USITT DMX 512 Protocol
XSI Xilver Serial Interface
Compact HSI mode: 7 channels
Compact RGB mode: 8 channels
Normal HSI mode : 11 channels
Normal RGB mode : 12 channels
Standard beam angle 10° (supplied lenses: 18° and 30°)
Dimensions Ø130mm x h185mm (Ø5,11inch x h7,25inch)
Weight 1,5kg (3,3lbs)
Pan 360°travel
Tilt 260°travel
Operation temperature Min. 0°C (32°F)
Max. 40°C (104°F).
Storage temperature Min. -10°C (14°F)
Max. 60°C (140°F).
Dipswitch functions
Dipswitch 12345678910 11 12
Function DMX-LSB DMX-MSB
Mixing Method Address Range Reserved
Address setting (binary) HS I NormalPosition 0
1 124816
32
64
128
256
R G B Compact
DMX mapping
Compact Normal
Channel
H S I color mixing R G B color mixing H S I color mixing R G B color mixing
1Reset Reset Reset Reset
2Pan Pan Pan Pan
3Tilt TiltTilt Tilt
4Strobe frequency Strobe frequency Speed Speed
5Hue Red Pan Fine Pan Fine
6Saturation Green Tilt Fine Tilt Fine
7Intensity Blue Strobe frequency Strobe frequency
8Intensity Strobe Duration Strobe Duration
9Hue Red
10 Saturation Green
11 Intensity Blue
12 Intensity
Table of contents
Popular Dj Equipment manuals by other brands

Beamz Pro
Beamz Pro BBP66 user manual

Goboservice
Goboservice GOLUX COVER RAIN instruction manual

Eagletone
Eagletone DMX DISCONTROL 192 user manual

Serato
Serato Vestax VCI-380 quick start guide

EuroLite
EuroLite LED SLS-5 BCL user manual

LOTRONIC
LOTRONIC AFX LIGHT LED PAR CAN 4x15W 5-in-1 instruction manual