At this point, it is advisable to test the subwoofer and its wired connections (provided you
have the rest of the system installed). Make sure you have your amplifier setup properly
before performing the test.
7. Reinstalling the Seat
Now that your subwoofer is in place, it is time to get the seat back on. Extra caution is
needed during this step for two reasons. The first is that dropping the seat or placing it on
top of the box incorrectly could damage the speaker. The second reason is that the seats
weight and pressure from mounting are what hold the subwoofer down (not that it could come
out) and prevent it from sliding around.
7.1. If Seat Was Removed
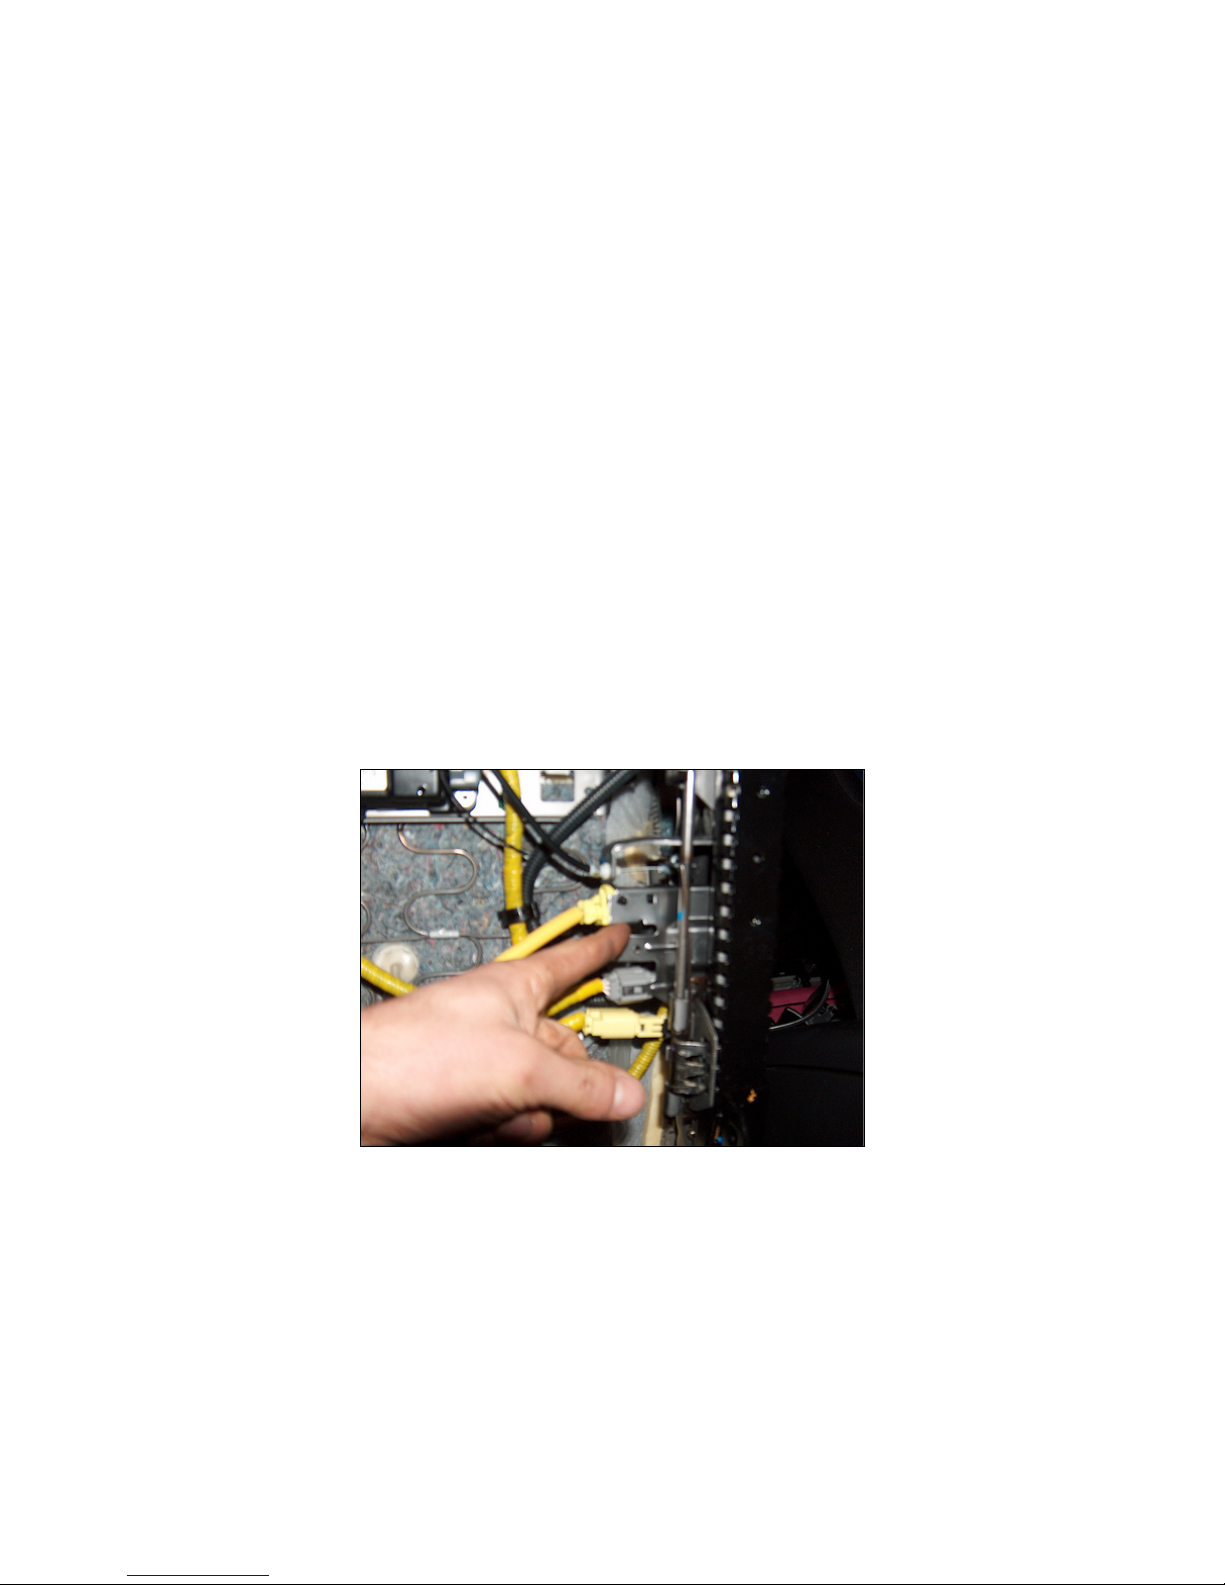
If you removed the seat from the car earlier (see section 5.1Positioning the Seat) put it back
in exercising extreme caution. As you’re putting it back in, rest the rear rails first, reattach
all the wires, bring the seat down some, reattach the wire clip, and then slowly bring the front
rails down into position.
7.2. If Seat Was Tilted Back
If the seat was simply tilted back earlier, slowly bring the seat down, reattaching the wire clip
about half way. Make sure to pull the seat forward as you bring it down if the mounting holes
do not clear the floor bump.
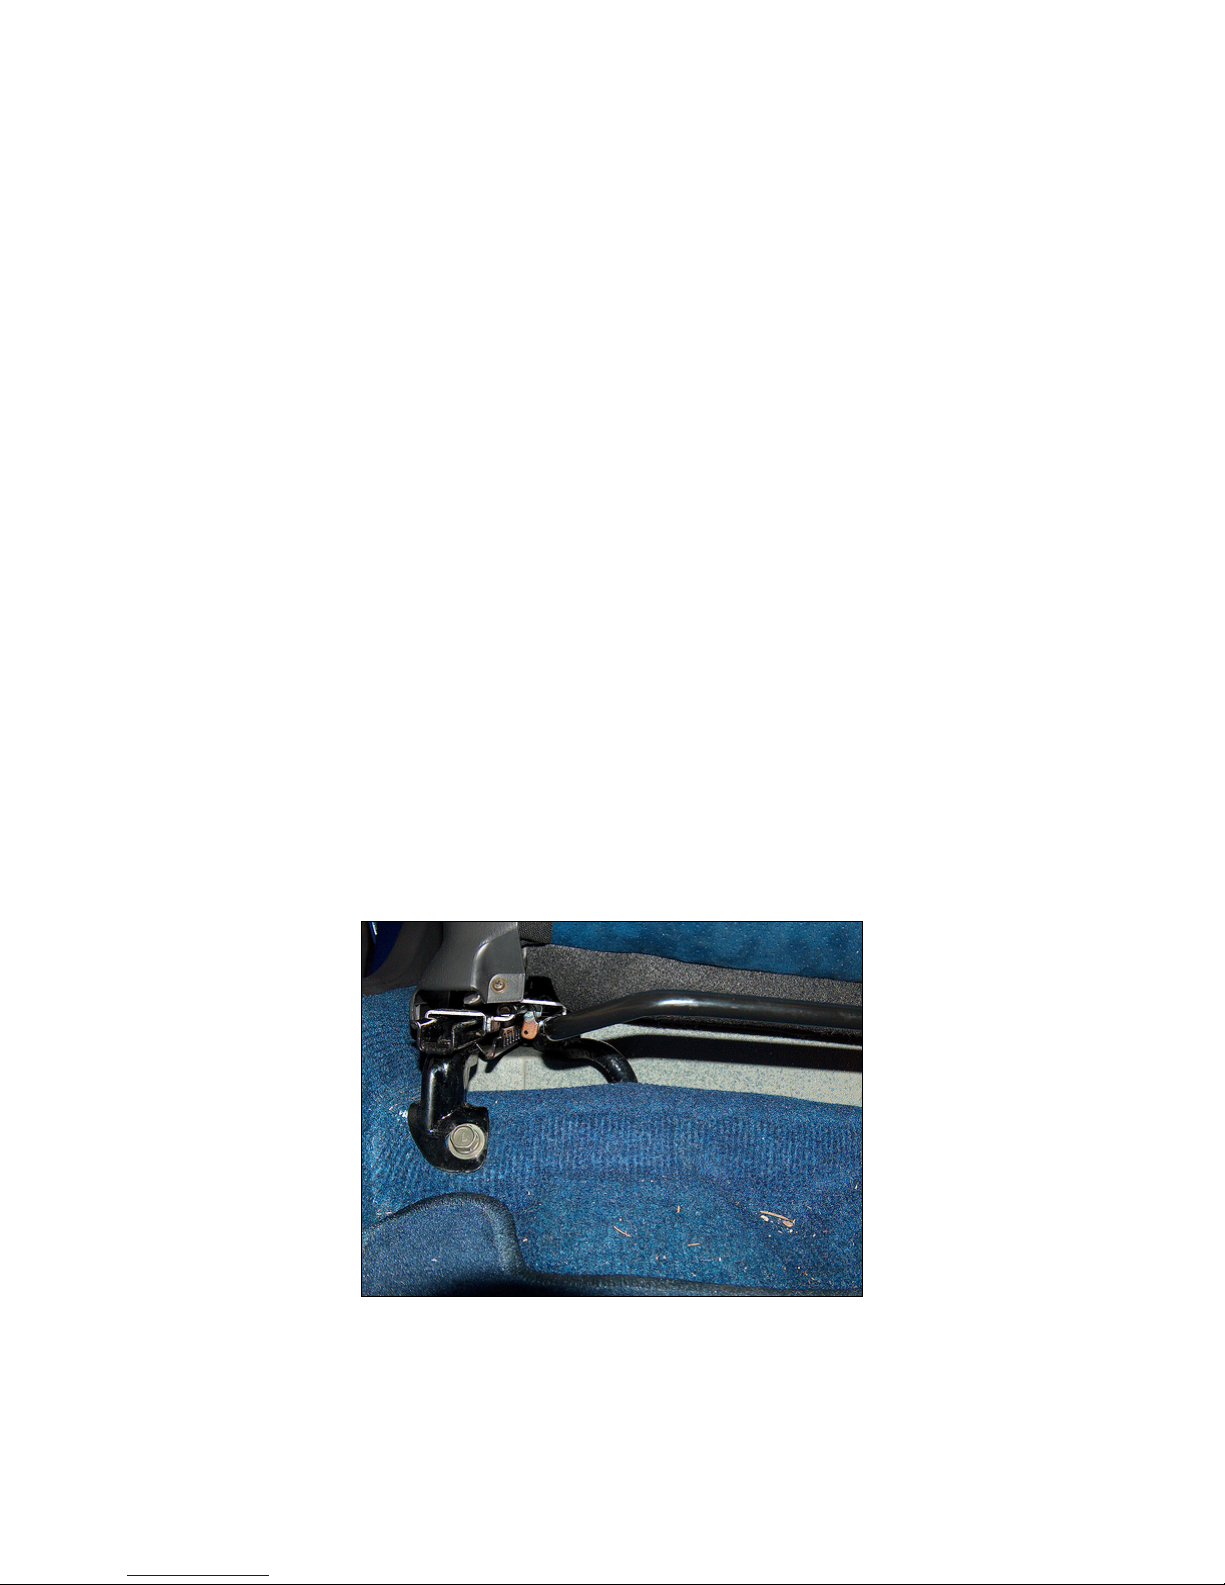
7.3. Reinstalling the Bolts
Before bolting the seat on, make sure the thick black cable ends up in the wire gutter while
reattaching the seat (Figure 8).
Figure 8
We recommend reinstalling the bolts in the opposite order they were removed. It is easier to
get everything situated properly if the front bolts are installed half-way then the rear bolts