y Shenzhen Xunlong Software Co Orange Pi 2G-IOT User manual

Orange Pi 2G-IOT User Manual Copy right by Shenzhen Xunlong Software Co., Ltd
www.orangepi.org www.xunlong.tv
I
Orange Pi 2G-IOT
User Manual

Orange Pi 2G-IOT User Manual Copy right by Shenzhen Xunlong Software Co., Ltd
www.orangepi.org www.xunlong.tv
II
Content
I. Orange Pi Introduction........................................................................................................................... 1
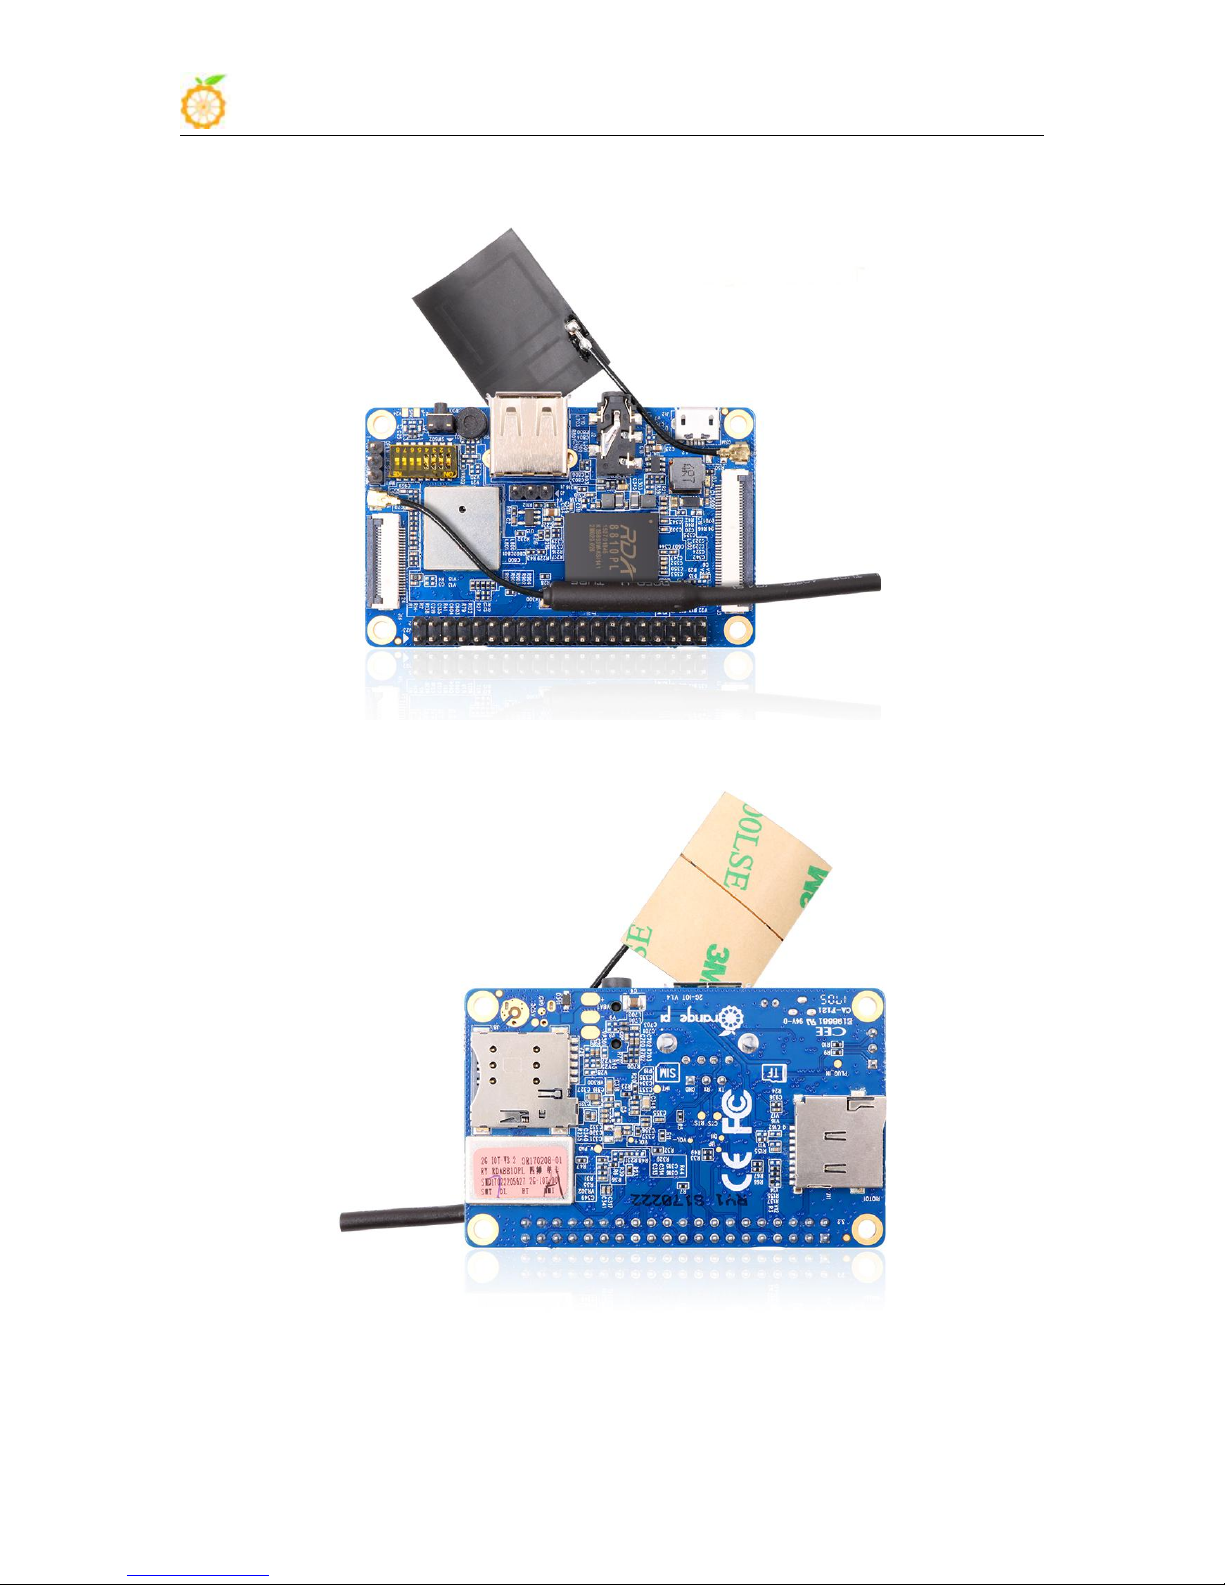
1. What is Orange Pi 2G-IOT?................................................................................................... 1
2. What can I do with Orange Pi 2G-IOT?................................................................................... 1
3. Whom is it for?......................................................................................................................... 1
4. Hardware specification............................................................................................................. 1
5. GPIO Specifications..................................................................................................................4
II. Using Method........................................................................................................................................6
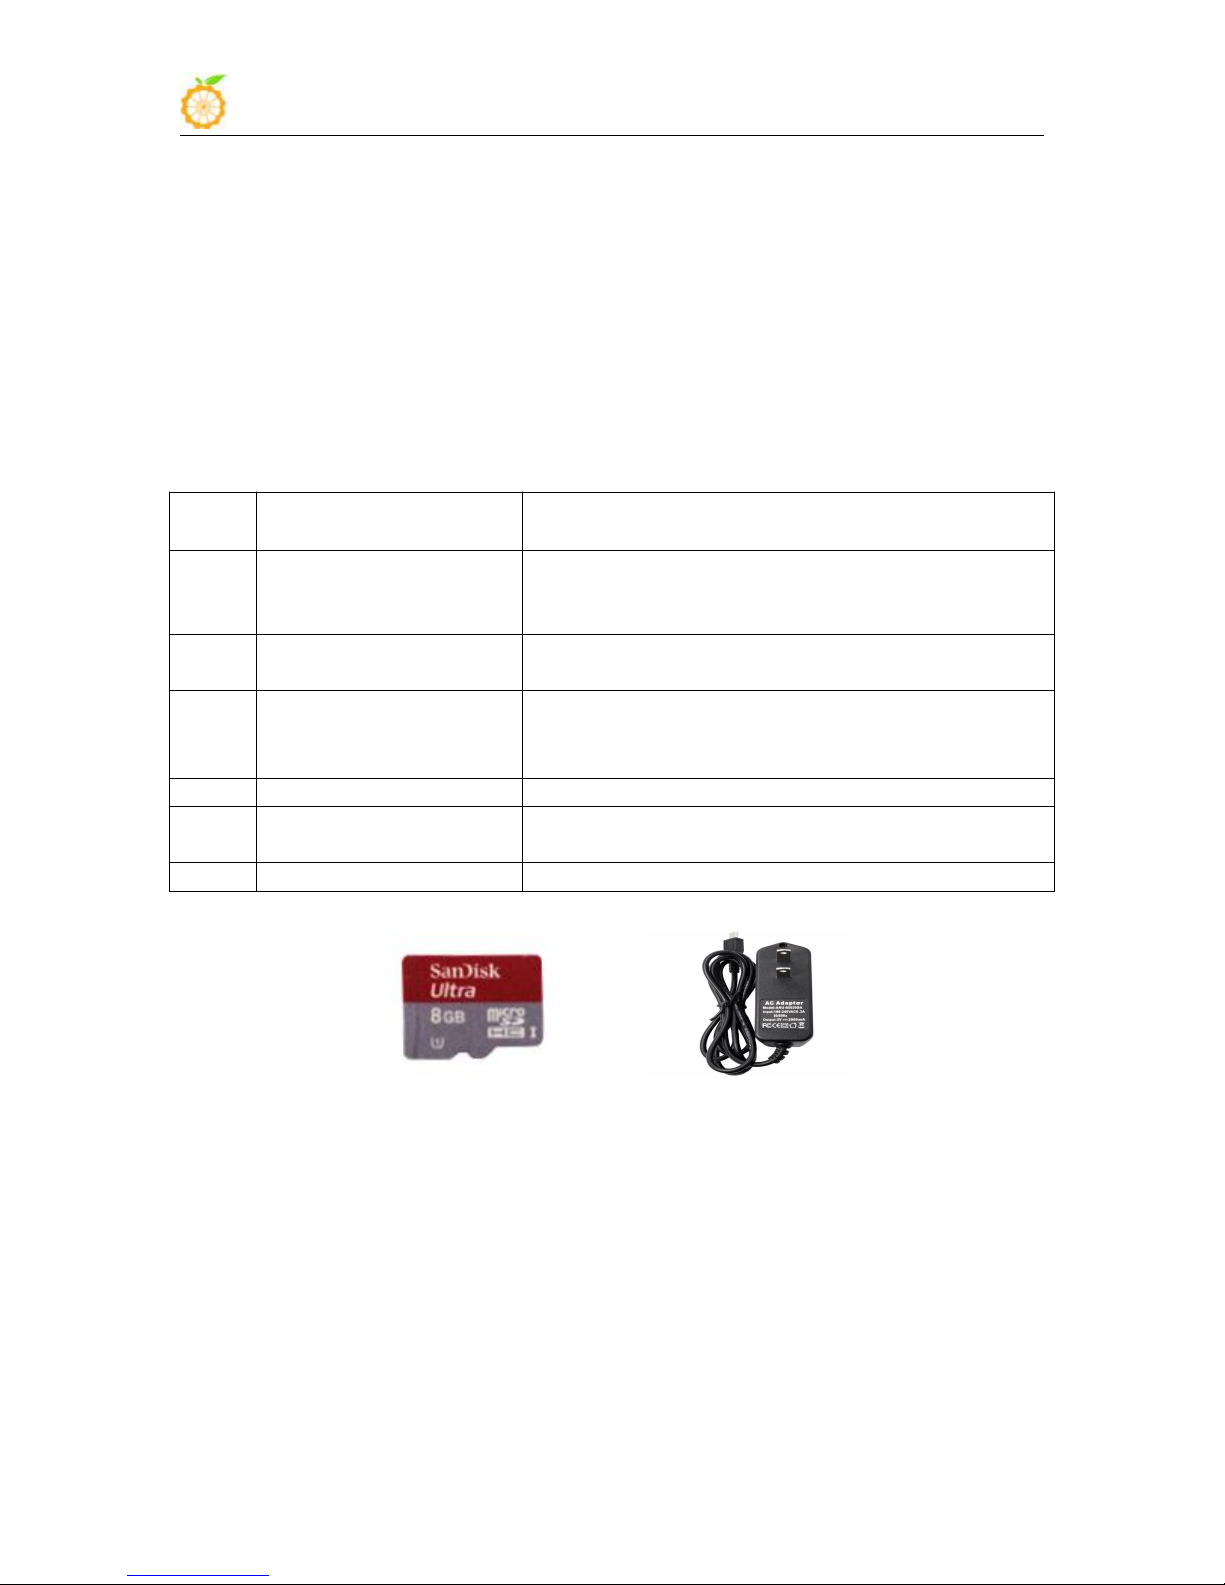
1. Step 1: Prepare Accessories Needed.........................................................................................6
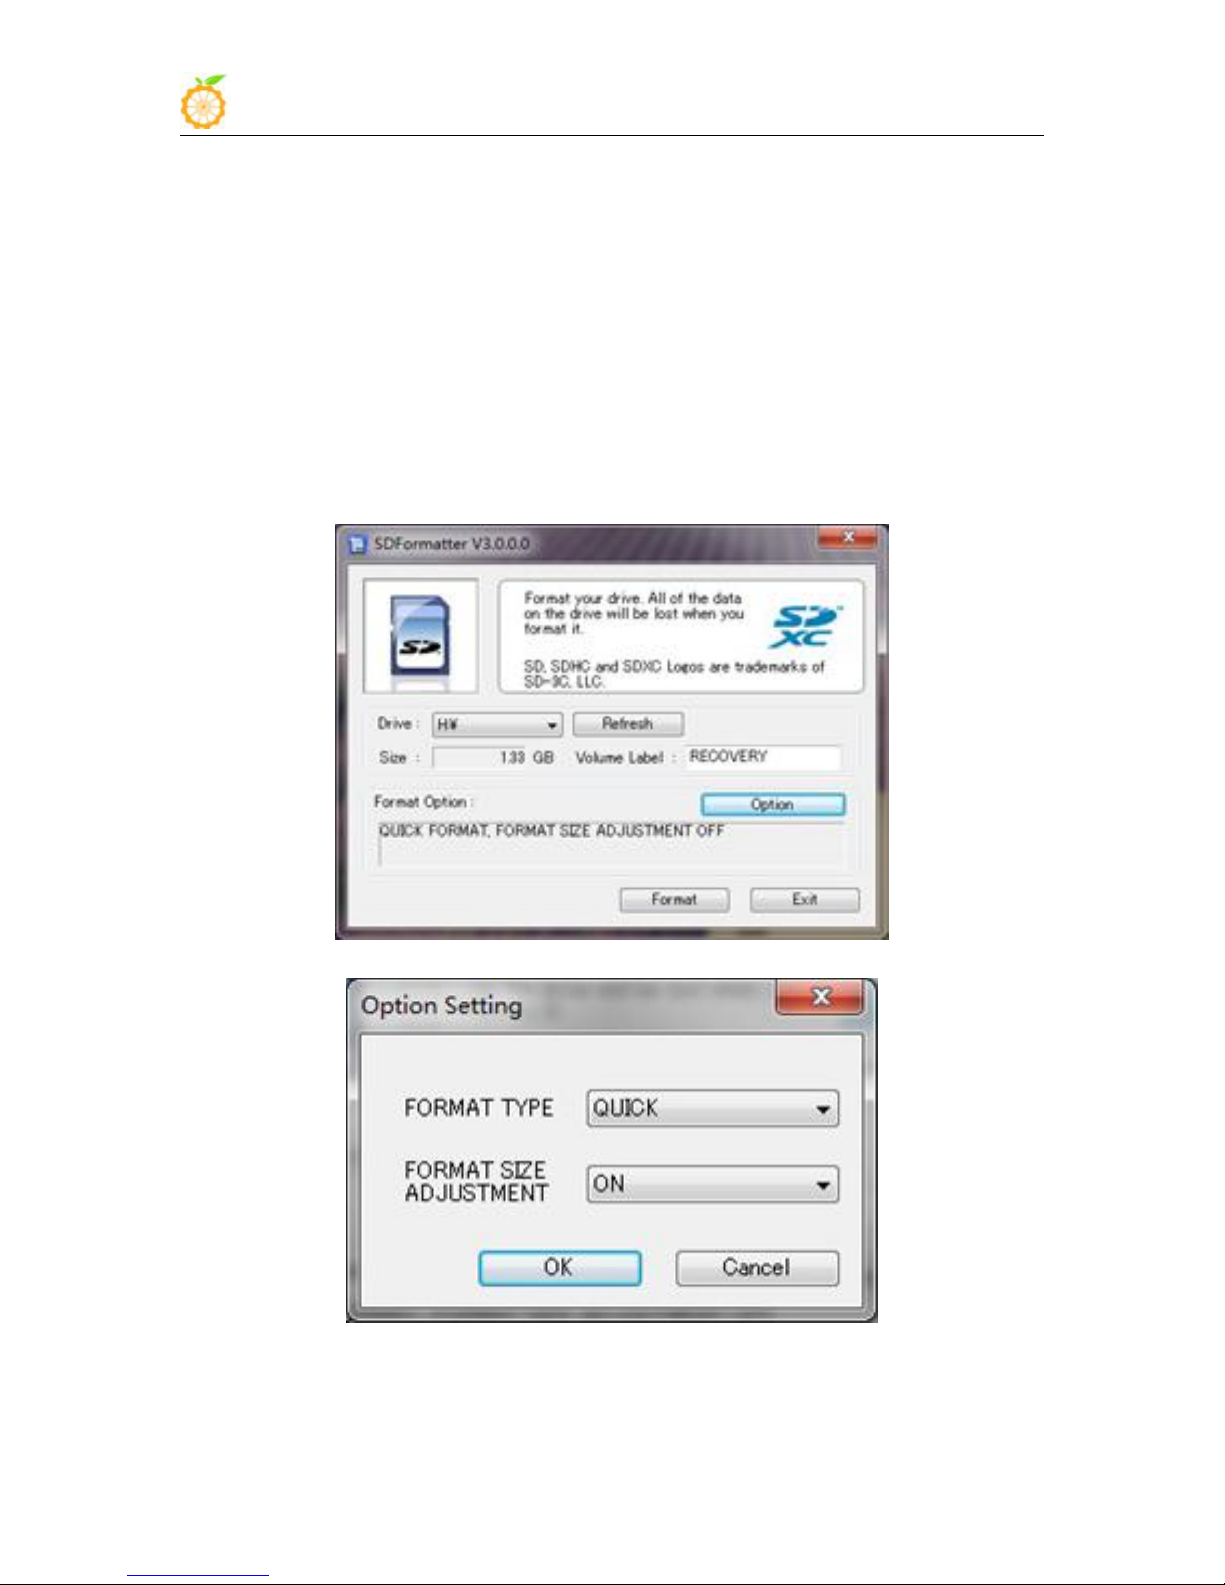
2. Step 2: Prepare a TF Card.........................................................................................................6
3. Step 3: Start your Orange Pi..................................................................................................... 9
4. Step 4: Turn off your Orange Pi correctly.............................................................................. 12
5. Initialize settings for your Linux system.................................................................................12
6. Write Android into Nand........................................................................................................ 13
7. Android in no screen ADB mode............................................................................................16
8. Universal software configuration............................................................................................18
9. Usage of GPIO and WiringPi..................................................................................................21
10. Connect to Network via GSM...............................................................................................25
11. Use GSM to Connect Network............................................................................................. 51
III. Source Code Compilation of Android and Linux..............................................................................56
1. Install JDK.............................................................................................................................. 56
2. Install Platform Supported Software.......................................................................................57
3. Download the Source Package and Unzip it...........................................................................57
4. Android source code compiler................................................................................................ 57
5. Compile Linux source Code................................................................................................... 59
IV. Orange Pi Driver development.......................................................................................................... 64
1. Device driver and application programming.......................................................................... 64
2. Compile device driver.............................................................................................................66
4. Running driver and application...............................................................................................68
V. Using Debug tools on OrangePi..........................................................................................................70
1. Operations on Windows..........................................................................................................70
2. Operations on Linux................................................................................................................74

Orange Pi 2G-IOT User Manual Copy right by Shenzhen Xunlong Software Co., Ltd
www.orangepi.org www.xunlong.tv
1
I. Orange Pi Introduction
1. What is Orange Pi 2G-IOT?
It’s an open-source single-board computer. It can run Android 4.4, Ubuntu, Debian,
Raspberry Pi image. It uses the RDA8810 Soc, and has 256MB LPDDR2 SDRAM.
2. What can I do with Orange Pi 2G-IOT?
You can use it to build…
A computer
A wireless server
Games
Music and sounds
HD video
A speaker
Android
Scratch
Pretty much anything else, because Orange Pi 2G-IOT is open source.
3. Whom is it for?
Orange Pi 2G-IOT is for anyone who wants to create with technology– not just
consuming. It's a simple, fun, useful tool and you can use it to take control of the world
around you.
4. Hardware specification
Hardware specification
CPU
ARM Cortex-A5 32bit
GPU
Separate graphic processor, Vivante's GC860
support OpenGLES1.1/2.0
support OpenVG1.4
support DirectFB
support GDI/DirecShow
30M Triangle/s, 250M Pixel/s
Memory (SDRAM)
Integrated 256MB LPDDR2 SDRAM
Onboard Storage
TF card / Integrated 500MB 8Bit 1.8V 4K SLC Nand Flash

Orange Pi 2G-IOT User Manual Copy right by Shenzhen Xunlong Software Co., Ltd
www.orangepi.org www.xunlong.tv
2
Onboard WIFI+BT
RDA5991, WIFI+BT
2G model
The four frequency single card
GSM/GPRS Dedicated accelerators
SIM card
Video Input
A CSI input connector Camera:
Supports 8-bit YUV422 CMOS sensor interface
Supports CCIR656 protocol for NTSC and PAL
Supports SM pixel camera sensor
Supports video capture solution up to 1080p@30fps
Audio Input
MIC, 3.5 mm Jack
Video Outputs
LCD
Audio Output
3.5 mm Jack、FM、SPEAK(Optional)
Power Source
USB OTG input can supply power
Battery input can supply power(Optional)
USB 2.0 Ports
One USB 2.0 HOST, One USB 2.0 OTG
Buttons
Power Button(SW602)
Low-level
peripherals
40 Pins Header, compatible with Raspberry Pi B+
GPIO(1x3) pin
UART, ground.
LED
Power led
Supported OS
Android, Ubuntu, Debian, Rasbian
Interface definition
Product size
67mm × 42mm
Weight
35g
Orange Pi™ is a trademark of the Shenzhen Xunlong Software CO., Limited

Orange Pi 2G-IOT User Manual Copy right by Shenzhen Xunlong Software Co., Ltd
www.orangepi.org www.xunlong.tv
3
Top view
Bottom view

Orange Pi 2G-IOT User Manual Copy right by Shenzhen Xunlong Software Co., Ltd
www.orangepi.org www.xunlong.tv
4
Interface instructions:
5. GPIO Specifications
The CSI Camera Connector is a 24-pin FPC connector which can connect external

Orange Pi 2G-IOT User Manual Copy right by Shenzhen Xunlong Software Co., Ltd
www.orangepi.org www.xunlong.tv
5
camera module with proper signal pin mappings. The pin of CIS connector can be
defined as follows. The connector marked with "CON 1" on the Orange Pi 2G-IOT is
camera connector.
OrangePi 2G-IOT-CSI
CON1-P01
NC
CON1-P02
GND
CON1-P03
TWI2-SDA
PE13
CON1-P04
VCC-CSI
CON1-P05
TWI2-SCK
PE12
CON1-P06
CSI-RESET#
PE15
CON1-P07
CSI-VSYNC
PE3
CON1-P08
CSI-STBY-EN
PE15
CON1-P09
CSI-HSYNC
PE2
CON1-P10
VDD1V8-CSI
CON1-P11
VCC-CSI
CON1-P12
CSI-D7
PE11
CON1-P13
CSI-MCLK
PE1
CON1-P14
CSI-D6
PE10
CON1-P15
GND
CON1-P16
CSI-D5
PE9
CON1-P17
CSI-PCLK
PE0
CON1-P18
CSI-D4
PE8
CON1-P19
CSI-D0
PE4
CON1-P20
CSI-D3
PE7
CON1-P21
CSI-D1
PE5
CON1-P22
CSI-D2
PE6
CON1-P23
GND
CON1-P24
AFVCC-CSI

Orange Pi 2G-IOT User Manual Copy right by Shenzhen Xunlong Software Co., Ltd
www.orangepi.org www.xunlong.tv
6
II. Using Method
You can configure your Orange Pi in a very short period of time and use it according
to the following steps. You need to fulfill the several steps before booting your Orange Pi.
1. Step 1: Prepare Accessories Needed
The first time you use the Orange Pi, you need at least some parts for the following:
No.
Items
Requirements and Instructions
1
TF card
8GB ; class 10 (for now it only supports 8GB SD
card).Branded TF cards which are much more
reliable are the good choice
2
Power adapter
At lease 5V/2A high quality power adapter, OTG
could use as power supply.
3
Keyboard and mouse
Any keyboard and mouse with USB port is
applicable; Keyboard and mouse are high-power, so
a USB concentrator is required.
4
TTL to USB cable
Support debug log in.
5
Audio cable (Optional)
You can select an audio cable with 3.5mm jack to
feel stereo audio.
6
SIM Card (Optional)
Support 2G SIM card
TF card OTG power adapter
2. Step 2: Prepare a TF Card
In order to be able to us Orange Pi normally, you must first install the operating
system into the TF card or Nand. The following instructions will teach you how to write
the operating system image file to the Windows and Linux Platform. For now this board
could support boot from TF card with Android and Linux distro, and could support boot
from Nand with Android. It will illustrate about how to write image into Nand.

Orange Pi 2G-IOT User Manual Copy right by Shenzhen Xunlong Software Co., Ltd
www.orangepi.org www.xunlong.tv
7
1) Writing image into a SD card on Windows:
a. Inserting the TF card into the computer, the capacity of the card must be larger than
the operating system image, usually requires 8GB or bigger capacity.
b. Formatting the TF card.
i. Download tools for formatting TF card, such as TF Formatter, could be
download from
https://www.sdcard.org/downloads/formatter_4/eula_windows/
ii. Unzip the downloaded files, and run setup.exe
iii.In the options settings option set the format type option to quick
formatting. Logical size adjustment option to open "(ON)”
iv. Make sure the inserted TF card codes are in accordance with the chosen
codes.
v. Click the "Format"button.
c. Download the operating system image file from the download page, the page address

Orange Pi 2G-IOT User Manual Copy right by Shenzhen Xunlong Software Co., Ltd
www.orangepi.org www.xunlong.tv
8
is as follows: http://www.orangepi.cn/downloadresourcescn/
d. Unzip the downloaded file (in addition to the Android system, this method can be
used to burn to write, the Android system need another burn, the following will
introduce).
e. Right click the downloaded file, select "Unzip file" to write image to TF card.
i. Download tools to write image, such as Win32 Diskimager,
http://sourceforge.net/projects/win32diskimager/files/Archive/.
ii. Select the path of image file that has been unzipped.
iii. Click the "Write" button and wait for the image writing.
iv. After the image is written, click the "Exit" button.
2) Writing image into a SD card on Linux:
a. Inserting the TF card into the computer, the capacity of the card must be larger than
the operating system image, usually requires 8GB or bigger capacity.
b. Formatting the TF card.
i. Run fdisk –l command to make sure TF disk.
ii. Run umount /dev/sdxx to uninstall all partitions of TF Card.
iii. Run sudo fdisk /dev/sdx command. Use director to delete all partitions of
TF Card, and then us ncommand to add a new partition, finally use w
command to save and exit.
iv. Run sudo mkfs.vfat /dev/sdx1 command to format the TF card partition
set up last step to FAT32 form(according to your TF card disk to replacex).
Or you could skip this step since command in Linux will format TF card
automatic.
c. Download the image OS from download page:
http://www.orangepi.cn/`downloadresourcescn/
d. Unzip the downloaded file and right click it, select " Unzip file"
e. Write image into TF card
i. Run sudo fdisk –l command to make sure the TF card disk

Orange Pi 2G-IOT User Manual Copy right by Shenzhen Xunlong Software Co., Ltd
www.orangepi.org www.xunlong.tv
9
ii. Make sure the image file hash key is the same as download page
offered(optional) :
sha1sum [path]/[imagename]
Here will be output some number which should be same as the image page
line of "SHA-1"
iii. Run umount /dev/sdxx command to uninstall all partitions in TF Card
iv. Run the command of sudo dd bs=4M if=[path]/[imagename]
of=/dev/sdx to write image file and wait for it finished. You can run sudo
pkill –USR1 –n –x dd command to check the procedure.
3. Step 3: Start your Orange Pi
Insert the TF card with written image into the TF card slot
Make sure the toggle switch is showing like the following, booting from SD card.
Insert the keyboard or mouse into the USB port.
Connect wifi antenna and base-band antenna

Orange Pi 2G-IOT User Manual Copy right by Shenzhen Xunlong Software Co., Ltd
www.orangepi.org www.xunlong.tv
10
Connect LCD and Camera

Orange Pi 2G-IOT User Manual Copy right by Shenzhen Xunlong Software Co., Ltd
www.orangepi.org www.xunlong.tv
11
Connect TTL cable, you could refer to the Debug method in this instruction.
Android and Linux use different Baud rate, please note the Baud rate setting.
Android Baud rate is 921600, Linux Baud rate is 921600
Serial port uses TTL to USB cable to connect.
It is the power input interface on the right side for connecting a 5V and at least 2A or
bigger than 2A power adapter. Avoid using smaller power GSM mobile phone
charger, it is not able to output 2A even if it marked "5V/2A".
If the above steps are successful, the OrangePi will start in a few minutes. The
monitor Graphical interface of display system. It may take a long time to start the first

Orange Pi 2G-IOT User Manual Copy right by Shenzhen Xunlong Software Co., Ltd
www.orangepi.org www.xunlong.tv
12
time, please wait patiently. The next time will boot very fast.
4. Step 4: Turn off your Orange Pi correctly
You can use the shutdown button on the interface to safety close the Orange Pi. You
can also close the system by entering command in the shell:
sudo halt
or
sudo shutdown –h
It will be safety to turn off the Orange Pi. If directly use the power button to shut
down the system may damage the file system on TF Card. After the system is closed, the
power can be cut off by more than 5 seconds’ press. If all the above steps run, then your
Orange Pi could shut down.
5. Initialize settings for your Linux system
You need to make some basic settings when it is you first time to use Linux on
Orange Pi 2G-IOT, like wifi setting, audio setting, user setting.
1) Wifi setting on serial port
In the use of serial login system, enter the login password the system will prompt
you to use the OrangePi_Settings tool to make some basic setting, including wifi setting.
You could use the following command in the order line:
sudo OrangePi_Settings
> wifi settings
This setting include the functions of WIFI statue setting, wifi searching and connect
to AP. You could use this method to set wifi.
2) Use ssh to connect wifi
You need to use two cellphones if you want to use this function. Please refer to this:
Orange Pi 2G-IOT is defaulted to connect the hotspot of orangepi, the password is
orangepi. Use another cellphone’s hotspot function, setting the hot spot name as orangepi,
password as orangepi. It will connect to orangepi hotspot default after booting the system.
After that, use another cellphone to connect the hotspot, and use “wifi assistant” to check
the IP of Orange Pi 2G-IOT.
After getting the IP of Orange Pi 2G-IOT, you could use SSH remote login in Linux

Orange Pi 2G-IOT User Manual Copy right by Shenzhen Xunlong Software Co., Ltd
www.orangepi.org www.xunlong.tv
13
PC or Windows PC. Command as following:
Password: orangepi
After enter the system via ssh, run the following command to connect to router:
sudo OrangePi_Settings
6. Write Android into Nand
Orange Pi 2G-IOT is supported boot from Nand, and also supported update Android
in Nand.
1) Boot Android from NAND
Switching the boot mode into NAND via short jumper cap.
Power it on, Orange Pi 2G-IOT will boot from NAND.
2) Update Android in NAND
Short jumper cap to switch the system to boot from NAND, set toggle switch into
1234 UP, 5678 Down like the following:

Orange Pi 2G-IOT User Manual Copy right by Shenzhen Xunlong Software Co., Ltd
www.orangepi.org www.xunlong.tv
14
3) Install writing tool on Windows
For now Nand writing tool could only support working on Windows, you could
download the tool from official website: http://www.orangepi.org/downloadresources/
4) Install USB driver on Windows
Unzip the tool file, install the USB driver, here is the path:
*/OrangePi_2G-IOT_Toolschain/USB_Driver/USB-driver/
You should install it according to your PC, if your PC is 32bit, then install x86 USB

Orange Pi 2G-IOT User Manual Copy right by Shenzhen Xunlong Software Co., Ltd
www.orangepi.org www.xunlong.tv
15
driver, if it is 64bit, then is x64 USB driver.
5) Download Android Nand image
Here is the ink for Orange Pi 2G-IOT Nand version image:
http://www.orangepi.org/downloadresources/
6) Use writing tool
Use writing tool to write NAND:
*/OrangePi_2G-IOT_Toolschain/OrangePi_2G-IOT_NandUpdate_Tools/OrangePi_2G-I
OT_Update.exe.
Click “load BIN” to import the image of NAND version into writing tool. After that,
click Download button to download the image. Meanwhile, the tool is waiting for the
download link of Orange Pi 2G-IOT.

Orange Pi 2G-IOT User Manual Copy right by Shenzhen Xunlong Software Co., Ltd
www.orangepi.org www.xunlong.tv
16
7) Download Image
Prepare an Android USB to DC cable, first connect to the OTG port of Orange Pi
2G-IOT, then push on the power button for 5s, and connect the cable to the Windows PC.
Meanwhile, the screen will indicate that connect successful and downloading. It will take
around 3min to finished downloaded, after that, reboot the system and then the system
will run on the update Android.
Note: If it could not download, please check the the shorting cap and switch.
7. Android in no screen ADB mode
ADB setting: Set the toggle switch into 1234 “UP”, 5678 “Down”, the system will
switch into adb model, in this model, the USB is unable.

Orange Pi 2G-IOT User Manual Copy right by Shenzhen Xunlong Software Co., Ltd
www.orangepi.org www.xunlong.tv
17
Connect to the OTG port of Oragne Pi 2G-IOT with the USB to DC cable, the other
side connect to PC, push the power button and then the system will be Android.
If the PC haven’t set on adb, then please refer to the teaching method of Ubuntu and
Windows adb in internet. Use adb command in the PC terminal to connect the adb:
adb shell
After connect to OrangePi 2G-IOT via adb, you could refer to the adb debug method
from the internet to enter into Orange Pi 2G-IOT
We would recommend you use Plug-in Vysor in Chrome browser, this tool could enter
Android via adb:

Orange Pi 2G-IOT User Manual Copy right by Shenzhen Xunlong Software Co., Ltd
www.orangepi.org www.xunlong.tv
18
8. Universal software configuration
1) Change default account
The default log-in account and password is orangepi/orangepi or root/orangepi.
It is recommended to modify the default orangepi account to your own account for
secure sake. Take changing into Zhangsan as a sample. Steps are as follows:
a. Use root account to login Orange Pi
b. $ usermod -l zhangsan orangepi
Change account of orangepi into Zhangsan
c. $ groupmod -n zhangsan orangepi
Change group
d. $ mv /home/ornagepi /home/zhangsan
Change directory of original orangepi
e. $ usermod -d /home/orangepi orangepi
Set this directory into orangepi user's home directory
Table of contents