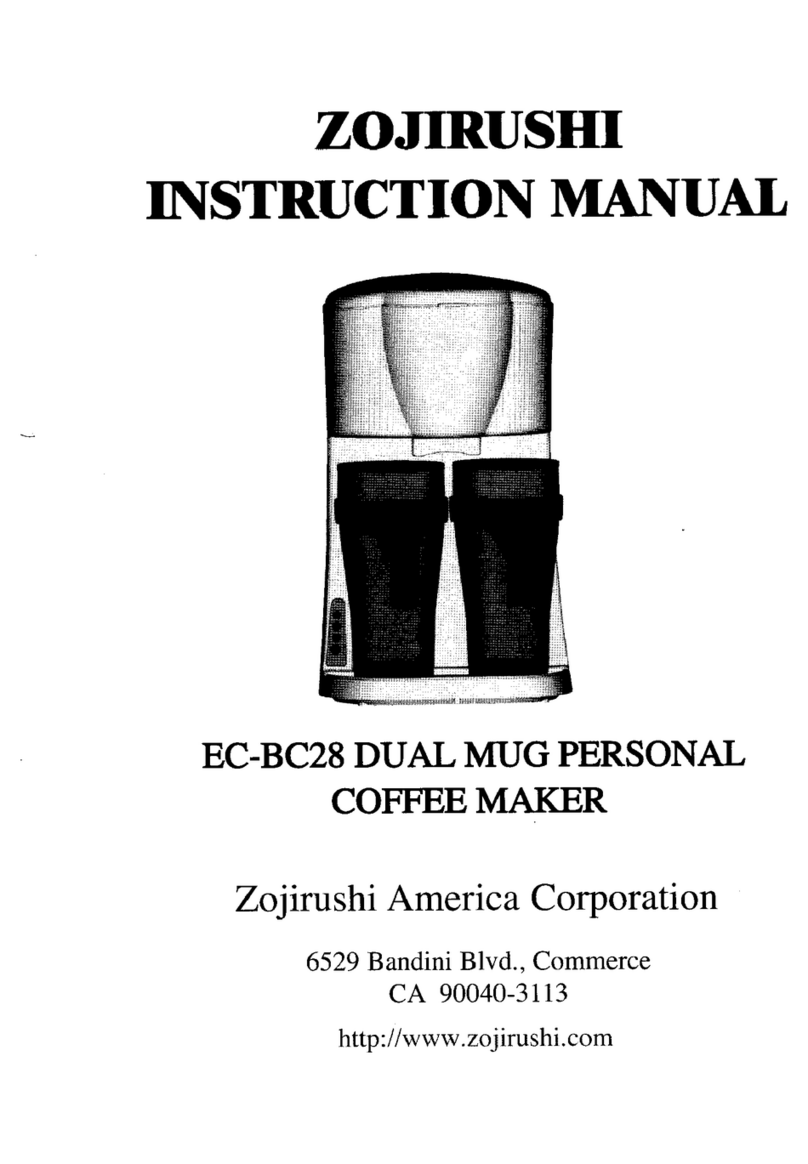
Zojirushi EC-BD15 User manual

ZOJIRUSHI.
INSTRUCTION
MANUAL
EC-BD15
Fresh
Brew
Stainless
Steel
Thermal
Carafe
Coffee
Maker
Zojirushi
America
Corporation
6259
Bandini
Blvd.,
Commerce
CA
90040-3113
http://www.zojirushi.com

IMPORTANT
SAFEGUARDS
When
using
electrical
appliances,
in
order
to
reduce
the
risk
of
fire,
electric
shock,
and/or
injury,
basic
safety
precautions
should
always
be
followed,
including
the
following:
1.
2.
3.
4.
5.
PLEASE
READ
ALL
INSTRUCTIONS.
Do
not
touch
hot
surfaces.
Use
handle
and
knobs.
To
protect
against
electric
shock,
do
not
place
cord,
plug,
or
Coffee
Maker
base
in
water
or
other
liquid.
Close
supervision
is
necessary
when
any
appliance
is
used
by
or
near
children.
Unplug
from
outlet
when
not
in
use
and
before
cleaning.
Allow
cooling
before
putting
on-or
taking
off
parts
and
before
cleaning
the
appliance.
.
Do
not
operate
coffeemaker
without
water
in
reservoir.
-
Do
not
operate
any
appliance
with
a
damaged
cord
or
plug
or
after
the
appliance
has
malfunctioned
or
has
been
dropped
or
damaged
in
any
manner.
Return
appliance
to
Repair
Center
for
examination,
repair,
and
electric
or
mechanical
adjustment.
.
The
use
of
accessory
attachments
not
approved
for
use
with
this
coffeemaker
may
result
in
fire,
electric
shock
or
injury.
Do
not
use
outdoors.
.
Do
not
let
cord
hang
over
edge
of
table
or
counter,
or
touch
hot
surfaces.
.
Do
not
place
on
or
near
a
hot
gas
or
electric
burner,
or
in
a
microwave
oven
or
heated
oven.
.
Always
fill
water
reservoir
first,
then
plug
cord
into
the
wall
outlet.
To
disconnect,
turn
controls
to
"off".
Then
remove
plug
from
wall
outlet.
.
Do
not
use
appliance
for
other
than
intended
use.
.
Screw
lid
securely
onto
carafe
before
serving
any
beverages.
.
Scalding
may
occur
if
the
lid
is
opened
or
removed
during
brewing.

16.
The
carafe
is
designed
for
use
with
these
appliances
only.
It
must
never
be
used
on
the
range
top.
17.
Do
not
use
cracked
carafe
or
a
carafe
having
a
loose
or
weakened
assembly.
18.
Do
not
clean
carafe
or
warming
plate
with
cleansers,
steel
wool
pads,
or
other
abrasive
material.
49.
WARNING:
TO
PREVENT
FIRE
OR
ELECTRIC
SHOCK,
NO
USER
SERVICEABLE
PARTS
ARE
INSIDE.
REPAIR
SHOULD
BE
DONE
BY
AUTHORIZED
PERSONNEL
ONLY.
SAVE
THESE
INSTRUCTIONS
FOR
HOUSEHOLD
USE
ONLY
WARNING
RISK
OF
FIRE
OR
ELECTRIC
SHOCK
The
lightning
flash
with
arrowhead
symbol,
within
an
equilateral
triangle,
is
intended
to
alert
the
user
to
presence
of
uninsulated
"
dangerous
voltage
"
within
the
product's
enclosure
that
may
be
of
sufficient
magnitude
to
constitute
a
risk
of
fire
or
electric
shock
to
persons.
The
exclamation
point
within
an
equilateral
triangle
is
intended
to
alert
the
user
to
the
presence
of
important
operating
and
maintenance
(servicing)
instructions
in
the
literature
accompanying
the
appliance.

RISK
OF
FIRE
OR
ELECTRIC
SHOCK
DO
NOT
OPEN
WARNING,
TO
REDUCE
THE
RISK
OF
FIRES
OR
ELECTRIC
SHOCK
DO
NOT
REMOVE
COVER
(OR
BACK)
NO
USER-SERVICEABLE
PARTS
INSIDE
REPAIR
SHOULD
BE
DONE
BY
AUTHORIZED
SERVICE
PERSONNEL
ONLY
NOTICE
This
appliance
has
a
polarized
plug
(one
blade
is
wider
than
the
other).
To
reduce
the
risk
of
electric
shock
,
this
plug
will
fit
in
a
polarized
outlet
only
one
way.
If
the
plug
does
not
fit
fully
in
the
outlet,
reverse
the
plug.
If
it
still
does
not
fit
,
contact
a
qualified
electrician.
Do
not
modify
the
plug
in
any
way.
OPERATING
NOTICE
Clogging
and
backing
up
of
water
and
or
coffee
in
the
filter
basket
can
occur
under
any
or
a
combination
of
any
of
following
conditions:
the
use
of
too
finely
ground
coffee;
using
two
or
more
paper
filters;
using
the
gold
filter
in
conjunction
with
a
paper
filter
or
not
properly
cleaning
coffee
grounds
from
the
gold
filter;
or
allowing
coffee
grounds
to
spill
over
the
filter.
Caution:
never
open
the
filter
basket
during
the
brewing
cycle,
even
if
no
water
is
draining
from
the
filter
basket,
since
extremely
hot
water
‘coffee
can
spill
out
from
the
filter
basket
and
cause
injury.
If
water
/coffee
is
not
draining
from
the
filter
basket
during
the
brewing
cycle,
unplug
the
unit
and
wait
10
minutes
before
opening
and
checking
the
filter
basket.

Operating
instructions
Lid
Reservoir
Water
level
indicator
Water
outlet
Inner
filter
basket
Stainless
steel
filter
basket
Pause
and
serve
Carafe
cover
.
Carafe
handle
10.
Thermal
carafe
11.
Carafe
lid
12.
Control
panel
OONOAPON
>

Control
panel
Before
first
use
13.
14.
15.
16.
17.
18.
19.
20.
21.
22.
Display
Auto
indicator
Min.
button
ON
button
OFF
button
Auto
button
Prog.
button
Power
indicator
Hour
button
PM
indicator
Before
brewing
the
first
pot
of
coffee,
we
recommend
operating
the
coffeemaker
once
using
only
cold
water
and
a
filter
paper.
This
will
remove
any
dust
or
residue
in
the
system
that
remains
from
the
manufacturing
process.
Never
immerse
unit
or
cord
in
water
or
other
liquid.
Programmable
clock/timer
To
Set
Clock:
1.
Plug
in
coffeemaker.
Numbers
on
the
clock
will
flash
until
the
time
is
set
or
the
coffeemaker
is
turned
ON.
2.
Press
the
Hour
button
until
the
current
hour
is
displayed.
A
red
dot
will
glow
to
indicate
PM.
Press
the
Min.
button
until
the
current
minute
is
displayed
.
The
clock
is
now
set.

Making
coffee
4,
3.
Swing
out
the
water
outlet;
place
a
#4
cone-shaped
disposable
paper
filter
in
the
inner
filter
basket.
For
each
cup
of
coffee
being
made,
place
one
level
scoop
(or
1
tablespoon)
of
coffee
into
filter.
Note:
The
amount
of
ground
coffee
used
depends
on
personal
taste
preference.
Medium
ground
coffee
is
recommended.
Loosen
the
carafe
cover,
fill
the
carafe
with
cold
water,
and
then
tighten
the
carafe
cover.
Pour
cold
water
from
the
thermal
carafe
into
the
reservoir
up
to
the
desired
level
as
shown
on
the
water
level
indicator.
Return
the
carafe
to
the
brewing
platform.
.
Close
the
lid,
water
outlet
will
automatically
return
to
the
brewing
position.
If
using
the
programmable
clock
feature,
follow
steps
9-11.
If
not,
simply
press
the
ON
button
to
start
brewing
.
The
coffeemaker
has
a
pause
and
serve
feature,
this
makes
it
convenient
for
you
drink
coffee
while
coffee
is
brewing.
To
Program
Automatic
Brew:
9.
Make
sure
clock
is
set
for
correct
time
of
day.
40.
Press
and
hold
the
Prog.
button
while
pressing
the
Hour
button
to
set
hours;
then
press
the
Min.
button
to
set
minutes
until
the
desired
brew
time
is
displayed.
41.
To
have
coffeemaker
automatically
begin
brewing
,
press
the
Auto
button.
A
red
dot
will
glow
in
the
lower
right
corner
to
indicate
that
the
coffeemaker
is
ready
to
begin
automatic
brewing
.
Note:
The
coffee
maker
should
automatically
shut
off(Power
indicator
turns
off)
after
15
minutes
operation.
Do
not
add
water
in
the
tank
while
the
power
indicator
is
"ON".

Pause
and
Serve
This
feature
allows
you
to
pour
a
cup
of
coffee
before
the
entire
brew
cycle
has
completed.
By
removing
the
carafe,
the
flow
of
coffee
will
temporarily
stop.
The
flow
of
coffee
will
resume
when
carafe
is
returned
on
position.
Note:
Do
not
remove
carafe
more
than
30
seconds
or
brew
basket
may
overflow.
12.
After
the
coffeemaker
cools
down,
open
the
lid,
swing
out
water
outlet,
lift
inner
filter
basket
to
wash
and
replace
filter
for
next
brewing
.
How
to
use
thermal
carafe
1.
Thermal
carafe
keeps
coffee
hot
and
fresh
tasting
and
does
not
need
a
hot
plate.
2.
Before
brewing
,close
carafe
cover,
double
direction
arrow
(CLOSE&OPEN)
will
be
directed
indicator
"O"
on
carafe
spout.
Do
not
put
carafe
lid
on
carafe
cover.
Put
thermal
carafe
on
brewing
position.
3.
After
brewing
is
complete,
remove
the
thermal
carafe
from
brew
position,
close
carafe
lid
,this
will
keep
the
coffee
warm
and
fresh
for
hours.
4.
To
pour
coffee,
rotate
carafe
cover
half
turn
(180°),
carafe
cover's
indicator
"O"
will
be
directed
carafe's
indicator
"O".
Then
coffee
can
be
poured
from
thermal
carafe.

Cleaning
and
maintenance
This
appliance
requires
little
maintenance.
To
reduce
the
risk
of
electric
shock,
do
not
open
or
remove
lower
cover
of
unit.
It
contains
no
user
serviceable
parts.
Do
not
try
to
repair
it
yourself.
Refer
it
to
qualified
personnel
if
servicing
is
needed.
To
clean
coffeemaker
4.
Plug
in
the
coffeemaker.
2.
Pour
a
1/2
cup
of
plain
white
vinegar
into
thermal
carafe,
add
cold
water
until
is
filled.
3.
Pour
water
and
vinegar
into
water
reservoir.
Place
filter
in
fill
holder,
place
thermal
carafe
on
platform
and
turn
unit
ON.
Allow
to
steam
and
drip.
4.
Allow
unit
to
cool
for
10
minutes;
then
rinse
unit
by
filling
water
reservoir
with
clean,
cold
water
and
allowing
water
to
drip
into
thermal
carafe.
5.
Unplug
the
unit
and
clean
thermal
carafe
and
inner
filter
basket.
When
unit
has
cooled
,
wipe
with
a
dry
cloth.
Thermal
carafe
and
filter
basket
may
be
washed
in
warm,
soapy
water.
The
unit
can
be
wiped
clean
with
a
soft,
slightly
damp
cloth.

To
clean
stainless
steel
filter
basket
After
the
coffeemaker
cools
down,
open
lid,
and
then
swing
out
water
outlet,
lift
up
the
stainless
steel
filter
from
reservoir.
Stainless
steel
filter
basket
may
be
washed
in
warm,
soapy
water.
After
washing,
insert
the
basket
into
reservoir
using
the
two
holes
on
the
brewing
unit.
Note:
Never
use
abrasive
scouring
pads
or
cleanser.
Never
immerse
unit
in
water
or
any
other
liquid.
TO
STORE:
Caution:
Do
not
only
grip
stainless
steel
filter
basket
while
moving
or
storing
the
coffeemaker.
The
filter
basket
is
designed
to
be
detachable
for
washing
.
Unplug
unit;
store
in
its
box
in
a
clean,
dry
place.
Never
store
it
while
it
is
hot
or
still
plugged
in.
Never
wrap
cord
tightly
around
the
appliance.
Do
not
put
any
stress
on
the
cord
where
it
enters
the
unit
as
it
could
cause
the
cord
to
fray
and
break.

SHORT
CORD
INSTRUCTIONS
A.A
short
power-
supply
cord
(or
detachable
power-supply
cord)
is
to
be
provided
to
reduce
risks
resulting
from
becoming
entangled
in
or
tripping
over
a
longer
cord,
B.
Longer
detachable
power-supply
cords
or
extension
cords
are
available-
and
may
be
used
if
care
is
exercised
in
their
use.
C.
If
a
long
detachable
power-supply
cord
or
extension
cord
is
used,
1)
The
marked
electrical
rating
of
the
detachable
power-supply
cord
or
extension
cord
should
be
at
least
as
great
as
the
electrical
rating
of
the
appliance.
2)
If
the
appliance
i
is
of
the
grounded
type,
the
extension
cord
should
be
a
grounding
type
3-wire
cord,
and
3)
The
longer
cord
should
be
arranged
so
that
it
wil;
not
drape
over
the
counter
top
or
table
top
where
it
can
be
pulled
on
by
children
or
tripped
over.
Other manuals for EC-BD15
3
Table of contents
Other Zojirushi Coffee Maker manuals

Zojirushi
Zojirushi Zutto EC-DAC50 User manual
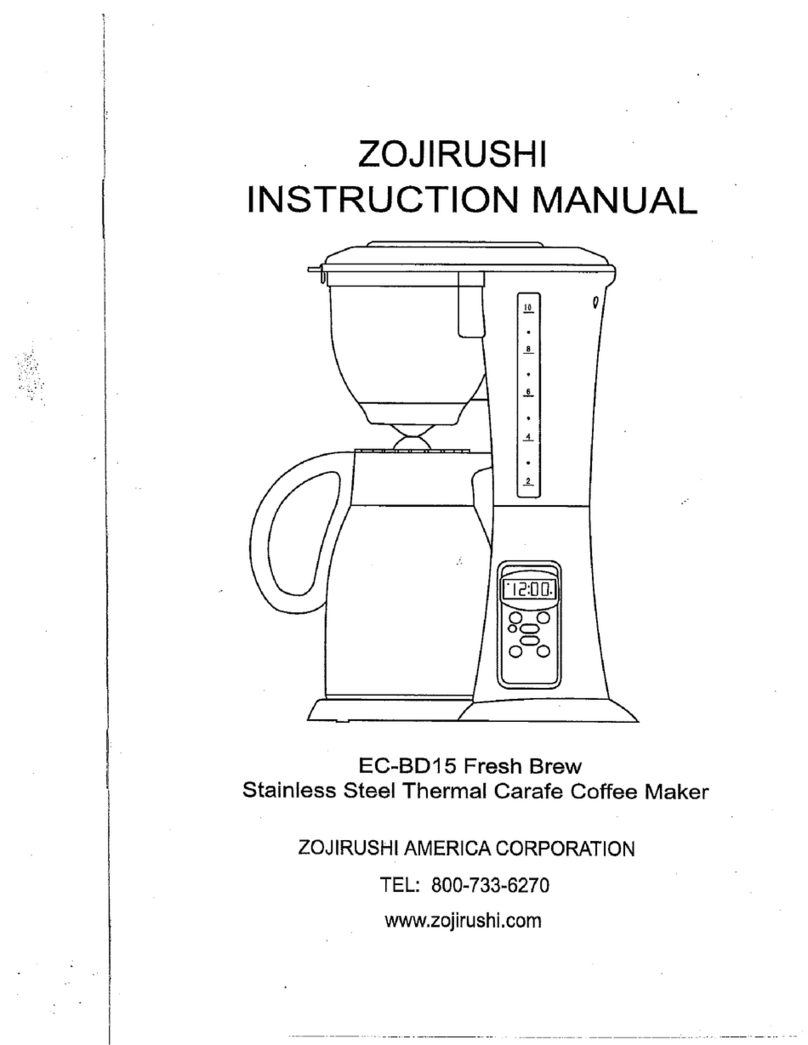
Zojirushi
Zojirushi EC-BD15 User manual
Zojirushi
Zojirushi EC-BD15 User manual

Zojirushi
Zojirushi EC-BD15 User manual

Zojirushi
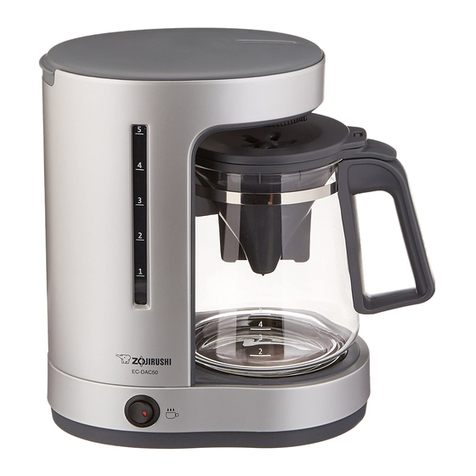
Zojirushi Zutto EC-DAC50 User manual
Zojirushi
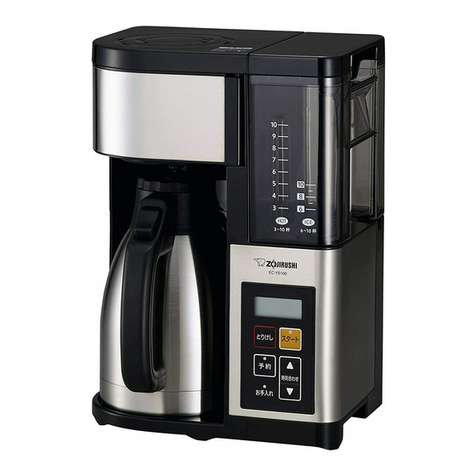
Zojirushi EC-YGC120 User manual

Zojirushi
Zojirushi EC-BC28 User manual
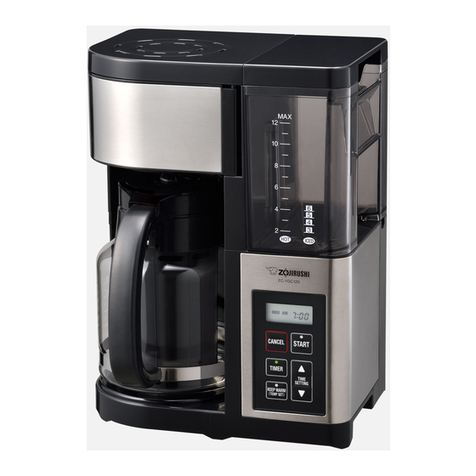
Zojirushi
Zojirushi EC-YSC100 User manual