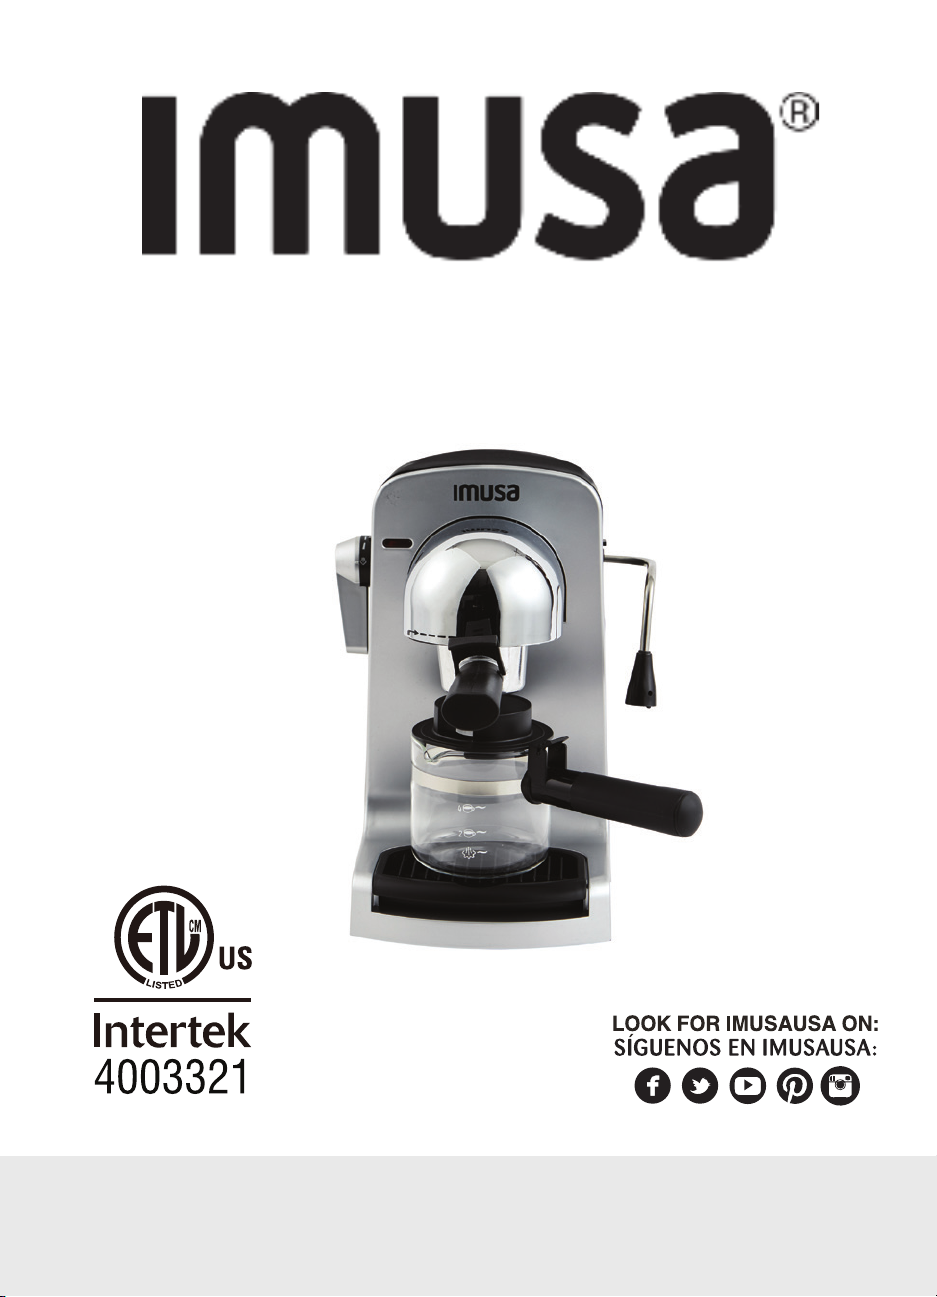
ESPRESSO & CAPPUCCINO MAKER
USE AND CARE INSTRUCTIONS
9
Cappuccino
• Fill a frothing pitcher (not included) ¾ of the way with cold milk.
Note: Skim milk or 2% will be the easiest to froth.
• Make sure the control knob is in the OFF position.
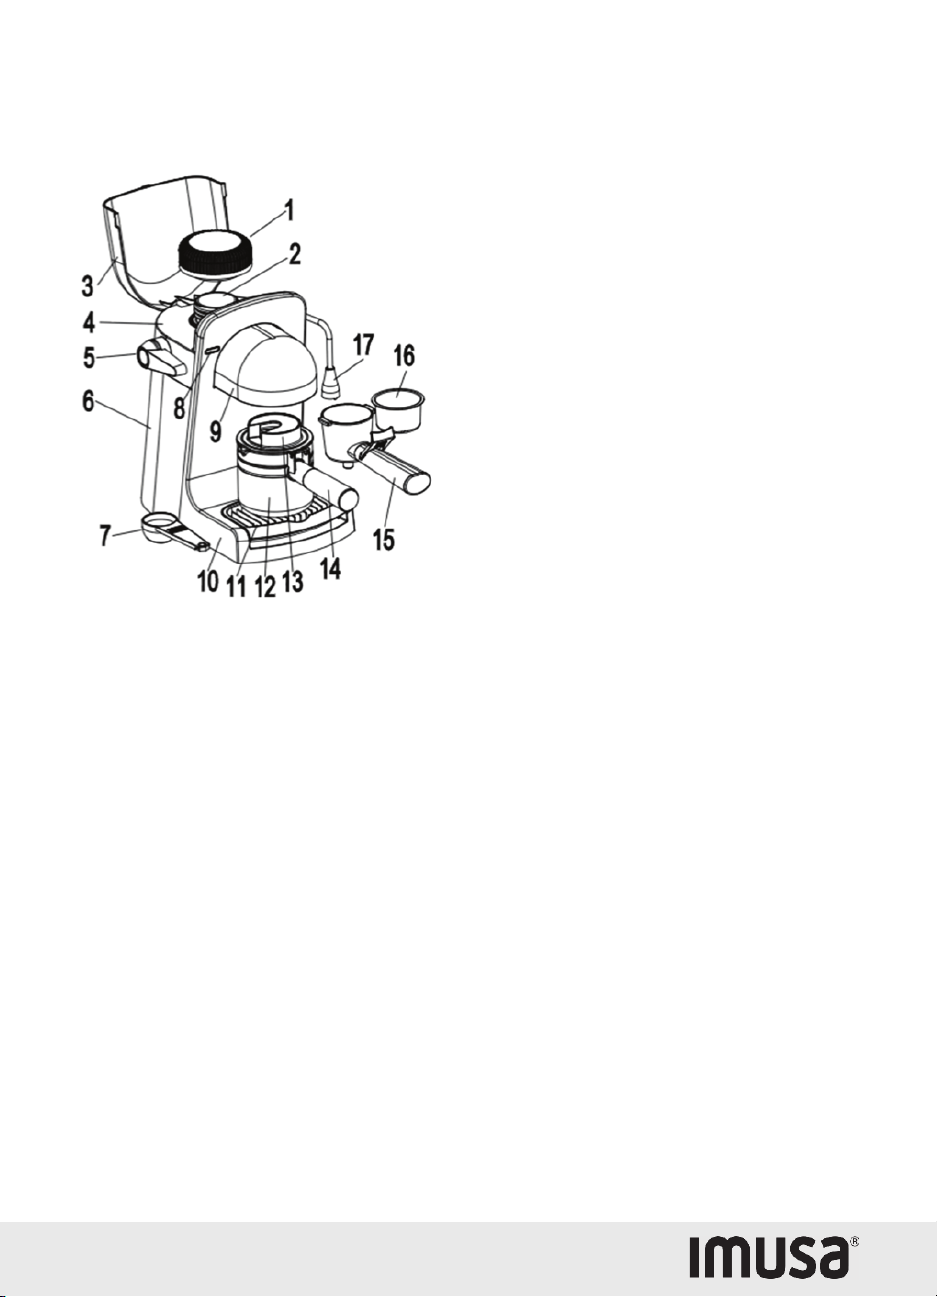
• Open top lid
• Remove the water reservoir lid by turning it counter-clockwise.
• Fill the glass carafe with fresh cold water up to either the 2 or 4 cup mark.
• Pour the water from the carafe into the reservoir.
• Close the water reservoir lid by turning clockwise and ensure it is closed properly and tightly so
steam does not escape during the brewing process.
Note: Always be sure the lid is tightened securely before turning the coffeemaker to on.
• Remove the filter basket and holder from the appliance by turning clockwise. With the measuring
spoon, measure the proper amount of espresso ground coffee and place into the filter basket
without packing too tightly.
• Place filter basket inside filter holder and into the brewing head by pushing it upward so that the
handle of the filter holder is aligned with the symbol “
” on the front of the brewing head.
• Turn the handle counter-clockwise until it’s securely locked.
• Place the empty glass carafe with lid on drip tray directly under the brewing head.
• Plug into a standard 120 Volt AC outlet.
• Rotate the function knob to the “cup” symbol ( ), which begins the brewing process. The
red light indicates that the coffeemaker is on.
• After approximately 2 minutes, coffee will flow into the carafe.
Caution: Do not open the lid to the water reservoir or remove the filter holder during the brewing
process. Scalding may occur.
• As the coffee begins to flow into the carafe, hold a frothing pitcher under the steam nozzle.
• Raise the frothing pitcher into the frother just under the surface of milk. Rotate the function knob
to the steam position ( ). Moving the frothing pitcher in a circular motion, adjust the steam
flow using the function knob to achieve the desired froth. When the milk temperature has reached
100°F. Insert the frother deeper into the milk to further heat the milk.
Note: If the frother is not under the milk surface, splattering will occur.
Rotate the function knob to the “cup” symbol ( ), which begins the brewing process. The
to the steam position ( ). Moving the frothing pitcher in a circular motion, adjust the steam