10
1 Preparing and using for the first time
1 Preparing and using for the
first time
This chapter provides you with the information
you need to use your ENA without any problems.
You will prepare your ENA step-by-step to enjoy
your first perfect cup of coffee.
EVisit us on the internet. On the JURA
website (www.jura.com) you will find
interesting and up-to-date information on
your ENA and every aspect of coffee.
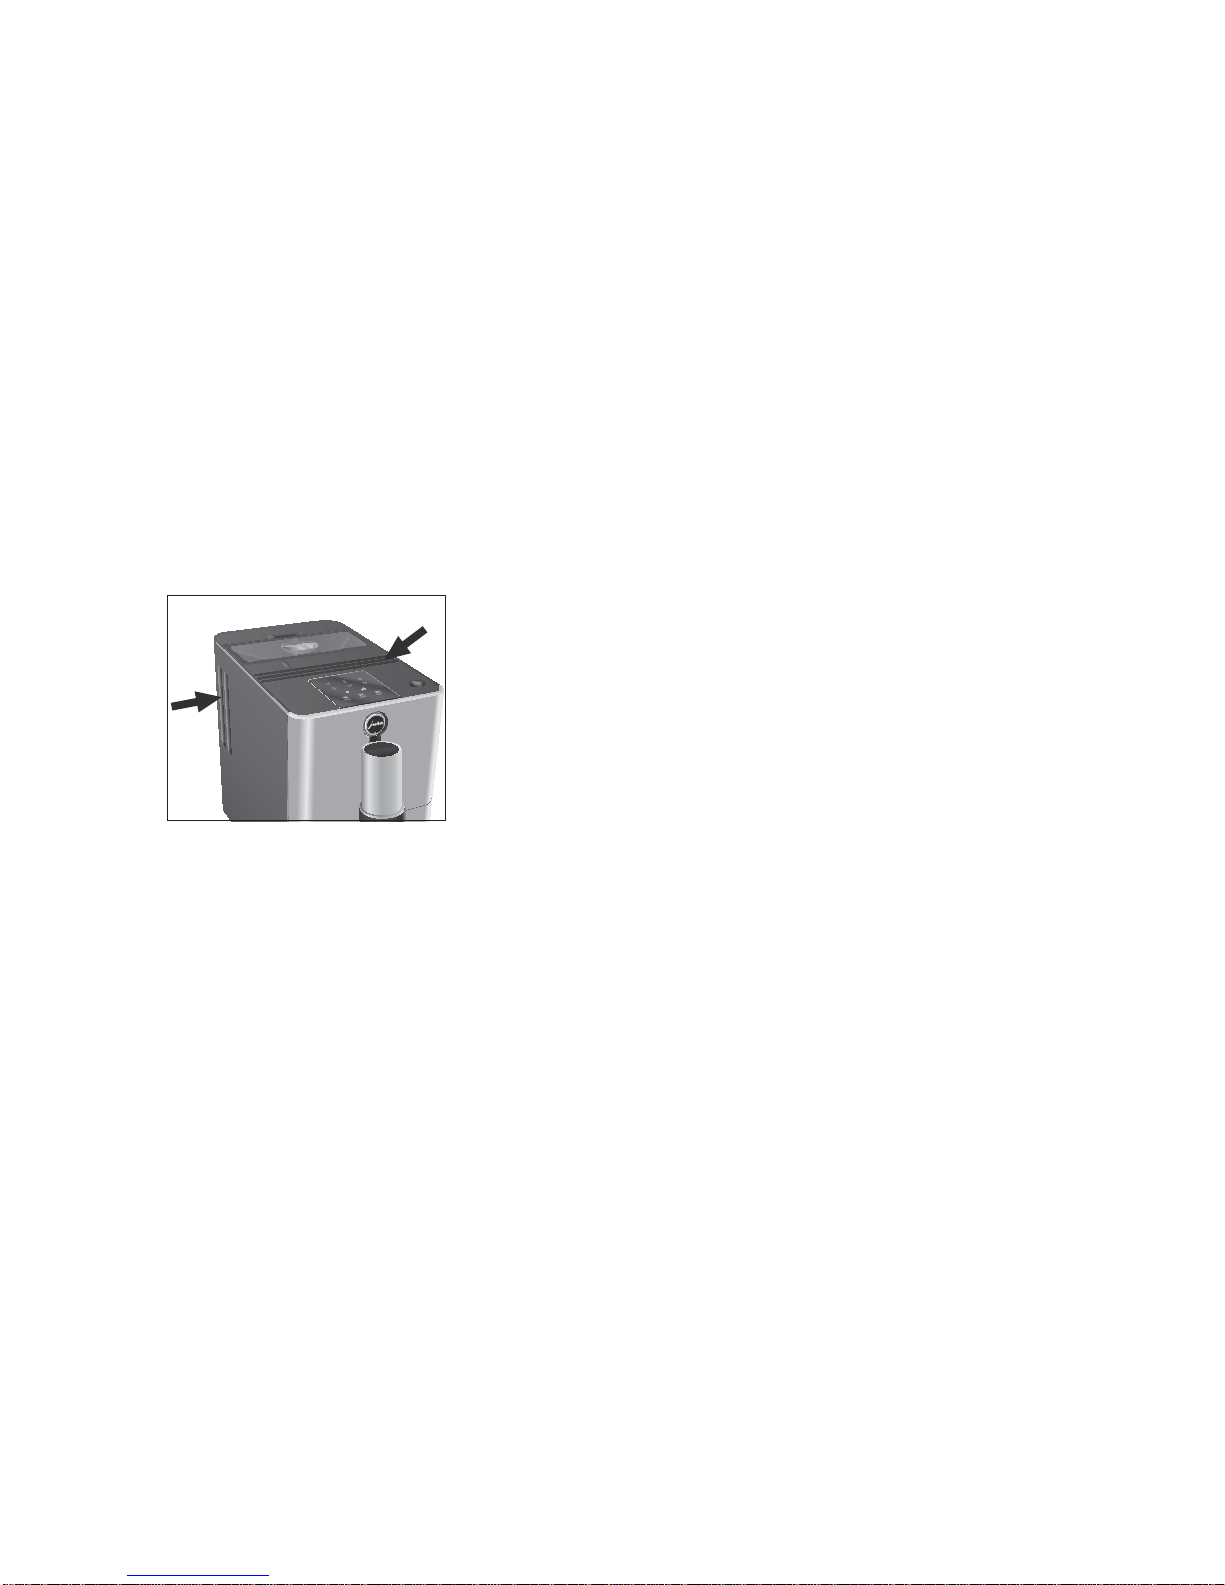
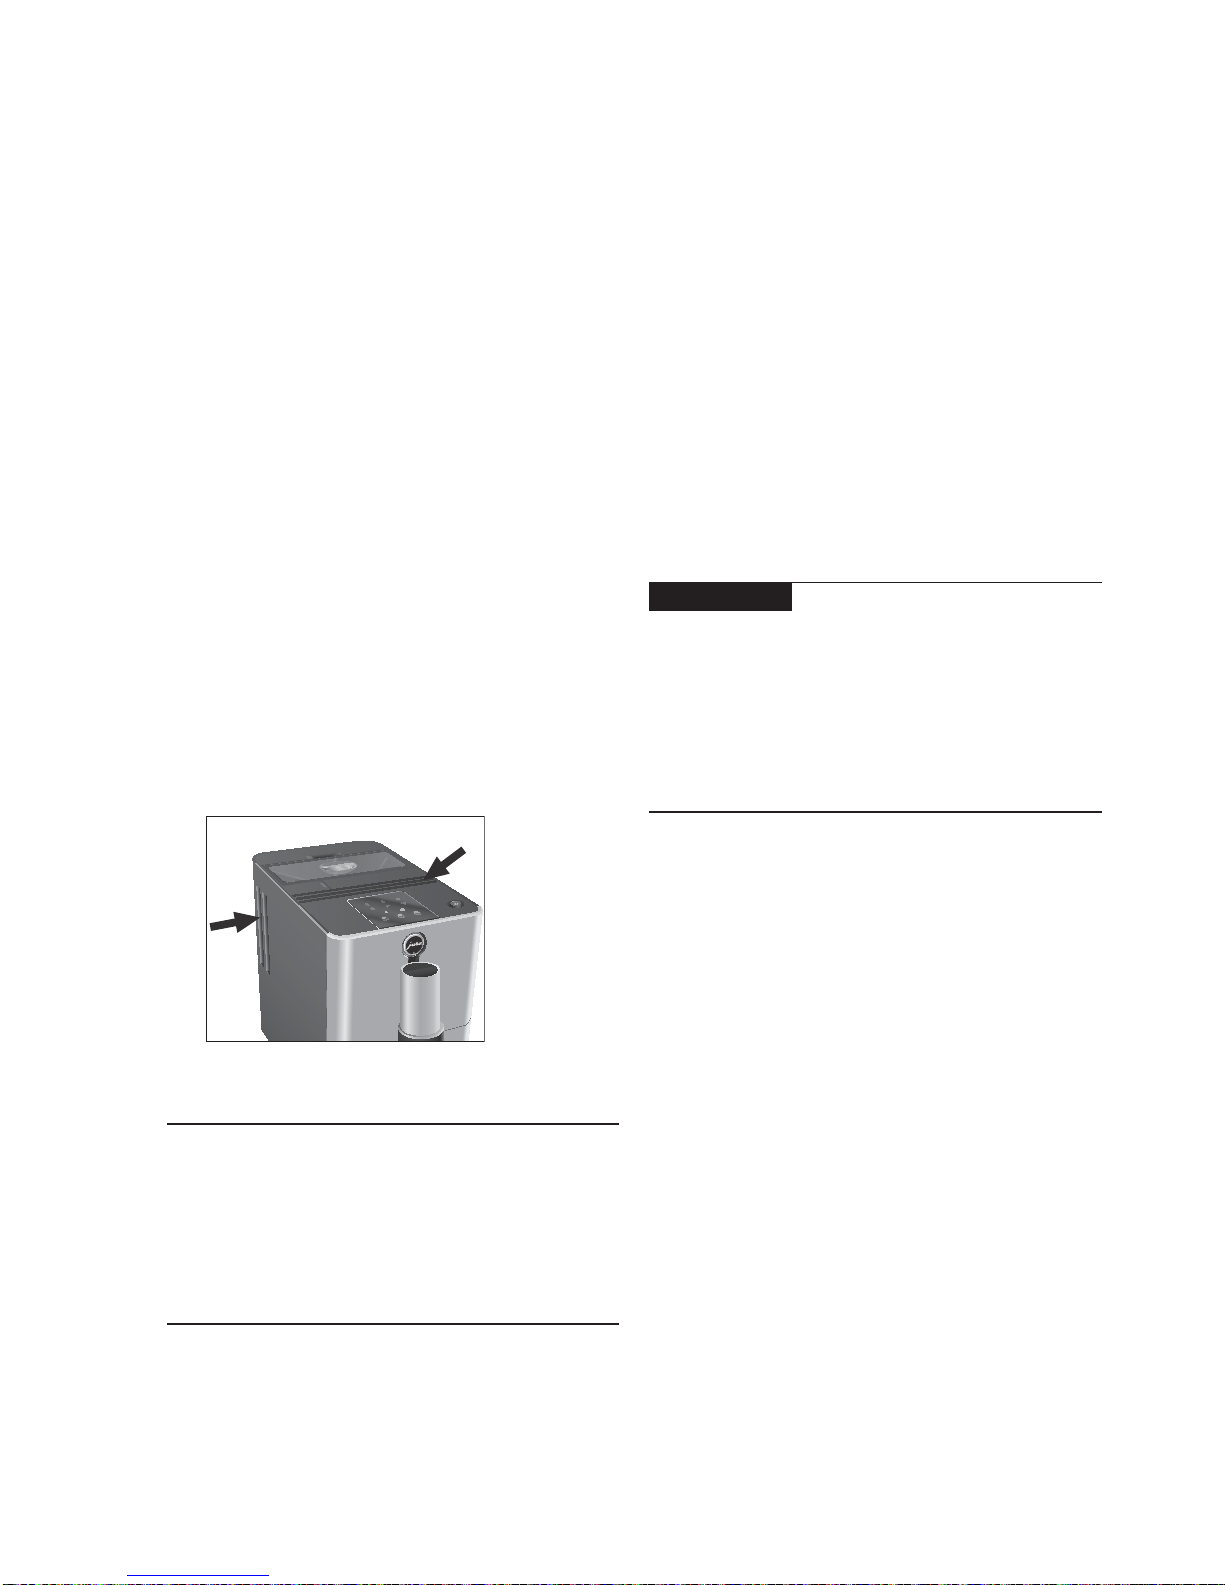
Setting up the machine
When setting up your ENA, please note the
following:
UPlace the machine on a horizontal surface that
is not sensitive to water.
UChoose a spot for your ENA which protects the
machine against overheating. Ensure that the
ventilation slots are not covered.
Filling the bean container
NOTICE
Coffee beans which have been treated with
additives (e.g. sugar), ground coffee or freeze-dried
coffee will damage the grinder.
T Only use roasted, untreated coffee beans to
fill the bean container.
TRemove the aroma preservation cover of the
bean container.
TRemove any dirt or foreign objects from
inside the bean container.
TFill the bean container with coffee beans.
TClose the bean container.
First-time use
When using the machine for the first time, you can
choose whether you want to operate ENA with or
without the CLEARYL Blue filter cartridge. If the
water hardness is 10°dH or more, we recommend
using the filter cartridge. If you do not know the
hardness of your water, you can find this out first
(see Chapter 1 ‘Preparing and using for the first
time – Determining the water hardness’).
EThe On/Off button also acts as a power
switch. When the ENA is switched off, the
machine does not consume standby energy.
J WARNING
If the machine is operated with a defective power
cord, there is a danger of potentially fatal electric
shock.
T Never use a machine which is damaged.
T Never use a machine which has a defective
power cord.
Precondition:Bean container is filled.
TInsert the power plug into a power socket.
Q T Press the On/Off button to switch the
machine on.
The Descaling symbol&and the Filter
symbol!are lit up.
ENow decide whether you want to operate
your ENA with or without a CLEARYL Blue
filter cartridge.
First-time use with filter cartridge
activation
! T Touch the Filter symbol.
The Water Tank symbolMlights up.
TRemove the water tank.
TOpen the filter holder.