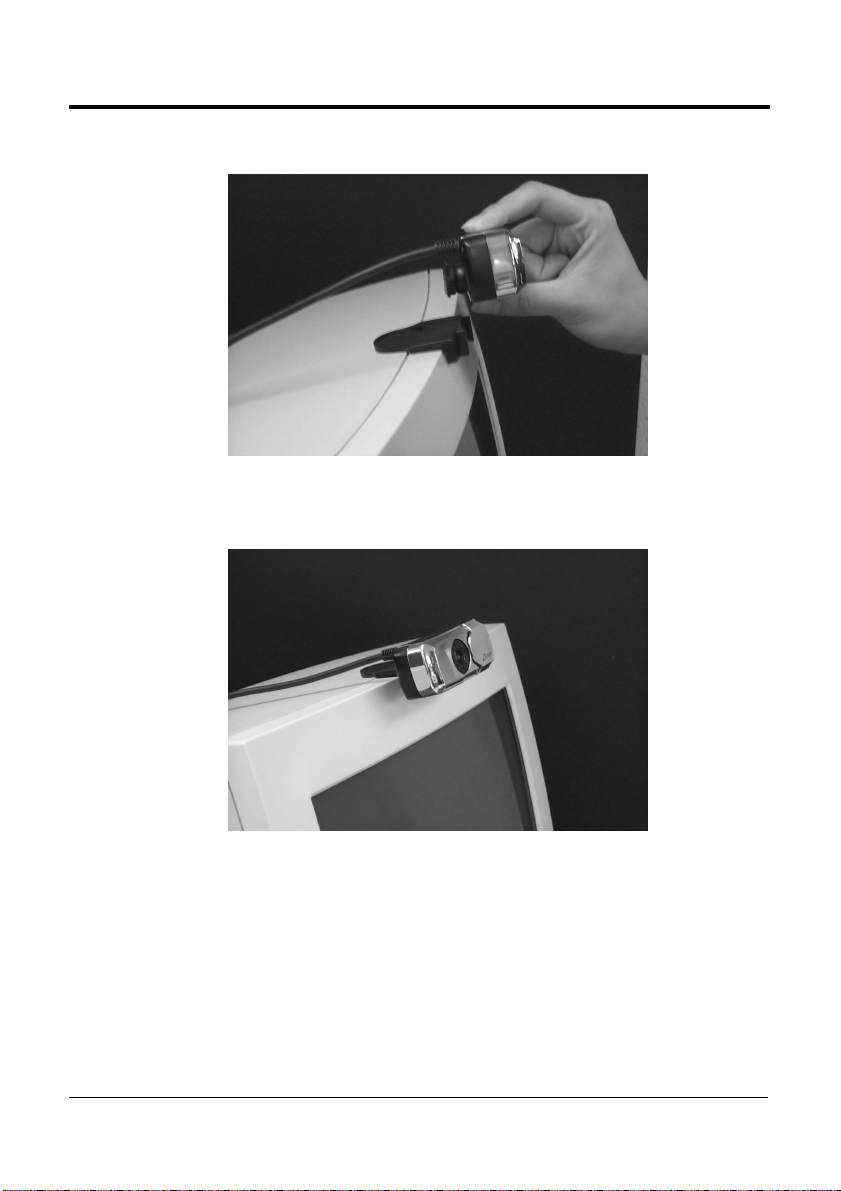
User’s Manual Eagle Cam Installation
1
Disclaimer
The Manufacturer makes no representations or warranties, expressed, statutory or
implied, regarding the fitness or merchantability of this product for any particular
purpose. Further, the Manufacturer is not liable for any damages, including but not
limited to, lost profits, lost savings, or other incidental or consequential damages
arising out of the use of this product. The Manufacturer also reserves the right to make
any improvements or modifications to the product described in this manual at any
time, without notice of these changes.
Copyright
This manual may not be copied, photocopied, transmitted, or translated into language
or computer language, in any form, or by any means, in whole or in part, without the
prior written consent by the Manufacturer.
Microsoft and the Microsoft Internet Explorer logo are registered trademarks or
trademark of Microsoft Corporation in the United States and/ or other countries.
Internet CommSuite is a trademark of Smith Micro Software, Inc
All rights reserved. Zoltrix, the Zoltrix logo, and the Zoltrix products referred to herein
are either the trademarks or the registered trademarks of Zoltrix. All other trademarks
are the property of their respective owners.
(c) Copyright 1999 . All rights reserved.