Setting up your Device
1. Connect an Ethernet cable from LAN port on your router to the EZ-72b. OR, if
you plan to connect via WiFi, follow steps 2-4 below, then proceed to the Adding
EZ-72b to Cloud Service section below.
2. Connect the power plug from the EZ-72b to a wall outlet. Once the system boots
up, by default, the Auto Reset LED should be blinking and the Output LED
should be ON. If Internet connection is detected, the Internet LED should be ON.
3. Connect the power supply of the device you wish to reboot to the Outlet on the
EZ-72b. *If using a modem or router, allow time for the device to reboot and
reconnect to the Internet.
4. Press the Power button 1x to Enable the Auto Reset - the EZ-72b is now ready
to monitor your Internet and reset the outlet upon loss of connection. If you wish
to monitor the connection of your EZ-72b remotely and/or would like to
reconfigure the settings, including manual control for a LAN device, proceed to
the next section, otherwise setup is complete.
Adding EZ-72b to Cloud Service
With an Internet connection, the EZ-72b can be controlled at any time, from anywhere in
the world using the website Cloud4UIS.com as well as the free mobile app ezDevice
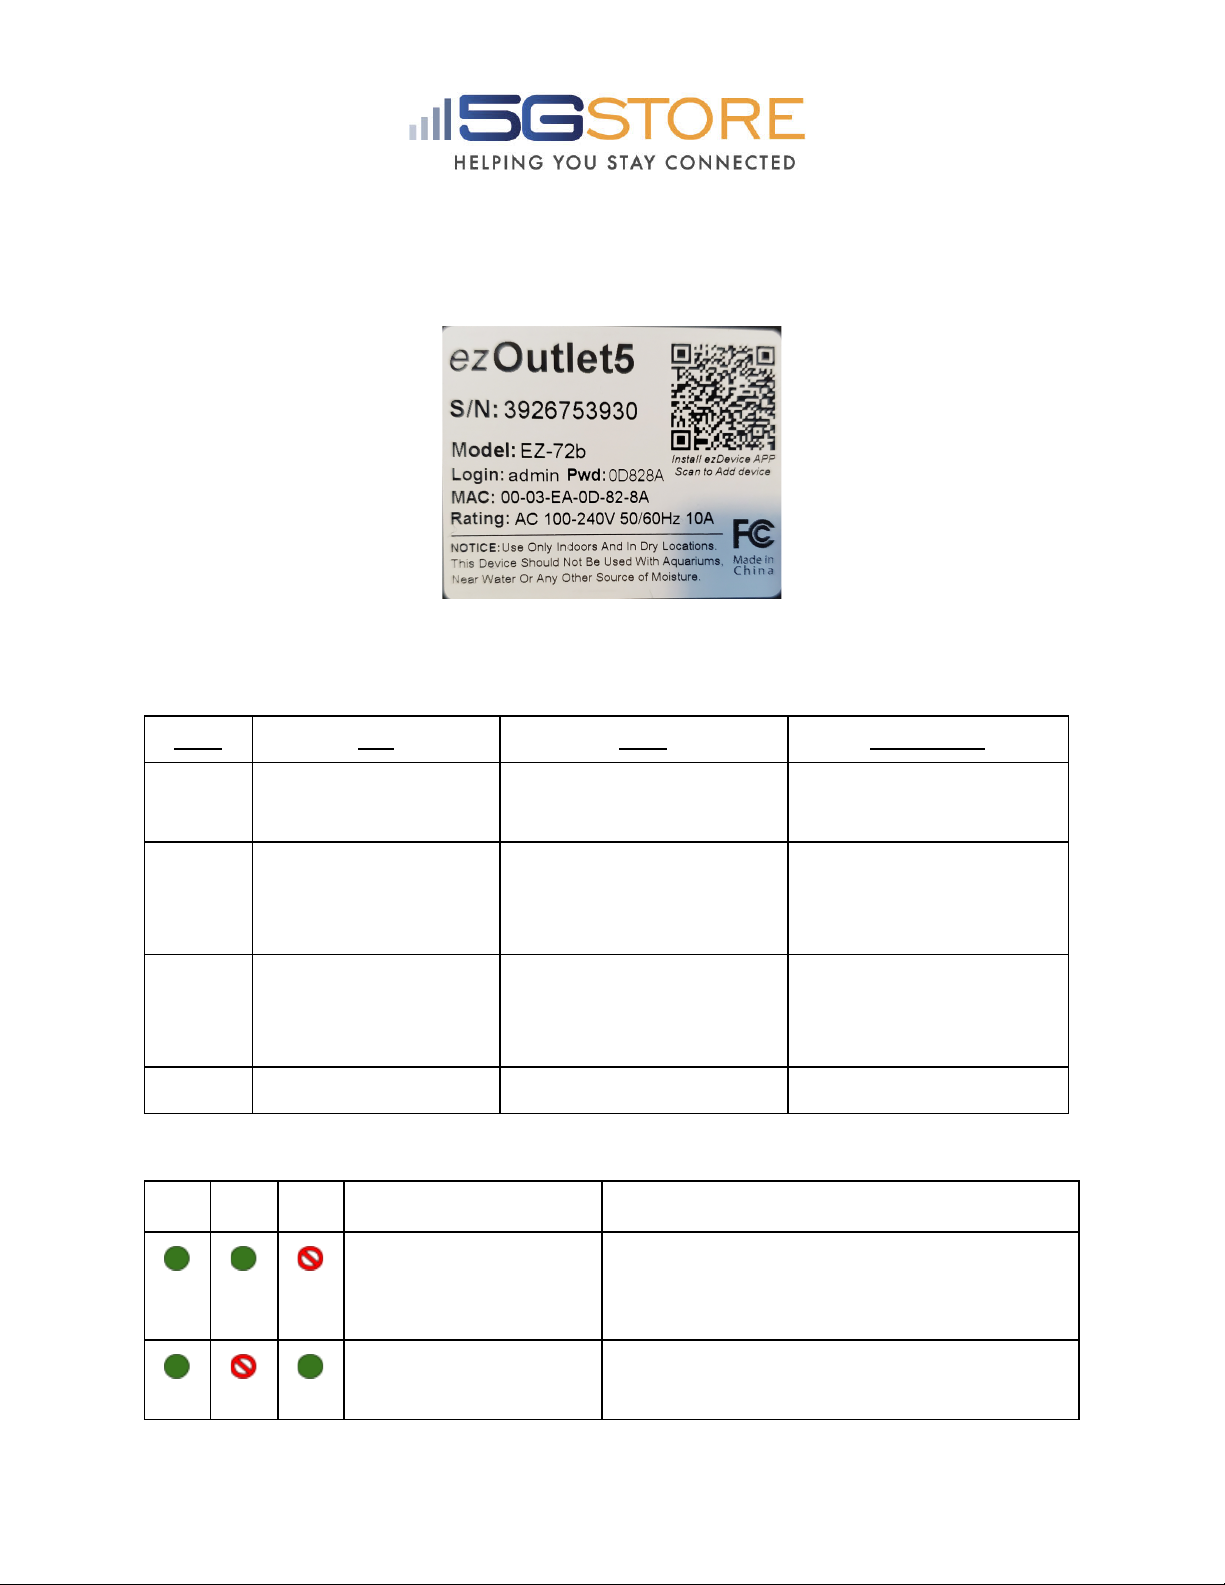
( available on the App Store and Google Play Store ). **You’ll notice there is a QR Code
on the bottom of your EZ-72b . This is a means of easily getting to the Cloud4UIS.com
site. There is NO option at this time to scan the QR Code and automatically add your
device, you will need to proceed with the instructions below.
1. Download and install ezDevice mobile application on a mobile device connected
to the same LAN as the EZ-72b.
2. You will be prompted to Sign Up for a Cloud4UIS account. Follow the
instructions on screen to complete this. You will also receive an email to verify
the account; after which you will then log in
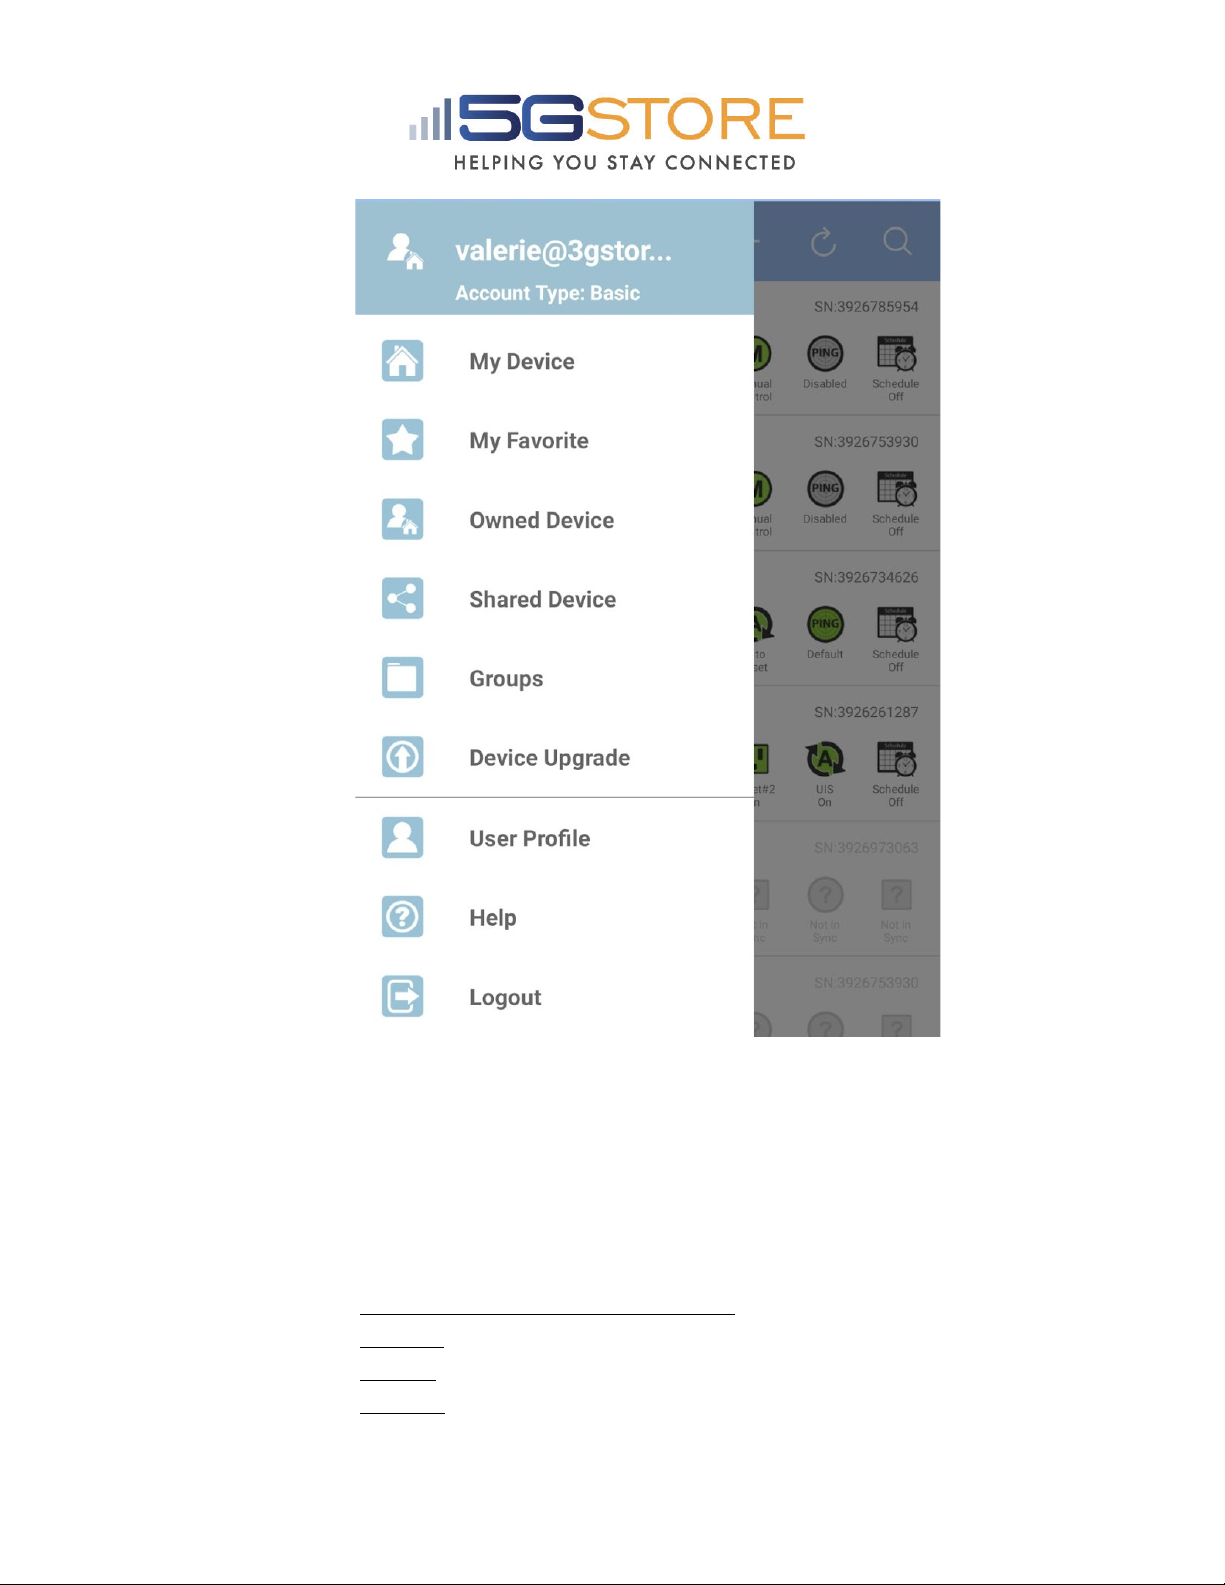
3. From the My Device page, click the + at the top right.
4. A screen will appear that lists different Hardware models. Select the EZ-72b
5. The app will search the network and should locate the EZ-72b by its Serial
Number .
6. Click Connect to proceed
7. Wait a few moments for the app to connect with the device