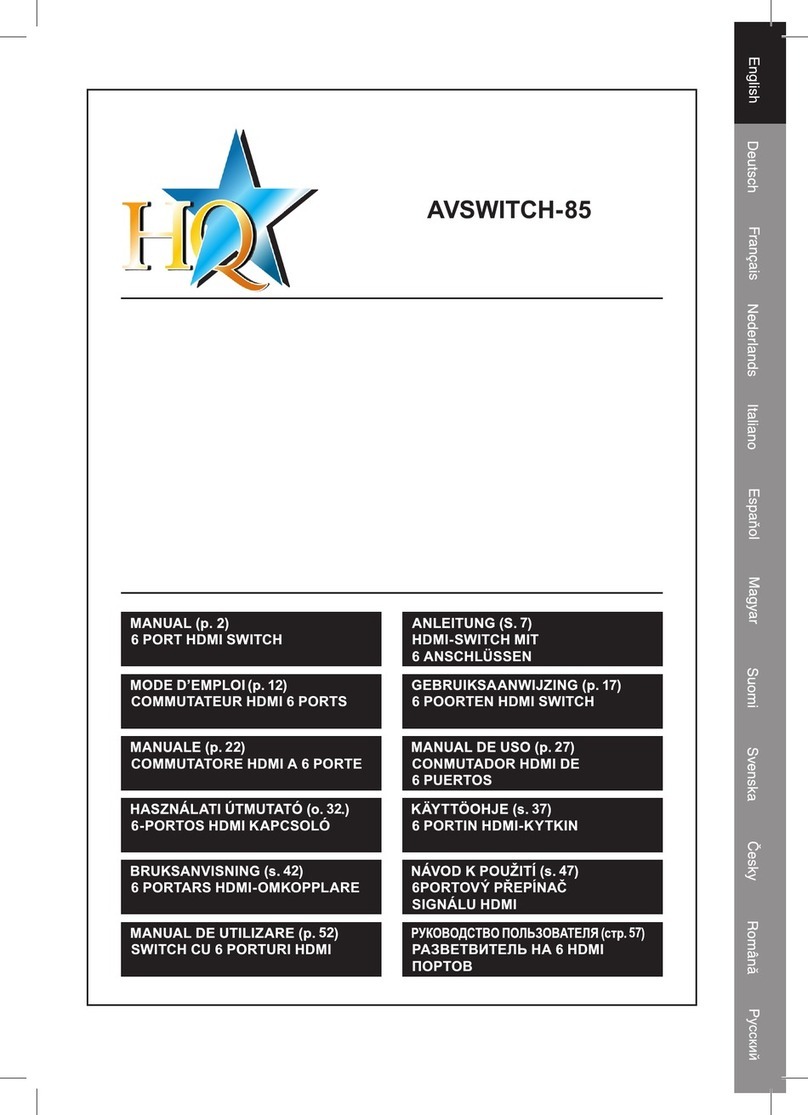
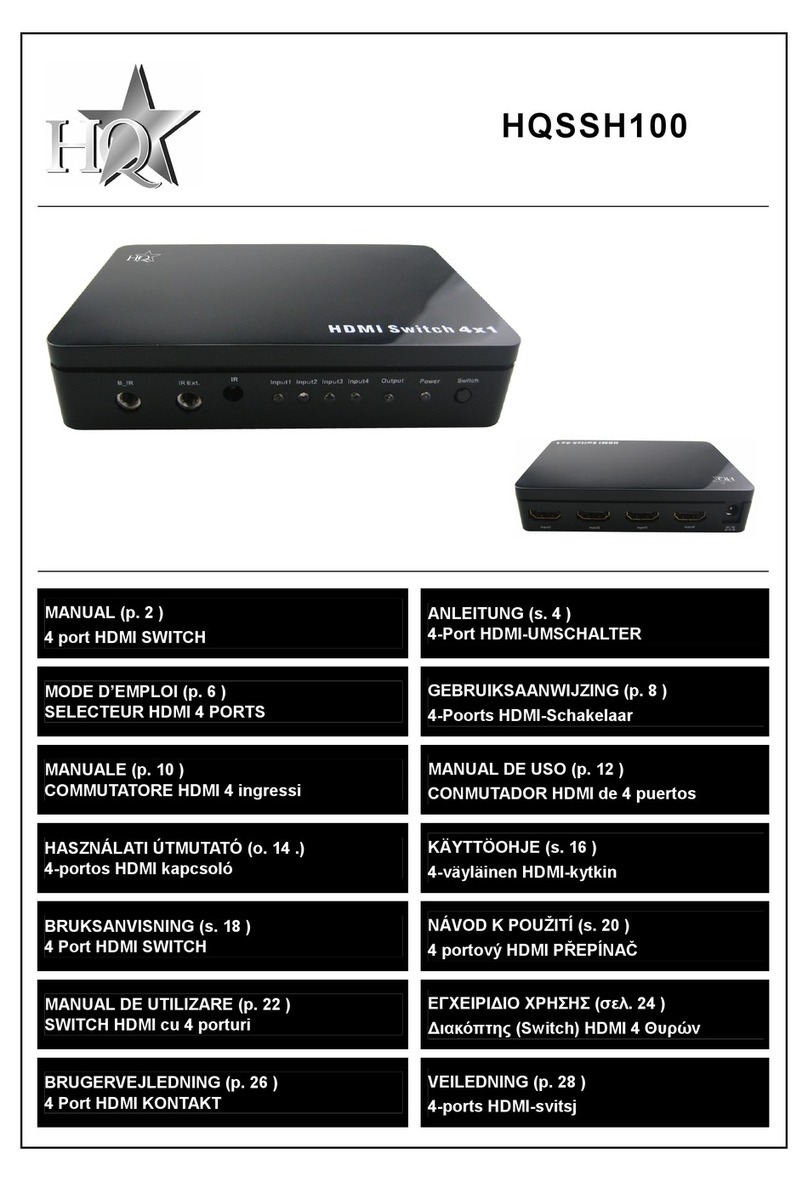
HQ AVSWITCH-46 User manual

47
4PORTOVÝ PŘEPÍNAČ SIGNÁLU
HDMI
37
4 PORTIN HDMI-KYTKIN
27
CONMUTADOR HDMI DE 4
PUERTOS
17
4 POORTEN HDMI SWITCH
7
HDMI-SWITCH
MIT 4 ANSCHLÜSSEN
52
SWITCH CU 4 PORTURI HDMI
42
4 PORTARS HDMI-OMKOPPLARE
32
4-PORTOS HDMI KAPCSOLÓ
22
COMMUTATORE HDMI A 4 PORTE
12
SWITCH HDMI 4 PORTS
4 PORT HDMI SWITCH
AVSWITCH-46
57
РАЗВЕТВИТЕЛЬ НА 4 HDMI
SWITCH

2
ENGLISH
Introduction:
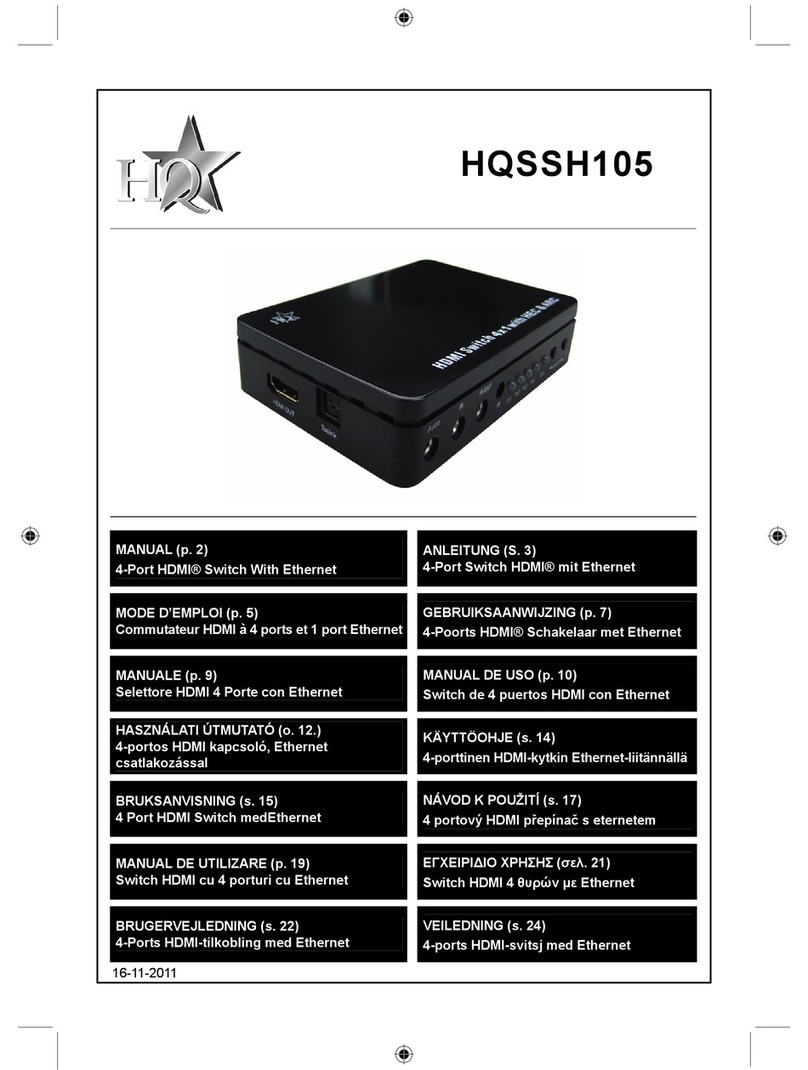
With this switch it is possible to connect four different HDMI devices to one LCD or plasma
screen. The selection can be made by remote control or by pushing the buttons on the
front of the switch. A LED indicated the selected input port. With one HDMI input located
on the front panel, portable and gaming devices can be easily connected to the HDMI
switch.
Features:
• HDMI 1.3b (Pixel Clock Rate: 25 MHz ~ 225 MHz)
• Support 1080p HDTV
• HDCP Compliant
• DTS-HD, Dolby TrueHD lossless compressed digital audio compliant
• Gold plated connectors
• One input port located on the front panel for portable devices
• IR Remote control
• Smart auto source detection
• 3 control modes:
- Auto switching
- Manual control
- IR Remote control
• Connect 4 HDMI sources to your HD TV
• Plug-and-Play, installed in seconds
Package contents:
• 5V DC 1A power adaptor
• Remote control unit
• HDMI 4-IN-1-OUT switcher
• User’s Manual

3
Front View
Rear View
Connections:
Connecting
Step 1:
Connect the HDMI cables from the HD sources (PS3, DVD player etc.) to the input ports
of the HDMI Switch.
Step 2:
Connect the HDMI cable from your HD display (HDTV, monitor, projector etc.) to the
output port of the HDMI Switch.
Step 3:
Plug the 5 V DC power supply in to the HDMI Switch.
Step 4:
After you’ve connected the adapter to a wall socket, the power indication LED will light
up. After you’ve chosen a source, the source indication LED will light up to indicate the
chosen source.
Note:
1. After you plug in the DC 5V power adapter, the power will be turned on.
2. The “SELECT/AUTO” button can also be used as an auto mode control button. Press
and hold the button for 3 seconds to turn on or off the auto switching function.
3. When the “AUTO” LED light is ON, the HDMI switch can be operated with the remote
control, the buttons of the front panel or with the auto mode.
4. When the “AUTO” LED light is OFF, the auto switching function is disabled. The HDMI
switch can be operated with the remote control or the buttons on the front of the panel.

4
5. If the power indication LED (Red) is flashing, the HDMI Switch is detecting and
connecting to the source. After the source is detected and connected, the flashing will
stop. If the flashing continues, please check that the the source is powered on, or check
the HDMI cable.
6. The HDMI Switch will memorize the last input port. When you turn the device on it will
automatically activate the last input port used.
Operation:
The HDMI Switch has 3 operation modes: manual selection, auto detect and remote
control select.
IR Remote operation mode
Use the IR remote to power on the HDMI switch, the power indication LED on the front
panel will light up. Use the numbers or the forward/previous buttons on the remote to
select the desired input source.
Auto switching function operation mode
In auto switching mode, the switch will automatically detects the input device that’s on. All
you have to do is turn on the device that you want to use.
The switch will then automatically detect the input port and activate it.
To switch off the auto switching mode, press and hold the SELECT/AUTO button for 3
seconds. Press another 3 seconds to turn it on again.
Manual operation mode
• Use the “POWER” key to turn the switch on or off.
• The “SELECT/AUTO” key is used for manual switching. If you want to change the input
channel, you only have to press the button once. There will be a LED indication to
indicate the activated channel.
Trouble shooting:
1. When there is no picture or video displayed:
• Check all connectors.
• Check if the connecting cable is damaged or not.
• Check the power of the HDMI Switch (or reset the switcher)
2. When there is only video but no sound:
• Check the cable connection to see if it fits properly.
• Make sure the cable is not damaged.
• Do not use a DVI to HDMI cable. It may not support audio transmission.
• HDCP may not match at first connection; please reset your HDMI Switch.
• Do not connect to a video recorder that does not support HDCP. HDCP will lock the
audio part.
3. When the resolution can not be showed in 1080p:
• Make sure your source (HD Player) and display (HDTV) are fully supporting 1080p.
• Make sure your HDMI cables are capable of transmitting a 1080p video signal.

5
Declaration of conformity
We,
Nedis B.V.
De Tweeling 28
5215MC ’s-Hertogenbosch
The Netherlands
Tel.: 0031 73 599 1055
Email: info@nedis.com
Declare that product:
Brand: HQ
Model: AVSWITCH-46
Description: 4 port HDMI switch
Is in conformity with the following standards
EMC: EN 55022:2006: Class B
EN 61000-3-2:2006, EN 61000-3-3:1995+A1:2001+A2:2005
EN 55024:1998+A1:2001+A2:2003
IEC 61000-4-2:2001 IEC 61000-4-3:2007 IEC 61000-4-4:2004
IEC 61000-4-5:2005 IEC 61000-4-6:2006 IEC 61000-4-8:2001
IEC 61000-4-11:2004
LVD: EN 60950:2000
And complies with the requirements of the European Union Directives 89/336/EEC,
92/31/EEC, 93/68/EEC and 2006/95/EC.
‘s-Hertogenbosch, 1 November 2008
Mrs. J. Gilad
Purchase Director

6
Safety precautions:
RISK OF ELECTRIC SHOCK
DO NOT OPEN
CAUTION To reduce risk of electric shock, this product should
ONLY be opened by an authorized technician when
service is required. Disconnect the product from mains
and other equipment if a problem should occur. Do not expose the product to water or
moisture.
Maintenance:
Clean only with a dry cloth. Do not use cleaning solvents or abrasives.
Warranty:
No guarantee or liability can be accepted for any changes and modifications of the
product or damage caused due to incorrect use of this product.
General:
Designs and specifications are subject to change without notice.
All logos brands and product names are trademarks or registered trademarks of their
respective holders and are hereby recognized as such.
Attention:
This product is marked with this symbol. It means that used electrical and
electronic products should not be mixed with general household waste. There
is a separate collections system for these products.
Copyright ©

7
DEUTSCH
Einleitung:
Mit diesem Switch kann man vier verschiedene HDMI-Geräte an einen LCD- oder
PLASMA-Bildschirm anschließen. Die Auswahl kann über Fernbedienung oder durch
Drücken der Taste an der Vorderseite des Switch erfolgen. Eine LED zeigt den gewählten
Eingang an. Mit einem HDMI-Eingang, der sich an der Fronttafel befindet, können
tragbare Geräte und Spielekonsolen leichter angeschlossen werden.
Merkmale:
• HDMI 1.3b (Pixeltaktfrequenz: 25 MHz - 225 MHz)
• Unterstützt 1080p HDTV
• HDCP-fähig
• Entspricht DTS-HD, Dolby TrueHD verlustlos komprimiertem digitalem Audiosignal
• Vergoldete Anschlüsse
• Ein Eingangsanschluss befindet sich an der Fronttafel für tragbare Geräte
• Infrarot-Fernbedienung
• Intelligenter HDMI-Switch mit automatischer Erkennung
• 3 Steuermodi:
- Automatisches Umschalten
- Manuelle Steuerung
- Steuerung durch Infrarot-Fernbedienung
• Schließt 4 HDMI-Quellen an Ihren HD-Fernseher an
• Plug-and-Play, Installation in Sekunden
Verpackungsinhalt:
• 5 V DC, 1 A Netzadapter
• Fernbedienung
• HDMI 4-IN-1-OUT Switch
• Benutzerhandbuch

8
Vorderansicht:
Rückansicht:
Anschlüsse:
Anschluss
Schritt 1:
Schließen Sie die HDMI-Kabel von den HD-Quellen (PS3, DVD-Player usw.) an die
Eingangsanschlüsse des HDMI-Switch an.
Schritt 2:
Schließen Sie das HDMI-Kabel von Ihrem HD-Display (HD-Fernseher, Monitor, Projektor
usw.) an den Ausgangsanschluss des HDMI-Switch an.
Schritt 3:
Stecken Sie die 5 V DC-Stromversorgung in den HDMI-Switch.
Schritt 4:
Nachdem Sie den Adapter in eine Wandsteckdose gesteckt haben, leuchtet
die Netz-LED. Nachdem Sie eine Quelle ausgewählt haben, leuchtet die LED, um Ihnen
die ausgewählte Quelle anzuzeigen.
Hinweis:
1. Nachdem Sie den DC 5 V Netzadapter eingesteckt haben, wird der Strom
angeschaltet.
2. Die “SELECT/AUTO”-Taste kann auch als Steuertaste für den automatischen Betrieb
benutzt werden. Drücken Sie die Taste 3 Sekunden lang, um die automatische
Umschaltfunktion an- oder auszuschalten.
3. Wenn die “AUTO”-LED an ist, kann der HDMI-Switch mit der Fernbedienung, den Tasten
an der Fronttafel oder im Automatikbetrieb bedient werden.

9
4. Wenn die “AUTO”-LED aus ist, ist die Automatikfunktion deaktiviert. Der HDMI-Switch
kann mit der Fernbedienung oder den Tasten an der Fronttafel bedient werden.
5. Wenn die Netz-LED (rot) blinkt, erkennt der HDMI-Switch die Quelle und stellt die
Verbindung zu ihr her. Wenn die Quelle erkannt und verbunden wurde, hört das Blinken
auf. Wenn das Blinken andauert, überprüfen Sie bitte, ob Ihr Gerät mit Strom versorgt
wird, oder überprüfen Sie das HDMI-Kabel.
6. Der HDMI-Switch speichert den letzten Eingangsanschluss. Wenn Sie das Gerät
anschalten, wird automatisch der zuletzt benutzte Eingangsanschluss aktiviert.
Bedienung:
Der HDMI-Switch hat 3 Betriebsarten: manuelle Auswahl, automatische Erkennung und
Fernbedienung.
Infrarot-Fernbedienungs-Modus
Verwenden Sie die Infrarot-Fernbedienung, um den HDMI-Switch einzuschalten. Auf der
Vorderseite leuchtet die Netz-LED. Benutzen Sie die Zahlen oder die Vorwärts/Rückwärts-
Tasten auf der Fernbedienung, um die gewünschte Eingangsquelle auszuwählen.
Betriebsart des automatischen Umschaltens
In der Betriebsart des automatischen Umschaltens erkennt der Switch automatisch das
Eingangsgerät, das an ist. Sie brauchen das Gerät, das Sie benutzen möchten, nur
anzuschalten.
Der Switch erkennt dann den Eingangsanschluss automatisch und aktiviert ihn.
Um die Betriebsart des automatischen Umschaltens abzuschalten, drücken Sie
3 Sekunden lang die "SELECT/AUTO"-Taste. Drücken Sie die Taste noch einmal
3 Sekunden lang, um sie wieder anzuschalten.
Manuelle Betriebsart
• Schalten Sie den Switch mit der “POWER”-Taste an oder aus.
• Die “SELECT/AUTO”-Taste wird zum manuellen Umschalten benutzt. Wenn Sie den
Eingangskanal ändern wollen, müssen Sie die Taste einmal drücken. Die LED zeigt den
aktivierten Kanal an.
Fehlersuche:
1. Wenn kein Bild angezeigt wird:
• Überprüfen Sie alle Anschlüsse.
• Überprüfen Sie, ob das Anschlusskabel beschädigt ist.
• Überprüfen Sie, ob der HDMI-Switch mit Strom versorgt wird (oder führen Sie einen
Reset durch).
2. Wenn es nur ein Bild aber keinen Ton gibt:
• Prüfen Sie die Kabelverbindung auf festen Sitz.
• Überprüfen Sie, ob das Kabel beschädigt ist.
• Verwenden Sie kein DVI-zu-HDMI-Kabel. Es unterstützt keine Audioübertragung.
• Beim ersten Anschluss passt HDCP nicht. Führen Sie einen Reset am Switch aus.
• Schließen Sie keinen Videorekorder an, der HDCP nicht unterstützt. HDCP sperrt den
Audioteil.

10
3. Wenn die Auflösung nicht in 1080p gezeigt werden kann:
• Überzeugen Sie sich davon, dass Ihre Quelle (HD-Player) und Display (HD-Fernseher)
1080p vollkommen unterstützen.
• Überzeugen Sie sich davon, dass Ihre HDMI-Kabel 1080p-Videosignale übertragen
können.
Konformitätserklärung
Wir,
Nedis B.V.
De Tweeling 28
5215MC ’s-Hertogenbosch
Niederlande
Tel.: 0031 73 599 1055
Email: info@nedis.com
erklären, dass das Produkt:
Marke: HQ
Modell: AVSWITCH-46
Beschreibung: HDMI-Switch mit 4 Anschlüssen
den folgenden Standards entspricht:
EMV: EN 55022:2006: Class B
EN 61000-3-2:2006, EN 61000-3-3:1995+A1:2001+A2:2005
EN 55024:1998+A1:2001+A2:2003
IEC 61000-4-2:2001 IEC 61000-4-3:2007 IEC 61000-4-4:2004
IEC 61000-4-5:2005 IEC 61000-4-6:2006 IEC 61000-4-8:2001
IEC 61000-4-11:2004
LVD: EN 60950:2000
Das Produkt erfüllt die Bestimmungen der EG Richtlinien 89/336/EEC, 92/31/EEC,
93/68/EEC und 2006/95/EC.
‘s-Hertogenbosch, 1. November 2008
J. Gilad
Einkaufsleiterin

11
Sicherheitsvorkehrungen:
STROMSCHLAGGEFAHR
NICHT ÖFFNEN
VORSICHT Wenn eine Wartung oder eine Reparatur erforderlich
ist, sollte dieses Produkt AUSSCHLIESSLICH von
einem autorisierten Techniker geöffnet werden, um
das Risiko eines elektrischen Schlages zu verhindern. Trennen Sie das Produkt vom
Stromnetz und anderen Geräten, wenn ein Problem auftreten sollte. Sorgen Sie dafür,
dass das Gerät nicht mit Wasser oder Feuchtigkeit in Berührung kommt.
Wartung:
Nur mit einem trockenen Tuch säubern. Keine Reinigungs- oder Scheuermittel
verwenden.
Garantie:
Es kann keine Garantie oder Haftung bei Veränderungen und Modifikationen des
Produktes oder für Schäden, die aufgrund einer unsachgemäßen Anwendung des
Produktes entstanden sind, übernommen werden.
Allgemeines:
Design und technische Daten können ohne vorherige Ankündigung geändert werden.
Alle Logos, Marken und Produktnamen sind Warenzeichen oder registrierte Warenzeichen
ihrer jeweiligen Eigentümer und werden hiermit als solche anerkannt.
Achtung:
Dieses Produkt ist mit diesem Symbol gekennzeichnet. Es bedeutet, dass
ausgediente elektrische und elektronische Produkte nicht im normalen
Hausmüll entsorgt werden dürfen. Für diese Produkte stehen gesonderte
Sammelsysteme zur Verfügung.
Copyright ©

12
FRANCAIS
Introduction:
Grâce à ce switch il est possible de raccorder quatre périphériques HDMI différents à un
écran LCD ou PLASMA unique. La sélection peut être réalisée grâce à la télécommande
ou en appuyant sur l'un des boutons de la face avant du switch. Un voyant indique l'entrée
sélectionnée. Grâce à l'entrée HDMI située sur le panneau avant, il est plus facile de
raccorder les périphériques portables ou les consoles de jeu au port d'entrée HDMI.
Caractéristiques:
• HDMI 1.3b (Intervalle Horloge Pixel : 25MHz ~ 225MHz)
• Compatible HDTV 1080p
• Conforme à la norme HDCP
• Compatible sans perte avec les signaux audio numériques compressés DTS-HD, Dolby
TrueHD
• Connecteurs plaqués or
• Un port d'entrée situé sur le panneau avant prévu pour les périphériques portables
• Télécommande IR
• Commutateur HDMI intelligent avec détection automatique
• 3 modes de commande :
- Commutation automatique
- Commande manuelle
- Télécommande IR
• Raccordez jusqu'à 6 sources HDMI à votre téléviseur HD
• Plug-and-Play, installation ultra rapide
Contenu de l'emballage :
• Adaptateur électrique CC 5V/1A
• Télécommande
• Commutateur HDMI 4-ENTREES-1-SORTIE
• Manuel utilisateur

13
Vue avant
Vue arrière
Raccordements :
Raccordement
Etape 1:
Raccordez les câbles HDMI des sources HD (PS3, lecteur DVD, etc...) aux ports d'entrée
du Switch HDMI.
Etape 2:
Raccordez le câble HDMI de votre écran HD (TVHD, écran, projecteur, etc...) au port de
sortie du Switch HDMI.
Etape 3:
Branchez l'alimentation électrique 5 V CC dans le Switch HDMI.
Etape 4:
Le voyant d'alimentation s'allume une fois l'adaptateur branché dans une prise murale.
Après avoir choisi une source, le témoin lumineux s'allume pour indiquer la source
choisie.
Remarque :
1. L'appareil s'allume dès que l'adaptateur électrique 5V CC est branché.
2. Le bouton “SELECT/AUTO” peut également être utilisé comme touche de commande du
mode automatique. Enfoncez ce bouton pendant 3 secondes pour activer ou désactiver
la fonction de commutation automatique.
3. Lorsque le voyant “AUTO” est ALLUME, le Switch HDMI peut fonctionner grâce à la
télécommande, aux boutons du panneau avant ou en mode automatique.
4. Lorsque le voyant “AUTO” est ETEINT, la fonction de commutation automatique est
désactivée. Le Switch HDMI ne peut alors fonctionner qu'à l'aide de la télécommande
ou des boutons du panneau avant.

14
5. Si le voyant d'alimentation (Rouge) clignote, cela signifie que le Switch HDMI détecte
une source et s'y connecte. Le voyant cesse de clignoter une fois la source détectée
et la connexion établie. Si le clignotement continue, vérifiez que votre source soit bien
alimentée ou vérifiez le câble HDMI.
6. Le Switch HDMI garde en mémoire le dernier port d'entrée utilisé. Lorsque vous allumez
l'appareil, il active automatiquement le dernier port utilisé.
Fonctionnement :
Le Switch HDMI dispose de trois modes de fonctionnement : Sélection manuelle,
Détection automatique et Sélection grâce à la télécommande.
Mode de fonctionnement avec la télécommande IR
Utilisez la télécommande pour allumer le Switch HDMI, le voyant d'alimentation du
panneau avant s'allume alors. Utilisez les chiffres ou les touches Suivant/Précédent de la
télécommande pour sélectionner la source d'entrée voulue.
Mode de fonctionnement avec la fonction de détection automatique
En mode Commutation Automatique, le switch détecte automatiquement le périphérique
allumé. Vous n'avez qu'à allumer le périphérique que vous souhaitez utiliser.
Le switch détecte ensuite automatiquement le port d'entrée et l'active.
Pour désactiver le mode Commutation Automatique, enfoncez le bouton SELECT/AUTO
pendant 3 secondes. Enfoncez le à nouveau pendant 3 secondes pour réactiver le
mode.
Mode de fonctionnement manuel
• Utilisez la touche "POWER" (ALIMENTATION) pour allumer ou éteindre l'appareil.
• La touche “SELECT/AUTO” est utilisée pour la commutation manuelle. Si vous souhaitez
changer de canal d'entrée, vous n'avez qu'à enfoncer cette touche une fois. Le témoin
lumineux indique le canal activé.
Dépannage :
1. Si aucune image n'apparaît :
• Vérifiez tous les branchements.
• Vérifiez que les câbles de raccordement ne soient pas endommagés.
• Vérifiez l'alimentation du Switch HDMI (ou réinitialisez le Switch)
2. Si l'image apparaît sans le son :
• Vérifiez le câble de raccordement pour contrôler qu'il s'adapte parfaitement.
• Assurez-vous que le câble ne soit pas endommagé.
• N'utilisez pas de câble DVI/HDMI. Ils ne supportent pas toujours la transmission audio.
• Il se peut que le HDCP ne réponde pas dès la première connexion ; dans ce cas,
réinitialisez le Switch HDMI.
• Ne raccordez pas d'enregistreur vidéo n'étant pas compatible HDCP. Sinon, le HDCP
verrouillera la partie audio.

15
3. Si la résolution 1080p n'est pas visible :
• Assurez-vous que votre source (lecteur HD) et que votre écran (HDTV) soient
complètement compatibles avec la résolution 1080p.
• Assurez-vous que les câbles HDMI sont capables de transmettre le signal vidéo 1080P.
Déclaration de conformité
Nous,
Nedis B.V.
De Tweeling 28
5215MC ’s-Hertogenbosch
Pays Bas
Tél : 0031 73 599 1055
Email : info@nedis.com
Déclarons que le produit :
Marque : HQ
Modèle : AVSWITCH-46
Désignation : Switch HDMI 4 ports
est conforme aux normes suivantes :
CEM : EN 55022:2006 Classe B
EN 61000-3-2:2006, EN 61000-3-3:1995+A1:2001+A2:2005
EN 55024:1998+A1:2001+A2:2003
IEC 61000-4-2:2001 IEC 61000-4-3:2007 IEC 61000-4-4:2004
IEC 61000-4-5:2005 IEC 61000-4-6:2006 IEC 61000-4-8:2001
IEC 61000-4-11:2004
DBT : EN 60950:2000
Et qu'il est conforme aux prescriptions des Directives de l'Union Europénne 89/336/CEE,
92/31/CEE,93/68/CEE et 2006/95/CE.
‘s-Hertogenbosch, 1 Novembre 2008
Mme. J. Gilad
Directrice des Achats

16
Consignes de sécurité :
RISQUE DE CHOC
ELECTRIQUE
NE PAS OUVRIR
ATTENTION Afin de réduire les risques de chocs électriques, ce
produit ne doit être ouvert QUE par un technicien
qualifié agréé en cas de réparation. Débranchez
l'appareil du secteur et des autres équipements en cas de problème. N'exposez jamais
l'appareil à l'eau ou à l'humidité.
Entretien :
Ne nettoyez qu'avec un chiffon sec. N'utilisez pas de solvants ou de produits abrasifs.
Garantie :
Aucune garantie ou responsabilité ne sera acceptée en cas de modification et/ou
de transformation du produit ou en cas de dommages provoqués par une utilisation
incorrecte de l'appareil.
Généralités :
Le design et les caractéristiques techniques sont sujets à modification sans notification
préalable.
Tous les logos de marques et noms de produits sont des marques déposées ou
immatriculées dont leurs détenteurs sont titulaires et sont donc reconnus comme telles
dans ce document.
Attention :
Ce symbole figure sur l'appareil. Il signifie que les produits électriques et
électroniques ne doivent pas être jetés avec les ordures ménagères. Le
système de collecte est différent pour ce genre de produits.
Copyright ©

17
NEDERLANDS
Introductie:
Met deze switch is het mogelijk om vier verschillende HDMI apparaten op één LCD of
plasma beeldscherm aan te sluiten. Met de afstandsbediening of door op de knop aan
de voorzijde van de switch te drukken kunt u het gewenste bron apparaat selecteren.
De geselecteerde ingang wordt aangegeven door een LED. Draagbare apparaten
en spelcomputers kunnen eenvoudig aangesloten worden op de HDMI ingang aan de
voorzijde van de switch.
Eigenschappen:
• HDMI 1.3b (pixel kloksnelheid: 25 MHz ~ 225 MHz)
• Ondersteuning van 1080p (progressief) HDTV
• Ondersteunt HDCP
• DTS-HD, Dolby TrueHD lossless gecomprimeerde digitale audio
• Vergulde connectors
• Een HDMI ingang aan de voorzijde van de switch voor draagbare apparaten
• Infrarood afstandsbediening
• Intelligente auto bron detectie
• 3 bedieningsmodi:
- Automatisch schakelen
- Handmatige bediening frontpaneel
- Infrarood afstandsbediening
• Verbindt 4 HDMI bronnen met uw HD televisie
• Plug & Play, installatie in een oogwenk
Inhoud van de verpakking:
• 5V DC 1A netvoedingadapter
• Afstandsbediening
• HDMI 4-IN 1-UIT switch
• Gebruiksaanwijzing

18
Vooraanzicht
Achteraanzicht
Aansluitingen:
Het aansluiten
Stap 1:
Sluit de HDMI kabels van de HD bronnen (PS3, dvd-speler, enz.) aan op de ingangen van
de HDMI switch.
Stap 2:
Sluit de HDMI kabel van uw HD beeldscherm (HDTV, monitor, projector, enz.) aan op de
uitgang van de HDMI switch.
Stap 3:
Steek het stekkertje van de 5V DC netvoedingadapter in de HDMI switch.
Stap 4:
Steek de netvoedingadapter in een stopcontact. De spanningsindicatie LED gaat nu
branden. Nadat u een HD bron geselecteerd heeft, zal het bij de geselecteerde ingang
behorende LED indicatielampje gaan branden.
NB:
1. Zodra u de 5V DC netvoedingadapter in een stopcontact steekt, is de spanning van het
apparaat ingeschakeld.
2. De 'SELECT/AUTO' knop kan ook gebruikt worden voor het in- of uitschakelen van
de automatische schakelfunctie. Druk gedurende 3 seconden op de knop om de
automatische schakelfunctie in of uit te schakelen.
3. Wanneer de 'AUTO' LED brandt, is de automatische schakelfunctie ingeschakeld en kan
de HDMI switch tevens worden bediend met de afstandsbediening en met de knoppen
op het frontpaneel.
4. Wanneer de 'AUTO' LED niet brandt, is de automatische schakelfunctie uitgeschakeld. De HDMI
switch kan nu worden bediend met de afstandsbediening of met de knoppen op het frontpaneel.

19
5. Als de spanningsindicatie LED (rood) knippert, dan heeft de HDMI switch een bron
gedetecteerd en wordt de betreffende ingang van de HDMI switch geactiveerd. Nadat
de bron gedetecteerd, en de ingang geactiveerd is, stopt de LED met knipperen. Als de
LED blijft knipperen, controleer dan of de voedingsspanning van uw bron ingeschakeld
is, of controleer de HDMI kabel.
6. De HDMI switch onthoudt de laatst geselecteerde HDMI ingang. Wanneer u het
apparaat inschakelt, zal de switch de laatst geselecteerde en gebruikte HDMI ingang
automatisch activeren.
Bediening:
De HDMI switch kan op 3 manieren bediend worden: bediening via het frontpaneel, via de
automatische schakelfunctie en bediening met de afstandsbediening.
Bediening met de infrarood afstandsbediening
Gebruik de infrarood afstandsbediening om de HDMI switch in te schakelen. De
spanningsindicatie LED aan de voorzijde zal gaan branden. Gebruik de cijfertoetsen
of de volgende/vorige toetsen van de afstandsbediening om om de gewenste bron te
selecteren.
Bediening via de automatische schakelfunctie
In de automatische schakelfunctie modus detecteert de switch automatisch een
ingeschakelde ingangsbron. U hoeft alleen maar het apparaat dat u wilt gebruiken in te
schakelen.
De switch detecteert vervolgens de betreffende ingang en activeert deze.
Om de automatische schakelfunctie uit te schakelen, drukt u gedurende 3 seconden
op de 'SELECT/AUTO' knop. Door de knop nog eens 3 seconden ingedrukt te houden,
schakelt u deze functie weer in.
Bediening via het frontpaneel
• Gebruik de 'POWER' knop om de switch in of uit te schakelen.
• Voor de bediening via het frontpaneel wordt de 'SELECT/AUTO' knop gebruikt. Als u
het ingangskanaal wilt wijzigen, drukt u eenmaal op de knop. Het geactiveerde kanaal
wordt aangegeven middels een LED.
Het oplossen van problemen:
1. Er is geen beeld
• Controleer alle connectors.
• Controleer of de aansluitkabel misschien beschadigd is.
• Controleer de spanningstoevoer van de HDMI switch (of reset de switch).
2. Er is alleen beeld, maar geen geluid
• Controleer of de kabel(s) goed aangesloten is (zijn) en of de connectors goed vast
zitten.
• Controleer of de kabel niet beschadigd is.
• Gebruik geen DVI naar HDMI kabel. Een dergelijke kabel ondersteunt de overdracht
van het geluidssignaal wellicht niet.

20
• Het kan zijn, dat bij de eerste keer aansluiten de HDCP identificatie niet lukt; reset dan
uw HDMI switch.
• Sluit geen videorecorder aan die geen HDCP ondersteunt.HDCP zal de geluidsweergave
blokkeren.
3. Het beeld kan niet met een resolutie van 1080p weergegeven worden
• Controleer of uw HD-bron (bijv. HD dvd-speler) en weergaveapparaat (HDTV) een
resolutie van 1080p volledig ondersteunen.
• Controleer of uw HDMI kabels geschikt zijn voor het overdragen van een 1080p
videosignaal.
Conformiteitsverklaring
Wij,
Nedis BV
De Tweeling 28
5215 MC ’s-Hertogenbosch
Nederland
Tel.: 0031 73 599 1055
E-mail: info@nedis.com
Verklaren dat het product:
Merknaam: HQ
Model: AVSWITCH-46
Omschrijving: 4 poorts HDMI switch
in overeenstemming met de volgende normen is:
EMC: EN 55022:2006: klasse B
EN 61000-3-2:2006, EN 61000-3-3:1995+A1:2001+A2:2005
EN 55024:1998+A1:2001+A2:2003
IEC 61000-4-2:2001 IEC 61000-4-3:2007 IEC 61000-4-4:2004
IEC 61000-4-5:2005 IEC 61000-4-6:2006 IEC 61000-4-8:2001
IEC 61000-4-11:2004
LVD: EN 60950:2000
en voldoet aan de vereiste richtlijnen 89/336/EEC, 92/31/EEC, 93/68/EEC en 2006/95/EC
van de Europese Unie.
‘s-Hertogenbosch, 1 november 2008
Mevr. J. Gilad
Directeur inkoop
Table of contents
Languages:
Other HQ Switch manuals