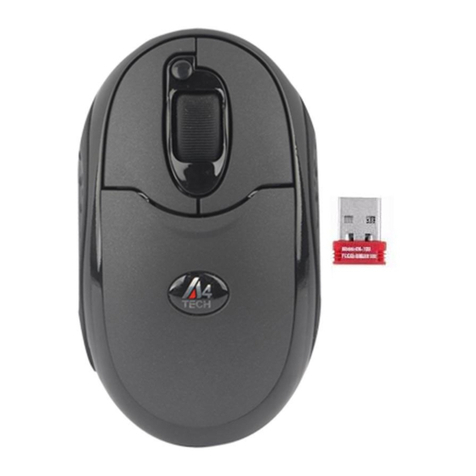
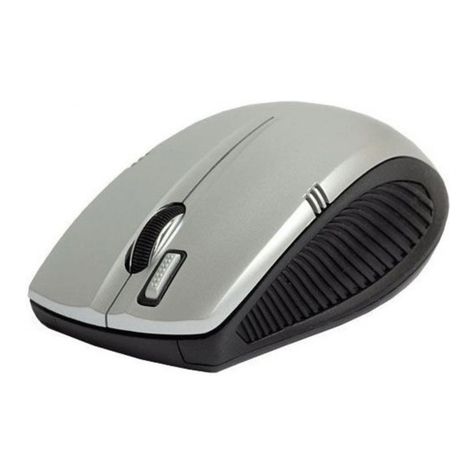
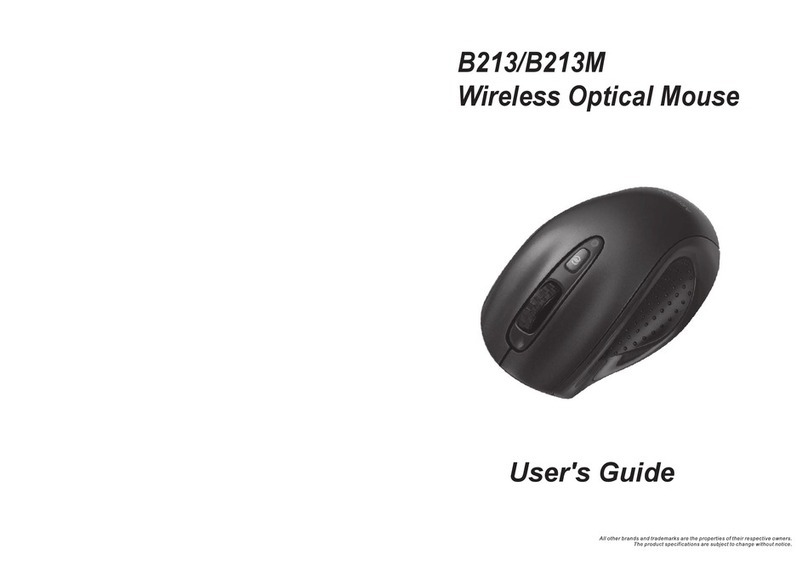
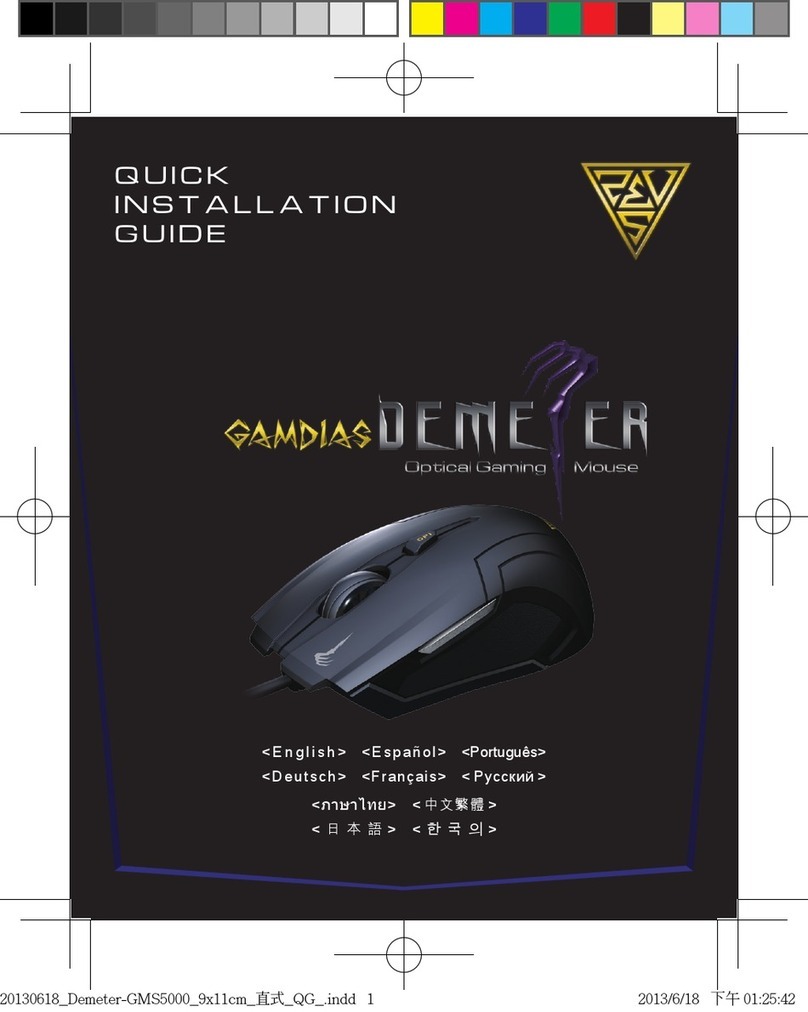
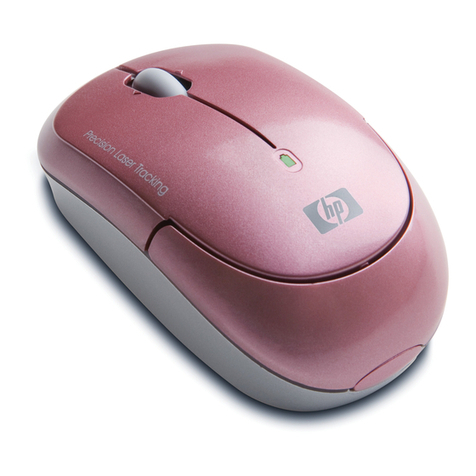
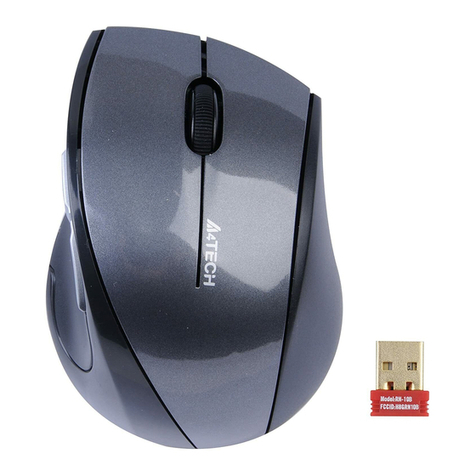
A4Tech G6-70D User manual

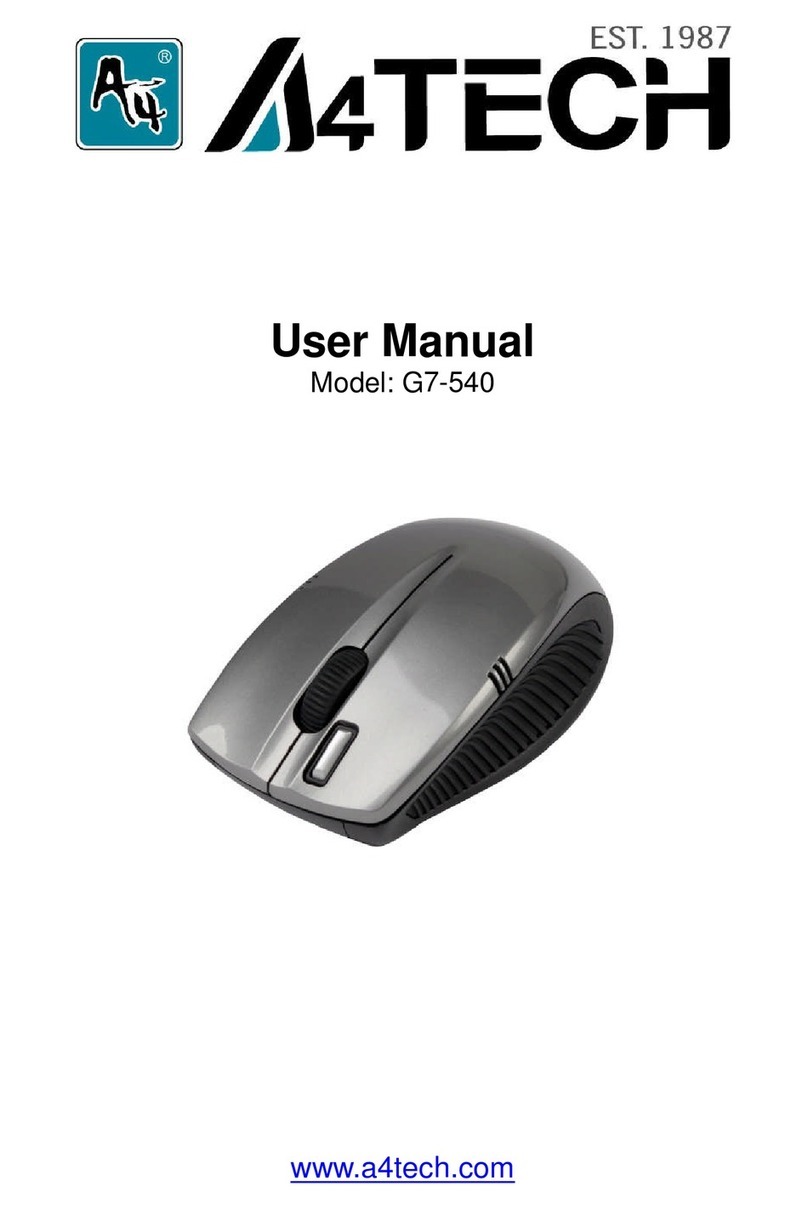
G6 Saver
Wireless Optical Mouse
User’s Guide
Mouse Model:G6-70D
Dongle Model:RG-20M
www.a4tech.com

- 1 -
THIS DEVICE COMPLIES WITH PART 15 OF THE FCC RULES. OPERATION IS SUBJECT TO THE FOLLOWING TWO CONDITIONS: (1)
THIS DEVICE MAY NOT CAUSE HARMFUL INTERFERENCE AND (2) THIS DEVICE MUST ACCEPT ANY INTERFERENCE RECEIVED,
INCLUDING INTERFERENCE THAT MAY CAUSE UNDESIRED OPERATION.
Federal Communications Commission Requirements
The equipment has been tested and found to comply with the limits for Class B Digital Device, pursuant to part 15 of the FCC Rules. These limits
are designed to provide reasonable protection against harmful interference in a residential installation. This equipment generates uses and can
radiate radio frequency energy and, if not installed and used in accordance with the instruction, may cause harmful interference to radio
communication. However, there is no guarantee that interference will not occur in a particular installation. If this equipment does cause harmful
interference to radio or television reception, which can be determined by turning the equipment off and on, the user is encouraged to try to correct
the interference by one or more of the following measures:
zReorient of relocate the receiving antenna.
zIncrease the separation between the equipment and receiver.
zConnect the equipment into an outlet on a circuit different from that to which the receiver is connected.
zConsult the dealer or an experienced radio/TV technician for help.
THE CHANGES OR MODIFICATIONS NOT EXPRESSLY APPROVED BY THE PARTY RESPONSIBLE FOR COMPLIANCE COULD VOID
THE USER’S AUTHORITY TO OPERATE THE EQUIPMENT.
This device complies with Part 15 of the FCC Rules. Operation is subject to the following two conditions:
(1) This device may not cause harmful interference, and
(2) This device must accept any interference received, including interference that may cause undesired operation.

- 2 -
Knowing the mouse
2.4GHz wireless technology with 16 channels and 1,048,576 ID
Codes
Errorless 2-Way Communication Technology
The 2.4GHz RF wireless technology is fine-tuned with 16 selected
channels and exclusive 1,048,576 ID-codes; it offers precise and
smooth wireless operation in active wireless environments. It allows
many wireless devices to operate simultaneously in one area without
interfering in the range up to 8-10 meters.
Errorless 2-way communication technology features error
correction capability that speeds up data transmission and
increases wireless precision. It saves valuable battery power
and cost.
Anti-interference with Auto Channel Hopping Technology Ultra Low Battery Power Consumption - Only 6mA!
"Auto Channel Hopping" technology automatically detects and
secures available channels in the busy public 2.4GHz universal band.
It ensures better quality of wireless communication.
2.4G is designed with “4 Level Auto Power Saving” modes with
ultra low battery power consumption, it only requires 6mA of
electric current to operate.
Ultra Low Battery Power Consumption - Only 6mA! Say Goodbye To Double Click
2.4G is designed with “4-Level Auto Power Saving” modes. With ultra
low battery power consumption, it only requires 6mA of electric current
to operate.
Just one click on “2X Button” directly opens files and programs,
saves time and improves efficiency.
Specifications
RF Data Transmit Rate 2Mbps Frequency 2.402GHz~2.481GHz
ID Codes 1,048,576 sets Channels 16 channels

- 3 -
Wireless Range
Any electrical device, such as the computer monitor, Zip drives, speakers, etc., can cause interference with the wireless mouse. Most likely, this
will effect tracking of pointing devices or the range of the device. To make sure that your mouse transmits and receives properly, refer to the
following instructions:
1. For optimal performance, place the receiver at least 8 inches (20 centimeters) away from
other electrical devices, such as the computer monitor, Zip drives, speakers…etc.
2. The effective distance of wireless mouse should be no farther than 26-33 feet (8 -10
meters). This will ensure optimal communication between the mouse and the USB receiver.
NOTE: You should always get at least a 4 meters range. If you find that your cordless device gets less than 4 meters range, please
replace the batteries with a fresh set, perform the synchronization procedure for the mouse and test the range again. If the range is still
below 4 feet, please test your device on another system, preferably in a different environment. If you find it gets the same range on
another system, please contact A4 TECH support to obtain information about a warranty replacement. However, if the range improves on
another system, then it may be an environmental variable. Use the suggestions above to resolve the environmental interference issue.
Operating Warnings: For optimal performance and RF (Radio Frequency) reception:
1. Avoid using the wireless mouse on a metal desk or a desk with a metal frame can cause problems with pointing device behavior and range.
2. The mouse will enter a suspend mode at the same time your computer dose, click a button on the mouse presenter to activate it.
3. Never use the mouse on the glass or mirrored surface.
Keep 8 inches

- 4 -
Hardware Installation
Step 1: Inserting the Batteries
A. Press the tab on the battery cover
locates on the mouse bottom as
shown here and remove the cover.
B. Insert the supplied batteries, making sure that the
positive (+) and negative (-) ends of the battery
match the polarity indicators inside the battery
housing.
C. Slide the batter cover back into its
position until it “clicks” firmly into place.
Step 2: Connect the Receiver
A. For Notebook computer:
Insert the USB receiver into the USB port of your Notebook
computer.
A. For PC computer:
Insert the USB receiver into the USB port of desktop computer or
via a USB HUB.

- 5 -
B. The USB receiver will automatically be recognized by your computer.
C. Press the “connect” button on the USB receiver as shown,
the Green Power LED will light up, and starts “Blinking”.
D. Immediately Press the “connect” button on the bottom of the
mouse, If you can’t find or see your cursor on the screen, follow
the steps below:
1. Unplug and re-plug the receiver
2.Test the device on another USB port or computer.
3. Some surfaces may “trick” the optical sensor, such as reflective
surfaces like glass or mirrors. The Optical sensor should perform
well on all other surfaces.
Power Management
1. To power on the mouse, press the connect button on the bottom of the mouse once.
2. To turn off the mouse, press and hold the connect button on the bottom of the mouse
until its optical light (RED) turns off.
Note: Removing the batteries will require you to synchronize it with the receiver again
the next time you turn it back on.
Power on/off

- 6 -
Installing 2X-Office Software
Note: The driver is applicable to Windows 2000, XP, MCE2005, XP (x64), 2003(x64) and VISTA x86.
A. Before installing the 2X-Office, uninstall any previous mouse driver.
B. Insert the enclosed 2X-Office driver (CD) to start installation. Then you’ll see a “Figure C”
pop up (shown as the below figure). >>Click “Install driver” of the 2X-Office software to
install the driver.
C. The mouse icon “ ” will appear on the bottom right of your taskbar ( ), then
you have successfully installed the 2X-Office driver. OR,
Go to START, and then select PROGRAMS. If you see “A4 TECH Hardware”
>>“Mouse” >>”2X-Office” in the program list, then you have successfully installed the driver.
(Otherwise, installation is failed and you have to remove the driver and re-install).
Figure. C
To remove the driver, follow the steps below:
Go to START, then select PROGRAMS>> “A4 TECH Hardware” >>“Mouse” >>”Uninstall 2X-Office”.
How to Setup the 2X-Office Software
Step 1: Launching the software can be done with 2 methods:
A: Double Click on icon in the right corner of your desktop
OR Go to START >> PROGRAM >> A4 TECH Hardware >> Mouse >>
2X-Office, as shown below.
B: Now, you can program the mouse button on the mouse
properties.

- 7 -
Step 2: Programming the mouse buttons
MOUSE PROPERTIES
1. Double click on the mouse icon “ ” will bring you the mouse properties (as shown on the left).
2. If the mouse image appears in the mouse properties menu looks exactly the same as the
mouse on hand, then you have successfully installed the 2X-Office driver.
Section I: Button Assignment
In the first section of the mouse properties menu, there is a mouse image and each accessible
key is remarked with a number, which is responding to the numbers as listed to the right, as
shown on the upper corner of the “Mouse Properties” setup window.
For example,
“Button #1” is assigned as “Main Button” by default and it is not programmable.
“Button #2” has been assigned as “Right Button” which works as right click for your mouse
“Button # 3”has been assigned as “Pan” function by default. It’s a vertical scrolling wheel if you
scroll it. Also, “Button # 3” can be used as a “Net/Lucky Jump”. To set up the “Net/Lucky Jump”,
you need to open the Mouse Properties window and select the button tab as left image shown.
Then assign “Net/Lucky Jump” in “3rd Tilt-wheel Button” command. You also can use “Setting” to
update the command list of “Net/Luck Jump”. Press the wheel button, it will show up the “Net/Luck
Jump” screen which shows 14 commonly used tasks as for convenient shortcuts.
#4 and #5 button can be set as either regular programmable buttons or “Office-Button” functions. The 4th and 5th as the coupling button to
makes shortcut commands from Office-jump such as “OPEN, CLOSE”; “DELETE, REPLY”, “ZOOM IN, ZOOM OUT”…etc. which may be

- 8 -
easily changed by one click on the 6th Office Jump button.
Step 3:Using the “Office-Button Options”
There are 2 ways to open the “Office-Button” menu (right)
A:Click the “Office-Button Option” in
the Mouse Properties.
Mouse Properties
B: Click 6th Button located on the mouse and
it will bring you the “Office-Jump menu” (as
below figure) >> click the “A4” logo on
Office-Jump menu.
Office-Jumpmenu
C:Now, there are 24 selections in the
“Office-Button” menu totally. You may choose
8 selections at a time in maximum.
Office-Button menu

- 9 -
Step 4: Experiencing the mouse with different applications
When you are in Microsoft Outlook
After selected Office command set No.5 - Delete-Reply All . You can press 6th button to delete all garbage mail, or you can press 7th
button to reply all. By using Office 8K Mouse, you can instantly read all your email messages and manage your outlook in a second. Or
you can select No.15 - Zoom In- \Zoom out to enlarge your email font size to match your eyesight needs.
When you are in Microsoft Word
After selected Office Command set No.1 - Copy-Paste . You can adjust your paragraph length or edit sentences with simple two
clicks. Instead of looking for copy icon and paste icon in the MS Word or Ctrl+C and Ctrl+V on the Keyboard. Or you can select No.15 -
Zoom In- \Zoom out to enlarge the page view size to match your eyesight needs.
When you are in Microsoft Excel
After selected Office command set No.14 - Scroll left-Scroll right . You can edit your wide spreadsheet in a second with such a handful
function.
When you are in Photoshop, Illustrator, Pro-E or other applications
After selected Office Command Set No.15 - Zoom In- \Zoom out , you can enlarge or shrink the image size whether to do some editing
to the image or just to view the image more clearly with just two clicks.
More than 100 useful applications are supported with our “Zoom in-Zoom out” command set
There are so many different computer applications that provide zoom in and out functions and each application uses different ways to
execute the Zoom function, which can be difficult to neither learn nor remember the proper way in performing the Zoom functions.
Now, with A4 TECH Zoom in and out function, whether you are an Artist, Designer or Office user, you can easily press the two zoom
buttons to interact with more than hundreds of applications. We integrated and standardized different Zoom commands into our two office
fingertips, and this function is applicable to all Windows applications as long as they are the Zoom-supported applications.
Tech Support: For tech support, please visit our website at http://support.a4tech.com/ or email us at [email protected]

- 10 -
●System Requirements:
To use the mouse presenter, your computer must meet the following hardware requirements and run
one of the operating system listed below.
Hardware
□IBM or Compatible PC
□CD (User Manual on CD)
□Hard Disk Driver
□USB Port
Operating System
□Windows 2000, XP, MCE2005, XP (x64), 2003(x64), and VISTA x86
●Package Includes:
□2.4GHz RF Mouse
□USB RF Receiver
□2 AAA Alkaline Batteries
□CD (User Manual on CD)
** Please inform us if there is any discrepancy found in this manual. (Note: This manual may be revised without notice).
This manual suits for next models
1
Table of contents
Other A4Tech Mouse manuals

A4Tech
A4Tech Office 8K User manual

A4Tech
A4Tech RFSOP-29 User manual

A4Tech
A4Tech BT-630 User manual

A4Tech
A4Tech RFSWOP-50 User manual

A4Tech
A4Tech N-350 User manual

A4Tech
A4Tech RFSOP-54 User manual

A4Tech
A4Tech G9-557HX User manual

A4Tech
A4Tech RFW-29 User manual

A4Tech
A4Tech RFW-33 User manual

A4Tech
A4Tech G9-660 User manual

A4Tech
A4Tech RFSW-53 User manual

A4Tech
A4Tech G7-750 User manual

A4Tech
A4Tech G9-100 User manual

A4Tech
A4Tech G3-220 User manual

A4Tech
A4Tech G7-740NX User manual

A4Tech
A4Tech RFWOP-49 User manual

A4Tech
A4Tech RFSW-35 User manual

A4Tech
A4Tech Wireless Optical Zoom Mouse User manual
A4Tech
A4Tech G9-500H User manual

A4Tech
A4Tech R4 User manual