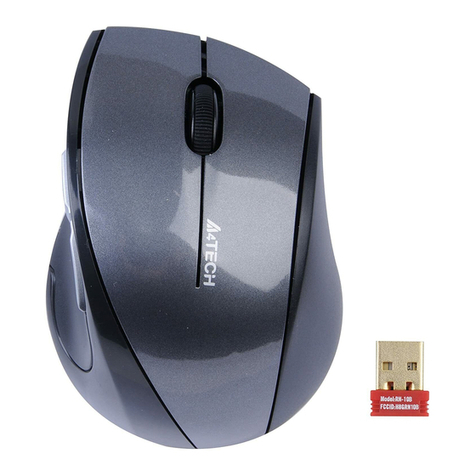
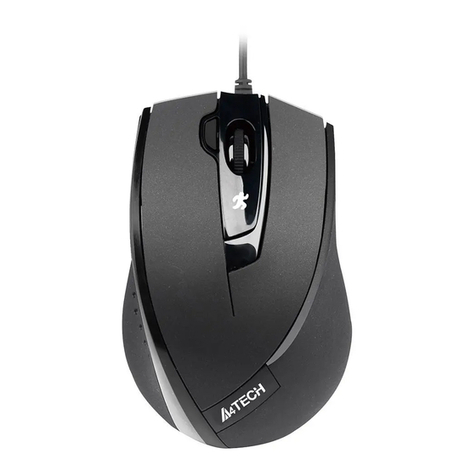
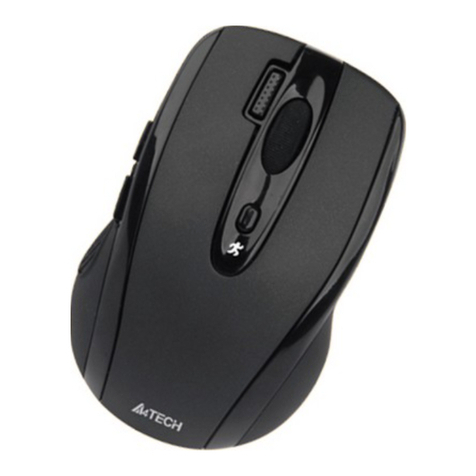
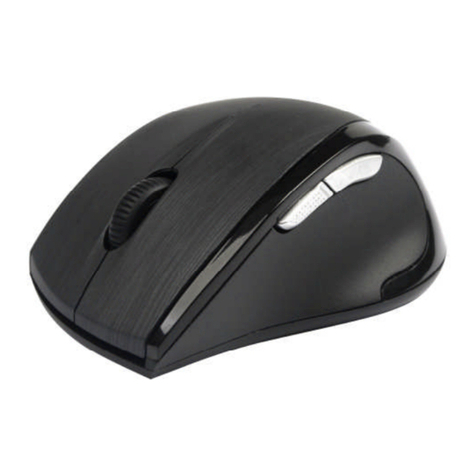
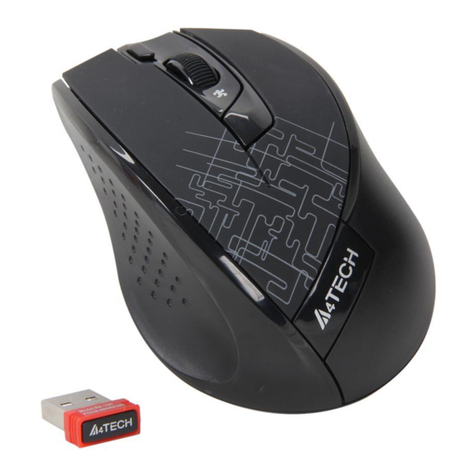
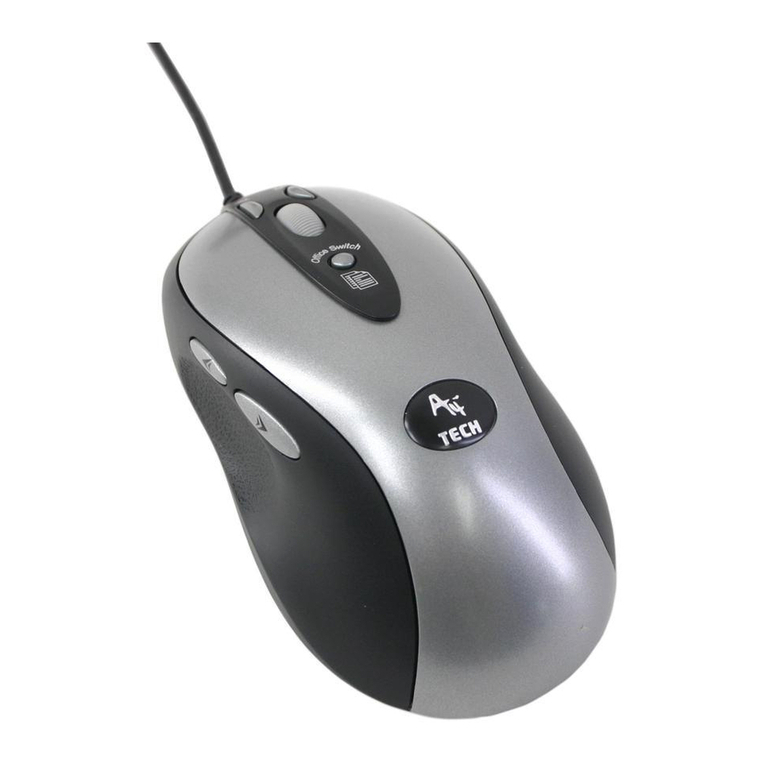
A4Tech NB-60 User manual

BatteryFREE Wireless Optical Mouse
User s Manual
Model NB-60
www.a4tech.com

THIS DEVICE COMPLIES WITH PART 15 OF THE FCC RULES. OPERATION IS SUBJECT TOTHE FOLLOWING TWO
CONDITIONS:(1) THIS DEVICE MAY NOT CAUSE HARMFUL INTERFERENCE AND (2) THIS DEVICE MUST ACCEPT ANY
INTERFERENCE RECEIVED,INCLUDING INTERFERENCE THAT MAY CAUSE UNDESIRED OPERATION.
Federal Communications Commission Requirements
The equipment has been tested and foundto complywith the limits for Class B Digital Device,pursuant to part15
ofthe FCC Rules. These limits are designed to provide reasonable protection against harmful interference in a
residentialinstallation. This equipment generates, uses and can radiate radio frequencyenergyand,ifnot installed
and used in accordance with theinstruction,maycause harmful interference to radio communication. However,
there is no guarantee that interference will notoccur ina particular installation. Ifthis equipment does cause harmful
interference to radio or television reception, whichcan be determined byturning the equipment offand on, theuser
is encouraged to tryto correct the interference byoneor more ofthe following measures:
lReorient ofrelocate the receiving antenna.
lIncrease the separation between the equipment and receiver.
lConnect theequipment intoan outlet on a circuit different fromthat to whichthereceiver is connected.
lConsult the dealer or an experienced radio/TV technician for help.
THE CHANGES OR MODIFICATIONS NOT EXPRESSLY APPROVED BY THE PARTY RESPONSIBLE FOR COMPLIANCE
COULD VOID THE USER SAUTHORITY TO OPERATE THE EQUIPMENT.
This device complies with Part 15 oftheFCC Rules. Operation is subject to the following two conditions:
(1). this device maynot cause harmful interference, and
(2). this device must accept anyinterference received, including interference that maycause undesired operation.
Introduction
Congratulations on your purchase.
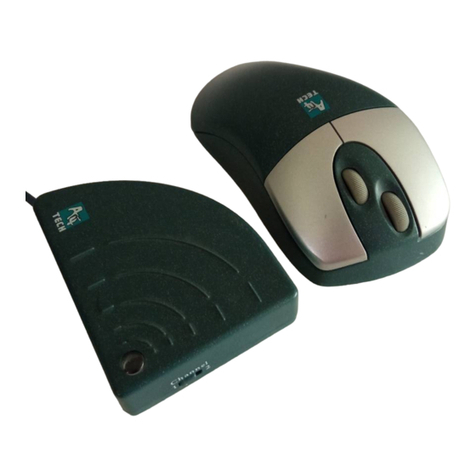
Your new BatteryFREE Wireless Optical Mouse will offer you wireless freedom, yet no batteryis required.
Whilst saving you the cost of batteries, it assures wrist comfort, light, easyoperation and no- RF interference.
Setting up your mouse pad and mouse is just a second away:
1. Plug the Mouse PadsUSB plug to your computersUSB port.
2. PWR LED on the Mouse Pad will be flashing in “RED”
3. Put the MOUSE onto the center of the MOUSE PAD.
4. PWR LED on the Mouse Pad will stop flashing become steady “RED”
5. Press the button “TUNE”to obtain the frequencyfor best performance. Do not movethe mouse while theRUN
LED is flashing in “GREEN”
6. You maymove the mousearound once the RUN LED stopped flashing in “GREEN”
7. If the cursor doesn tmove smoothly, please repeat steps 5 to 7.
8. RUN LED should light up with steady “GREEN”while mouse is circulating on the mouse pad.
NOTE:
1. Do not usethis product onanymetal table or surface. The metal surface mayinterfere with the crossinduction
and have an adverse effect on the mouse operation.
2. Keep working temperature under 0 to 50 degree Celsius (0°– 5°C).
3. Frequency: 119 KHz-135 KHz
4. Keep your credit cards andATM cards awayfromRFID Mouse Pad to preventthe cardsmagnetic stripe
from losing its efficiency.
5. Our RFID Mouse Padwill not erase anydata in the memorystick. So dont worryif your memorystickis
close to the inductive RFIDmouse pad.
PWR
RUN LED
TUNE

Installing the BatteryFree Mouse Software
Byinstalling the 6K-Works,it enables various functions provided for the scrollingwheel(s) andbuttons.
STEPONE: HOW TOINSTALL6K-WORKS SOFTWARE
*****For Windows Me /2000 /2003 /XP
1. MUST: Please uninstall anyprevious mouse driver before installing the 6K-Works
2. MUST: Make sure you have completelyfinished setting upyour mouse pad and mouse
3. Insert theincluded Compact Disc (CD) into your CD-ROM
4. Click “Install Driver”. Select model: NB-60 BatteryFree Mouse
5. Clickthe button on the right to install driver
6. Follow the on screen instruction to complete your installation
7. Restart your computer after the driver has been installed
8. You will see a mouse icon “ ” appear on the bottom right
of your taskbar (near the clockarea)
9. Double clickon the mouse icon “ ” will bring you the mouse property(figure on the right)
If the mouse image appears in the mouse propertiesmenu looks exactlythe same as the mouse on hand, then this
means that you have successfullyinstalled the 6K-Works.
7.
Restart your computerafter the driver has beeninstalled
Mouse Properties Window

STEPTWO: HOW TO PROGRAMYOUR MOUSE BUTTONS
MOUSE Properties
lOpen your MouseProperties.
First Tab: Button
Section I: Button Assignment
1. The mouse image that appears in the first section is a keyto numbers
listed to the right.For example, button #1 has been assigned as “Main
Button”bydefault andits not programmable.
2. The rest ofthe buttons from#2 to # 6 are programmable.
Section II: Double-Click Speed Section III: Button Configuration
Adjust your double-clickspeed If you select “Left-Handed”,your
Main Buttonwill be#2 button.
Keyboard Property
Before wego further to setting up your mouse buttons with game commands,
we want tomake sure your keyboard properties has the character repeat
setting correct. Followthe steps belowto get toKeyboard Properties:
1) Go to Control Panel
2) Clickon Keyboard
3) For Repeat Delay:Most right (SHORT)
4) For Repeat Rate: Most right (FAST)
5) Apply>> OK

STEPTHREE: HOW TO CONFIGURE AND SET YOUR MOUSE WITH GAME COMMANDS
Bydefault, the 6th Button has been presetas the function “X6-Jump”.
Note: The function X6-Jumpmaybe set in anyofthe buttons from# 2 to # 6.
1. Clickon X6-Jump and you ll see the pop up window(Image: left, top)
Section I: Cursor Speed
Adjust the speed of your cursor byclicking on the block or using your
scrollingwheel.
Section II: Keystrokes
ToADD keystrokes: Clickon thebutton “NewKeystroke”and you ll see a
“Keystroke”Windowpops up (Image: left, bottom)
Here youwill see 2 radio buttons:
lPress and hold will input keystrokes consecutively
lPress and hold will onlyinput oncethekeystrokes
If you select the 1st radio button, it means youwould like to have the mouse
completelysimulates keyboards keystroke –whenyoupress and hold akeyon
the keyboard, it will input a character consecutively.If you select the2nd radio
button, it means youwould like to have the mouse partiallysimulates keyboards
keystroke –whenyoupress and hold a keyon the keyboard, it will onlyinput
once unless you lift itand press it again.
X6-Jump Window

Lets dosome example together…
Example 1: Select 1st Radio Button
1. Clickon “Record”(Reference: Image A)
2. Press “Ctrl”on the Keyboard
3. Click “OK”
4. It will bringyoubackto previous page (Image B)
5. Nowclickon “Keystroke (Ctrl)”, the one you just created
6. Select the Mouse Button (green icon) ontheMouse Image toyour right to
store the “Keystroke (Ctrl)”.
7. Green iconwill turn red once its beenselected. (ImageC)
8. Click “Apply”>> “OK”
We have stored it in Mouse Button # 4.
Let s tryit on game application (Counter Strikes)
lPress and hold your mousebutton #4.
In Counter Strike, “Keystroke (Ctrl)”means to hunker down
Did you see yourselfstayed hunker downuntil theminute you release
button # 3? If yes, you have successfullycreated a command.
A
B

Example 2: Select 1st Radio Button
1. Clickon “Record”(ImageA)
1. Press “R”on the Keyboard
2. Click “OK”
3. It will bringyoubackto previous page
4. Nowclickon “Keystroke(R)”, the one you just created
5. Select the Mouse Button (green icon) ontheMouse Image toyour right to
store the “Keystroke (R)”.
6. Green iconwill turn red once its beenselected. (Image B)
7. Click “Apply”, then “OK”
We have stored it in Mouse Button # 3.
Let s tryit on regular word document and on gameapplication.
lTryit on Word Document. Press and hold your mouse button #3.
Did you see the character “rrrrrrrrrrrrrrrrrr”inputted consecutively?
lTryit on GameApplication.Press and hold your mouse button #3.
In Counter Strike, “Keystroke (R)”means to add bullets.Did you see
it adding bullets? If yes, you have successfullycreated a command.
(Image A)
(Image B)

Example 3: Select 2nd Radio Button
1. Clickon “Record”(Reference: Image C)
2. Press “Ctrl”on the Keyboard
3. Click “Stop”to stop recording
4. Click “OK”
5. It will bringyoubackto previous page (Image D)
6. Nowclickon “Keystroke (Ctrl)”, the one you just created
7. Select the Mouse Button (green icon) ontheMouse Image toyour right to
store the “Keystroke (Ctrl)”.
8. Green iconwill turn red once its beenselected. (ImageD)
9. Click “Apply”>> “OK”
We have stored it in Mouse Button # 4.
Let s tryit on game application (Counter Strikes)
lPress and hold your mousebutton #4.
In Counter Strike, “Keystroke (Ctrl)”means to hunker down
lDid you see yourselfhunker downonlyonce? If yes, you have
successfullycreateda command with
2
nd Radio Button “Press and hold will onlyinput once the keystrokes”
(Image C)
(Image D)

Example 4: Select 2nd Radio Button
1. Clickon “Record”
2. Press “A4TECH”theKeyboard (Image E)
3. Click “Stop”to stop recording >> then click “OK”
4. It will bringyoubackto previous page (Image F)
5. Nowclickon “Keystroke(A4TECH)”, the oneyou just created
6. Select the Mouse Button (green icon) ontheMouse Image toyour right to
store the “Keystroke(A4TECH)”.
1. Green iconwill turn red once its beenselected. (ImageF)
2. Click “OK”
We have stored it in Mouse Button # 5.
Let s tryit on regular word document or on game application.
7. Tryit on Word Document. Press and hold your mouse button #5.
Did you see the onlycharacter “A4TECH”even thoughyou have press and
hold? This is partiallysimulation. You maystore your most frequently
used word, for instance,you first name.
8. Tryit on Game Application. Press and hold your mouse button # 5.
In Counter Strike, “Keystroke (A4TECH)”means nothing. So when youtryit
in counter strike, it will do nothing.
(Image E)
(Image F)

TECH SUPPORT
For tech support, please visit our website at www.a4tech.com or email us at
support@a4tech.com
WARRANTY
All A4 Tech products come with 1year limited warranty.
Table of contents
Other A4Tech Mouse manuals

A4Tech
A4Tech G9-310 User manual

A4Tech
A4Tech RFSOP-688 User manual

A4Tech
A4Tech G9-200F User manual

A4Tech
A4Tech G7-200NX User manual

A4Tech
A4Tech G9-110H User manual

A4Tech
A4Tech G9-250 User manual

A4Tech
A4Tech G3-620F User manual

A4Tech
A4Tech RFSWOP-55 User manual

A4Tech
A4Tech RFSOP-533 User manual

A4Tech
A4Tech RFSOP-54 User manual

A4Tech
A4Tech MeetingMan G10-700F User manual

A4Tech
A4Tech MeetingMan G10-770L User manual

A4Tech
A4Tech N-350 User manual

A4Tech
A4Tech X-708 User manual

A4Tech
A4Tech GL-6630 User manual

A4Tech
A4Tech X-708F User manual

A4Tech
A4Tech G7-540 User manual

A4Tech
A4Tech G7-630 User manual

A4Tech
A4Tech RFSW-35 User manual

A4Tech
A4Tech RFW-33 User manual