Accustic Arts POWER I you User manual

2
To our valued customer and music enthusiast,
with the purchase of your new ACCUSTIC ARTS®POWER I you have opted for a product which
incorporates the most modern technology to achieve excellent sound and quality. To make sure that you
have pleasure for as long as possible with your preamplifier we kindly ask you to thoroughly read this
instruction manual through to the end.
We wish you many enjoyable hours of listening to music with your new unit.
ACCUSTIC ARTS®/ Lauffen (Germany)
C o n t e n t
1 POWER I highlights ____
Page 2
2 Important safety instructions ____
Page 3
3 Unpacking ____
Page 4
4 Positioning ____
Page 5
5 Installation and start-up ____
Page 5
5. 1 Connection to mains power
5. 2 Use and start-up of an analog input
5. 3 Use of INPUT 5 as SURROUND BYPASS
5. 4 Use of the PRE-OUTPUT
5. 5 Use of the headphone output PHONES
5. 6 Loudspeaker cables
5. 7 Correct phases for the loudspeakers
5. 8 Replacing damaged mains fuses
6 How to start the POWER I ____
Page 9
7 Menu setting ____
Page 9
8 Looking after your equipment ____
Page 12
9 Troubleshooting ____
Page 12
10 Specifications (selection) ____
Page 13
11 Copyright, trademarks, warranty ____
Page 14
1 POWER I - highlights
▪Audiophile integrated stereo power amplifier with high output performance
▪12 selected bipolar output transistors of highest quality
▪Encapsulated 500 VA toroidal core transformer of premium quality for high output reserves; separate
windings for preamp section and for power amp section
▪Integrated, switchable headphones amplifier of premium quality
▪Very good smoothing thanks to more than 54.000 µF power supply capacity
▪High damping factor for high output reserves
▪Integrated protective circuit switches ascents off when clipping, HF oscillations or too high DC offset
occurs
▪Constant low operating temperature due to generously dimensioned heat sink
▪2 x balanced high level inputs (XLR)

3
▪3 x unbalanced input (RCA/Chinch) can be configured as high-level input or -
▪Separate level adjustment for each input
▪1 x unbalanced pre-output (RCA/Chinch), configurable as RECORD-OUT or pre-out
▪-plated silver
contacts for the input selection
▪Encapsulated high grade volume potentiometer
▪Full metal housing for optimum shielding
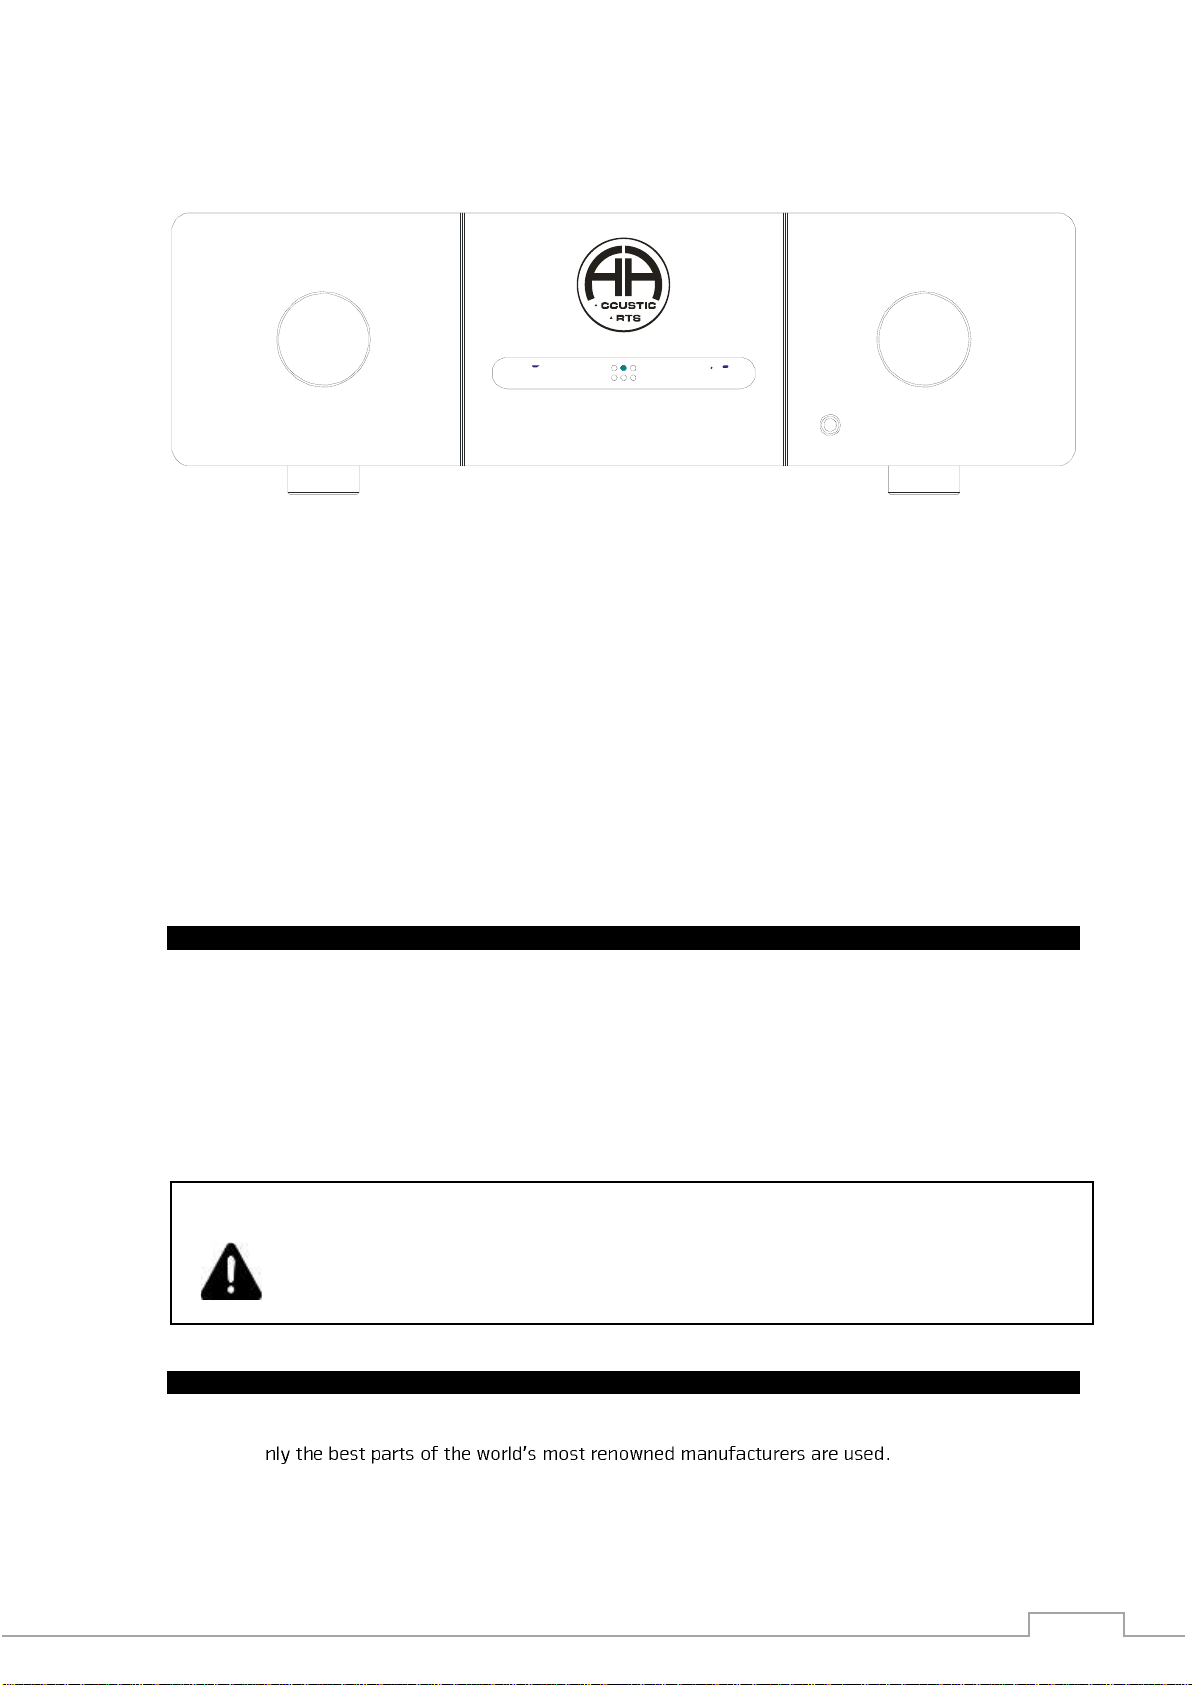
▪Front panel made of brushed aluminium; turning knobs made of massive and chromed brass
▪ACCUSTIC ARTS®standard remote control RC II
▪ACCUSTIC ARTS®Handmade in Germany
2 Important safety instructions
▪Read these instructions.
▪Keep these instructions.
▪Follow all instructions.
▪Do not use this appliance near water.
▪Never use this appliance near hot surfaces.
▪Never use this appliance outside and always place it in a dry environment.
▪Check that your mains voltage corresponds to that stated on the appliance.
▪Never leave the appliance unsupervised when in use. Always keep electrical equipment out of the
reach of children.
▪Never pour or spill liquids directly onto this appliance.
▪Never operate this apparatus in an explosive atmosphere.
▪Do not put any vases or similar objects containing water or liquids on top of this appliance.
▪Unplug this appliance during lightning storms or when unused for long periods of time.
▪Ensure that the appliance has sufficient air around it and avoid extreme temperature influences on the
unit, especially direct sunshine and high humidity.
▪Always disconnect the appliance from the mains power before carrying out any changes to the cables
or when cleaning the appliance.
▪Protect the mains cable from being walked on or pinched particularly at plugs, convenience receptacles
and the point where they exit from the appliance.
▪The mains cable (power cord) of this appliance is equipped with an equipment grounding conductor.
This equipment grounding conductor must never be disconnected or taped over. In case any humming
occurs please contact your authorized dealer.
▪From time to time check the mains cable and the appliance for damages. Take care that the mains
cable is not buckled or damaged by any house pets.
▪Never move the appliance by pulling the mains cable. Make sure the mains cable cannot get caught in
any way. Do not wind the mains cable around the appliance and do not bend it.
▪Never use accessories which are nor recommended by the manufacturer. They could constitute a
danger to the user and risk to damage the appliance.
▪Never operate the appliance with the housing open.
▪To clean the aluminium housing please only use a cloth moistened with water and some detergent.
Never use inflammable or chemically aggressive cleaning agents.

4
▪In the event of a defect, please never attempt to repair it yourself. Any tampering with the appliance
by an unauthorised person will make the warranty void. Please get in contact with your dealer.
▪Refer all servicing to qualified service personnel. Servicing is required when the appliance has been
damaged in any way, such as power-supply cord or plug is damaged, liquid has been spilled or objects
have fallen into the appliance, the appliance has been exposed to rain or moisture, does not operate
normally or has been dropped.
▪Replace fuses only with original types having the same ampere value, the same voltage endurance and
the same time-lag. You can find the corresponding value in chapter 5. 8 of this instruction manual or
on the backside of the apparatus.
▪Never bypass a fuse.
▪No user-serviceable parts inside.
The lightning flash with arrowhead symbol, within an equilateral triangle, is intended to alert
may be of sufficient magnitude to constitute a risk of electric shock to persons.
The exclamation point within an equilateral triangle is intended to alert the user to the
presence of important operation and maintenance (servicing) instructions in the literature
accompanying the appliance.
dicates compliance of this device with the EMC (Electromagnetic
Compatibility) and LVD (Low Voltage Directive) standards of the European Community.
Remarks in the manual:
WARNING!
Calls attention to a procedure, practice, condition or the like that, if not correctly
performed or adhered to, could result in personal injury or death.
CAUTION!
Calls attention to a procedure, practice, condition or the like that, if not correctly
performed or adhered to, could result in a damage or destruction to part or all of
the component.
To guarantee a reliable function of this unit over the long-term we kindly ask you to thoroughly read this
instruction manual before connecting this unit and to observe the following instructions. This is also
necessary for your own safety when dealing with the unit.
3 Unpacking
The weight of this appliance is approx. 22 kg / 48 lbs. Great care must be exercised when unpacking the
unit. Carefully store the transportation packaging for the possibility of further use. If you have a claim on
the warranty, always use the original packaging for any necessary transportation. Transportation without
this packaging can lead to damage to the housing.
Please check, if the following items are included:
1 x AC mains cable (type depends on your country)
1 x ACCUSTIC ARTS®remote control RC II
2 x batteries for the remote control
1 x replacement fuse (type depends on your mains voltage)

5
4 Positioning
For reasons of better access to the various input and output sockets we recommend you position the unit
in an audio rack.
Please observe at all times:
▪Ensure that the unit has sufficient air around it and avoid extreme temperature influences on the
unit, especially direct sunshine and high humidity.
▪Before you connect the unit with some other unit using a cable, please never forget that both
units must first be switched off and disconnected from the mains power.
▪DANGER OF FIRE! Please never cover the ventilation slots (AA logo on the top plate). This could
lead to overheating of the power amplifier and cause serious damage. Therefore leave a minimum
of 5 cm distance at the sides and 10 cm distance above the housing cover.
5 Installation and start-up
Fig. 1: Rear view
1POWER: Mains power switch
2FUSE: Fuse holder for the main fuse (plastic cap with integrated fuse)
3.1 SPEAKER LEFT: Left pair of loudspeaker output sockets
3.2 SPEAKER RIGHT: Right pair of loudspeaker output sockets
4INPUT 1 & 2: Balanced inputs (XLR) for connection of reproduction devices 1 and 2
5INPUT 3 & 4: Unbalanced input (RCA) for connection of reproduction devices 3 and 4
6INPUT 5: Unbalanced input (RCA/Chinch) for connection of reproduction device 5; can be also
SURROUND BYPASS ; see chapter 7. 5 before use
7PRE-OUTPUT: Unbalanced input (RCA); the POWER I can be used as a pre
8 DC-REMOTE OUTPUT: DC control output for remote activation of separate power amp or a subwoofer
230V AC 50Hz - 500W max
DC-REMOTE OUTPUT
BALANCED INPUTS
SPEAKER
UNBALANCED INPUTS
ACCUSTIC ARTS INTEGRATED AMPLIFIER POWER 1
PRE OUTPUT
Handmade In GERMANY
BAL1-LBAL2-L BAL1-RBAL2-R
LLLL
INPUT-3INPUT-4INPUT-5PRE/REC OUT
R
R
+ -- +
L
RRR
CAUTION
RISK OF ELECTRIC
SHOCK DO NOT OPEN
1 2 3.1 3.2
78 6 5 4

6
Fig. 2:
9 ON/OFF: by pressing and holding the rotary knob, you can switch the POWER I on or off
Input selection: by turning the rotary knob
Menu: by briefly pressing the rotary knob, you reach the 2nd menu level
All functions can also be performed with the AA system remote control, which is available for
purchase
10 Volume: Rotary knob for volume control
Menu selection
11 Display
12 PHONES: Headphones output covered by a removable, chromed plug
5. 1 Connection to mains power
Only connect the POWER I to the mains power when all the other cable connections have already been
carried out.
Plug in the mains cable firstly in the inlet connector sockets of the unit and only then the earthing pin-plug
in the mains socket.
By actuating the mains power switch POWER you can turn on or turn off your unit (standby).
IMPORTANT!
Always switch off this amplifier before connecting an additional unit.
5. 2 Use and start-up of an analog input
The POWER I is an audiophile integrated power amplifier fulfilling the highest demands of audiophile
listeners. O
The unit has 2 balanced high level inputs (XLR) and 3 unbalanced high level inputs. This gives you the
possibilities to connect 5 various reproduction devices via their analog outputs. SURR. / INPUT 5 can be
IN P U T S E L E C T O R V O L U M E
H E A D P H O N E S
H A N D M A D E IN G E R M A N Y P O W E R !
911 12 10

7
SURROUND BYPASS Please refer to chapter 5.3 before use INPUT 5 as a SURROUND
BYPASS.
5. 3 Using the 5th input SURR. as a SURROUND BYPASS
The so-called SURROUND BYPASS of ACCUSTIC ARTS® is a configuration option that allows the signal of a
surround processor to be "looped through" without further amplification by the POWER I. That is, the
volume of this signal is controlled by the external processor or preamp and not by this amplifier. This
makes it possible to combine a high-end audio system with a home cinema system and this without loss
of quality.
The POWER I is in this case like a "pure" amplifier to see.
In the factory setting, the 5th input (SURR. / INPUT 5) is designed as a pure high-level input, comparable
to the unbalanced inputs 3 and 4.
Important NOTE:
When using the SURROUND BYPASS input, do not connect "standard equipment" such as CD players,
etc., because the volume of this input can not be adjusted. This means that an applied signal is
transmitted at full volume to the speakers or via the preamp output. This can destroy the amplifiers
or speakers.
5. 4 Use of the PRE OUT
As mentioned before, you can use the POWER I in principle as a preamplifier to control another,
additionally connected power amplifier or an (active) subwoofer. Connect the preamp output PRE-OUTPUT
to the corresponding input of your power amplifier. In the menu control, note that this output is to be set
as PRE-OUT [menu 4, setting (1)].
Please use only high-quality interconnect cables. This is the only way to ensure that the sound quality of
the POWER I is fully exploited.
5. 5 Use of the headphone output PHONES
On the front panel of the POWER I is the headphone jack (6.3 mm jack). This is marked with PHONES
(abbreviation for headphones = headphones). The headphone jack is covered with a chrome button, which
is held by a pin in the front panel. This cover not only looks good, but also prevents the ingress of dust
when not in use.
Via the menu control, see point 7.7, the headphone output can be switched on and off. So that you can
listen to music undisturbed via headphones, the loudspeakers can be switched off via the menu control,
see section 7.8.
5. 6 Loudspeaker cables
For each channel the POWER I has one pair of high quality loudspeaker terminals. Please use only high
quality loudspeaker cables. This is the only way to ensure that the sound quality of the power amplifier is
fully exploited.
Loudspeaker cables from ACCUSTIC ARTS® are excellently matched to the needs of the POWER I. But
naturally other high-quality brand name products may also be used.
To connect the cables to the power amplifier or loudspeakers if possible use high quality terminal ends or
banana plugsand avoid connecting bare litz wires (except with OFC copper cables) since these corrode
and so restrict the signal flow.

8
5. 7 Correct phase for the loudspeakers
The terminals on your amplifier and your loudspeaker are colour coded or marked with a plus (+) and
minus (-). Connect the red (+) output terminal of your amplifier with the red (+) input terminal of your
loudspeaker. Proceed in the same way with the white (-) terminals.
IMPORTANT!
Avoid short circuits!
Never connect the output terminals of your power amplifier to each other. Neither
connect red (+) with white (-) of the channel nor the channels to each other.
IMPORTANT!
Please observe at all times!
Before you connect the amplifier with some other units using a cable, please never
forget that both units must first be switched off.
5. 8 Replacing damaged mains fuses
If a fuse is damaged only replace the fuse with original types having the same ampere value, the same
voltage endurance and the same time-lag. Never use fuses with other ampere classes or time-lag classes.
IMPORTANT!
Pull out the mains plug!
Always disconnect the unit from the mains power before replacing a fuse.
To change the fuse 2please use a screwdriver suitable for the slot in the fuse holder. Press the
screwdriver lightly into the slot and gently lever the fuse holder (plastic cap) carefully out of the
respective socket. Now you can take out the fuse holder and replace the fuse.
For countries with 220 - 240 V / 50- 60 Hz
please use the following fuse types:
For countries with 100 - 120 V / 50- 60 Hz
please use the following fuse types:
5 Ampere time lag
10 Ampere time lag
Notice: Use the included fuse for replacement! Use only original parts!
6 How to start the POWER I
1. The unit can be switched on by pressing the mains power switch POWER and then the left rotary
knob on the front plate.
2. After switching on the mains power witch the display lights up and the POWER I is ready for use.

9
IMPORTANT!
Switching on:
Always switch on the power amplifier last, i.e. after the other devices in your system
(preamplifier, CD player, etc).
IMPORTANT!
Switching off:
Always switch off the power amplifier first and then switch off the other devices
from the mains power.
IMPORTANT!
After switching the unit off please wait 30 seconds before switching it on again.
Avoid unnecessarily frequent switching the power amplifier on and off. The high
amount of switch-on current is a heavy burden for the electrical components and so
the life of the unit will be shortened by this action.
WARNING!
During a thunderstorm please completely disconnect the unit from the mains power
by pulling out the mains plug.
7. Menu settings
There are the following nine settings in the menu:
1. Balance
2. Initial volume
3. Display brightness
4. Adjustment of the preamp output (in front of volume control, after volume control)
5. Unity Gain (bridging the volume control)
6. Level adjustment
7. Headphone output on-off
8. Speaker output On-Off
9. Factory setting (reset of all settings)
In order to access the setting menu of the integrated amplifier, the left rotary knob must be briefly
pressed once.
The first digit on the left indicates which menu is currently selected. The displayed settings are always
saved when leaving the menu. If no adjustment is made for approx. 10 seconds, the menu is
automatically exited. To leave it prematurely manually, the left rotary knob must be pressed once briefly.

10
1. Balance:
The stereo balance can now be adjusted with the right-hand rotary knob.
Turning the left rotary knob to the right, will take you to the next setting menu.
2. Initial volume:
Here you can adjust the volume. This
should be set immediately after the amplifier is turned on. Also, this volume level is adjusted when the
previously turned off speaker output (e.g. , to be heard only with the headphones) is turned on again.
By turning the left knob to the right you will reach the next setting menu, by turning to the left in front of
the menu.
3. Display brightness:
The display brightness can be adjusted in eight steps by turning the right-hand rotary knob.
Turning the left knob to the right will take you to the next setting menu, while turning it to the left will
bring you back to the previous menu.
4. Adjust the preamp output
Here, the preamp output can be configured. By pressing the right rotary knob, the preamplifier signal is
switched to the Pre-Out sockets before (0) or behind the volume control (1). If you e.g. If you want to
connect a recording device or a separate headphone amplifier here, the preamplifier signal should be
applied without any volume influence, so position (0). If you want to connect another power amplifier or
active subwoofer, the setting (1) should be selected, i.e. with volume adjustment.
By turning the left knob to the right you will reach the next setting menu, by turning to the left in front of
the menu.
5. Unity Gain (bridging the volume control)
If the integrated amplifier is to be integrated as a power amplifier in a multi-channel system (surround),
where the volume is set on the surround decoder, then the volume control can be bridged here for the
input that was selected before the setup menu was called up.

11
By holding down the right rotary control, the countdown counter counts from 8 to 0, whereby the volume
is continuously increased until the switch is made from "U0" to "U1". If you release the rotary knob within
the count down cycle, the unity gain setting is canceled.
If the display shows "U1", the volume control for the previously selected input is bridged. The volume
setting of the previously selected input is now bypassed and the next time it is selected, it becomes the
press the volume button, the volume setting is temporarily
reactivated. As soon as the input is changed once and you select the "UNITY GAIN input" again, the
volume setting is bypassed again.
To deactivate the "UNITY GAIN" setting, call up the Unity Gain menu "5" in the menu again and briefly
press the volume button once. The display then changes from "U1" to "U0" and the standard mode is
restored.
DANGER! To avoid damaging your speakers, you should be absolutely certain that you have selected the
correct input for this setting when using the "UNITY GAIN" setting.
Turning the left rotary knob to the right takes you to the next settings menu, turning it left to the menu in
front of it.
6. Level adjustment
In this menu, you can adjust the level by + -12dB for each input, to avoid gross volume jumps when
switching between the inputs.
The right knob first selects the input you want to level. Then press the right-hand rotary knob and then
adjust the level by turning the rotary knob. Press the rotary knob again to return to the input selection.
Turn the right knob to select the next input whose level you want to set. Now press the rotary knob again
and adjust the level for this input. Press the knob again to go back to the input selection. Now you can
turn the right knob to select the next input, and so on.
By turning the left knob to the right you will reach the next setting menu, by turning to the left in front of
the menu.
7. Headphone output on-off
By pressing the right knob, the headphone output can be switched on (1) or off (0).
By turning the left knob to the right you will reach the next setting menu, by turning to the left in front of
the menu.
8. Speaker output On-Off
By pressing the right knob, the loudspeaker output can be switched on (1) or off (0). Use this function to
switch off the speakers when you want to listen to headphones alone. When the speakers are switched
back on, the initial volume is also set to the value set in # 2. To avoid unexpected volume jumps.
By turning the left knob to the right you will reach the next setting menu, by turning to the left in front of

12
the menu.
9. Factory setting (reset of all settings)
In this menu, the factory settings can be reset, i. all individually set values will be lost if you reset them
here.
To reset, press and hold the right knob until the countdown timer counts down from 5 to 0. When the
zero is reached, the amplifier switches off and all settings are reset to the factory settings (factory
setting). If the rotary knob is released before reaching zero, the reset is aborted.
By turning the left knob to the left you get to the menu in front of it. Press the left knob to exit the
settings menu.
8. Looking after your equipment
The ACCUSTIC ARTS®POWER I does not require special treatment in excess of the usual care taken with
high quality devices. Clean the housing with a dry or slightly moistened cloth. Please do not use any
aggressive detergents or detergents which contain silicon.
The best way to clean the chromed front plate is with a mild non-aggressive fat-dissolving detergent (e.g.
glass cleaner). Use a very soft clean cloth and wipe the front plate with this without exerting strong
pressure. Never use abrasive agents or polishing agents with abrasive particles.
IMPORTANT!
Do not place the unit in direct sunshine and avoid extreme changes in
temperature.
9. Troubleshooting
Malfunctions are mostly caused by something simple which can be put right quickly.
In the next section some possible malfunctions are described together with their corrective action.
However, if it is not possible to remove the malfunction please contact your authorized dealer.
Malfunction The unit was switched on, the display remains dark.
Cause 1 The mains cable is not properly connected.
Solution Check mains cable and push in firmly.
Cause 2 The FUSE 2is damaged.
Solution Pull out the mains plug and replace the corresponding fuse (see chapter 5. 8 ).
Malfunction The POWER I does not play
Cause 1 A fuse inside the unit is damaged.
Solution Pull out the mains plug, carefully remove the housing cover and replace the respective
fuse. This replacement action must be carried out by the authorized dealer.
Cause 2 Clipping due to overload of the power amplifier.
Solution Lower the volume by turning the rotary control 10 to the left

13
Cause 3 Short circuit at speaker outlet.
Solution Check the loudspeaker terminals an correct it if necessary
Cause 4 INPUT 5 is used as SURROUND BYPASS and a wrong unit is connected.
Solution Disconnect the unit.
Malfunction Crackling or humming in the loudspeaker
Cause Contact problems on the input sockets or on the loudspeaker terminals.
Solution Switch off the unit and check the contact on the input sockets and on the loudspeaker
terminals.
Malfunction The volume control does not react to the remote control.
Cause 1 The remote control transmitter does not send the right signal.
Solution Check batteries and change if necessary.
Cause 2 The infrared receiver cannot receive the transmitted signal.
Solution Always point the remote control transmitter directly towards the receiver diode and
remove any barriers which might possibly interfere.
IMPORTANT!
In the event that the device does not function properly after an electrostatic
discharge, please switch off the device and turn it on again after a few seconds
For malfunctions which affect the reproduction of individual devices first of all make sure that all
connections are correctly and thoroughly carried out. In general errors which arise are often a result
of an unsatisfactory or wrongly made connection.
10. Specifications (selection)
Inputs: 2 x balanced high level inputs (XLR)
3 x unbalanced high level inputs (RCA)
1 x unbalanced as high level input or -
Headphones output: 1 x metal female jack 6.3 mm; < 25>300
Output: 1 x unbalanced pre-output (RCA); 47
Signal difference left/right: < 0.4 dB (from 0 dB to -40 dB)
Input resistance: balanced: 2 x 47 k
unbalanced: 47 k
Total transformer power: max. 500 VA (watts)
Rated power output: 2 x 260 watts on 4
(at THD+N = 0.1 %) 2 x 175 watts on 8
Distortion (THD+N): 0.015 % on 4 load with 1 kHz and 10 watts
0.015 % on 8 load with 1 kHz and 10 watts
Signal-to-noise-ratio: >100 dBA (ref. 6.325 V)
(A weighted)
Damping factor: > 100 on 8 load with 1 kHz
Dimensions: 145 x 482 x 450 mm (H x W x D)
5.7 x 19.0 x 17.7 inches (H x W x D)
Weight: approx. 21 kg / 48 lbs.

14
11. Copyright, trademarks, warranty
Copyright:
This instruction manual was correct at the time of going to press. The manufacturer reserves the right to
make changes to the technical specification without prior notice as deemed necessary to uphold the
ongoing process of technical development.
This manual is done by ACCUSTIC ARTS Audio GmbH.
Copyright © 2016. All rights reserved.
Trademarks:
ACCUSTIC ARTS®is a registered trademark of ACCUSTIC ARTS Audio GmbH.
Warranty:
The manufacturer accepts no responsibility for damage caused by not adhering to these instruction
manual. Modification or change to any part of the product by unauthorized persons releases the
manufacturer from any liability over and above the lawful rights of the customer.
Table of contents
Other Accustic Arts Amplifier manuals