acerpure cozy Series User manual

Series
Air Circulator
Model: AF533-20W
www.acerpure.com
Copyright©2023 AcerPure Inc. All Rights Reserved.
User Manual

2 3
User Manual
Thank you very much for purchasing this product.
Please make sure to read this manual carefully, use
this product correctly, and store it properly.

4 5
This product is for home use only; do not use for
other purposes.
Check whether the plug is ruptured or damaged
before use, and do not bend, process, pull or twist
the cable in order to prevent poor contact.
Before using the product, please check whether the
voltage is consistent with the
indicated voltage on the label of this product.
Switch o the power before unplugging the power
plug. Do not touch the plug with wet hands in order
to prevent danger of electric shock.
Do not insert the plug or use the machine before
the product is fully assembled; make sure to switch
o the power and unplug the machine.
Children should be supervised to ensure they do
not play with this product.
Make sure that the power is disconnected and the
plug is unplugged should there be the need to
disassemble this product.
Keep the button battery of the remote control out
of infant’s reach in order to prevent swallowing by
accident. Seek medical attention immediately if the
battery is swallowed by accident.
Do not use this product where foreign objects, such
as curtains, may be sucked into the air circulator in
order to prevent product damages.
Use of this product without proper assembly is
strictly prohibited; it is also prohibited to insert
your hand or sharp objects into the guard of the air
circulator in order to prevent accidents from
occurring.
Do not hang clothes on the guard of the air
circulator, and do not use the product in places with
barriers or uneven surfaces. When using the
product on places such as shelves, make sure to x
the product in place properly so that it will not fall
due to reasons such as earthquakes.
This product is not intended for use by users
(including children) with physiological, perceptual,
mental ability, experience or knowledge decien-
cies unless used safely under the supervision or
guidance of the person responsible for their
safeties.
Do not spray volatile agents, insecticides and other
liquids on this product.
Do not use this product at places with high
temperature (over 40°C), high humidity (such as
bathrooms), dusty or where acid-base oils can
easily spill.
Make sure to switch o the power and unplug the
power plug if this product is not used for an
extended period of time. Especially when there are
emergencies such as thunder and lightning,
earthquakes or res, please switch o the power
and unplug the machine immediately.
This product only requires external cleaning and
maintenance; do not clean the surface with rough
cleaning tools, and do not rinse it with water
directly.
If the product was accidentally immersed in water,
please stop using it immediately and contact
customer service personnel.
If you discovered any abnormalities such as noises,
smoke or strange odors, please switch o the power
immediately, unplug the power plug and contact
customer service personnel.
This product may not be repaired or modied by
repairers who are not authorized by our company. If
the power supply is damaged, it must also be
replaced by authorized repair personnel in order to
avoid danger.
Please refer to the company information at the end
of this manual on how to contact customer service.
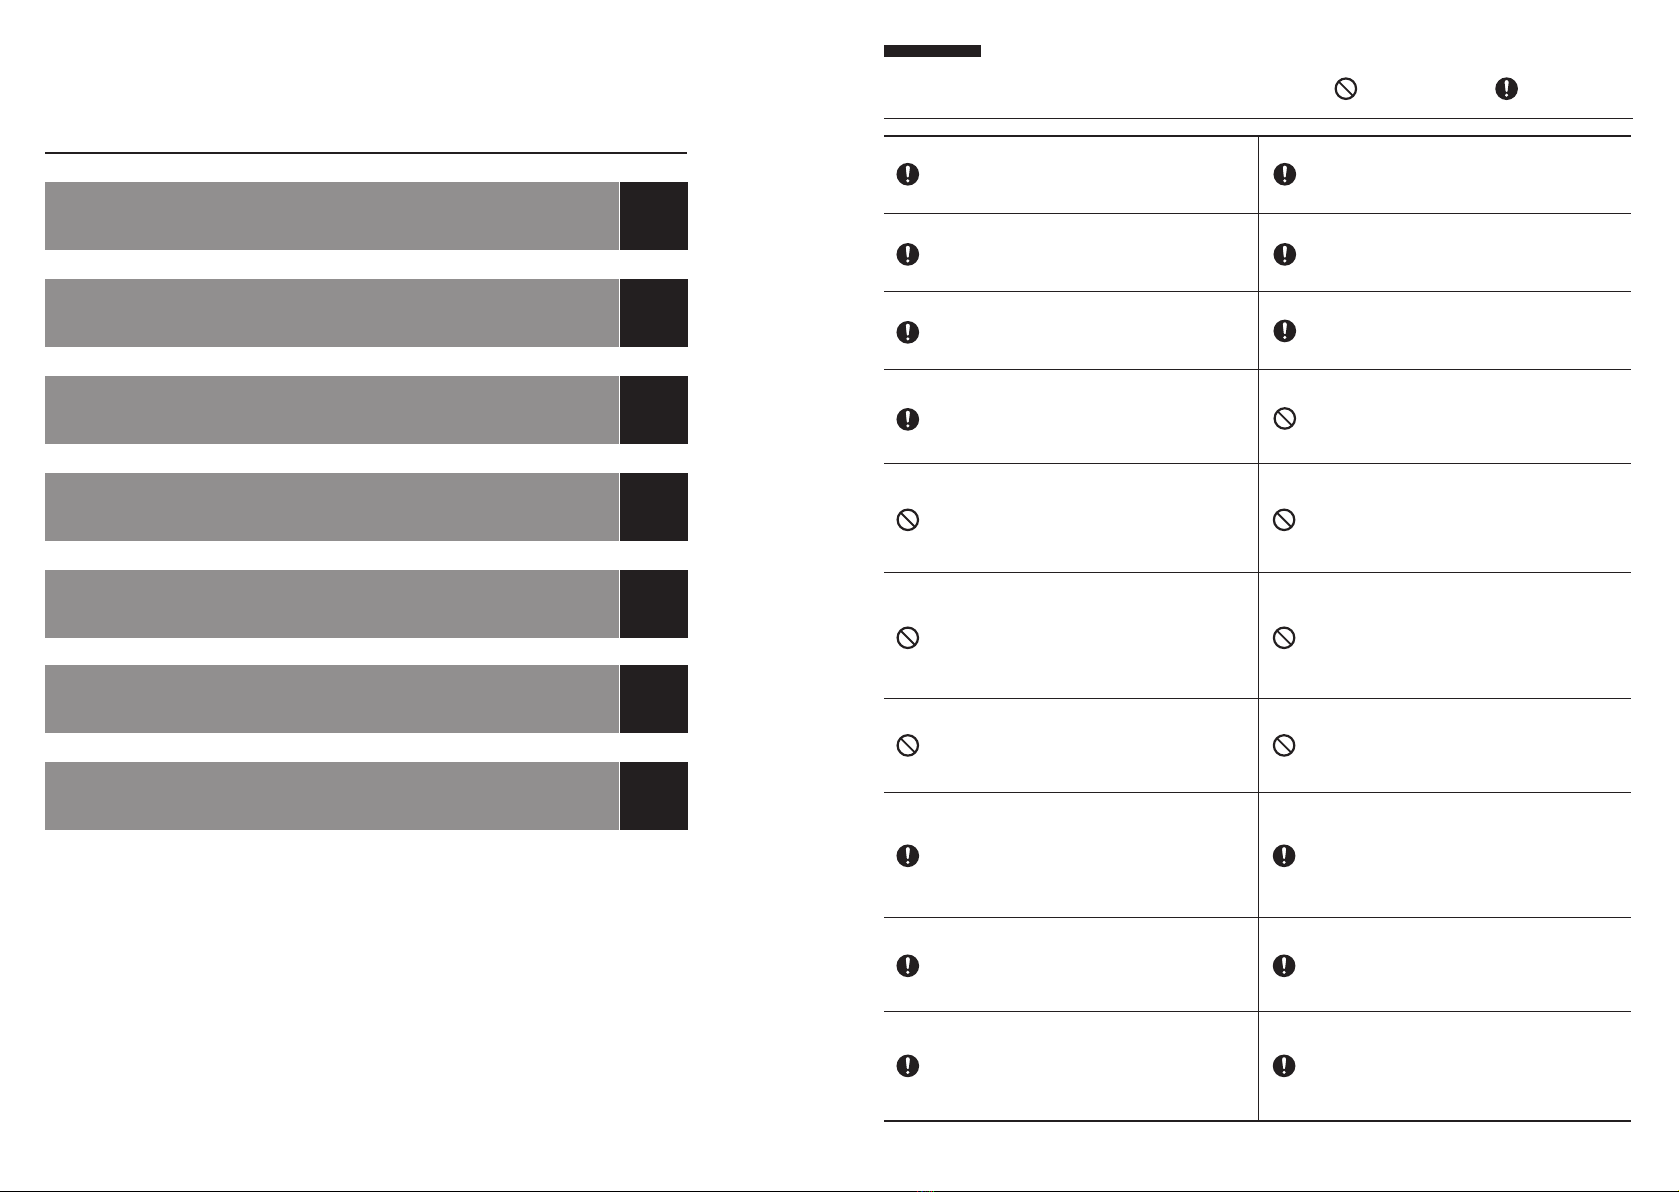
Table of Contents Safety Instructions means it is
“prohibited”
means “caution”
is required
Safety Instructions 05
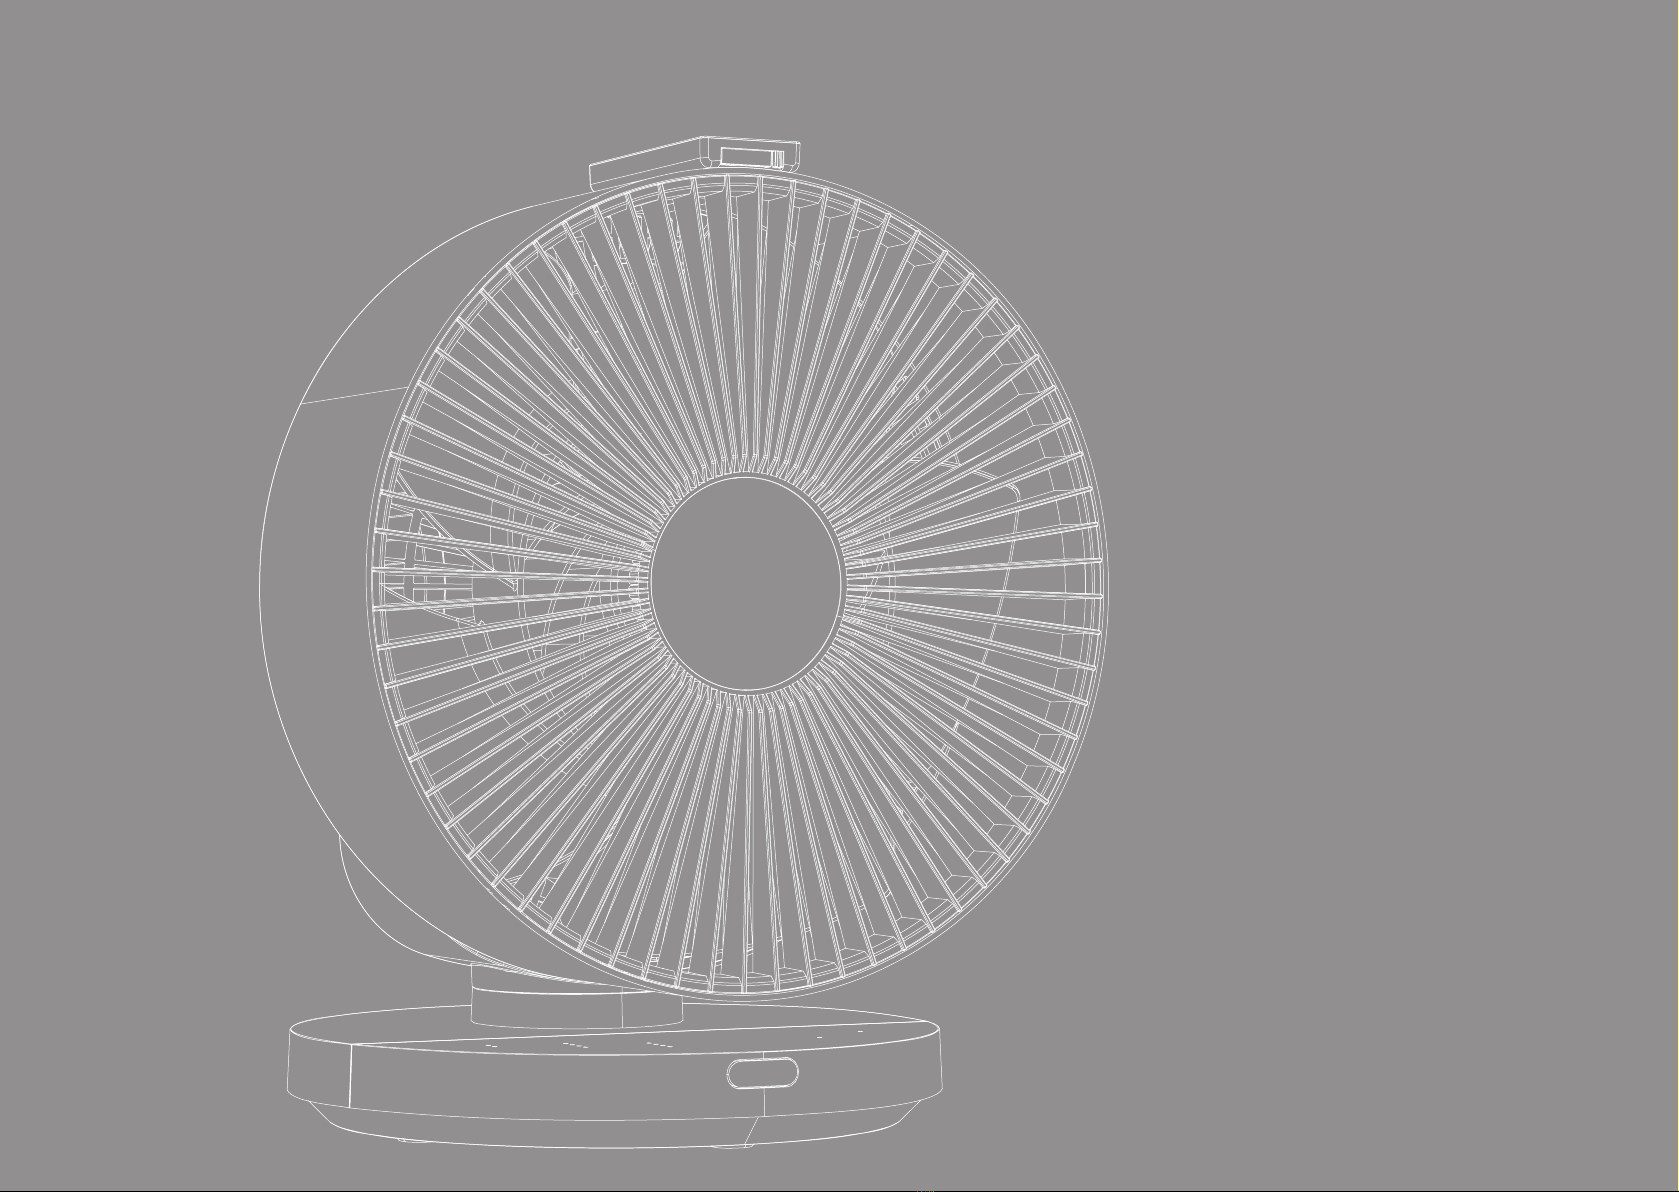
Product Conguration and Structure 06
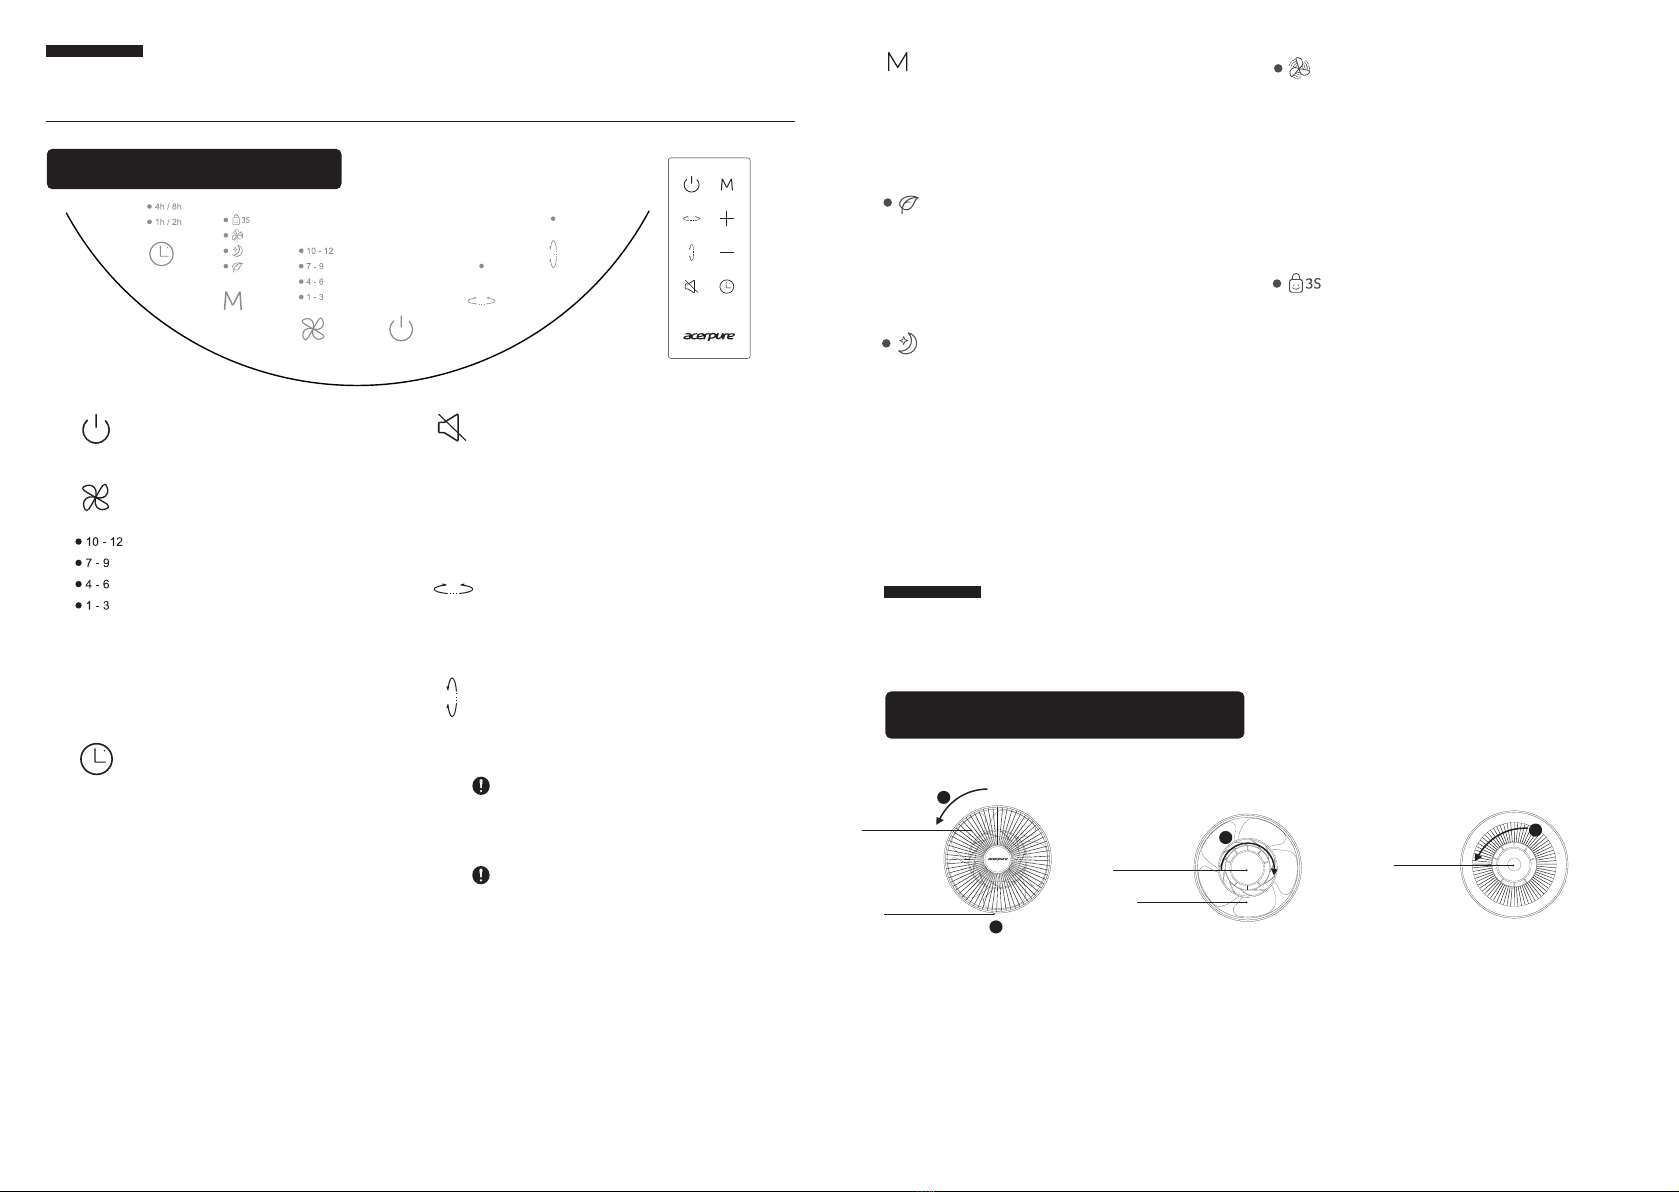
Remote Control Instructions & installations 07
Introduction to Control Panel 08
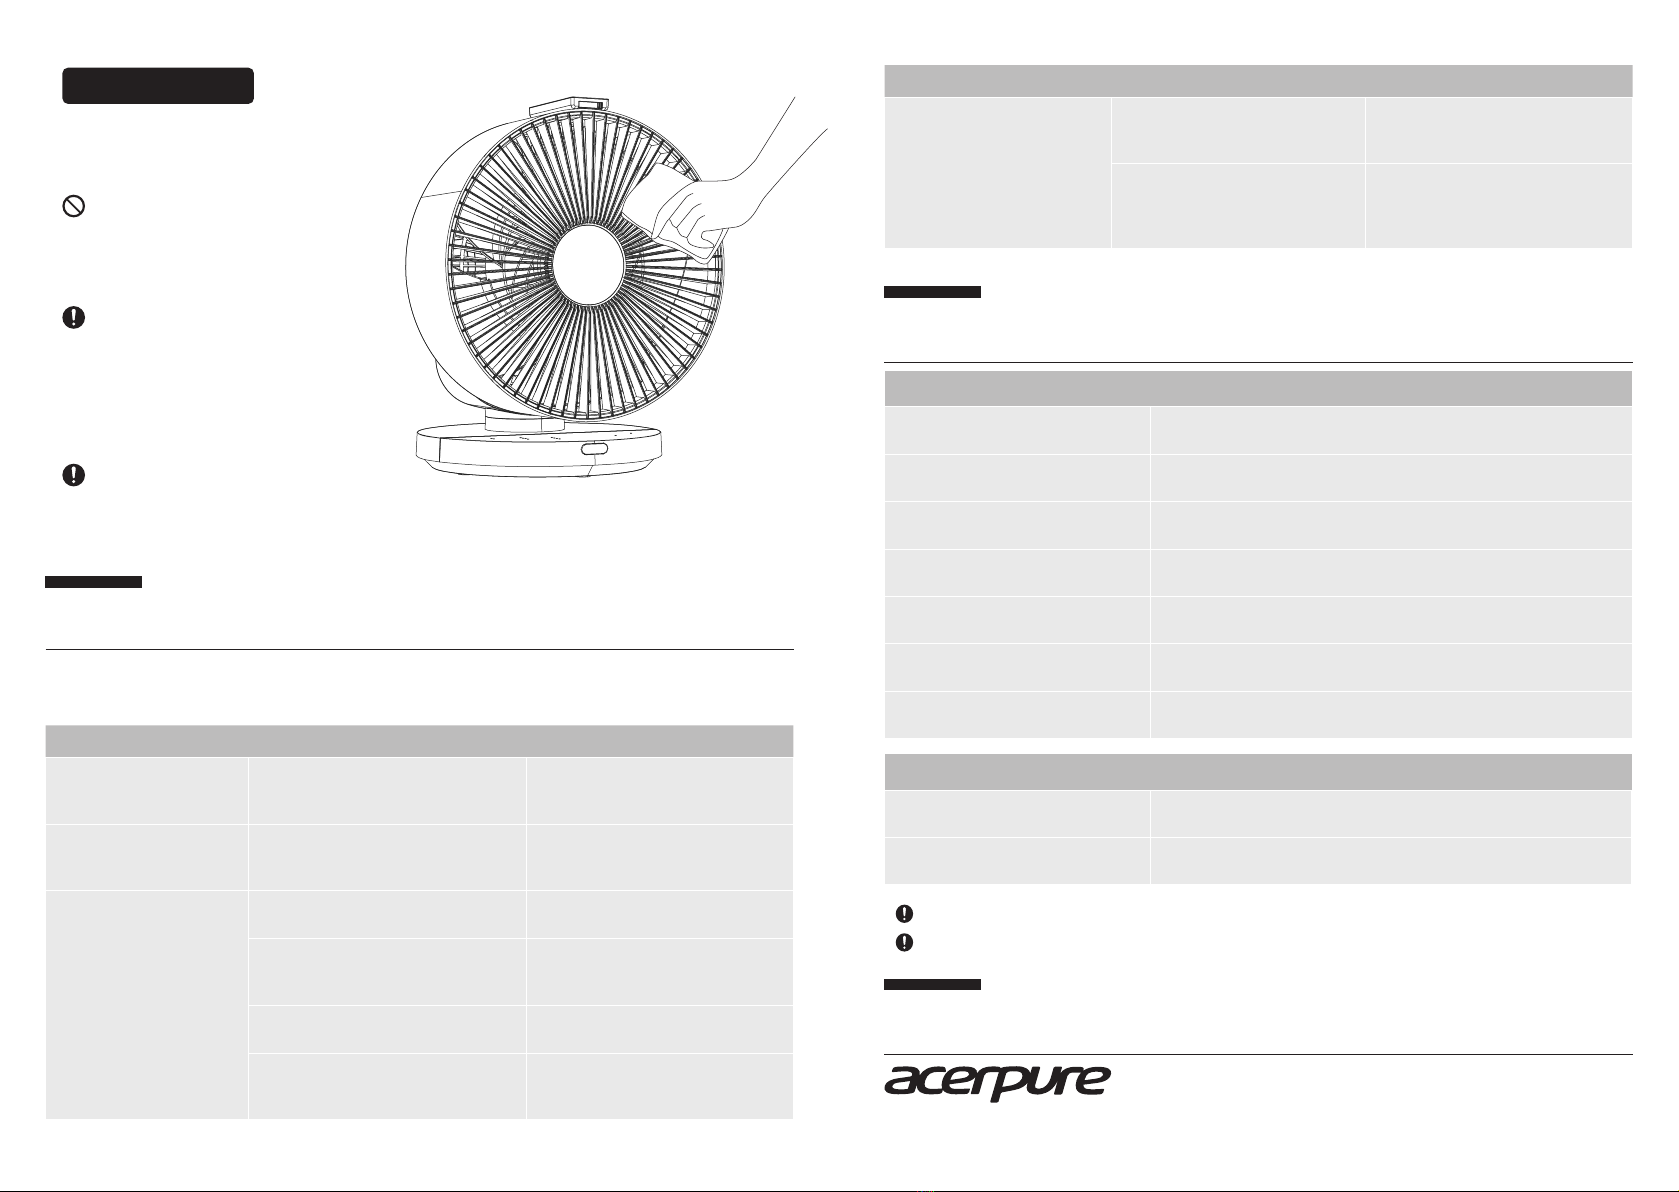
Maintenance and Disassembly 09
Before Seeking After-sales Service 10
Product Specications and Company Information 11

6 7
Product Conguration and Structure
+
Host
Adaptor Remote Control
(Including CR2032 Lithium
Battery in it)
User Manual +
Warranty Card
12 3
4
Product Structure
Product accessories
Remote Control Instructions & installations
Using the remote control
Up to 5m
Remote control
signal receiver
1
2
3
4
Front
Grille
Fan
blades
Control
Panel
Remote control
signal receiver
5
6
7
8
Remote control magnet
Grille Support Holder
Rear Grille
Adapter slot
Replacement Of Remote Control Battery
1. Press place ➊while holding
place ➋to pull out the battery
buckle.
2. Please replace the battery with
new one (CR2032), keep the
positive side facing upwards, and
push the buckle in to complete
the replacement of the battery.
3. Place the remote control by the
magnet on the head for storing
when not in use.
Precautions for battery usage
1. When pulling out the battery shackle, please pull it out slowly and do not tug on it forcefully to prevent the
battery from falling out of the shackle.
2. Keep batteries out of an infant’s reach. Seek medical attention immediately if the battery is swallowed by
accident.
3. If uids leaked from the battery accidentally splashed into the eyes, do not rub the eyes; rinse the eyes
thoroughly with clean water, such as tap water, then seek medical attention immediately. Please note that
this may cause blindness.
4. If uids leaked from the battery accidently got on the skin and clothes, please wash it of immediately with
clean water, such as tap water. Please note that this may also cause dyeing.
5. To discard batteries, please dispose of them according to the recycling methods of your living area (cover
both the “+” and “-” sides of the battery with scotch tape when discarding).
1 2 3
1
2
Remote control precautions
1. The remote control must point directly to the signal receiver.
2. The usage range of the remote control is approximately within 5M to the front of the receiver; if the remote
control is not faced towards the receiver, its usage range will be reduced.
3. Do not place any obstacles between the receiver and the remote control.
4. Please keep the remote control properly; avoid impacts and dropping. Please remove the battery when not
using the remote control, and keep it in a safe place.

8 9
Introduction to Control Panel
Control panel of the host
Power ON/OFF
Press to start or stop using this product.
Mode Switch Button
You can use this button to adjust the
mode; to cancel mode status, press the
wind speed adjustment button directly to
adjust the wind speed.
Sleep mode
Twice press for Sleep Mode: the machine
will enter sleep scenario. Default speed
for sleep mode is speed 1 with no button
sounds & less brightness, but users still
could adjust the speeds as needed.
Turbo Mode
Three times press for Turbo Mode: the
machine will enter Turbo mode, adjusting
the wind speed to the maximum level
with one press.
* To dismiss from 3 modes above, please
press Wind Speed Adjustment button or
one more press after Turbo mode can do.
Child safety lock mode
1. Press mode switch button for 3
seconds,the machine will activate
the child lock.
2. Once users touch the control panel
& remote control, the child lock light
will ash to show the lock status.
3. To unlock the mode, please press
Mode Switch Button for 3 secs again.
* Child Lock mode could only be
adjusted on the panel, not on the
remote control.
Nature Mode
One press for Nature mode:
The machine will simulate the natural
wind automatically.
Disassembling the fan blades & grille
3. After removing the front grille,
please rotate the Blades locking
cover clockwise to remove it, and
the fan blade can be disassembled
successfully.
4. After disassembling the fan
blades, remove the motor xing
cover in a counter-clockwise
direction as shown in the gure
above; the rear grille can be
disassembled after removing
the motor xing cover.
Maintenance and Disassembly
1. Please unscrew the front grille.
2. Remove the front grille from
the fan.
Screw
Front Grille
Blades locking
cover
Fan blades
Please make sure that the power of this product is disconnected properly before disassem-
bling and cleaning the fan.
2
1
3
Wind speed adjustment Button
1.Use this button to adjust the wind
speed; One press for one level speed
up (the adjustment range is from
level 1-12.)
2.There are 4 speed lights on the
panel; each light has 3 dierent
brightness to present speed levels.
* Please use the + and - to adjust the
speeds on the remote control.
4
Motor xing
cover
Left and right swing Button
You can use this button to turn left
and right swing on or o.
Timer
Use this button to preset automatic
power on/o.
Scheduled Power On:
1. Please make sure the plug is well connected
2. Remember do not press power button.
3. Press timer button to preset the power-on time.
The hour setting order is: 1>2>4>8> timer o
Scheduled power o:
1. Make sure the power is on.
2. Press timer for setting the power o time.
The hour setting order is: 1>2>4>8> timer o
* There are 2 timer lights on the panel; each light
has 2 dierent brightness to present Timer
setting status.
Up and down swing Button
You can use this button to turn up
and down swing on or o.
The head swings of this model are set
as adjusted on the panel or remote
control; do not adjust it manually to
avoid damaging the motor.
Silent mode
Use this button to turn on/ o the
button sounds; pressing this button
under silent mode will turn on the
sound.
First time turning on the swing mode, it
might take 30-60 seconds for machine
to stay at same angle to nish motor
calibration. Please wait until the
process nish to ensure the stability of
the fan swing.

10 11
Before Seeking After-sales Service
If you discovered that the product malfunctioned, please check the following items before contacting
customer service.
Please contact customer service if the abnormal problems still could not be solved with the methods above.
Problem Possible cause Solution
Product does not turn on
Is the correct voltage used?
Is power connected to the product
properly?
Please insert the power plug into
the outlet properly, and use the
correct voltage
Fan blades did not rotate
after the product was
turned on
Are there foreign objects stuck in
the air circulator?
Please clean the foreign object
from the front guard of the air
circulator.
When the noise is too
loud
Is there excessive dust
accumulated in the air circulator?
Please clean the front guard of the
air circulator properly.
Are there foreign objects stuck in
the air circulator?
Please clean the foreign object
from the front guard of the air
circulator.
Is the product placed on an uneven
oor or table top?
Place move the product to a at
oor or table top.
Is the motor shaft of the air
circulator fan blades installed
properly?
Please install the motor shaft of
the air circulator fan blades
properly.
Product specications
Air circulator fan specications
Product name Air circulator fan
Product model AF533-20W
Rated voltage DC24V⎓
Rated power 27W
Net weight 2.2 kg
Product dimensions 260X215X300 mm
Place of origin China
Company information
www.acerpure.com
This product only requires general external cleaning
and maintenance (as shown in the gure).
Do not wipe with thinner, toluene, acidic
cleansers, lamp oil, alcohol, or chemical
cloth in order to avoid discoloration or
deterioration.
Wipe with a neutral kitchen detergent rst,
and the wipe with a clean and soft cloth.
Wipe with a neutral kitchen detergent rst,
and the wipe with a clean and soft cloth.
Please note: After maintenance and
cleaning, wait for the product to fully dry
before connecting power to use again or
storing. If the product needs to be stored,
please place the product back into the
packaging box in the original packaging
order, and place it at a dry location for
safekeeping.
Please note: Please keep the connecting
parts of the machine and the motor by
the head dry and dustless to prevent the
machine from being damaged from
moisture or water.
Maintenance Problem Possible cause Solution
When the remote control
cannot be operated
Is the battery dead?
Please replace the battery
(Applicable model for the remote
control: CR2032).
Was the remote control pointed
towards the front of the product
when used?
Please change the usage angle and
point the signal receiver of the
remote control to the product
when in use.
AC Adapter Specications
Rated voltage/rated frequency 100-240V-50/60Hz
Output voltage DC24V⎓
The appliance is only to be used with the power supply unit provided with the appliance.
The appliance must only be supplied at safety extra low voltage.

Other manuals for cozy Series
1
This manual suits for next models
1
Other acerpure Fan manuals