ActiGraph GT9X Link + ActiLife User manual
Quick Start Guide
ActiGraph GT9X Link + ActiLife
Activity Monitor: ActiGraph GT9X Link | Revision: A | Released: 11/24/2014

actigraphcorp.com2
Quick Start Guide
ActiGraph GT9X Link + ActiLife
Activity Monitor: ActiGraph GT9X Link | Revision: A | Released: 11/24/2014
Contents
Overview……………………………………………………………………………………………………………………………………………………………
What You’ll Need……………………………………………………………………………………………………………………………………………………
Getting Started………………………………………………………………………………………………………………………………………………………
Setup and Initialization………………………………………………………………………………………………………………………………………………
Deployment & Information for Subjects………………………………………………………………………………………………………………………………
Downloading the Data…………………………………………………………………………………………………………………………………………………
Viewing the IMU Data……………………………………………………………………………………………………………………………………………………
Frequently Asked Questions……………………………………………………………………………………………………………………………………………………
2
3
4
6
9
12
14
15
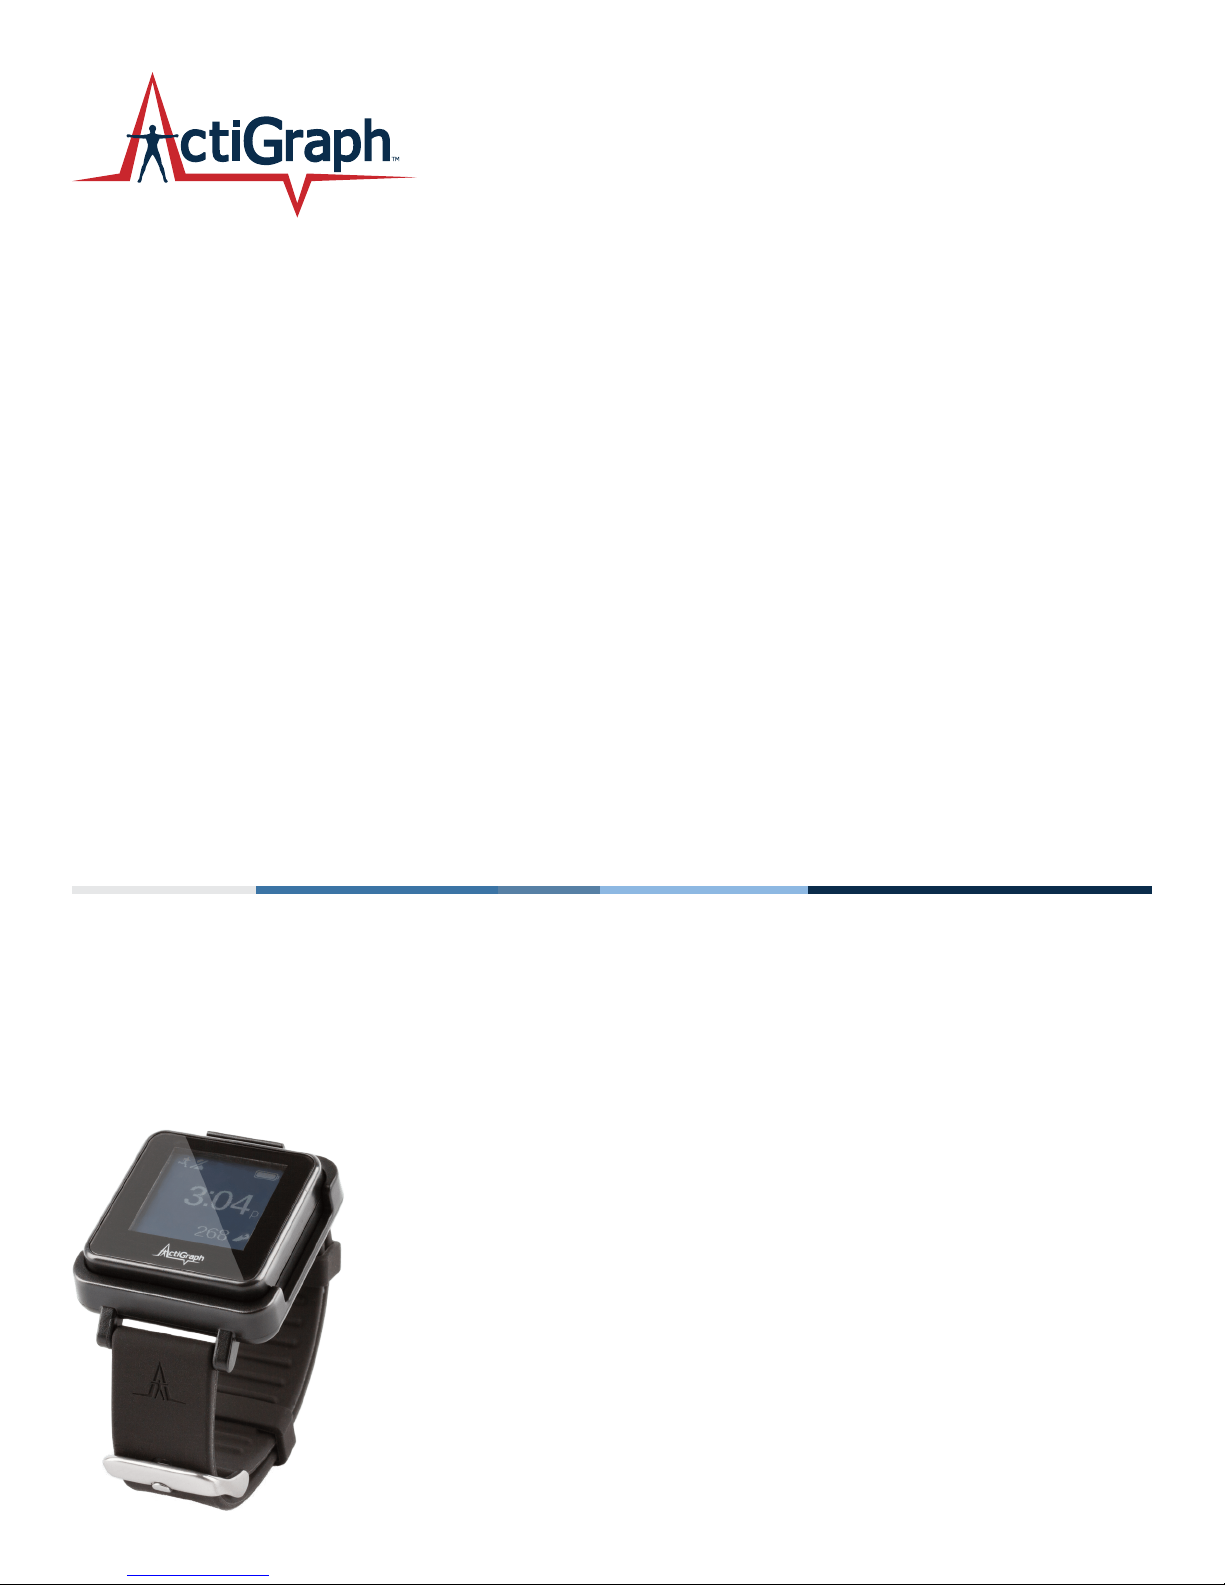
ActiGraph GT9X Link
The ActiGraph GT9X Link is the most sophisticated activity monitor available from the global leader in actigraphy
measurement. The ActiGraph Link combines our extensively validated accelerometry measurement technology
with a variety of advanced new features, including:
Overview
Bluetooth® LE
Enables wireless device features (heart rate monitoring, proximity
detection) and communication with ActiGraph mobile applications.
Programmable display
An LCD window displays date and time, provides optional real-time
subject feedback, or can be completely disabled.
Wear time sensor
Automatically detects if a wrist worn device has been removed for
simplied compliance monitoring and data cleaning.
Inertial Measurement Unit (IMU)
Contains a secondary accelerometer and gyroscope and magnetometer
sensors to capture position and rotation data for advanced applications.
This Quickstart Guide provides instructions on how to setup, deploy, and download data from the ActiGraph Link with the ActiLife software.
Dimensions
Weight
Sample rate
Battery life
Data storage
Specifications
3.5 x 3.5 x 1 cm
14 grams
30-100 Hertz
14 days*
240 days/4 GB
Dynamic range (primary accelerometer)
Dynamic range (secondary accelerometer)
Gyroscope dynamic range
Magnetometer dynamic range
Communication
Water resistance
Wear location
Warranty
+/- 8G
+/- 16G
+/- 2000 deg/sec
+/- 4800 micro-Tesla
USB, Bluetooth® LE
1 meter, 30 min.
Wrist, waist
1 year
* Rechargeable Lithium Ion, wireless and gyro disabled, 30 Hz sample rate
actigraphcorp.com3
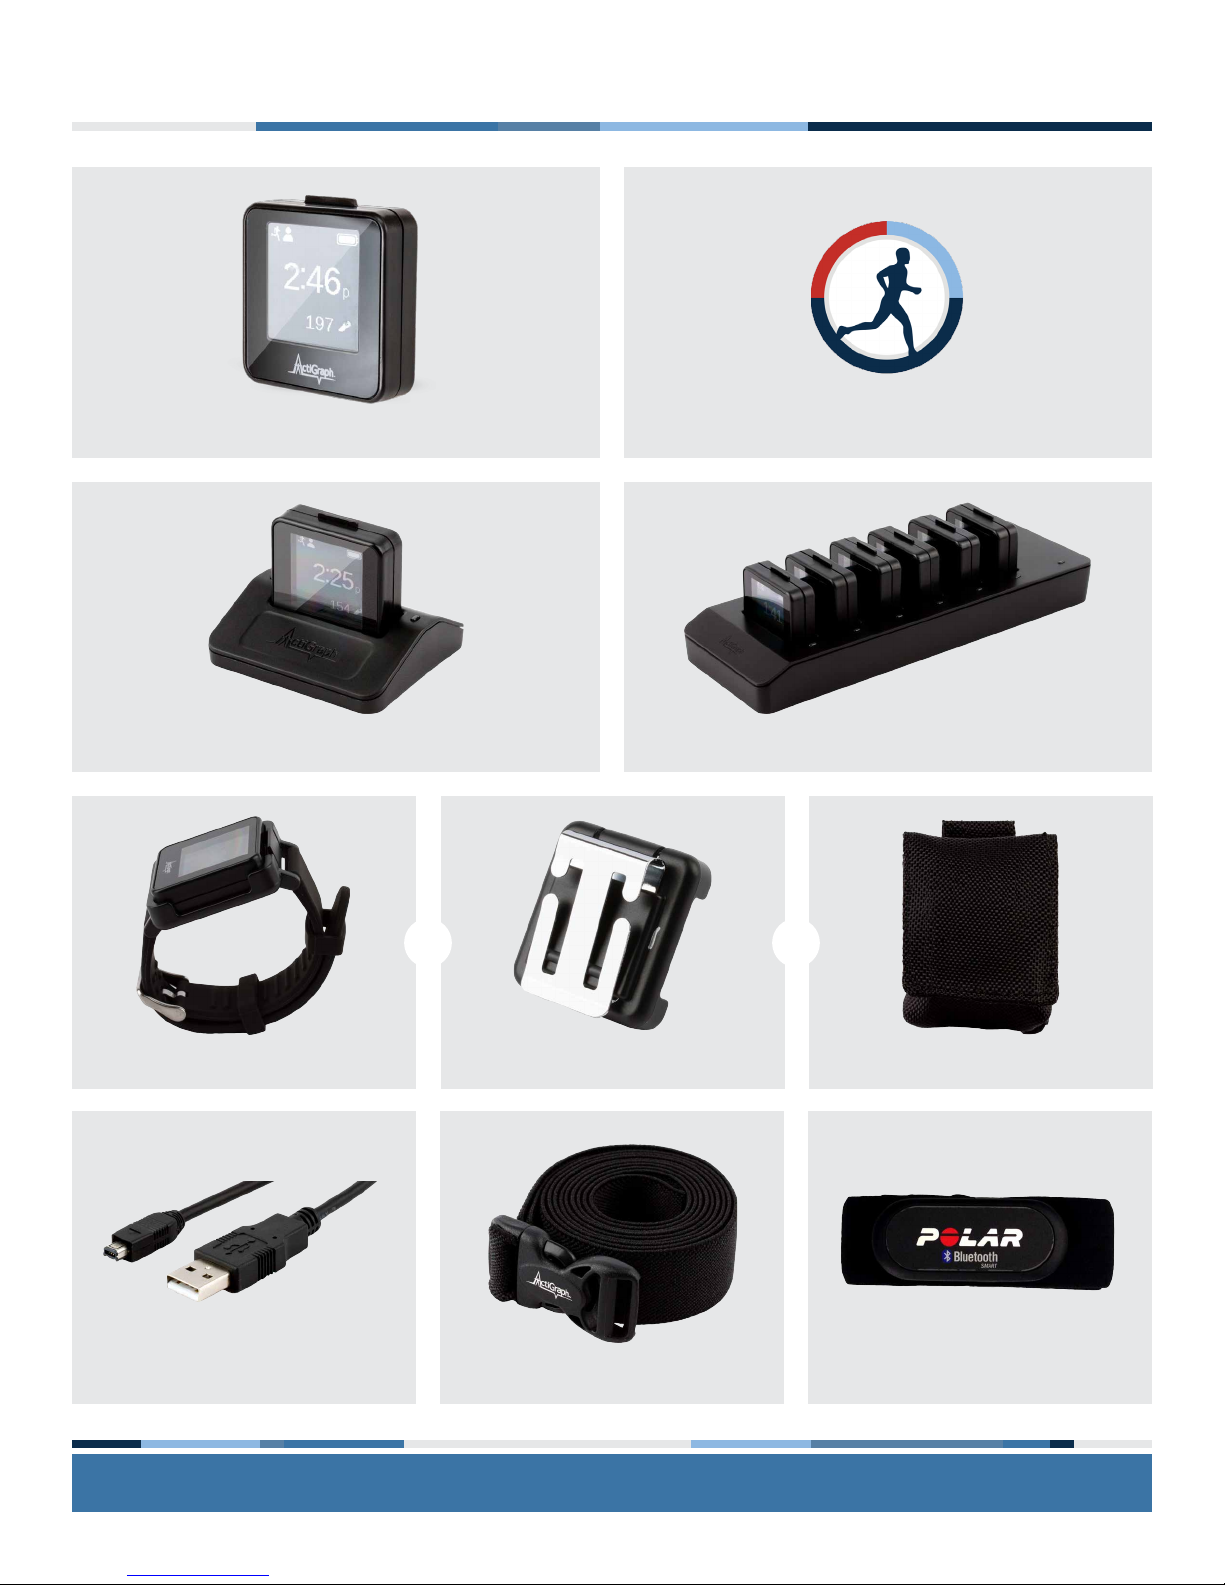
What You’ll Need
ActiGraph Link ActiLife software (version 6.11.5 or higher)
Single Dock Six Port Link Dock (Optional)
USB Cable(s)
Link Belt ClipLink Wrist Band Pouch with Belt Loop
Or Or
Heart Rate Monitor (Optional)Waist Belt (Optional)
actigraphcorp.com4
Getting Started
Install ActiLife software
You must be running ActiLife version 6.11.5 or higher to operate
the ActiGraph Link device.
Go to
http://www.actigraphcorp.com/product-category/software
and click the ‘Download’ button. Follow the prompts to install
the ActiLife software on your PC.
When prompted, enter the ActiLife license key that was
provided at the time of purchase to complete the installation.
Charge the battery
ActiGraph Link devices contain a rechargeable battery that should
be fully charged before initialization and deployment to subjects.
ActiLife will not initialize a device if the battery has dropped below
a certain level. It takes approximately three hours to charge a fully
depleted battery.
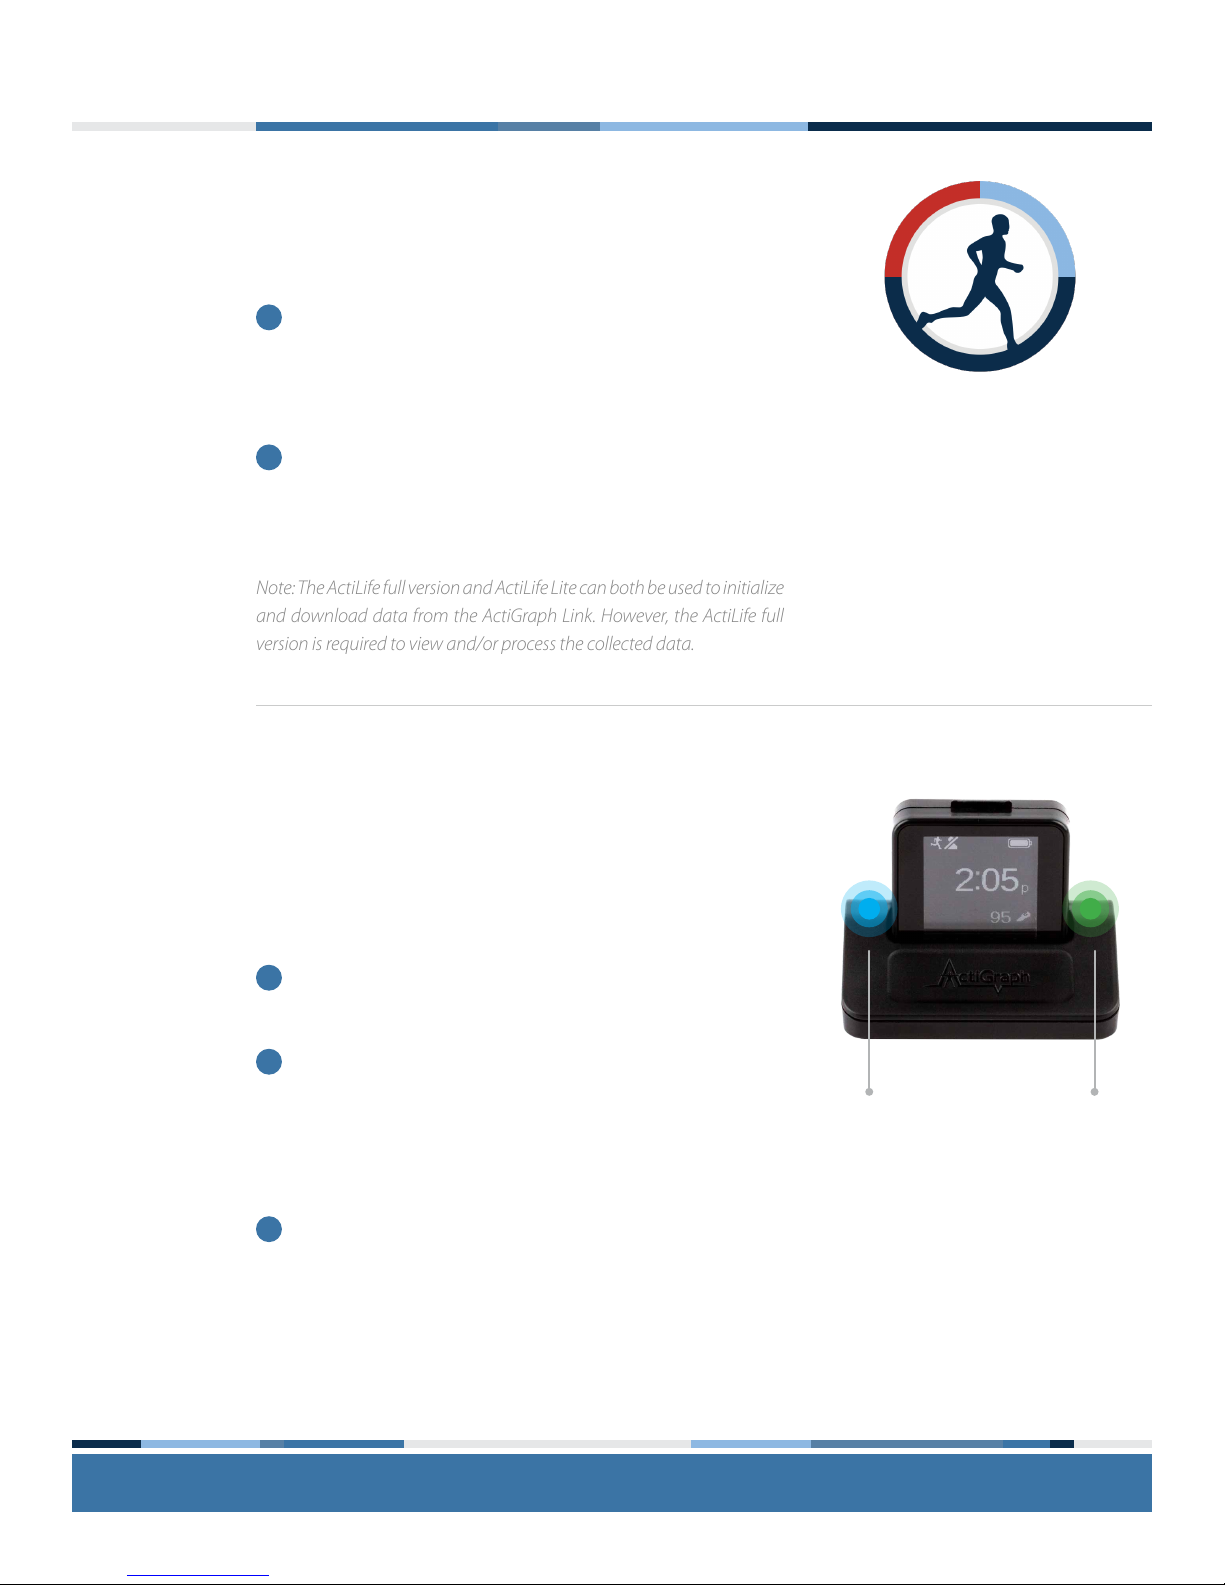
Connect the Link dock to the computer or a wall outlet using
the mini USB cable.
Plug the ActiGraph Link into the dock with the ActiGraph logo
facing up. Once connected, the red LED light on the right
side of the dock will turn yellow, the device screen will display
the serial number, and the battery icon will blink to indicate
charging.
Once the device is fully charged, the yellow light will turn
green and the battery icon on the device will show as full and
stay on steady.
1
2
1
2
3
1
2
Note: The ActiLife full version and ActiLife Lite can both be used to initialize
and download data from the ActiGraph Link. However, the ActiLife full
version is required to view and/or process the collected data.
View ActiLife System Requirements
USB Connected
Indicator Light
Device Charging
Indicator Light
actigraphcorp.com5
Getting Started (Continued)
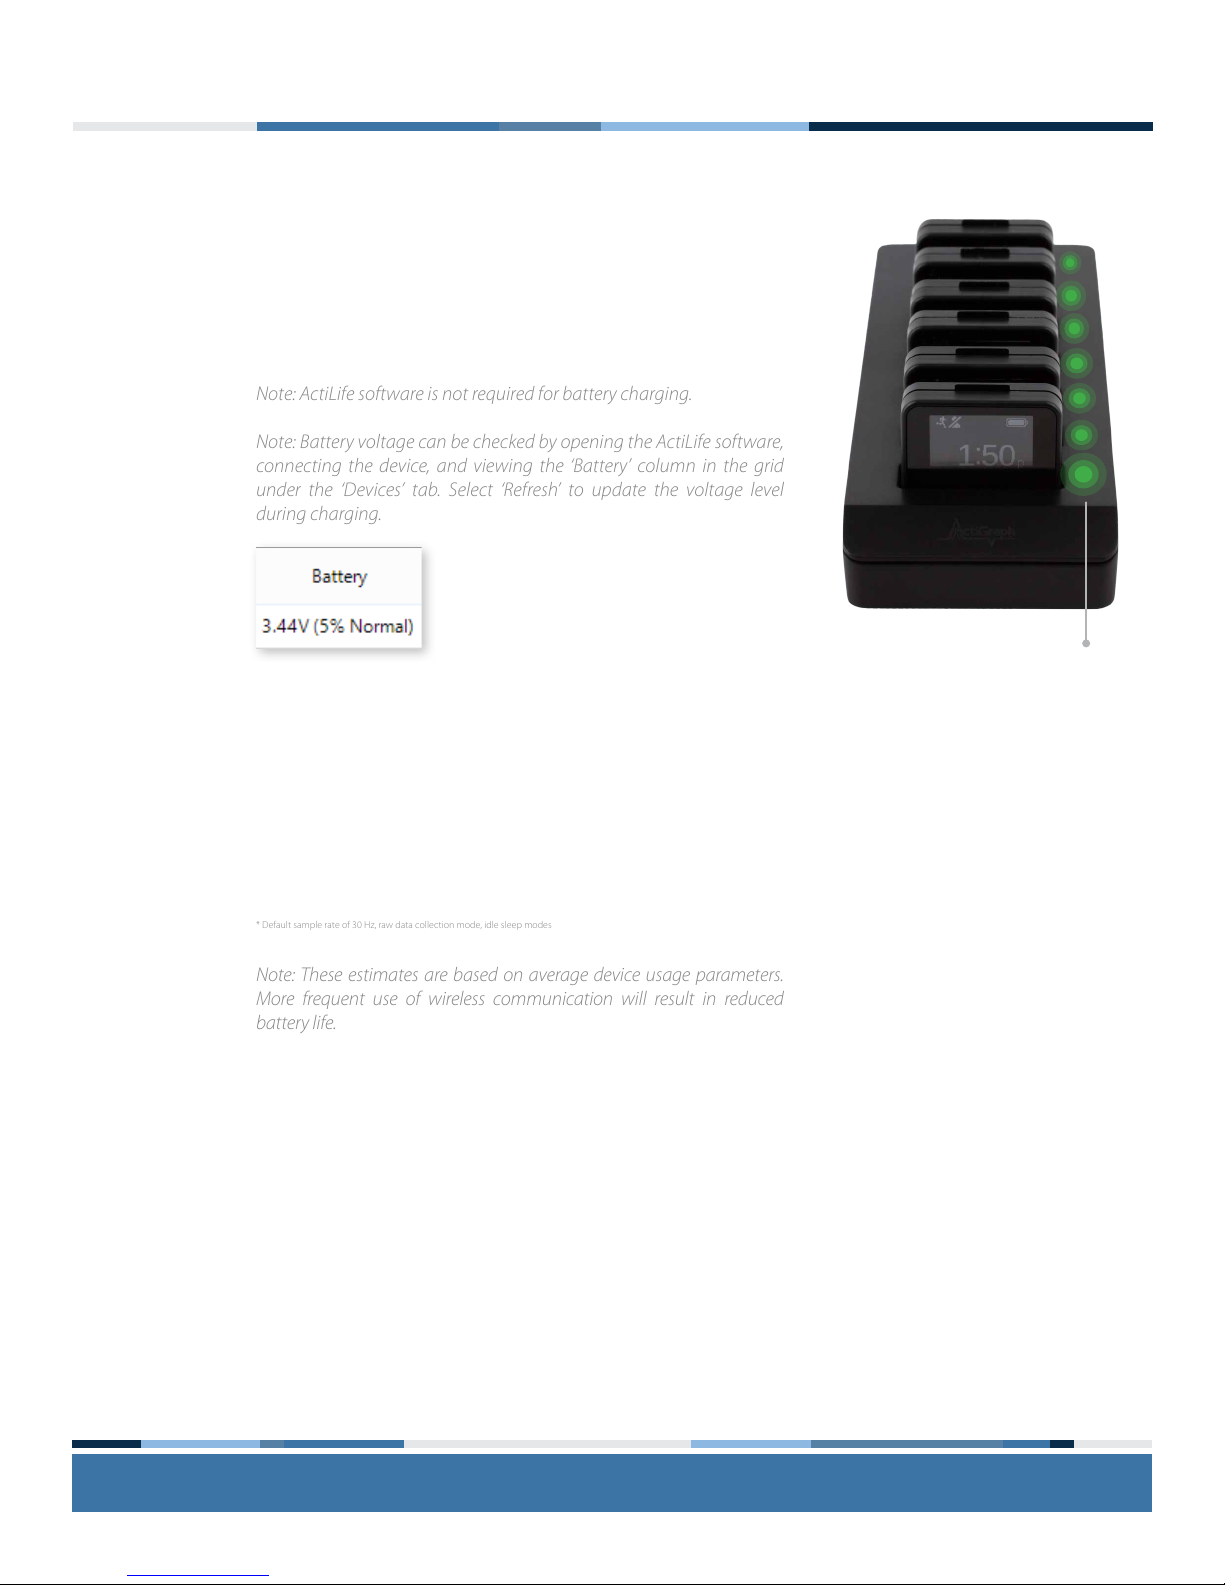
Charging multiple devices
To charge multiple ActiGraph Link devices simultaneously, plug up
to six devices into the six port Link dock and connect to the PC and
a wall power outlet using the supplied cables. The corresponding
indicator light on the dock will turn green once each device is fully
charged.
Battery life specifications
The ActiGraph Link has several features that impact battery life when
enabled. Estimated battery life for common device congurations
are as follows:
Display On, Wireless/Heart Rate O, IMU O: 14 days
Display On, Heart Rate On, IMU O: 7 days
Display On, Wireless/Heart Rate O, IMU On (all sensors): 1 day
Note: These estimates are based on average device usage parameters.
More frequent use of wireless communication will result in reduced
battery life.
Note: ActiLife software is not required for battery charging.
Note: Battery voltage can be checked by opening the ActiLife software,
connecting the device, and viewing the ‘Battery’ column in the grid
under the ‘Devices’ tab. Select ‘Refresh’ to update the voltage level
during charging.
* Default sample rate of 30 Hz, raw data collection mode, idle sleep modes
Device Charging
Indicator Light

actigraphcorp.com6
Setup and Initialization
Open the ActiLife software.
Connect the ActiGraph Link to the PC using the Link dock. The monitor will appear in the grid under the
‘Devices’ tab.
Select ‘Initialize’. A submenu will open to display several initialization options.
Select ‘Regular Initialization’ from the submenu. A dialog box will open to display the initialization parameters
listed below. The most commonly used initialization parameters are pre-selected as system defaults.
Start and Stop Times
Enter the dates and times when the device should start and stop collecting data. If no start time is
selected, the system defaults to two minutes ahead. If no stop time is selected, the device will continue
to collect data until the battery is depleted, the memory capacity is full, or it is downloaded and
reinitialized.
Device Time
Set device to local computer time or atomic time.
Sample Rate
Select the device sampling rate ranging from 30 to 100 Hz. Note that higher sampling rates will result in
reduced device storage capacity and battery life.
1
2
3
4

actigraphcorp.com7
Setup and Initialization (Continued)
Wireless Options
Enable Wireless
Activates Bluetooth® functionality.
Heart Rate
Capture heart rate data when device is used with compatible Bluetooth® heart rate monitor. Note
that wireless must be enabled to activate heart rate data collection.
Recording Options
Idle Sleep Mode
When enabled, the device enters a low power state after experiencing 10 seconds of inactivity in
order to preserve battery life.
Show Display
Activates the display window on the device. Click ‘Options’ to select whether to display date and
time in 24 hour format and to enable subject feedback.
IMU
Enables Inertial Measurement Unit (IMU), which contains a gyroscope, magnetometer, secondary
accelerometer, and IMU temperature sensor. The IMU data are collected at a 100 Hz sample rate.
Complete the initialization parameters form and select ‘Enter Subject Info.’
Note: Enabling the IMU will result in signicantly reduced device battery life and data storage capacity.
5
Note: Activating the heart rate option automatically disables mobile app communication.

actigraphcorp.com8
Setup and Initialization (Continued)
Enter subject name, biometric information, and wear position details into the grid. Note that a subject name is
required for initialization, but other biometric and wear details can be entered during download or data analysis.
Select ‘Initialize 1 Device’. A progress bar in the devices grid will indicate when the initialization process is
completed.
After initialization is complete, remove the ActiGraph Link from the dock. Once removed, a 10 second wear
sensor calibration countdown will begin. For wrist worn devices, immediately insert device into watch band
(see Wearing the ActiGraph Link below) and lay it down on a at surface until the countdown is complete.
This calibration procedure is not required for waist worn devices, which do not provide valid wear sensor data.
The device will begin collecting data when the selected start time elapses, as indicated by the active mode
icon in the upper left corner of the display. The device will continue to collect data until the stop time occurs
(if selected), the battery is depleted, or the device is downloaded and reinitialized.
6
7
8
9
Note: Multiple devices can be initialized simultaneously using the six port Link dock and/or multiple single Link
docks. In this case, all devices will be programmed with the same initialization parameters and the Subject Info grid
will display serial numbers of all connected devices for assignment.
Note: If the start time elapses before the initialization process is complete, an error message will appear. Simply select
the ‘Default’ button in the Start Time section to reset the default start time and then select ‘Initialize 1 Device’.

actigraphcorp.com9
Deployment & Information for Subjects
Active Mode
Device is collecting data.
Battery
Battery level in 20% increments. Icon
cycles during charging.
Battery Warn
Battery has reached critically low
level. Estimated remaining charge
(%) is displayed.
Delay Mode
Device has been initialized but start
time has not yet elapsed.
Halt
Device is in halt mode and not
collecting data. Either the stop time
has elapsed or the battery was fully
depleted and recharged.
Heart Rate Connected
Device is collecting HR data. Beats
per minute (BPM) will appear if
display is enabled.
1Heart Rate Not Connected
Device is congured to collect heart
rate, but is not connected to a heart
rate monitor.
Mobile Connect
Device is communicating with mobile
app via Bluetooth®.
Reset Mode
Device is in a low power state.
Steps
Shows steps accumulated for current
day (12:00:00am - 11:59:59pm).
Wireless Broadcaster
Wireless is enabled.
ActiGraph Link Screen Icons
actigraphcorp.com10
Deployment & Information for Subjects (Continued)
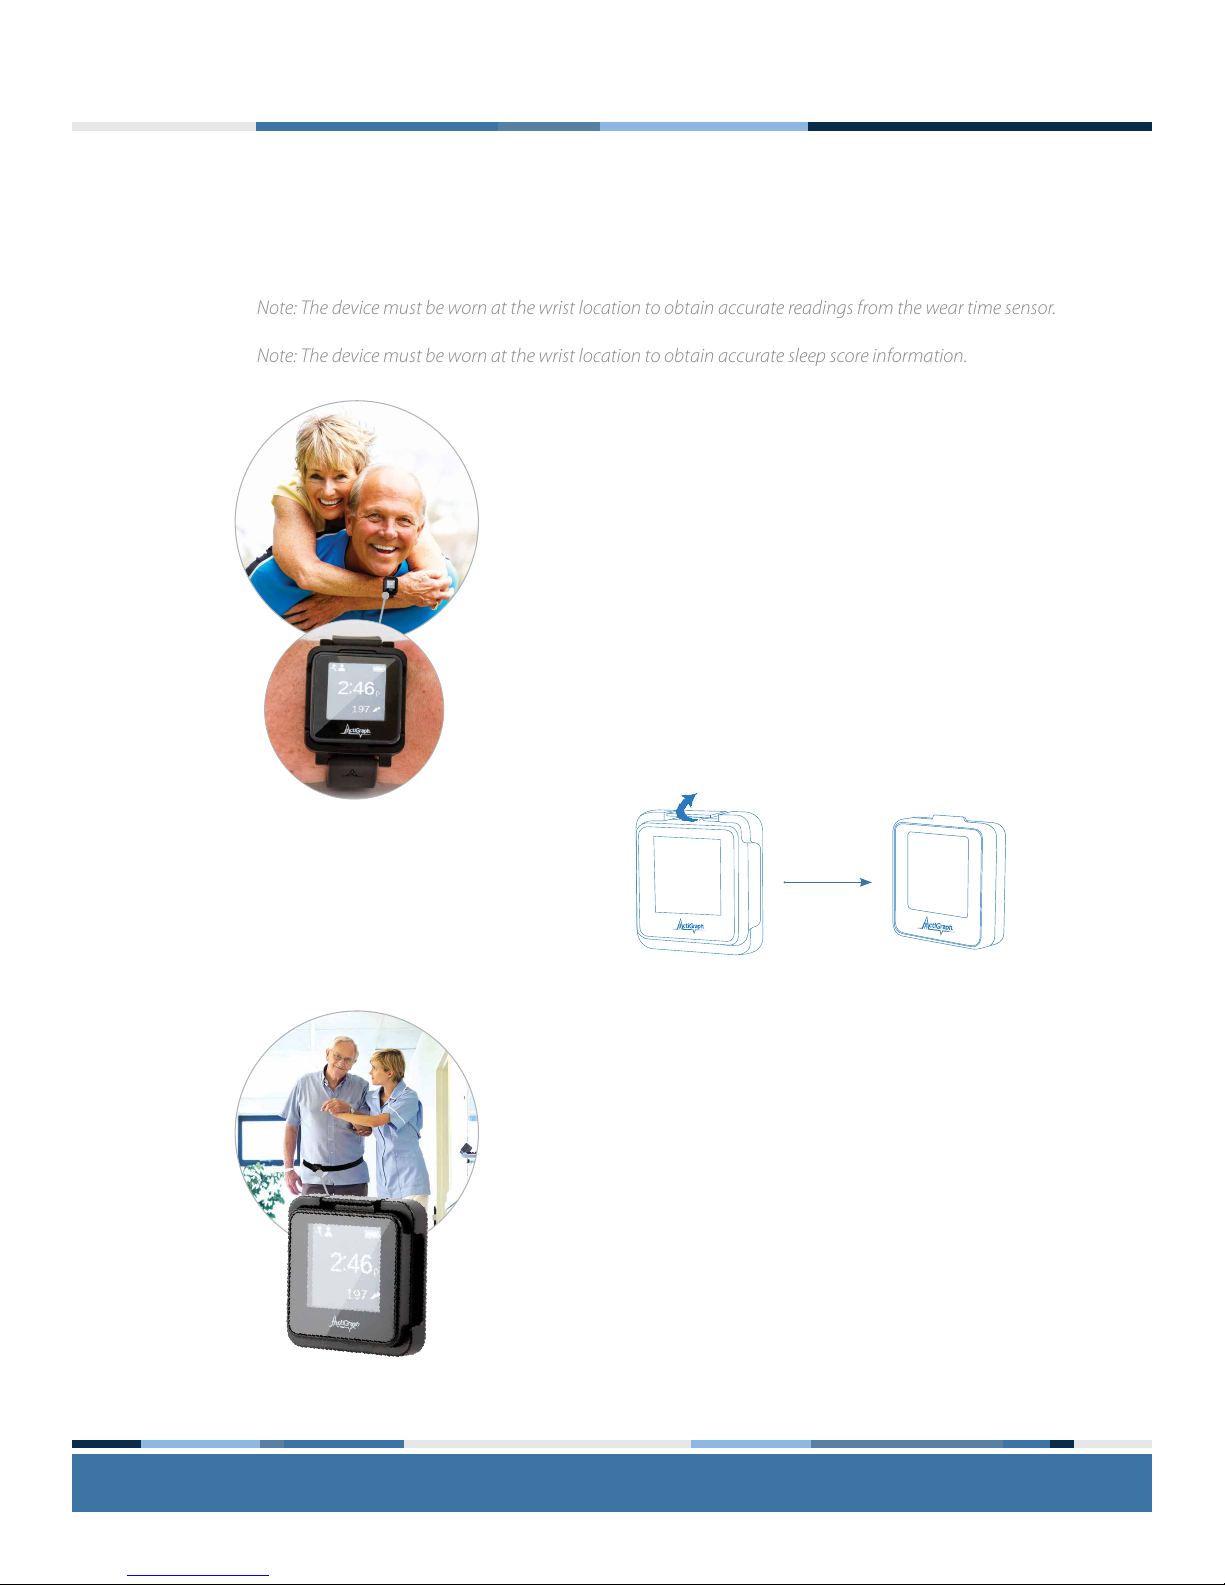
Wearing the ActiGraph Link
The ActiGraph Link will typically be worn at the waist or on the non-dominant wrist. The appropriate wear location
is dependent on specic research objectives and will be outlined in the study protocol.
Wrist worn devices
Insert the ActiGraph Link into the wrist strap by positioning the plastic notch on
the bottom edge of the device into the matching groove in the bottom edge
of the watchband. Ensure that the ActiGraph logo on the device and the ‘A’ on
the watchband are facing in the same direction. Gently push down on the upper
portion of the device until it snaps into place.
The subject should be instructed to wear the device strapped securely to the non-
dominant wrist with the logo facing up when viewed like a wrist watch.
To remove the ActiGraph Link from the watchband, rmly grasp and pull up on
the device with one hand while gently lifting the plastic tab on the top edge of
the watchband with the other hand.
Waist worn devices
Belt Clip
Insert the ActiGraph Link into the belt clip by positioning the plastic notch on
the bottom edge of the device into the matching groove on the bottom edge
of the belt clip. Ensure that the ActiGraph logo faces up when the clip opening
faces down. Clip the device to the elastic waist belt or the subjects’ own belt or
waistband. The belt should be fastened securely against the subject so the device
is snug against the body.
To remove the ActiGraph Link from the belt clip, rmly grasp and pull up on the
device with one hand while gently lifting the plastic tab on the top edge of the
belt clip with the other hand.
2
Note: The device must be worn at the wrist location to obtain accurate readings from the wear time sensor.
Note: The device must be worn at the wrist location to obtain accurate sleep score information.
actigraphcorp.com11
Deployment & Information for Subjects (Continued)
Pouch with Belt
Insert the ActiGraph Link into the belt pouch and secure ap using velcro tab.
Thread an elastic waist belt or the subject’s own belt through the loop on the
back of the pouch. The belt should be fastened securely against the subject so the
device is snug against the body.
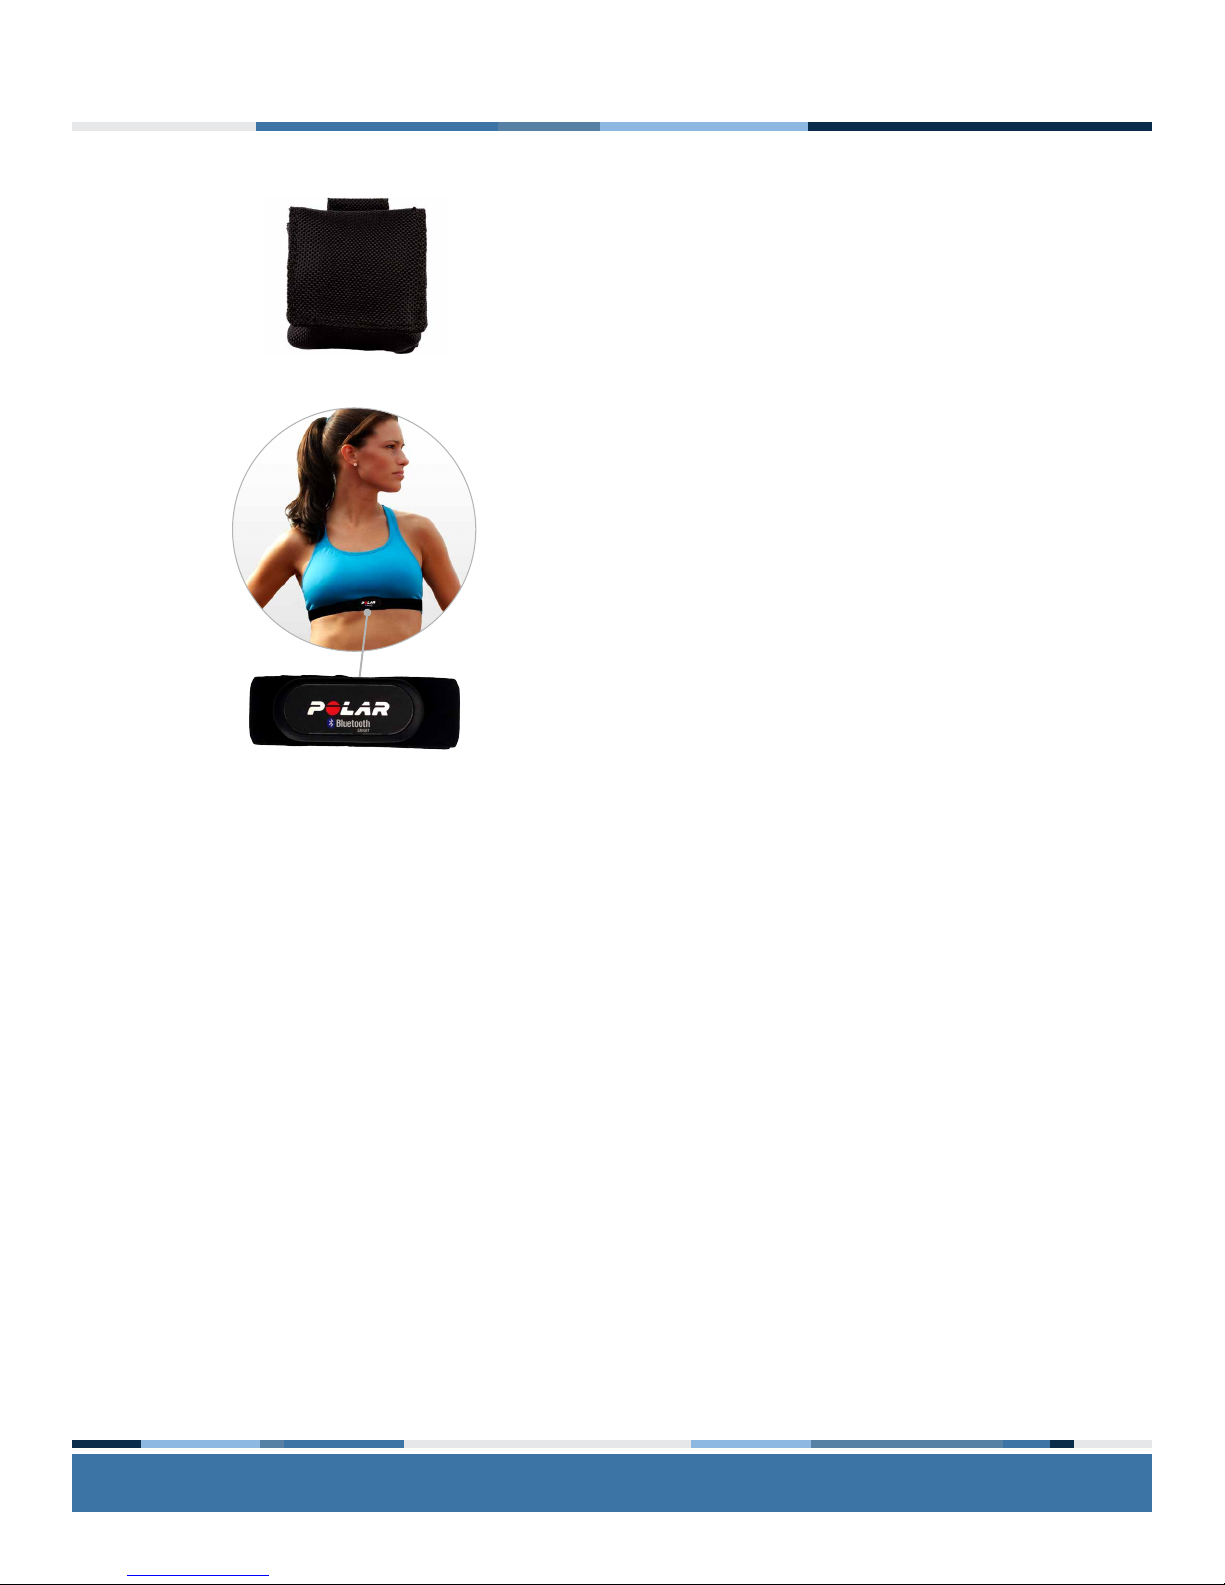
Heart Rate Monitor
To collect heart rate information, the‘Heart Rate’ option must be enabled during
initialization and a compatible Bluetooth® wireless heart rate monitor is required.
Unsnap the heart rate transmitter from the chest strap, position the transmitter in
the center of the sternum, and snap back into place. Adjust the strap so that it is
secure across the breast bone.
The ActiGraph Link will automatically begin collecting heart rate information
when in range of the chest strap, as indicated by the heart rate screen icon on
the device.

actigraphcorp.com12
Downloading the Data
Open the ActiLife software.
Connect the ActiGraph Link to the PC using the dock station.The monitor will appear in the grid under the
‘Devices’ tab.
Verify the box in front of the device is checked and select ‘Download’ from the taskbar menu.
A dialog box will open to display the download options listed below. The most commonly used download
parameters are preselected as defaults.
File download location
Select where downloaded les will be saved.
Download naming convention
Provides a list of le name formats.
Download Options:
Create Clinical Report
A customizable PDF report containing summary data will be automatically generated on download.
Subject measures and scoring algorithms can be selected by clicking ‘edit options’.
1
2
3
4
a
b
c
actigraphcorp.com13
Downloading the Data (Continued)
Create AGD File
An AGD le, required for data scoring, will be automatically created on download.
Epoch: Select the desired epoch length for the AGD le.
# of Axis: Select which axes of data should be included in AGD le.
Steps: Select to include step count data in AGD le.
Inclinometer: Select to include positional data in AGD le.
Low Frequency Extension: Select to apply low frequency lter extension to AGD le.
Biometric and User Information
Subject biometric information can be entered and/or edited. Fields will be pre-populated if this
information was entered during initialization.
Once Download Options are selected, click ‘Download All Devices’. The dialog box will close and a progress
bar will appear under the ‘Status’ column in the grid.
When the download is complete, a ‘nished downloading’ link will appear. Click this link to reveal options to
view data, export the raw data le, and navigate to the download folder.
Data has now successfully been downloaded from the ActiGraph Link and can be cleaned and scored using
the analysis tools in ActiLife.
Note: Collected data will remain on the ActiGraph Link device until it is reinitialized.
d
5
6
7
Note: The Low Frequency Extension option should only be used in very specic use cases where physical
activity is at such a low level that it might otherwise be eliminated with our normal lter. An example
would be very slow shuing movements, common in elderly populations.
Note: Axis 1=Y; Axis 2=X,Y; Axis 3=X,Y,Z
actigraphcorp.com14
Viewing the IMU Data
After completing the download, select File > Import/Export/Convert > IMU in the ActiLife task bar.
Select the raw (.gt3x) le from the list and click ‘Open.’
A status bar will appear while ActiLife converts the raw le to CSV. Once completed, the le location window
will open and the IMU le will appear in the list.
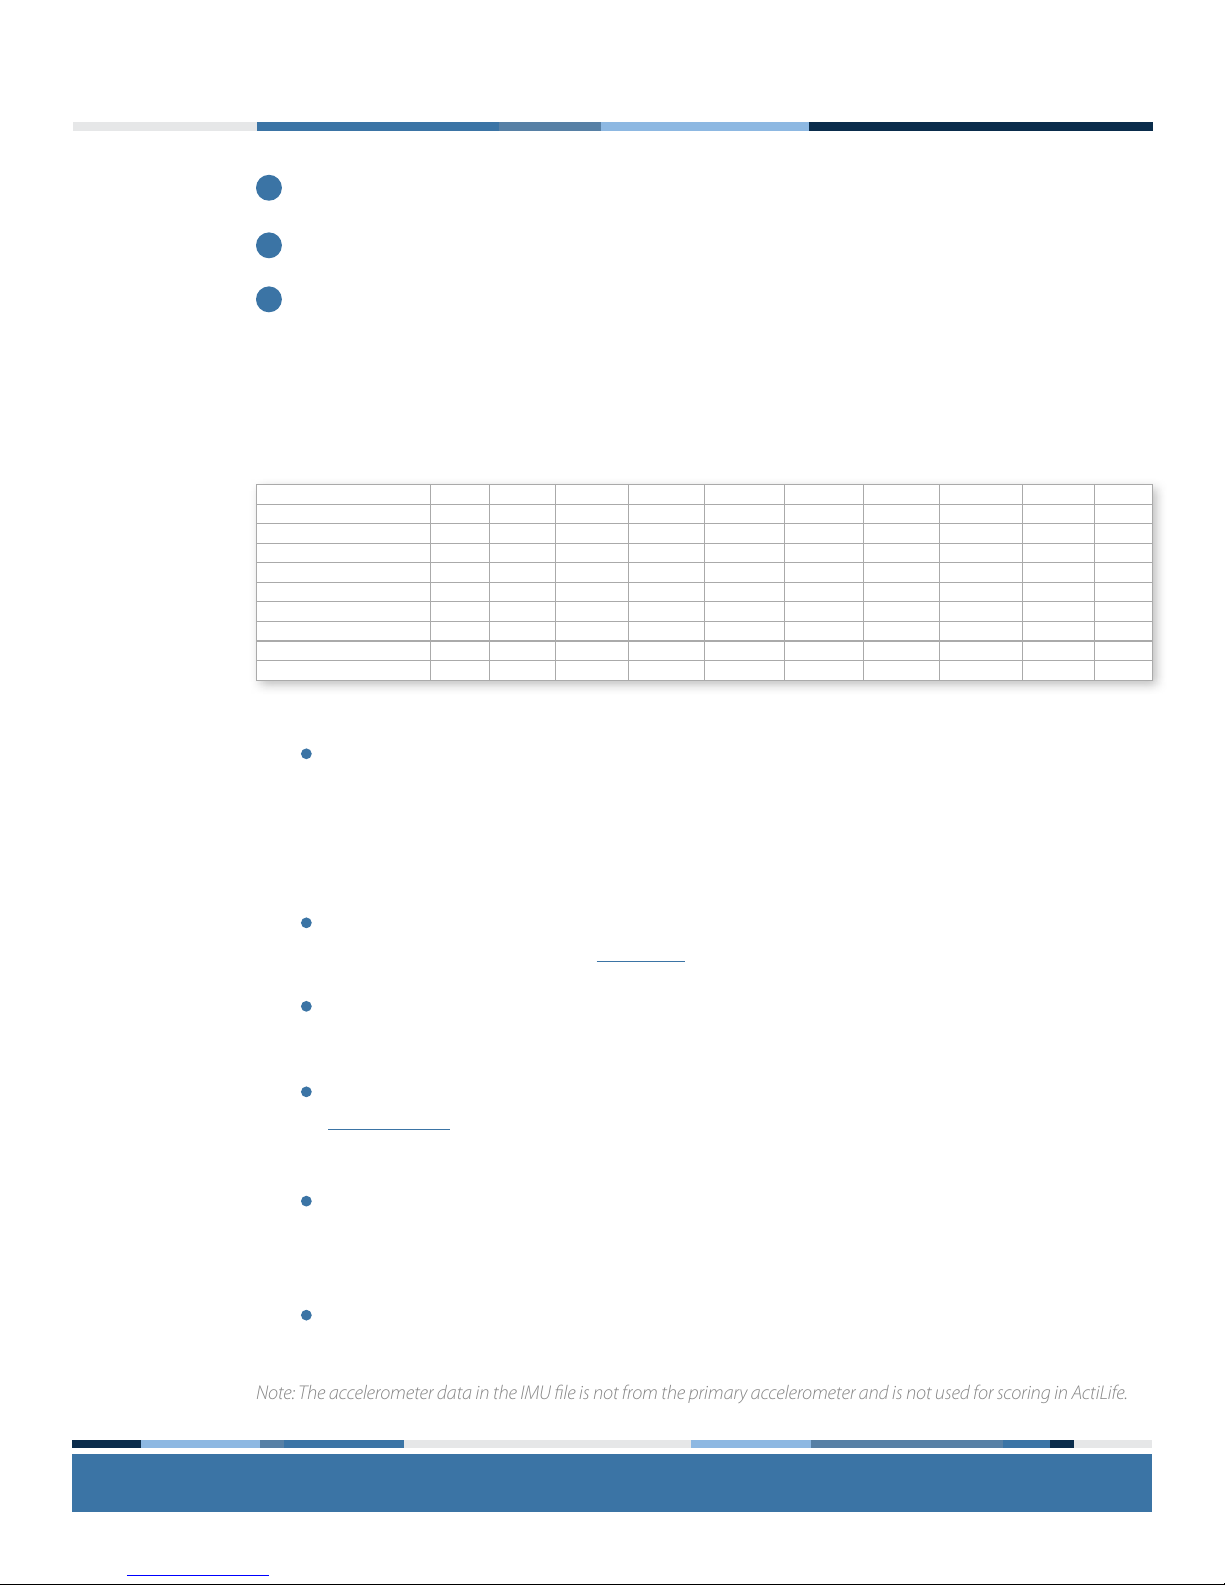
About the IMU file
The IMU le will contain some or all of the following information based on the IMU selections made during
initialization. The sample rate of the IMU le is xed at 100 Hz.
Timestamp
The timestamps shown in the exported .csv le are formatted to show the full date in YYYY-MM-DD
format. The “T” symbol indicates the beginning of the time element for the timestamp. The time is
formatted as hh:mm:ss.ss where the last “ss” represents the fractional portion of the timestamp. Each
entry increments by 0.01 seconds (because of the 100Hz xed sample rate)
Accelerometer X, Y, Z
Each accelerometer entry represents instantaneous acceleration for the axis indicated in units of gravity
(Gs). Device orientation is shown in this help article.
The accelerometer on the IMU has a dynamic range of +/- 16Gs per axis
Gyroscope X, Y, Z
Gyroscope measurements from the IMU represent are presented in degrees/sec for each axis. Refer to
this help article for details regarding roll/pitch/yaw orientation.
Magnetometer X, Y, Z
The IMU magnetometer readings represent the magnetic eld experienced by the Link device and are
useful for discerning directional orientation (compass). These readings are in microTesla (µT)
IMU Temperature
The IMU temperature reading indicates ambient temperature inside of the Link activity monitor and is
indicated in degrees Celsius (C).
3
2
1
Note: The accelerometer data in the IMU le is not from the primary accelerometer and is not used for scoring in ActiLife.

actigraphcorp.com15
Frequently Asked Questions
Is the ActiGraph Link waterproof?
The ActiGraph Link is water resistant to 1 meter for 30 minutes according to IP27 certication. The device can be
worn during bathing and swimming activities.
How should I clean the ActiGraph Link and accessories after use by a subject?
The ActiGraph Link, wristband, and belt clip should be wiped down using any alcohol based solution. Elastic belts
and pouches should be laundered.
Is the raw accelerometer output the same as with ActiGraph’s previous devices?
Yes, the ActiGraph Link uses the same accelerometer and sampling and ltering methods as the GT3X+ line of
activity monitors.
Is there any way for the subject to change or reprogram the ActiGraph Link display after it has been
deployed?
No, the ActiGraph Link display will operate according to the parameters selected during initialization until it has
been reinitialized with ActiLife.
Does the wear sensor work at the waist?
No, the wear sensor is only accurate for wrist worn devices.
What do the various sensors in the IMU measure?
The accelerometer measures acceleration normalized to Earth gravity (g). The gyroscope measures angular rates
in degrees per second. The magnetometer measure magnetic eld strength in microteslas. The thermometer
measures temperature of the IMU in Celsius.
Does the magnetometer provide accurate measurements in any geographic location?
Variations in magnetic north versus true north vary by location in a predictable way. There are lookup tables
available. The magnetic eld measurements may also be aected by hard and soft iron eects.
Can I calculate body temperature using the thermometer in the IMU?
No, the thermometer measures the temperature of the the IMU sensor for possible compensation of the IMU
output.
Contact Us
Please contact our Customer Support Team with any questions or for additional information about operating the
ActiGraph GT9X Link.
Q
Q
Q
Q
Q
Q
Q
Q

ActiGraphCorp.com
support@actigraphcorp.com | 850.332.7900 | ©2014 ActiGraph, LLC. All rights reserved.
Table of contents
Other ActiGraph Watch manuals


