Aerovex Systems The One That Works User manual

Aerovex Systems
Aerovex Systems
The One That Works™
The One That Works™
Industrial Air Purifier Manual
SKU: TOTW
Aerovex Systems
www.aerovexsystems.com
1-800-288-2023

Table of Contents
Aerovex Systems
www.aerovexsystems.com
1-800-288-2023
Unpacking your unit
How to change carbon
Page 3
Page 4-7
Maintenance: Washable Dust Filter Page 8
Page 9
Maintenance: Motor
Warranty Page 10
Contact us Page 11
Page 3
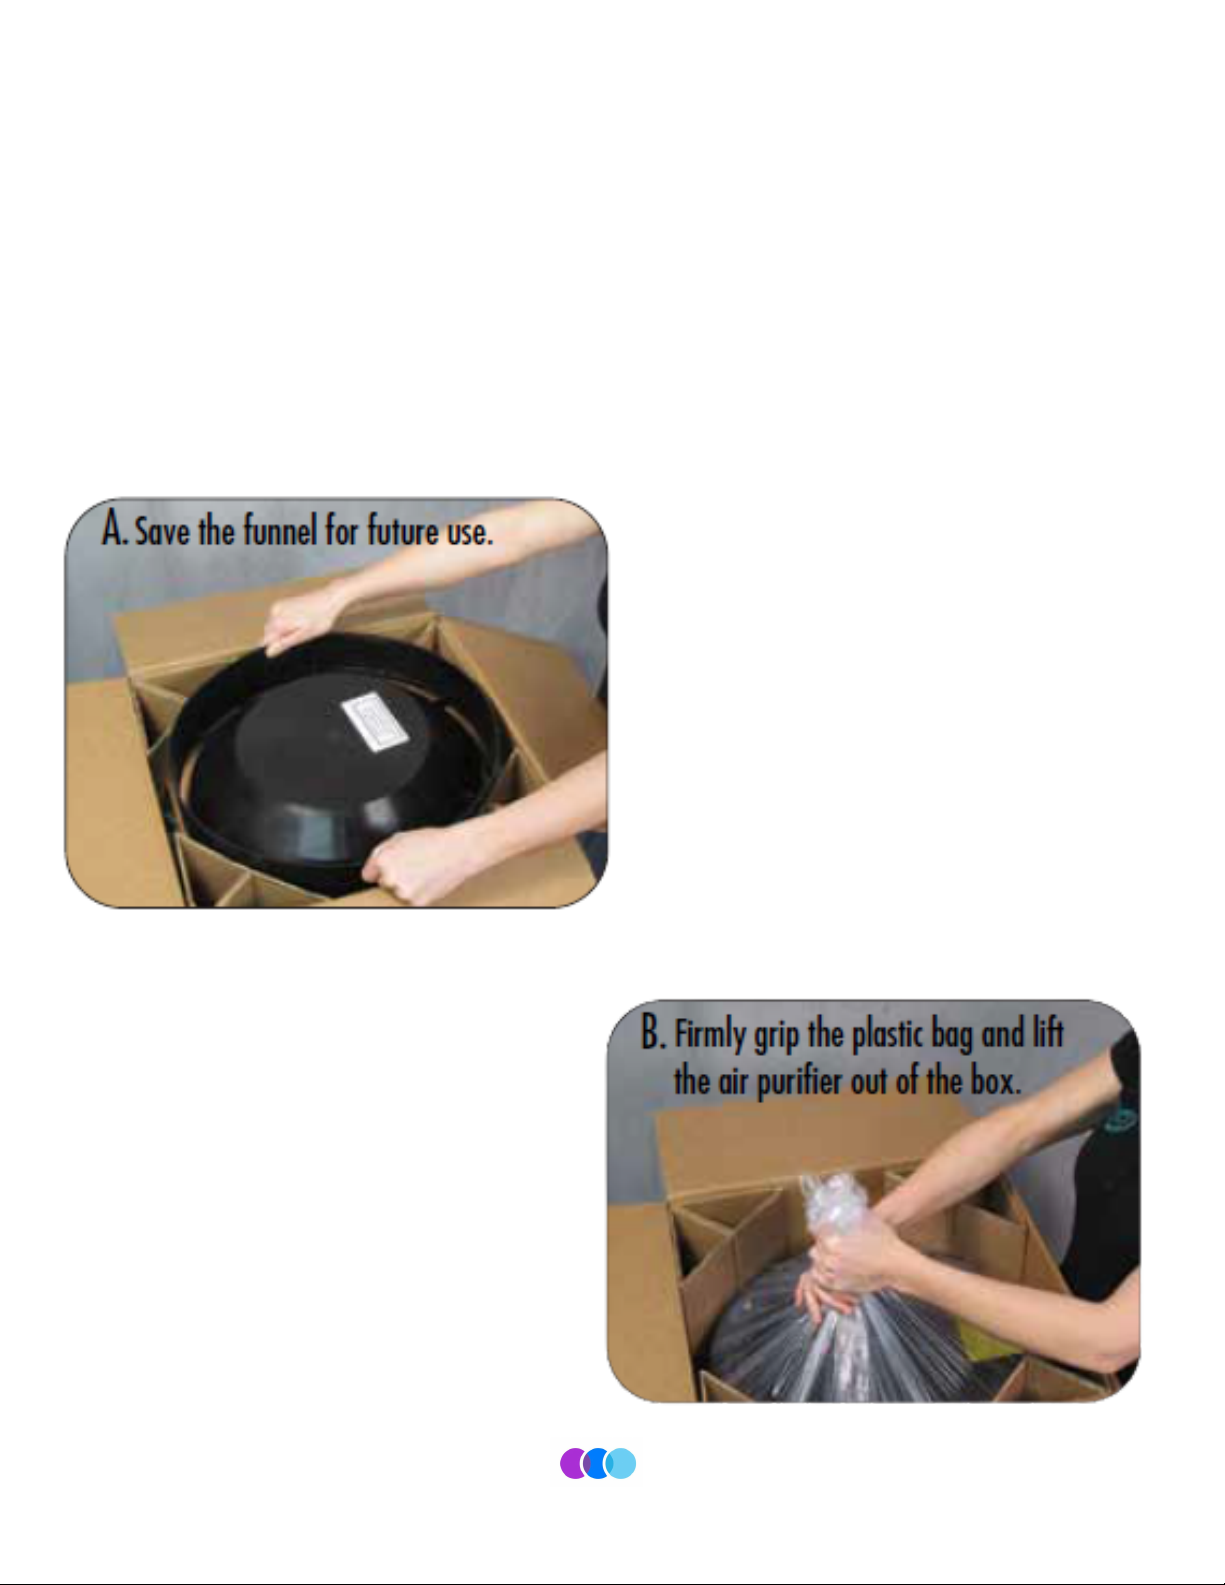
Unpacking The One That
Works™
After opening the box you will see a black plastic funnel sitting on top of your
new air purifier (photo A). Be sure to save the funnel as you will need it for
future carbon replacement (see the maintenance instructions section).
You are now ready to begin
using The One That Works™!
Centrally locate The One That
Works™ for optimal
performance. Against the wall
is fine, but do not place it in a
corner.
Next, gather the plastic
bag surrounding the air
purifier (photo B). With
two hands, firmly grip
the plastic bag and lift
your air purifier out of
the box.
Page 4
Maintenance Instructions
Carbon Replacement
In order to guarantee that The One That Works™ is always providing
fresh air, you must replace the activated carbon every 4 or 6 months.
If you are not already signed up for our Subscribe and Save Plan, call 1-
800-288-2023 to schedule your automatic shipments. As a member of
our Subscribe and Save Plan, your air purifier’s 1-year warranty
will be extended to a 5-year warranty when maintenance guidelines
are followed.
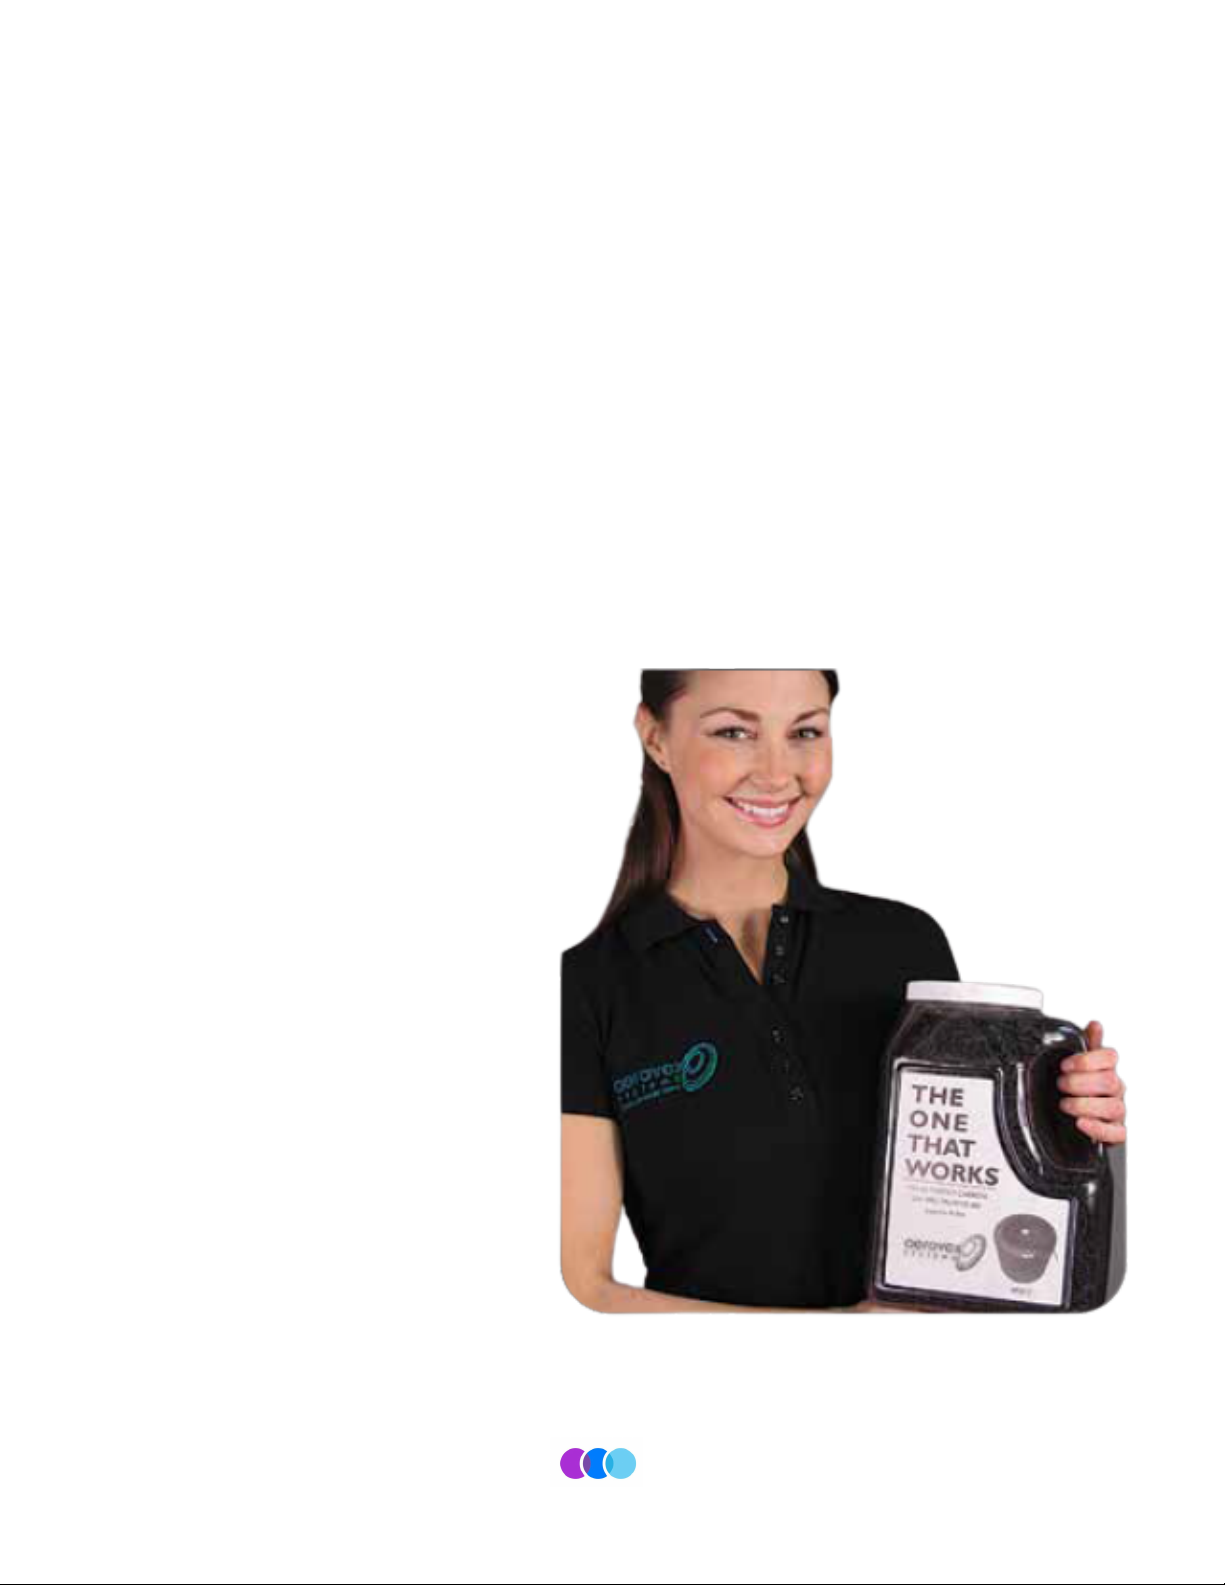
The activated carbon is
packaged in an 8-pound
container with a convenient
handle for easy use. Each
container has enough activated
carbon for one complete
change.

Page 5
How to change the carbon
Step 1: Remove top and quick disconnect
To replace the activated carbon, begin by disconnecting the
power cord from the wall outlet (see box E). Remove the 3 wing
nuts on the top cover (see box F).
Step 2: Discard old carbon
Carefully pick up the air purifier at the base of
the unit and discard the old, saturated carbon
into a suitable trash can (see boxes L and M)
on next page.
WARNING: Do not take
hold of the unit at the
top as this may bend
the frame of the unit,
making it difficult to
replace the top.

Page 6
Step 3: Funnel and New Carbon
After discarding the old
saturated carbon, use the
provided funnel to pour
the fresh activated carbon
into the unit. For proper
placement, align and
place the funnel on the 3
metal posts (see box N).
Page 7
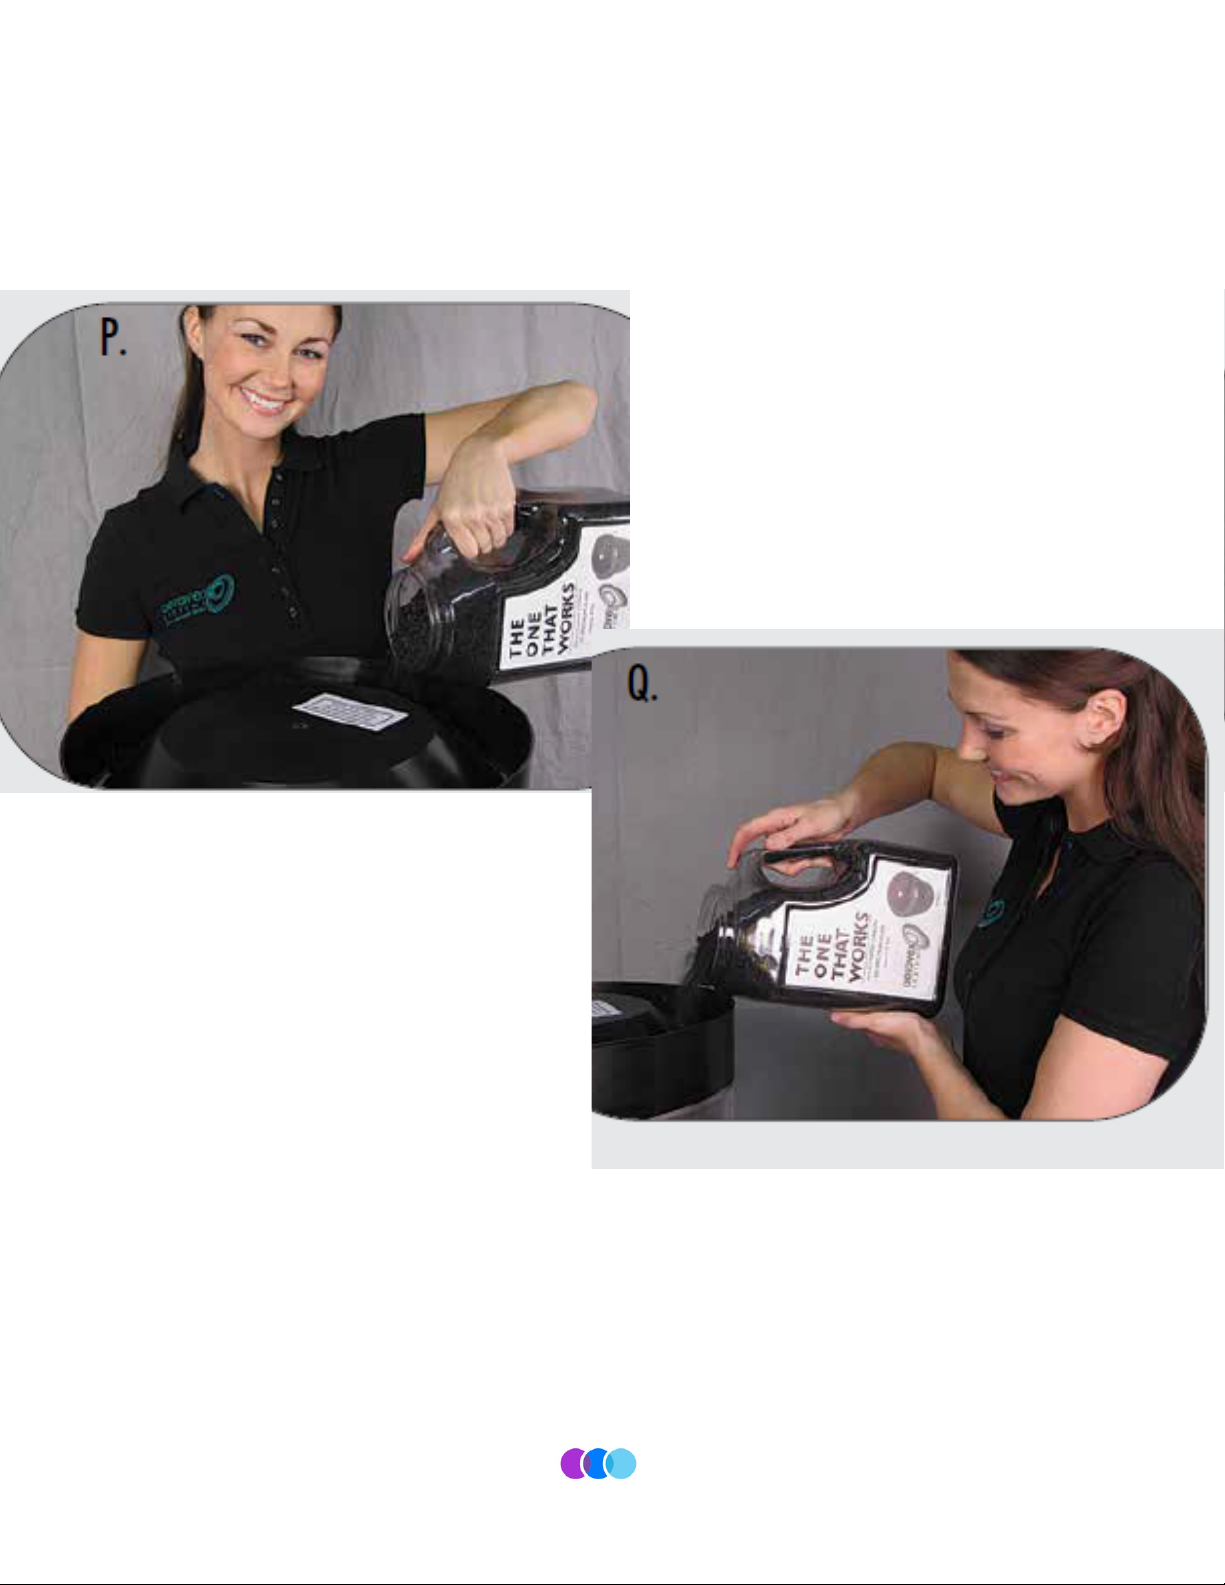
Step 4: Adding the new carbon
Evenly distribute the NEW activated carbon around the funnel
until the unit is full (See box P and Q). Empty activated carbon
jug can be recycled!).
Step 5: Replace top and Wing Nuts
Replace top and 3 wing nuts that were removed during step 1.
Plug in machine and continue use!
Page 8
Additional maintenance
Regular maintenance of The One That Works™ unit will keep your
unit working at peak performance and keep your extended warranty
current.
Washable Dust Filter
Wash the dust filter approximately once per month. The dust filter slides off
the air purifier like a sleeve. To wash the dust filter, use a mild detergent and
cool water. You can wash by hand or on the gentle cycle in a washing
machine.
DO NOT DRY THE FILTER IN A DRYER. After filter is air dried, slide it back on
the purifier. You can purchase additional or back up dust filters on our
website.

Page 9
Additional maintenance
Regular maintenance of The One That Works™ unit will keep your
unit working at peak performance and keep your extended warranty
current.
Additional Motor Care
Every 6 months, add a few drops of electric motor oil (we use a 3 in one, or
any automobile oil). Insert the nozzle on the oil container into the hole (see
box S). By lubricating the motor every 6 months, you will be providing
maintenance to the motor, extending its life.

Page 10
Warranty
All products sold by Aerovex Systems come with a 1-Year Warranty.
This Warranty applies only to the repair or replacement of any manufactured or
supplied part of this product which, upon inspection by Aerovex Systems authorized
personnel, proves to have failed in normal use due to defects in material or
workmanship.
The sole responsibility of Aerovex Systems under this Warranty is, in its sole
discretion, to either repair or replace a duly registered product (or defective part
thereof) with the same or a comparable model within a reasonable period of time,
subject to the following exclusions, limitations, statutory rights and warranty claim
procedures.
Exclusions to the Warranty
This Warranty does not apply, or is void, as to any product or part damaged by (1) accident, misuse,
abuse, or lack of reasonable care or normal maintenance; (2) installation or operation under
conditions other than those recommended by Aerovex Systems (3) subjecting the product to any
but the specified voltage; (4) servicing or disassembly by unauthorized personnel; (5) removing or
defacing the serial number; or (6) modifying the original factory-assembled unit in any way.
This Warranty does not apply to shipping charges for product shipped to or from the manufacturer
or designated distributor in connection with warranty claims nor does it apply to any damages that
occur during such shipment.
This Warranty does not apply to replacement filters.
Extend your Warranty
Extend your warranty to 3 or 5 years (depending on the brand of your system) by joining our
subscribe & Save program. Receive filters on a regular basis, ensuring your system is maintained
and fully functioning.

Phone (Main): 1-800-288-2023
Phone: Madison, WI: 608-222-2022
Fax: 222-2704
Website: WWW.aerovexsystems.com
Email: [email protected]
Place an online order, fill out a support ticket or
chat with us on our website
Page 11
Contact us
Still have questions or need to order
Activated Carbon or replacement parts?
This manual suits for next models
1


