Ai Hardware AI-BS-WS42 User manual

2 / 22
Revision Record :2019/07/12
1.Changed the manual to the manual of the Wireless Bluetooth Barcode Scanner
2.This manual is applicable to the AI HARDWARE Bluetooth, with firmware Src-0116 V1.6 and
firmware Src-0121 V1.1.
Application Range:
Firmware Note
Src-0116 V1.6 V1.6 and above
Src-0121 V1.1 V1.6 and above
Comprehensive settings
1. Set the barcode to print by using the CODE B of Code 128.
2. The asterisk (*) in the description part indicates the factory default parameters.
3.Set the instruction data format.
Table 3.3-1 Setting instruction data format
Note:This format does not include instructions for entering settings and saving and exiting settings.
Table 3.3-2 Setup instruction data format analysis
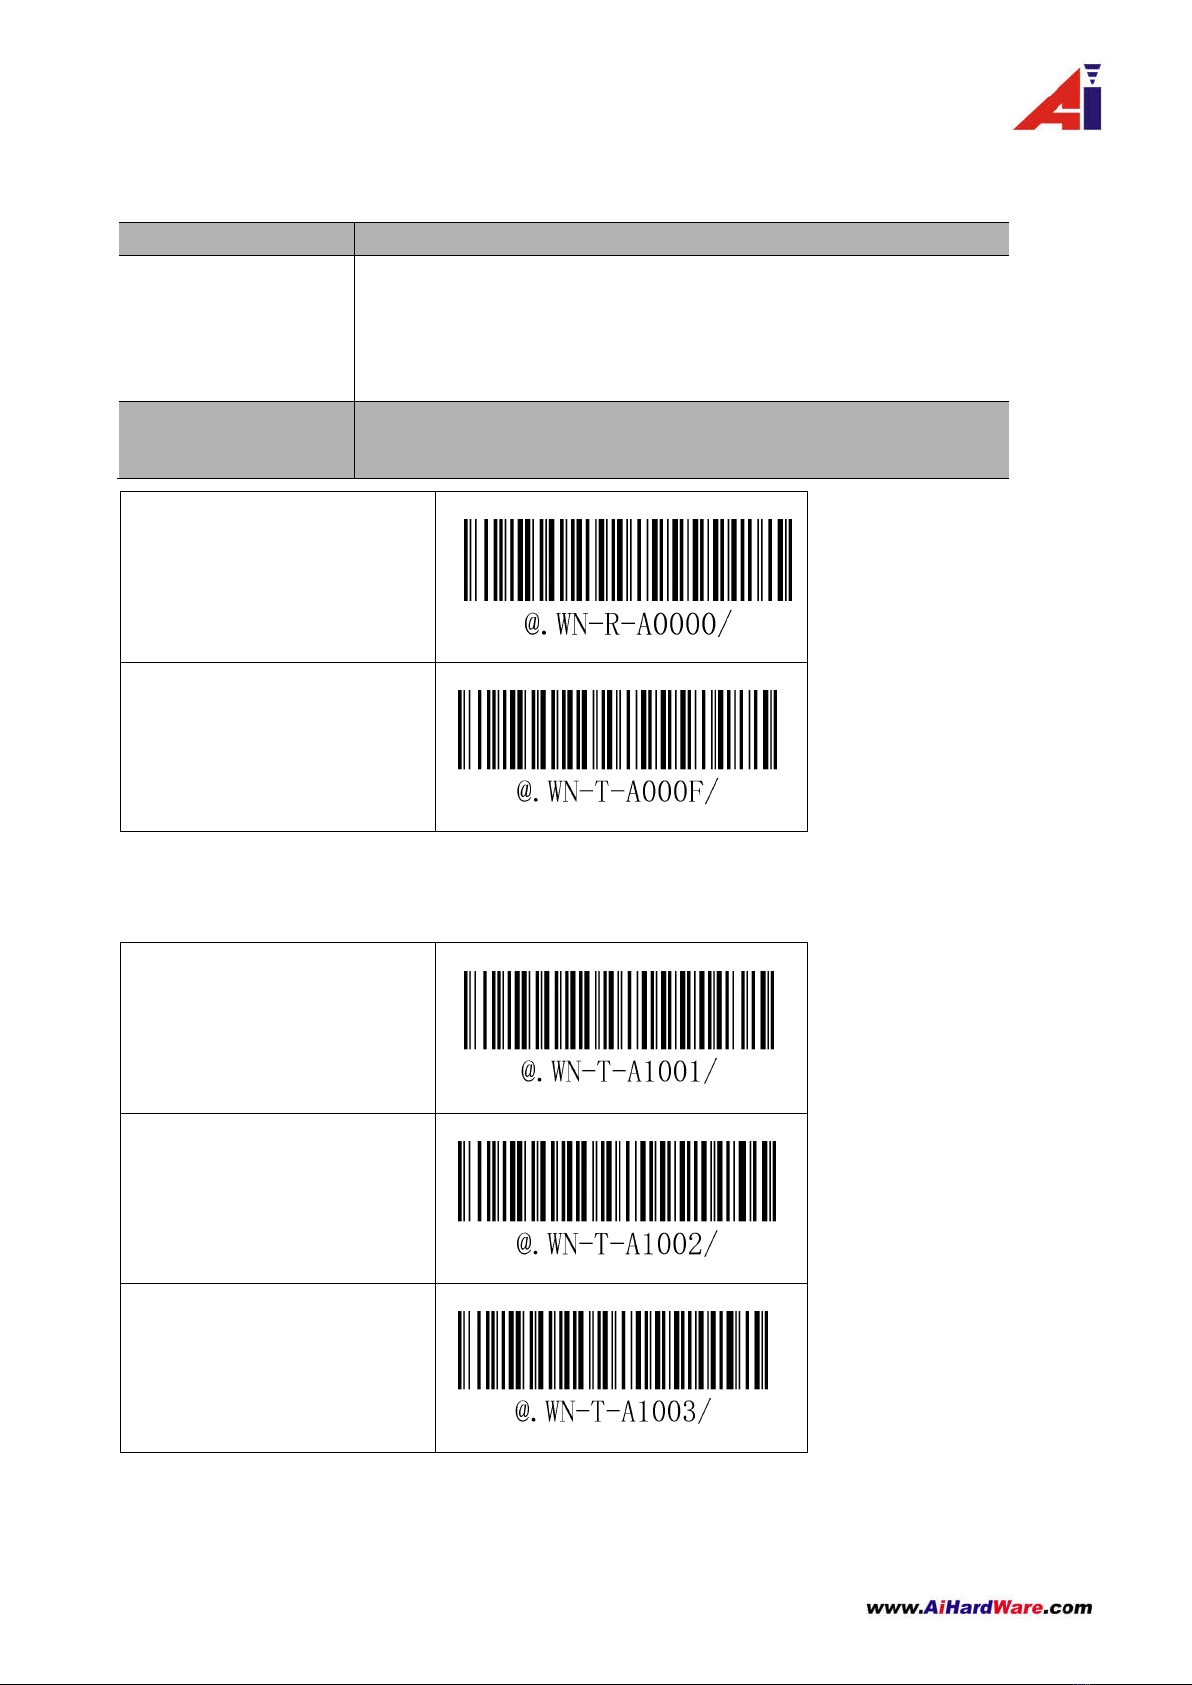
3.4 Setup Barcode Type Table
Table 3.4-1 Setup Type Table
Prefix
Setting Object
Type
Parameter
WN-
T-/R-/W-
Refer to “Setup Barcode Type Table”
*****
Format
Data
Description
Prefix
@.WN-
Fixed prefix characters
Setting Object T-/R-/W-
T-:Means the setup barcode is directly to the sender
R-:It means that the setting barcode is directly to the receiving
end,and the setting barcode of the receiving end needs to be
forwarded by the transmitting end through wireless
transmission.
W-:The sender and receiver work together
Type
Pls refer to the “Setup Barcode Type Table”
Parameter
Parameter is 4 characters in the range of “0~9”
Type
Description
A
Wireless pairing / disconnection operation
B
Multi-language Settings
C
View Firmware informations/Change frequency
D
Reserve
F
Realtime Mode/Inventory Mode/Data manipulation under Inventory Mode
G
Sleep Time
H
Restore Factory Default
I Data Transmission Form、Start/Terminator Mode Setting、Customize
Start/Terminator
K
Firmware Upgrade Command of Sender end & Receiving End
L
USB wired output switch

3 / 22
4. Barcode Instruction Setting
4.1 Bluetooth Connection Operation Instruction
Disconnect from the receiver
Unpair from phone
4.2 Bluetooth Communication Mode Setting
Bluetooth HID Mode
Bluetooth SPP Mode
Bluetooth BLE Mode
Note★:Pls make sure the barcode scanner were disconnention when switing modes.
Funtion Note
Disconnect from the
receiver
When the scanner is to be connected to a mobile device (mobile phone /
tablet), it needs to be disconnected from the receiver by scanning the
barcode (if there is no receiver, this operation is not required). If you need
to connect the receiver back, first set the Bluetooth communication mode
to BLE, and then restart the receiver (You can short press the boton to
open the connection function ).
Unpair from phone After pairing with a mobile device (phone / tablet), you can scan the
barcode to unpair (only Android models connected in HID mode).

4 / 22
4.3 Multi-Language Setting
USA
French
German
Turkish
Belgium
Brazil
Crzch
Spanish
Italian
Note★:This setting code is valid for both the receiving end (Tx) and the transmitting end (Rx). If the multi-language is
set when the wireless transmission is disconnected, the sending language setting will be successful and the receiving
language will not be changed.

5 / 22
4.4 View Parameter
Output System Parameter
Output Battery Volume
4.5 Working Mode
4.5.1 Mode Switch
Universal Mode
Cache Mode
Inventory Mode
Funtion Note
Output system parameter
1> Battery Volume
2> Firmware Version
Output battery volume Battery volume "Full."、"Middle"、"Low."。
Function
Note
*Universal Mode
Scan and transmit, failure alarm
Cache Mode When the data upload fails, it will be stored in the barcode scanner, and the data will
not be uploaded until the wireless connection is stable.
Inventory Mode
After scanning the barcode, the data is directly stored in the barcode scanner. The data
will not be deleted until [Clear Data] is scanned. During this period, you can scan
[Upload Data] to send the data to the receiver or directly upload to the PC
Upload Data
Upload barcode data
Data Amount
The amount of upload barcode data
Clear data manually After uploading data in inventory mode, manually scan the setup barcode to clear all
barcode data in inventory area
Clear data automatically
After setup this function,the barcode scanner will automatacally clear all datas
afteruploading data in inverntory mode.

6 / 22
4.5.2 Setting Code in Inventory Mode
Upload data
Data amount
Clear data manually
Clear data automatically
Description ☆:
Inventory Mode: Storage:49000pcs with 30 bytes data
Storage:104500pcs with 13 bytes data
Note★:1.When uploading inverntory data, please make sure the wireless connnection is stable to prevent data loss.
2.It will clean inventory data and cache data when swith to “clean data manually”.
4.6 Characters input/output/keyboard format setup
4.6.1 Case control and keypad switches
CapsLK detection is on
CapsLK detection is off
Function
Note
*CapsLK detection
is on
Caps detection is enabled, keyboard Caps does not affect output
Example:Barcode content:123ABCdef
Turn on Caps Output: 123ABCdef
Turn off Caps Output:123ABCdef
CapsLK detection is
off
Turn off Cap detection,keyboard Caps will lock and affect output
Example:Barcode Content:123ABCdef
Turn on Caps Output:123abcDEF
Turn off Caps Output:123ABCdef
Turn on Keypad
output
You need to setup the output format as GBK format if turn on Keypad output.And
need to setup the language as English if the current language is German.Other
language no need setup.

7 / 22
Turn of Keypad output
4.6.2 Output Format & Function Keys Setup
GBK Output
Unicode Output
Function Keys Output
4.7 Sleep Time Setup
1 minute
5 minutes
15 minutes
Funtion
Note
*GBK Output 1.Support TXT & Excel output
2.Open TXT or Excel,scaning barcode and check if the data transmit.
Unicode Output 1.Supprt Word output
2.Note:WDI2000 module need to setup to UTF-8 OUTPUT.
Function Keys
Output
1.Support test at Excel
2.Added function key suffix:
Example:Setting function key “→” as suffix.The cursor will point to the right cell
after output data in Excel.

8 / 22
45 minutes
No Sleep
Immediately Sleep
Description ☆: Sleep time calculation method:60 * x = n (s),x is the decimal value of the last 2 digits of the barcode
4.8 Restore Factory Default Setting
Function
Note
Restore Default
Value
1> autoSetFactory flag unchanged
2> Data output mode unchanged
3> Keyboard language unchanged
4> Buzzer sounds unchanged
5> Locked frequency flag unchanged
Restore default value
4.9 0x0A Filter
Funtion
Note
Turn on 0x0A filter The line feed 0x0A which in the middle of characters string will be filter after
turn on this function
*Turn off 0x0A filter If there is a line feedb in the middle of the data,tt will be output normally after
turn off.
Turn on 0x0A fliter
Turn off 0x0A fliter
Description ☆: The line feed 0x0A which in the middle of characters string will be filter after turn on this function,the
0x0A will not be filter which in the end of the character string(the last 2 digits of the barcode).

9 / 22
4.10 Wired Output Mode
Function
Note
USB Output
USB-HID output
Virtual Serial Port
Output
USB-VCP output
Note:The USB VCP needs to be installed with a USB-to-serial port driver for
normal use; window10 does not need to install a driver.
USB output
USB-VCP output
Note ★:
1.USB output & RS-232 output by default.System will choose USB output or RS-232 output automatically according to
the hardware,no need setup.
2.You need to scan setup barcode when switching between USB ouput and Virtual Serial Port output.
3.If the dock data does not upload, please check whether the connection cable is used correctly, whether the USB device
enumeration is normal, and whether it has entered the upgrade mode.
4.11 Sender End Wired Output Switch
Function
Note
Turn on the USB
wired output
The transmitter is connected to the PCB via a USB cable, the data can be directly
transmitted through USB without wireless transmission after turn on USB wired
output.
*Turn off the USB
wired output
The USB cable only use for charging and data only transmitted via wireless after
turn off the USB wired output
Turn on the USB wired output
*Turn off the USB wired output
Note ☆:USB wired output switch only use for sender end

11 / 22
4.12.3 Stop Bit
*1 stop bit
2 stop bits
4.12.4 Parity Bit
*No Parity Bit
Odd Parity Bit
Even Parity Bit
Note ★:Serial port setting only work at the device which supported serial port output.
4.13 Start Character Mode Setting
No Start Character
Customize Start
Character+Barcode
Save and exit
Example:Set the start symbol of the barcode “1234567” to “# Ab9”, that the content of the output barcode is “#
Ab91234567”.
1.Starting up

12 / 22
2. Scan [custom start character]
3. Then scan the setting barcodes corresponding to [#], [A], [b], and [9] in this order.
4. Scan the [Save and Exit] barcode
5. The max length of start character is 10 digits.
4.14 Terminator Character Mode Setup
No Terminator Character
Customize Terminator Character
Save and exit
Example:Set the terminator symbol of the barcode “1234567” to “%B”, that the content of the output barcode is
“1234567%B”.
1.Starting up
2. Scan [custom terminator character]
3. Then scan the setting barcodes corresponding to [%], [B].
4. Scan the [Save and Exit] barcode
5.Factory default terminator character is :0x0D(Enter)
6.The max length of terminator character is 10 digits.
7.Common terminator:0x0D(Enter),0x0A(line feed),0x09(Tab)
0x0D(Enter)
0x0A(line feed)
0x09(Tab)

13 / 22
4.15 Barcode Scanner Prompt Tone Selection
Turn on Starting up sound
Turn off Starting up sound
Turn on Transmittion sound
Turn off Transmittion sound
Description:This function is mainly used for the module. Most of the modules have their own startup sound and barcode
scanning sound, so the startup sound of the PCB and the wireless transmission sound are turned on. The two sounds
overlap. Therefore we added the settings for sound switch which respond to the noise and repeat sounds of the modules.
4.16 Prompt Tone Selection Of The Receiver Base
Turn on Starting up sound
Turn off Starting up sound
Turn on Transmittion sound
Turn off Transmittion sound

14 / 22
4.17 Barcode Scanner Vibration Alert Setting
Turn on Vibration
Turn off Vibration
Description:It will trigger vibration when decoding sucessful.
5. Part Command Setting
5.1 Buttons
5.1.1 Barcode Scanner Buttons Function
Funtion
Note
Startup
Short press the button at the power off state
Trigger Scan
Press the button at the power on state
IOS Keyboard Control In the power-on state, long press the button for 3s to pop / hide the Apple phone
keyboard.
Force Sleep
In the power-on state, press and hold the button for 10s to force the power off
5.1.2 Receiver Base Button Funtion
Funtion
Note
Connection State
In the power-on state, short press the button to switch the connection state(switch
between the following two states).
1) Disconnect from the receiver
2
)
Waiting for connection
Output Version No. In the power-on state,long press the button for 3s to output the version No. of
thereceiver base.
6. Sounds & Light Prompt Description
6.1 LED State Description
6.1.1 Barcode Scanner LED light
State
Description
Waiting for
connection
The LED will flash every 600ms interval at waiting for connection state.(one flash
include 1 light up and 1 light off)
Connected
The LED will keep lighting at connected state
6.1.2 Receiver Base LED light
State
Description
Connected
The LED will keep lighting at connected state
Waiting for
connection
The LED will flash every 1s interval at waiting for connection state.(one flash
include 1 light up and 1 light off)
Disconnect with
receiver base
The LED will off light and flash every 5s interval at disconnect with the receiver
base state(one flash include 1 light up and 1 light off).
Pairing
The LED will keep flash at pairing state.
Table of contents