Section 1
GettingStarted
Note: Before using the IP Camera, you’ll need to perform the following tasks:
1. Connect the IP Camera to your network.
2. Install the Setup Wizard.
3. Gather information about your local network address.
4. Configure the IP Camera using the Setup Wizard.
Please follow the steps in this Guide carefully to ensure proper setup of the IP Camera.
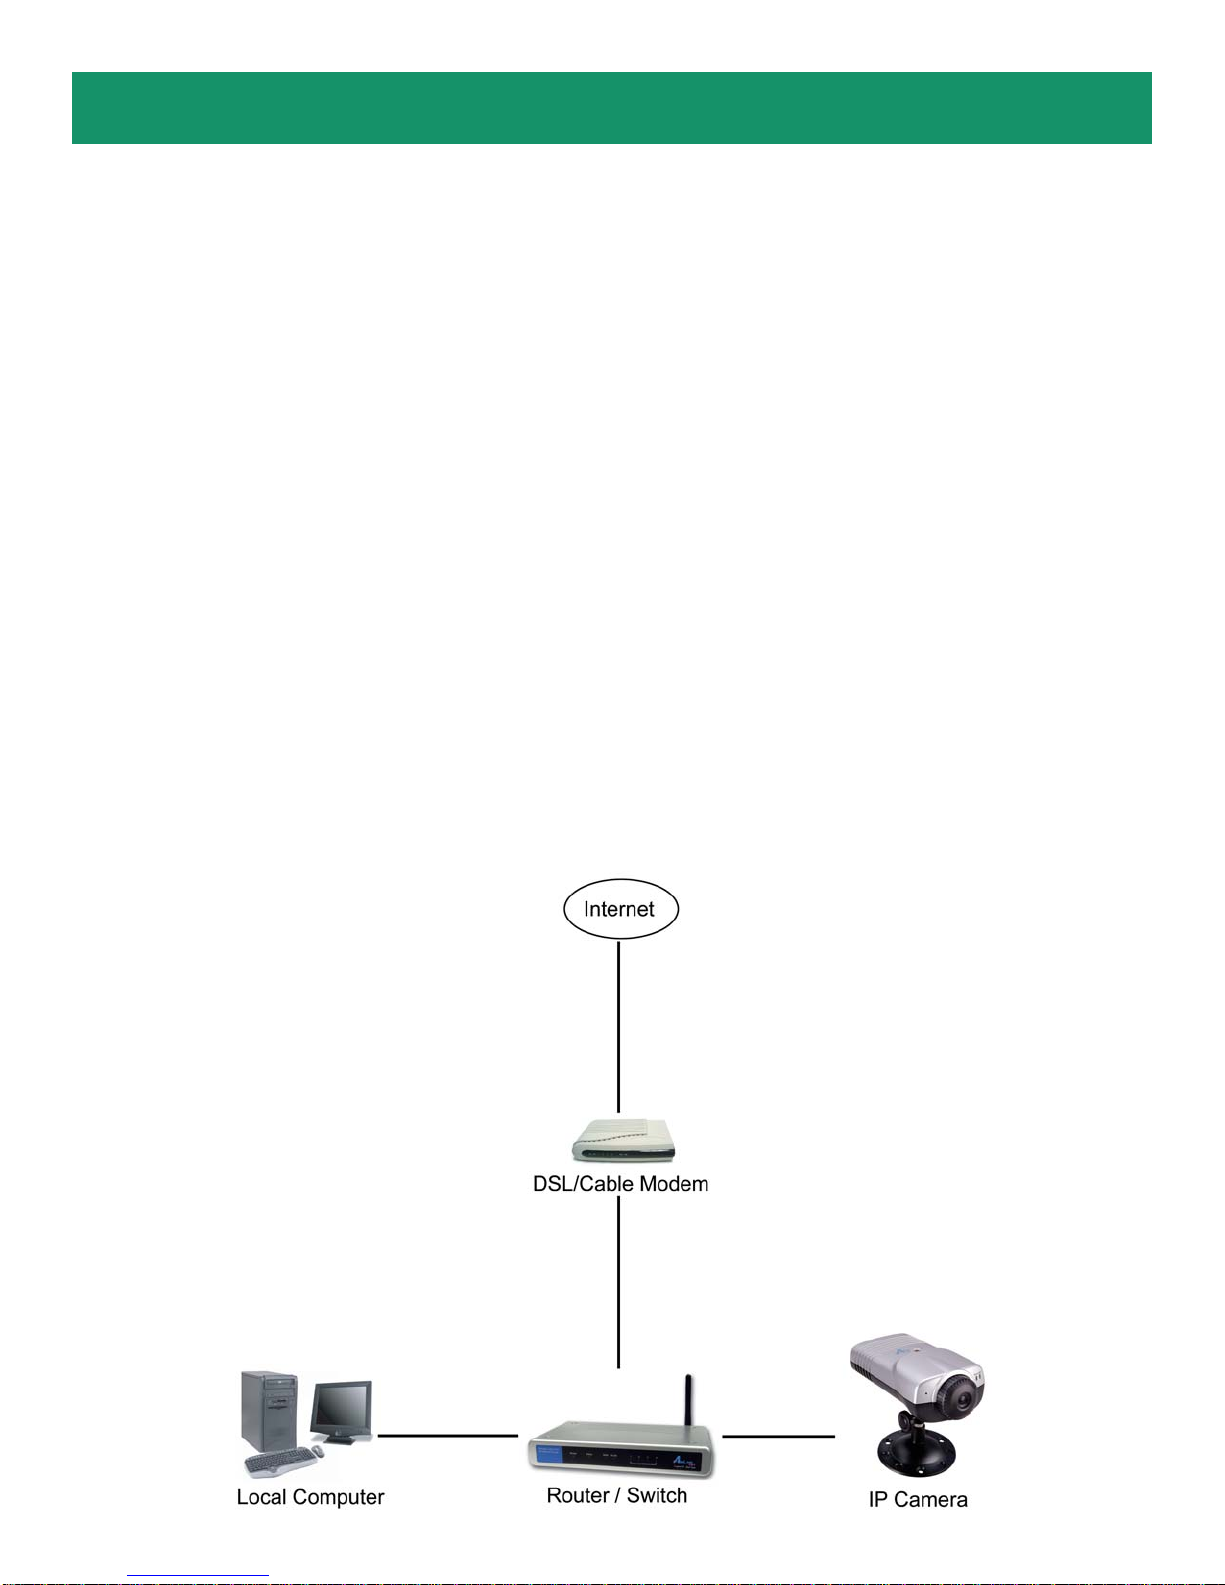
Step 1 Connect oneendofa networkcable tothe IPCamera andconnect theother endto oneof the
LAN portsof the routeror switch(See thediagram below).
Step 2 Power onthe IPCamera byconnecting one endof thesupplied power adapterto thepower jack
ofthe Cameraandconnecting theotherend toan electricaloutlet.
Step 3 Verifythat allthelights onthe Cameraarelit. Ifnot,verify thatall theconnectionsare secureand
tryagain.
This Quick Installation Guide only provides the basic instructions. For more
detailed information, please refer to the User’s Manual in the supplied CD.
Caution: The IP Camera is designed for indoor use only. Direct exposure to sunlight may cause
permanent damage to the CMOS sensor. When operating in extremely bright environment, an iris
lens or sun visor is recommended to protect the IP Camera.


