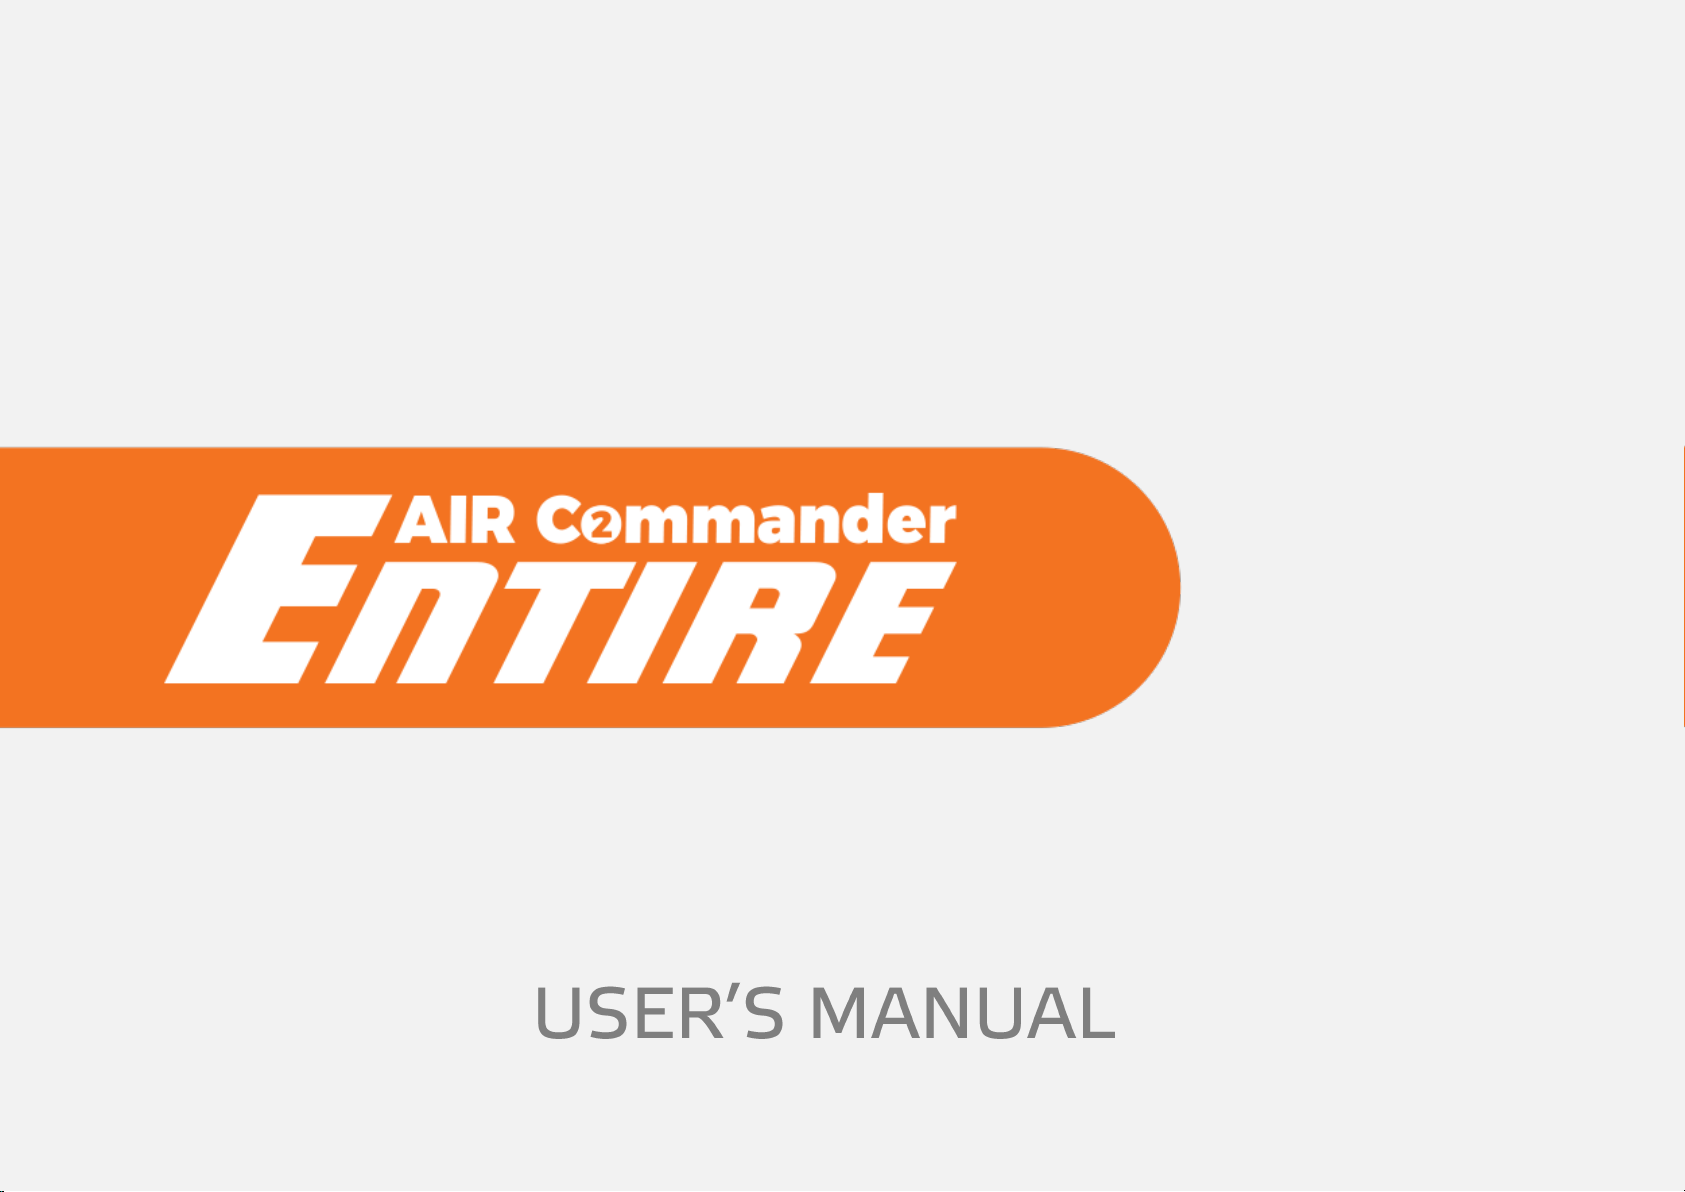
AIR Commander Entire USER L .
1
Safety
AIR Commander Entire has been designed with the highest concern for safety and easy handling.
However, any electrical device, if used improperly, has the potential for causing fire, electrical shock or
personal injury. To help ensure accident-free operation, follow these guidelines:
Observe all warnings, precautions and instructions.
Regularly inspect the DC power cords for damage before each usage.
Stop use, unplug the DC power cord from the electrical outlet or battery and disconnect any other
cables immediately if the device functions in an abnormal manner, produces unusual sounds or smells
or becomes too hot to touch.
Use and handling
AIR Commander Entire has been created for easiest handling possible, but as any other control device,
can divert your attention from your drone. Please follow these guidelines for safe operation:
Do not allow liquid, small particles or other foreign objects to get into the system or accessories.
Do not expose the system or accessories to high temperatures, high humidity or direct sunlight.
Keep the system and accessories, including cable ties and fasteners, out of the reach of small children.
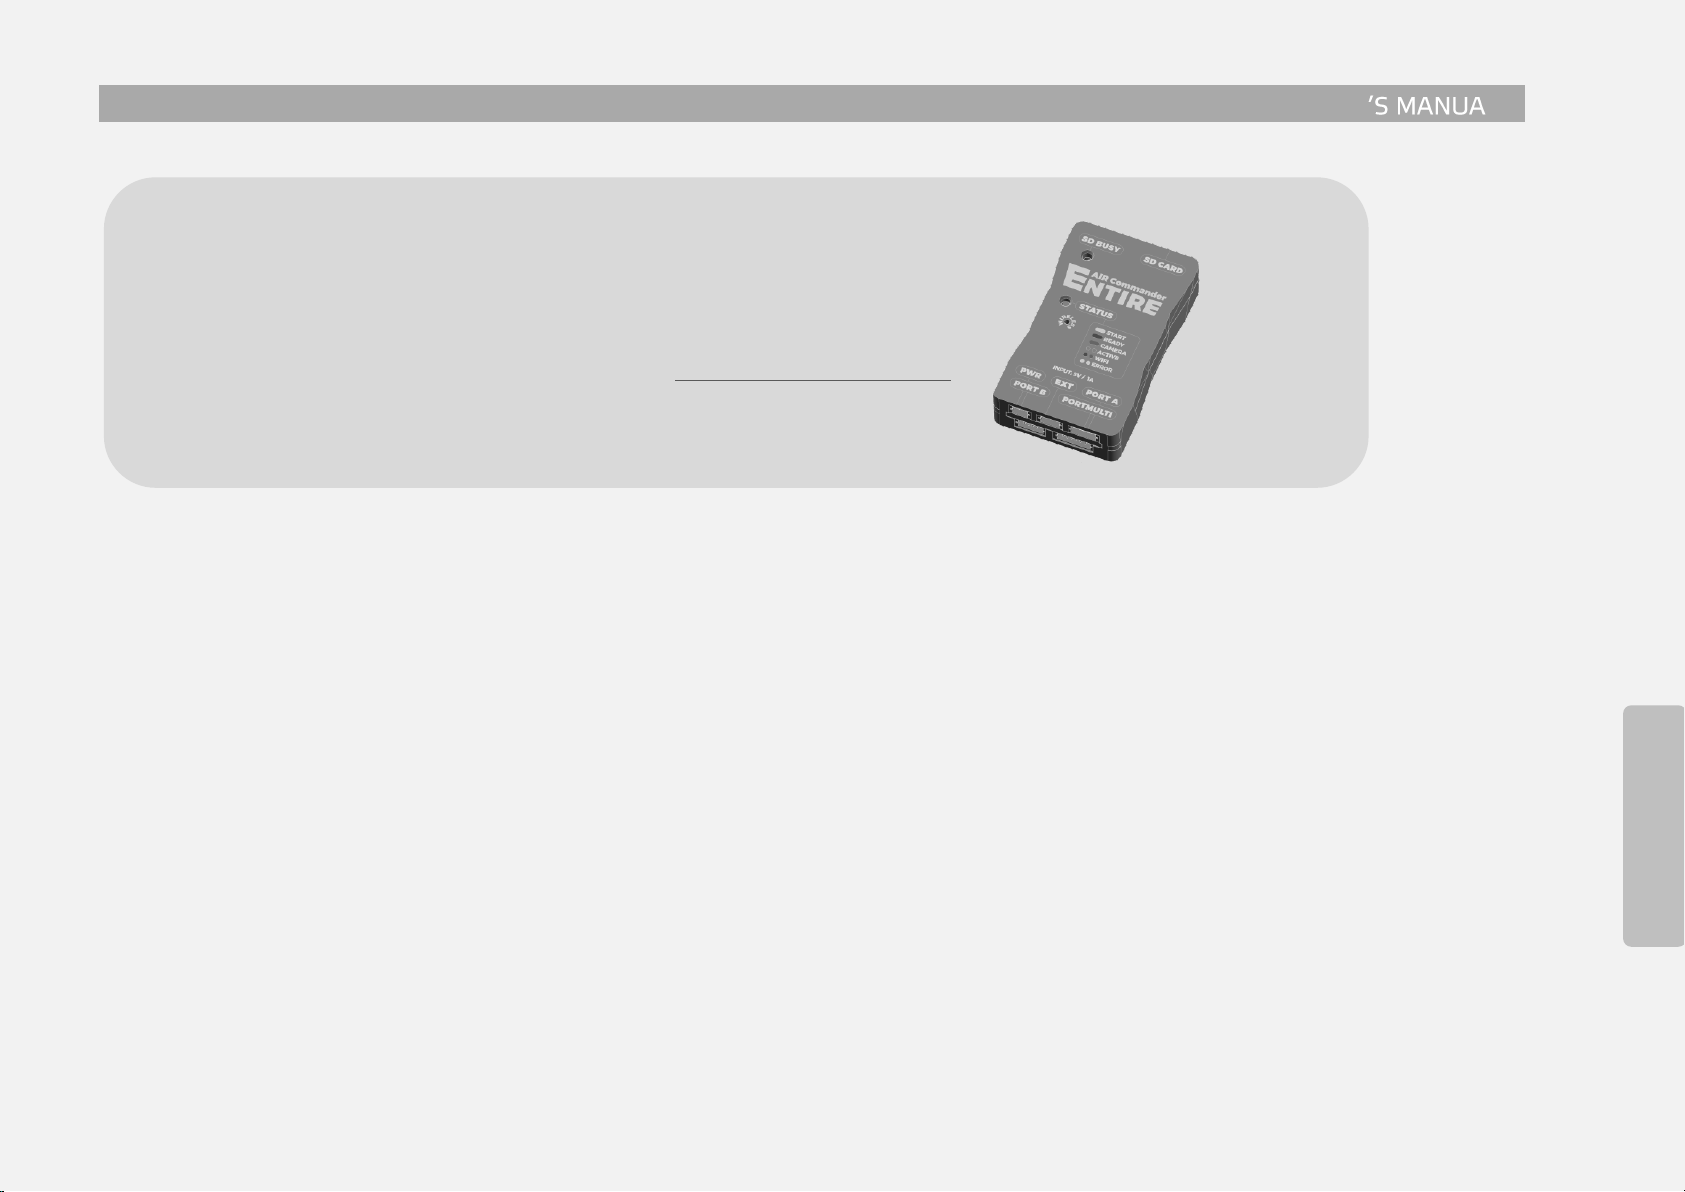
Follow instructions about input voltage on every part of system. Do not exceed maximum of 5V input!
Never disassemble or modify the system or accessories.
If the system is brought directly from a cold location to a warm one, moisture may condense inside the
system. If this occur, the system may not operate properly. In this case, unplug all power cables
immediately and leave device on dry place for several hours.
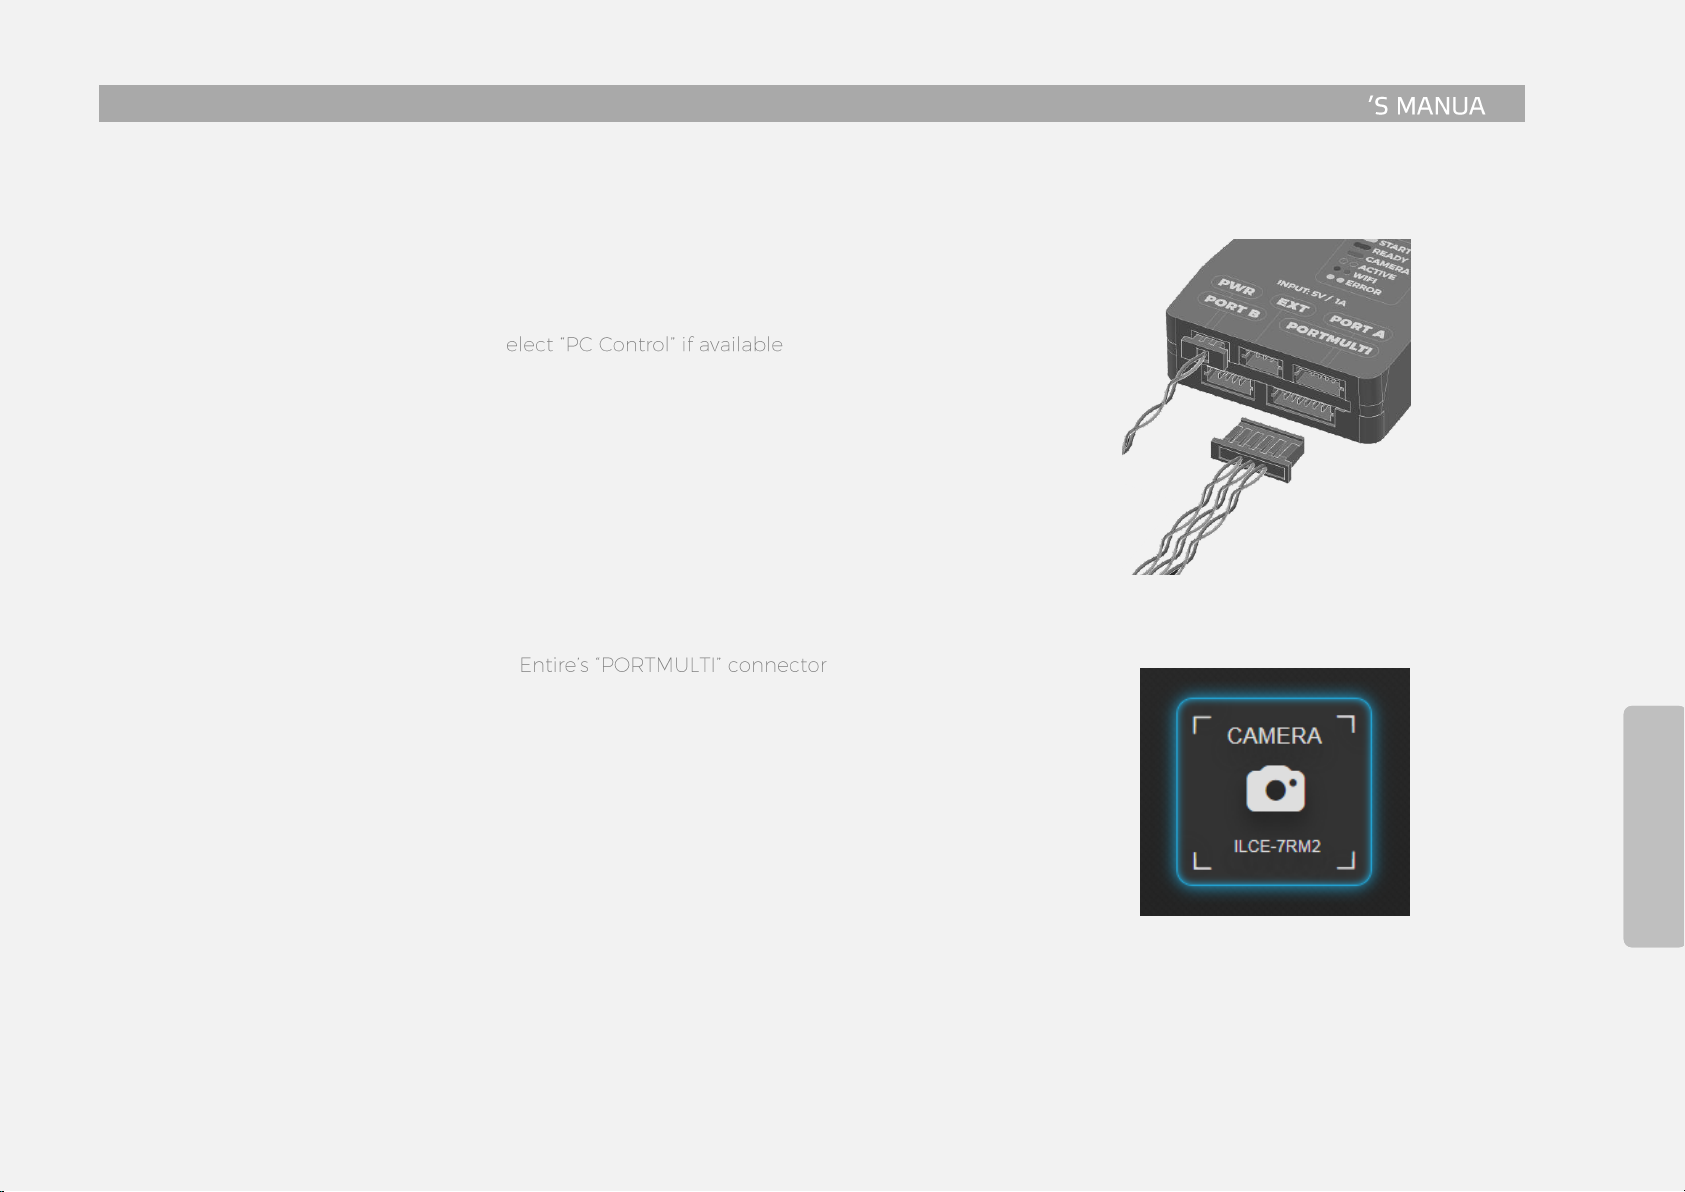
Check this document every time you are going to change wiring / connection of the Entire.
Positive and Negative poles on all ports are interconnected. Please note this in designing of your
connection!