manuals.online logo
Brands
  1. Home
  2. •
  3. Brands
  4. •
  5. Akura
  6. •
  7. LCD TV
  8. •
  9. Akura ATL1510W-ID User manual

Akura ATL1510W-ID User manual

Other Akura LCD TV manuals

Akura APL15668 User manual

Akura

Akura APL15668 User manual

Akura APL2668FD User manual

Akura

Akura APL2668FD User manual

Akura APL2YR2068U User manual

Akura

Akura APL2YR2068U User manual

Akura TFT LCD TV/Monitor User manual

Akura

Akura TFT LCD TV/Monitor User manual

Akura APLDVD18521W-HDID User manual

Akura

Akura APLDVD18521W-HDID User manual

Akura APL2049W-HDID User manual

Akura

Akura APL2049W-HDID User manual

Akura APL15421W-HDID User manual

Akura

Akura APL15421W-HDID User manual

Akura APLDVD1968UCR User manual

Akura

Akura APLDVD1968UCR User manual

Akura APL2021W-HDID User manual

Akura

Akura APL2021W-HDID User manual

Akura APLDVD1519W-HDID User manual

Akura

Akura APLDVD1519W-HDID User manual

Akura APL2YR2668FD2U User manual

Akura

Akura APL2YR2668FD2U User manual

Akura APL15421W-HDID User manual

Akura

Akura APL15421W-HDID User manual

Akura ACTF-DVD1770 User manual

Akura

Akura ACTF-DVD1770 User manual

Akura APL2YR2268UH User manual

Akura

Akura APL2YR2268UH User manual

Akura APLDVD2021 W-HDID User manual

Akura

Akura APLDVD2021 W-HDID User manual

Akura TFT LCD TV/Monitor Maintenance and service guide

Akura

Akura TFT LCD TV/Monitor Maintenance and service guide

Akura APLDVD15668 User manual

Akura

Akura APLDVD15668 User manual

Akura ALEDVD1601V (MSD306) User manual

Akura

Akura ALEDVD1601V (MSD306) User manual

Akura APL2YR2268U User manual

Akura

Akura APL2YR2268U User manual

Akura APLDVD1519W User manual

Akura

Akura APLDVD1519W User manual

Akura APL3268FD4 User manual

Akura

Akura APL3268FD4 User manual

Akura APL21621W-HDID User manual

Akura

Akura APL21621W-HDID User manual

Akura AV47751-FHDID User manual

Akura

Akura AV47751-FHDID User manual

Akura APLDVD1621W-HDID User manual

Akura

Akura APLDVD1621W-HDID User manual

Popular LCD TV manuals by other brands

Samsung LA32E420 E-manual

Samsung

Samsung LA32E420 E-manual

ViewSonic VS12119-1M user guide

ViewSonic

ViewSonic VS12119-1M user guide

iLO CIWL3706 owner's manual

iLO

iLO CIWL3706 owner's manual

LG 32LT560C Quick reference guide

LG

LG 32LT560C Quick reference guide

Sony WEGA KLV-27HR3 operating instructions

Sony

Sony WEGA KLV-27HR3 operating instructions

Zenith Z32LC2D Specifications

Zenith

Zenith Z32LC2D Specifications

Sony KDL-32S3000R - 32" Class Bravia S-series Digital Lcd... Specifications

Sony

Sony KDL-32S3000R - 32" Class Bravia S-series Digital Lcd... Specifications

Medion MEDION LIFE X14330 quick start guide

Medion

Medion MEDION LIFE X14330 quick start guide

Vizio HDTV30A VW32L Service manual

Vizio

Vizio HDTV30A VW32L Service manual

Sharp LC-24DV250K Operation manual

Sharp

Sharp LC-24DV250K Operation manual

SOYO Dymond DYLT032A user manual

SOYO

SOYO Dymond DYLT032A user manual

Kalley K-LED40FHDST2 Service manual

Kalley

Kalley K-LED40FHDST2 Service manual

Dynex DX-L40-10A Guide de l'utilisateur

Dynex

Dynex DX-L40-10A Guide de l'utilisateur

Hisense M3300 user manual

Hisense

Hisense M3300 user manual

Toshiba 42XV600A owner's manual

Toshiba

Toshiba 42XV600A owner's manual

Panasonic TX-26LX1A operating instructions

Panasonic

Panasonic TX-26LX1A operating instructions

HP LT3200 Illustrated parts & service map

HP

HP LT3200 Illustrated parts & service map

Sharp LC-32GA8 Service manual

Sharp

Sharp LC-32GA8 Service manual

manuals.online logo
manuals.online logoBrands
  • About & Mission
  • Contact us
  • Privacy Policy
  • Terms and Conditions

Copyright 2025 Manuals.Online. All Rights Reserved.

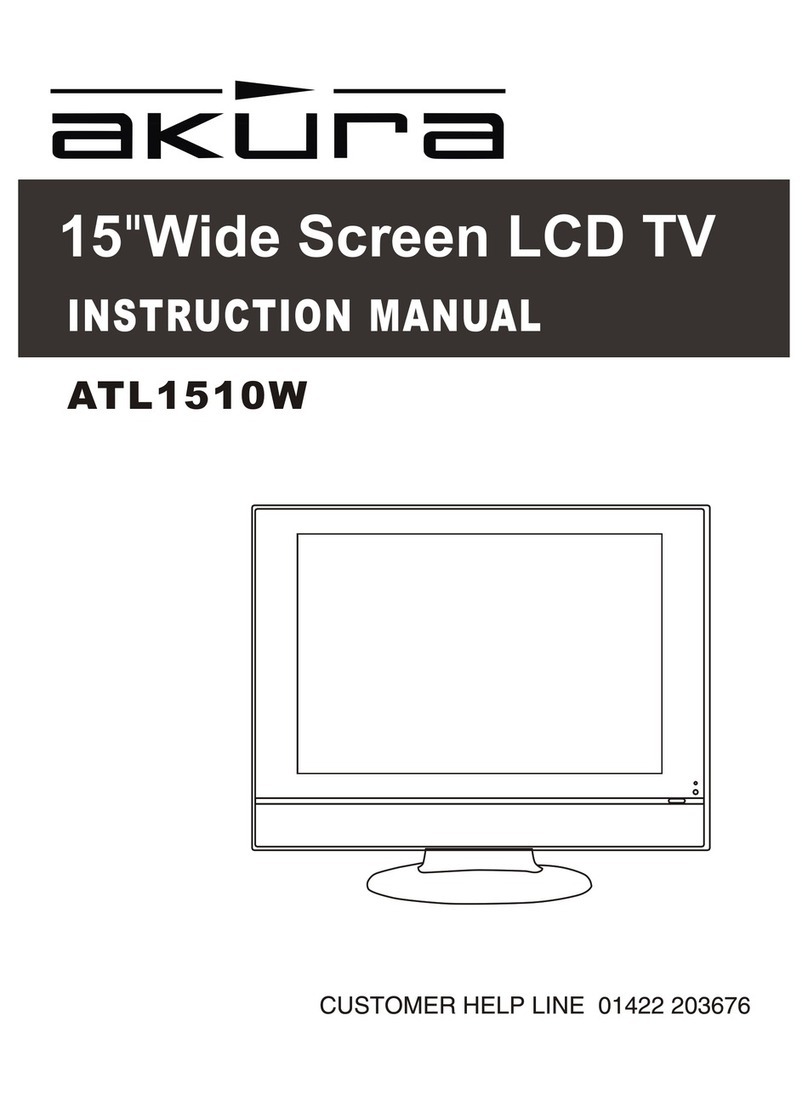
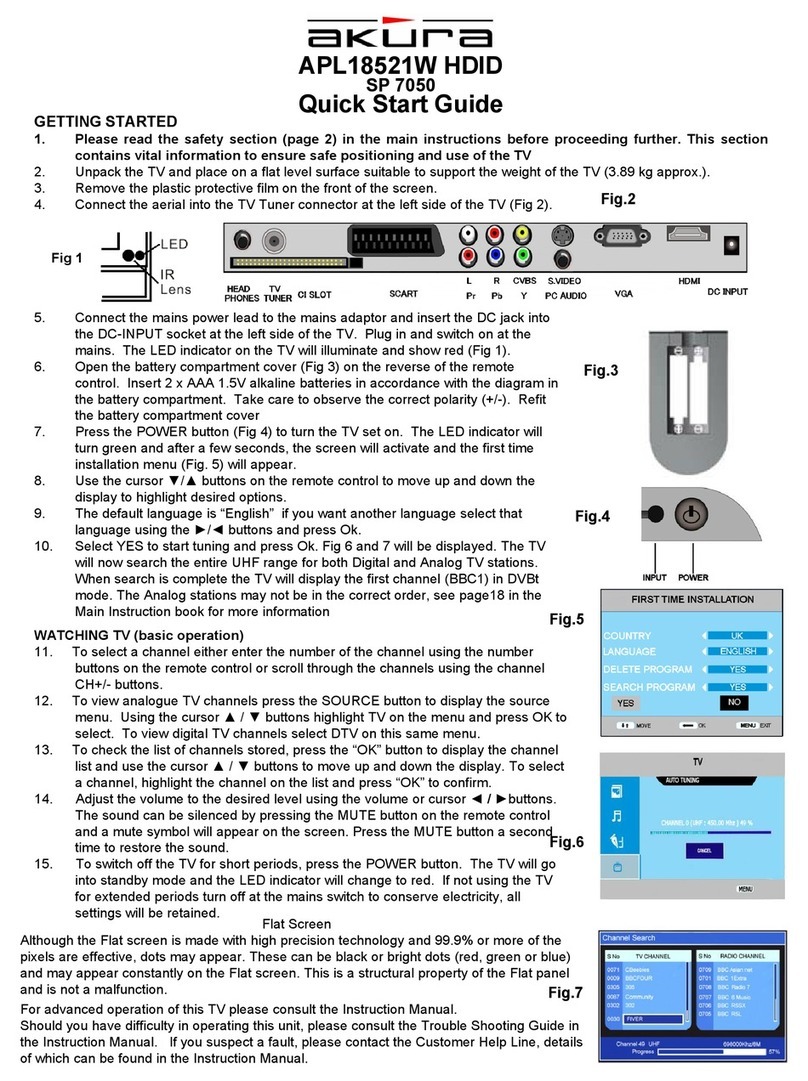
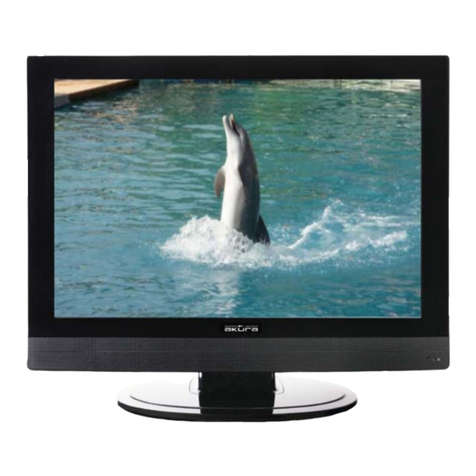
15"WIDE SCREEN LCD TV/DVB Freeview
ATL1510W-ID
Safety Information…………………………………………..…1
1.Product Features…………………………………………….3
2.Accessories…………………………………………………..3
3.Front View…………………………………………………….4
4.Rear View……………………………………………………..5
5.Remote Control………………………………………………6
6.Basic Installation…………………………………………….8
7.TV OSD Menu………………………………………………..9
7.1 Picture Menu…………………………………………..…9
7.2 Sound Menu……………………………………………..10
7.3 Channel Menu…………………………………………...11
7.4 Function Menu…………………………………………..12
7.5 PC Menu………………………………………………….13
8. DVB Main Features..................................................14
9. DVB Getting Started.................................................15
10. DVB Operation......................................................17
11. DVB Basic Functions.............................................25
12. User Help Guide………………………………………….26
13.Technical Specifications…………………………………27
Mains Plug wiring…………………………….………………28
Wall bracket mounting instructions………………………....28
Safety Information
The lightening flash with arrowhead symbol, within an equilateral triangle, is
intended to alert the user to the presence of un-insulated “dangerous
voltage” within the products enclosure that may be of sufficient magnitude
to constitute a risk of electric shock to the persons.
The exclamation point within an equilateral triangle is intend to alert the user
to the presence of important operating and maintenance (servicing)
instructions in the literature accompanying the appliance.
Correct disposal of this Product
(Waste Electrical & Electronic Equipment (WEEE)
The crossed out “Wheelie bin” is intended to show that this appliance must not
be placed with ordinary household waste at the end of its useful life. To prevent
possible harm to the environment or human health from uncontrolled waste
disposal, please keep separate from other household waste and recycle it
responsibly to promote the sustainable reuse of material resources.
Household users should contact either the retailer where you purchased the
product, or their local government office for details of where and how you can
take this item for environmentally safe re-cycling.
Business users should contact their supplier and check the terms and conditions
of the purchase contract. This product must not be mixed with other
commercial wastes for disposal
1. THIS LABEL IS ATTACHED TO THE PLACE AS ILLUSTRATED TO INFORM
THAT THE APPARATUS CONTAINS A LASER COMPONENT.
2. THE WARNING LABEL INFORMING OF RADIATION IS PLACED INSIDE
THEn UNIT. AS SHOWN IN THE ILLUSTRATION. TO WARN AGAINST
FURTHER MEASURES ON THE UNIT. THE EQUIPMENT CONTAINS A
LASER RADIATING LASER RAYS ACCORDING THE LIMIT OF LASER
PRODUCT OF CLASS
This unit complines with European safety and electrical interference directives.
Safety Information cont.
Do not place the TV on an unstable surface, it may tip over and cause injury or
damage to the LCD screen.
Do not place the TV in a cabinet where airflow is restricted, ensure the ventilation
holes are not covered to prevent overheating. Do NOT cover the DC mains
adaptor, this will feel warm to the touch and must be allowed to radiate the heat.
Do not use the TV in wet or damp conditions, if water or liquids are allowed to
enter the case, disconnect the power and call the Technical Help line. Do not
handle the TV or Power adaptor with wet hands.
During an Electrical storm or when going on holiday, disconnect from the mains
supply and aerial (if external or rooftop).
Do not place heavy objects on the mains lead or DC supply lead, do not place
where they can be stepped on, cut or damaged. If the leads do become damaged
please call the Technical Help Line for advice.
Do not drop or damage the TV. If the casing becomes damaged it may cause a
safety issue, Do not open the case or Power adaptor, you risk a severe electric
shock, injury or death. Do not drop objects into the TV ventilation slots or DVD disc
slot. Should an object enter the TV, contact the Technical Help Line for advice.
Do not place the TV near heat sources such as radiators or direct sunlight
Cleaning the TV. Disconnect from the supply before cleaning. Do NOT use petrol
based or chemical cleaning fluids. You may wipe with a soft damp cloth. For
stubborn sticky dirt use a dilute detergent solution..
LCD Screen. Do NOT use chemical solvents on the screen surface, sticky finger
marks must only be removed with a dilute detergent solution. Occasionally one
or two bright dots may be seen on the screen, this is not considered a fault.
- Inputs : Tuner, Scart, VGA, CVBS (video), Audio, PC Audio
- TV Systems : PAL (B/G,I,D/K). SECAM (B/G,D/K,L) for UK use PAL “I”.
- Memory. Up to 200 channels may be stored
- No Signal (TV) Auto standby.
- Timer functions
- Programme exchange (swap)
- Power requirements (DC 12V 3.33 A (40W).
- LCD Screen 1280 x 800 pixels
- Tuning Range VHF / UHF 48 Mhz 847 Mhz
- Freeview (Digital) and Analog Tuners.
Users' Manual Remote Control Adapter Adapter Cable
1.Product Features
2.Accessories
ATL15 1 0W-I D
3
15"WIDE SCREEN LCD TV/DVB COMBO
1(IR)Infrared Receiver:Receives IR signals from the remote control.
(Power on/Standby)LED Indicator: Press POWER to turn on and off.
The effective range of the I/R signal is approx 3 metres and an angle of +/- 30 deg.
2 The functions of the buttons are described as below:
MENU: Press to display the OSD menu, Press again to exit the menu.
CH-/CH+: Press to scan through channels. When pressing and holding down either button
user can scan channels quickly.
They are also can be used to move down/up in the OSD menu screen.
VOL-/VOL+: Press to adjust the volume.
they are also can be used to move left/right in the OSD menu screen.
VOL+ button can be used to skip forward to next menu.
TV/AV: Press to select the source: TV,AV,DVB,PC,SCART
Power: Turn on/off the TV set.
3.Front View
Indicator on(Red) Standby mode
Indicator on(Green) Power on mode
MENU
CH-
CH+
VOL-
VOL+
TV/AV
Led Indicator
Power Remote control window
(keep clear)
4.Rear View
Power : Connection to Power adaptor.
SCART : Composite video and Audio input from VCR or other devices.
PC Audio : Audio connection from PC.
VGA : PC Monitor display input. Connect to your Pc Mini D15 pin connector.
AV-R,AV-L (Phono): Right and Left Audio input from other sources such as Camcorder.
Video : CVBS video input from other sources such as Camcorder.
RF : Tuner / Antenna RF input.
5. Remote control
Note:
1. Fit two AA batteries, making sure that they are the correct way round, as marked on the case.
2. Aim the remote control at the window to keep the right side of the screen, and keep the window
clear at all times.
3. Do not press the buttons on the remote control too quickly-allow time for the set to respond.
6
2
3
5
8
1
4
7
910
11
12 13
14
15
1. POWER: turn on or off the TV.
2. TV/AV/DVB: input source select.
3. TIMER: shutdown timer.
4. PICTURE: select the picture mode:
User,Normal, Soft or Vivid.
5. SOUND: select the sound mode:
User, Normal, News and Movie.
6. 11. 0-9,-/--: choose channel directly.
Number buttons for DVB.
7. MUTE: silence.
8. RETURN: go back to play the last channel.
9/10. VOL+/-: adjust the volume.
11. CH+/-: scan through channels.
CH+/-,cursor left/right:
Cursor buttons in TV menu.
OK: CONFIRM BUTTON for OSD menu.
12. SYS-MENU: TV system setup menu.
13. DISPLAY: display
( ).
. ( )
. ( )
current mode
be used in DVD or TV mode
14 Buttons for Teletext see next page
15Buttons for DVB see next page
Battery Disposal.
When the batteries are exhausted and need replacing, do NOT break open or throw on a fire.
Contact your local waste authority for disposal instructions, do not throw in the domestic waste.
15
14
14.Buttons for Teletext
TV/TXT: turn off/on Teletext.
CANCEL: cancel Teletext.
REVEAL: reveal any hidden text.
NICAM/A2: NICAM.
HOLD: hold or carry on the current subpage.
SIZE: press to see top half of page double size.
Press again to see the bottom half of page
double size.
Press again for normal size.
SUBPAGE: press to subpage, again to cancel.
INDEX: go to index.
Colour buttons: short cuts-follow the coloured
links in the text.
15.Buttons for DVB functions
PROG+/-: DVB Program+/-.
DVB-MENU: to display the main menu on the screen or
return to the screen from a menu screen.
TV FORMAT: to change aspect screen ratio 4:3,16:9.
EXIT: to return to the previous menu and screen.
INFO: means information. To display brief information
concerning the current channel you are viewing.
SUBTITLE: to switch the dialogue at the bottom of
the screen.
TEXT: to view the teletext broadcasting program.
FAV: means favorite. To display the favorite channel list
defined by you.
EPG: to show the electronic program guide during
no-menu state only.
A B C D: this keys are effective only combining with
MHEG5 and extended EPG schedule MHEG5
applications.
11. CH+/-,Cursor buttons: Cursor buttons used in menu.
OK: CONFIRM BUTTON.