Alcorn Mcbride Light Cue Pro User manual

Light Cue Pro
Hardware and Software Reference Manual

Every effort has been made to assure the accuracy of the information contained in this manual, and
the reliability of the Alcorn McBride Light Cue Pro. Errors can sometimes go undetected, however. If
you find one, please bring it to our attention so that we can correct it for others. Alcorn McBride
welcomes comments and suggestions on the content and layout of its documentation.
Applications described herein are for illustrative purposes only. Alcorn McBride Inc. assumes no
responsibility or liability for the use of these products, and makes no representation or warranty that
the use of these products for specific applications will be suitable without further testing or
modification. Alcorn McBride products are not intended for use in applications where a malfunction
can reasonably be expected to result in personal injury. Customers using or selling Alcorn McBride
products for use in such applications do so at their own risk, and agree to fully indemnify Alcorn
McBride for any damages resulting from such improper use or sale.
LightCuePro™ is a trademark of Alcorn McBride Inc., all rights reserved.
Copyright 2010 Alcorn McBride, Inc. All rights reserved.
Hardware Design: Jim Carstensen, Joy Burke, Scott Harkless and Steve Alcorn
Firmware Design: Joy Burke, Adam Rosenberg, and Scott Harkless
Mechanical Design: Martin Chaney
Documentation: Joy Burke
Alcorn McBride Inc.
3300 S. Hiawassee, Suite 105
Orlando, Florida 32835
(407) 296-5800
FAX: (407) 296-5801
Internet: http://www.alcorn.com

Table of Contents
Features 5
Getting Started 6
LightCue Manager Software 6
Connecting the Unit 6
Storage Media 6
Recording 7
Playback 8
Show Controller Connection 8
LightCue Manager Software 9
LightCuePro Connection 9
Cue Na es and DMX Files 9
Recording Cues in LightCue Manager 10
Channel Sets 11
Playback Cues in LightCue Manager 13
Monitor DMX Channels 13
Control DMX 14
Input and Button Configuration 15
Settings 16
Front Panel Controls and Indicators 17
Front Panel Menu 17
Buttons 17
LED Indicators 18
LCD Display 18
Rear Panel Controls and Connectors 19
Reset Select Switch 19
Power 19
RS-232C Controller Input 20
DMX Input 21
DMX Output 21
SMPTE Input 21
Parallel Control 22
Parallel Inputs 22
Parallel Outputs 23
Ethernet/Serial/USB Control 24
Select Cue 25
Play 25
Loop Play 26
Still 26
Still Cue 27
Chase Play 28
Record Now 28
Ar Recording 29
Record with SMPTE 30
Ar Recording with SMPTE 30
Pile-On Cue 31
Pile-On Cue and Loop at end 31
Clear Cue 33
Feedthrough 33
Force Value 34
Force DMX 34
Clear Forces 34
SMPTE Status 34
DMX File Query 35
Reset 35
Pile-On Priority 35
Longitude 35
Latitude 36
Reboot 36
IP address 36
Subnet Mask nu ber 36
Gateway IP Address 37
Date 37
Ti e 37
User Na e 37
PW Get/Set Password 38
DST Enable 38
DST Type 38
Ti e Zone 38
NTP IP Address 38
NTP Enable 39
Ethernet Port for NTP 39
DHCP Enable 39
HTTP Ethernet Port 39
HTTP WEB Page 40

MIDI Control 40
Start a Cue with SYSEX “GO CUE” 40
Pile on a Cue with "NOTE ON" 40
Clear Cue with "NOTE OFF" 41
Specifications 42
DMX 42
Control Interface 42
Front Panel: 42
Physical 43
Index 44

Alcorn McBride Light Cue Pro User’s Guide • July 15, 2010 Page 5
Welcome
Thanks for purchasing The Alcorn McBride Light Cue Pro™.
The Light Cue Pro is intended to replace SMPTE-controlled
lighting consoles in permanent show installations, eliminating the
need to use an expensive lighting console to run your lighting.
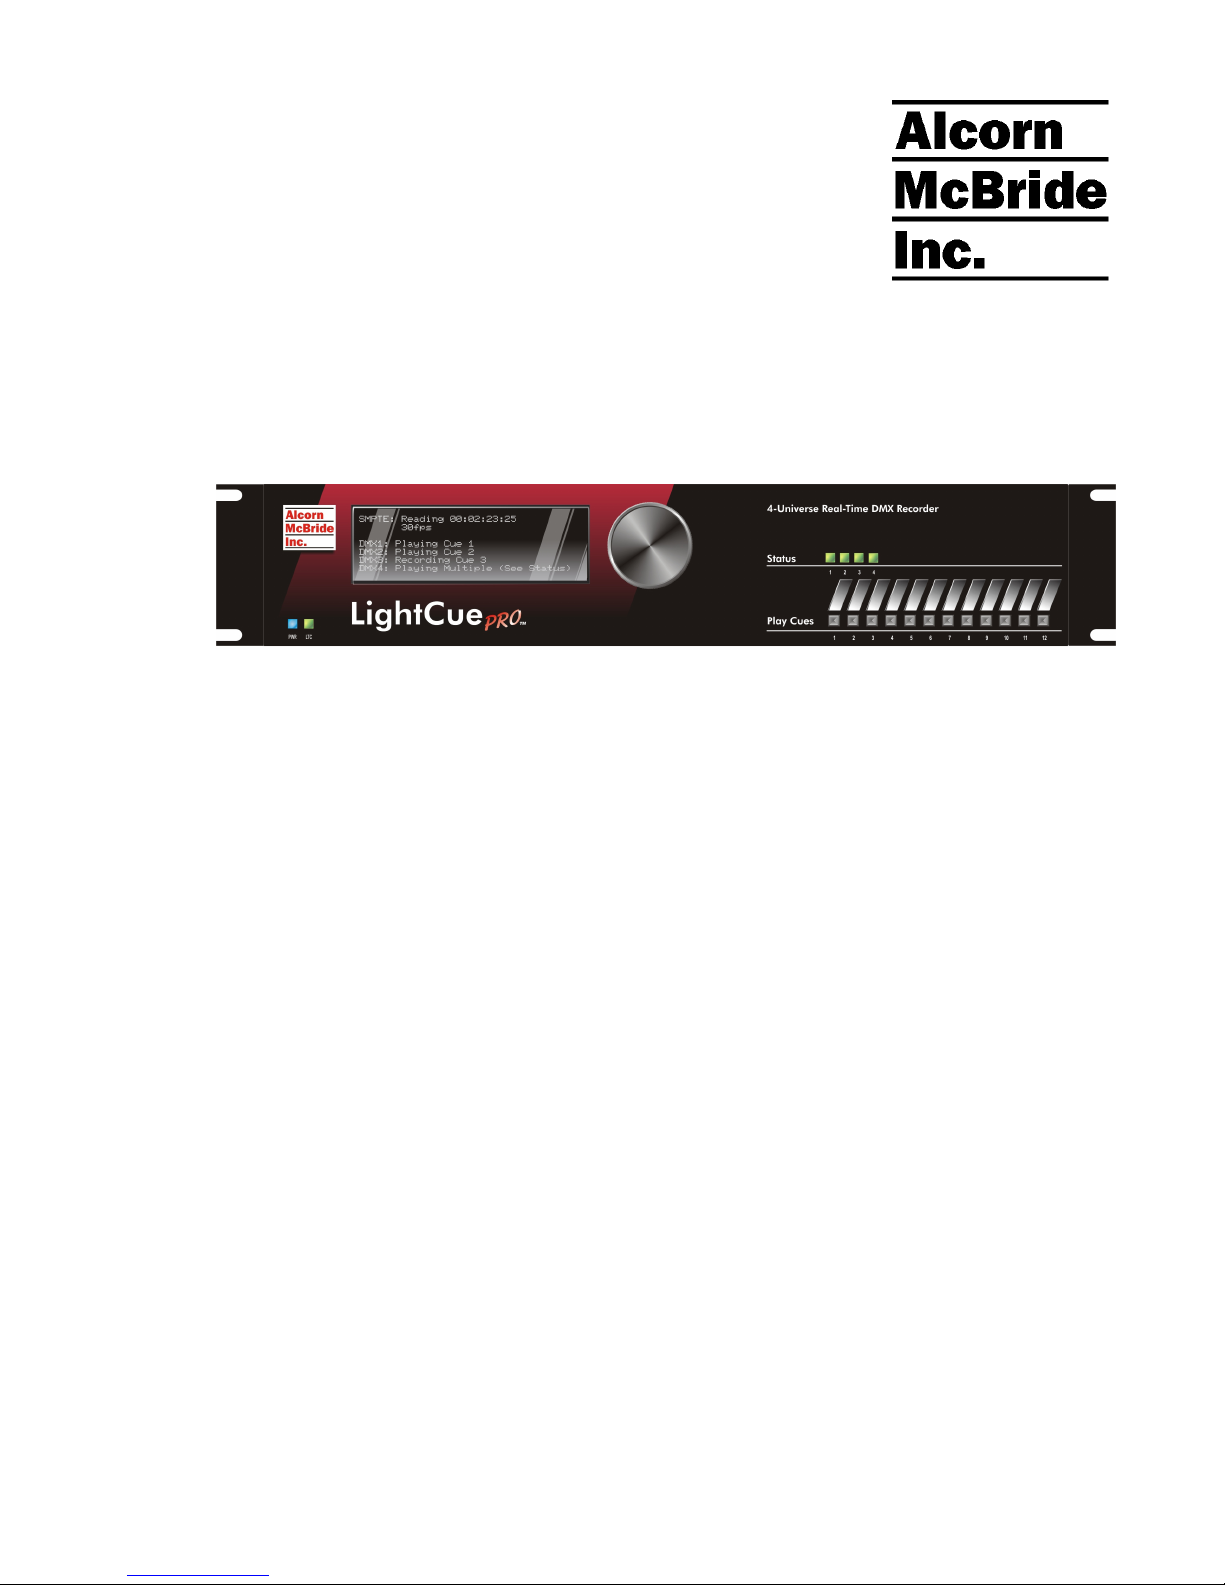
The Light Cue Pro Records 4 Universes of DMX in Real Time.
Either one stream (or cue as it is called in this manual)
synchronized to SMPTE timecode can be played back, or up to
forty cues not synchronized with SMPTE can be simultaneously
“piled-on”. The LightCue Pro comes standard with 100 hours of
storage, but larger capacities are available from the factory.
The Light Cue Pro can be controlled serially, Etherent (UDP),
MIDI
or with parallel inputs to output the DMX data beginning at
any SMPTE timecode. From this absolute timecode, the DMX
data can be "jam-synched" to the incoming timecode and will
pause or skip forward or backward frames as necessary in order to
maintain perfect synchronization. The unit will also record and
output DMX in the absence of SMPTE for non-synchronized
applications.
The Light Cue Pro can also 'crossfade' between two 'looks' over a
period of time from one frame to 24 hours. After the crossfade is
complete, the DMX cue can continue from the look that was faded
to.
Up to 40 simultaneous cues can be “piled-on” to one another. The
pile-on can either use the highest values of the 512 channels or the
last cue piled on.
Front panel pushbuttons are provided for manual control.
Features
The Light Cue Pro offers a wide range of features including:
•Records Four Channels in Real Time.
•Records the Output of Any DMX-512 Lighting Board.
•Stores 100 hours of Continuous DMX Data
•Stand-Alone or PC-Driven Operation.
•Parallel Input, Ethernet or RS-232 Serial Control.
•Can “Pile-On” up to 40 simultaneous cues
•Switchable between “live” DMX input and recorded material
•Cue management software included

Page 6 Alcorn McBride Light Cue Pro User’s Guide • July 15, 2010
Getting Started
This section will teach you how to begin using your Light Cue Pro.
More detailed information is contained in the rest of this manual.
LightCue Manager Software
Free software to control/monitor/edit lighting cues can be
downloaded from our website (www.alcorn.com) under the
"software" page.
This software is the preferred method for recording and playback of
lighting cues.
See the section "LightCue Manager" for more detail on it's use.
Connecting the Unit
1. Connect the DMX Out from your Lighting Console to the
DMX In on the rear of the Light Cue Pro.
2. Connect the DMX Out from the Light Cue Pro to the DMX
Input of your Dimmer Rack.
Note:
SMPTE is only
required if it is
necessary to
synchronize lighting
cues to other SMPTE
equipment.
3. Optionally, connect the SMPTE Out from your SMPTE
generator (e.g. Alcorn McBride SMPTE Machine) to the
SMPTE In on the rear of the Light Cue Pro.
Storage Media
The LightCue Pro uses Compact Flash Card media to store DMX
data. The media is included with the unit, and is removable for
backup to a laptop or desktop PC equipped with a card reader.
The fl
ash card is located on the back panel behind a plate which is
fastened with two screws. To remove the media, remove the
screws holding the cover plate and press the eject button located at
the right side of the socket. When reinstalling the media, be sure
that it is fully seated.

Alcorn McBride Light Cue Pro User’s Guide • July 15, 2010 Page 7
Recording
Note:
The Start Time of
the SMPTE can be
adjusted with external
commands or front
panel knob before
playback.
The LightCue Pro is capable of recording DMX data with or
without being locked to SMPTE timecode. If you want to have
your DMX playback jam-synced to SMPTE so that it will pause
or skip forward or backward frames as necessary in order to
maintain perfect synchronization with incoming timecode, be
sure to have SMPTE connected and active while recording. The
recording will be time-stamped with the SMPTE timecode
corresponding to the first frame of recorded DMX.
The LightCuePro can ititiate a record using the front panel,
serial, USB or Ethernet commands, OR using the LightCue
Manager software.
The LightCueManager software makes it easy to record multiple
universes, while the front panel is designed primarily for single
universe record.
From the Cue Manger Software (See LightCue Manager
section)
1. Click "Edit" from the top toolbar
2. Type in a Cue Name into the "Record" window
3. Click “Arm Recording”
Note:
A change in DMX
values after pressing
“Arm Recording” will
start immediate
recording. Otherwise,
pressing “Record Now
”
is required.
Or From the Front Panel
1. Press in on the knob to bring up to the Main Menu
2. Select “Record”
3. Select the Universe you wish to record
4. Adjust record settings by selecting “Record Config”
5. Press the “Arm Recording” selection

Page 8 Alcorn McBride Light Cue Pro User’s Guide • July 15, 2010
Playback
Note:
Playback can
also be accomplished
using a Serial, USB, or
Ethernet command
from
a PC or other device.
See the
“Serial/Ethernet/USB
Control” section.
From the Cue Manger Software (See LightCue Manager
section)
1. Click "Edit" from the top toolbar
2. Select the Cue Name or DMX File you wish to play
3. Press “Play Now”
From the Front Panel
1. Press in on the knob to bring up to the Main Menu
2. Select “Play” and press in
3. Select the Universe you wish to play and press in on knob
4. Select the Cue Number by Highlighting the number and
pressing in on the knob to cause the number to blink.
5. Turn the knob as needed to get the appropriate cue number
6. Press the knob again to accept the cue number
7. Highlight and Press the “Play Now”
Show Controller Connection
1. Connect the output port on your Show Controller (e.g. Alcorn
McBride V16Pro, V4Pro) to the Controller Input on the rear of
the Light Cue Pro using serial or ethernet connection.
2. Use the Controller Software (e.g. WinScriptLive) to configure
and operate the Light Cue Pro.

Alcorn McBride Light Cue Pro User’s Guide • July 15, 2010 Page 9
LightCue Manager Software
LightCueManager is
availble for free at
www.alcorn.com
This software is designed for setup, record, playback, and monitor
of a LightCuePro. It currently runs on Windows XP, Vista or 7.
The primary screens of the Light Cue Manager Software are:
The "Edit" screen is the primary screen for Record/Playback.
More information regarding each section is described in more
detail in the chapters below.
LightCuePro Connection
All functions of the
software require a
connection.
When the software is first launched, you will be prompted to
connect to a LightCuePro.
Tip: to quickly put the
LightCuePro on your
network, push in on the
front panel knob to
select "Network" from
the main menu. Then,
set your ethernet jack to
enable "DHCP".
1. Click "Search" to find a LightCuePro on your network.
2. Hightlight the LightCuePro for connection and click
"Connect."
3. Click "Close" to close the dialog. Your connection is now
complete.
Cue Names and DMX Files
Cue Name: A group of one or more dmx files that were recorded
from multiple universes and may be played back on multiple
universes.

Page 10 Alcorn McBride Light Cue Pro User’s Guide • July 15, 2010
DMX File: A file containing DMX and timing information for a
single universe.
Cue Names and DMX Files that are present on the compact flash
card are viewable in the "Cue Names" and "DMX Files" windows.
These windows appear in the lower left corner of the "Edit" screen.
Cue Names and DMX File names may be edited in this view.
Play a cue name by selecting the line and clicking "Play."
Remove a cue name by clicking "Delete."
More Cue Names are populated when a new Cue Name is recorded.
(See the "Recording" section in this chapter for more detail)
Recording Cues in LightCue Manager
In LightCue Manager, the "Record" window is present when the
top toolbar is in the "Edit" view.

Alcorn McBride Light Cue Pro User’s Guide • July 15, 2010 Page 11
Individual DMX Files
may be recorded
without a Cue Name if
the a filename with .dmx
extension is typed in
Note: Non
-SMPTE
recorded cues may be
played back later w
ith
SMPTE; however,
recording with SMPTE
is recommended for
most accurate playback.
Arm Recording
: Waits
for change in DMX data
Record Now: Starts
recording DMX
immediately
To record a cue name:
1. Type the desired Cue Name into the "Cue Name" box. This
name will associate all recorded DMX Files for each universe to a
single name.
2. Check "Save SMPTE Start Time" if you would like the cue
files to use the incoming SMPTE timecode as the first frame of
playback. This time may be adjusted later if needed for playback.
3. Check the "Enable" boxes to select which universes and
channels to record.
4. Type in specific channels or click the "..." button to specify a
specific range of channels. "Channel Sets" may be recalled by
pressing "Load" (see Channel Sets section)
5. Click "Arm Recording" or "Record Now" to begin recording
DMX data. (Lights on the Front Panel will turn Amber for
"Armed" or Red for "Recording")
6. Click "Stop" to complete the recording.
Channel Sets
.
Channel Sets are an easy way to recall a certain set of DMX
Channels that are associated with a specific DMX Universe.
These Sets are used both in the "Record" window and in the
"Status" windows.
The "Record" window is shown below:
In the image above, Universes 1,2 and 3 will be recorded, with the
select channels specified in the "Channels" column.
Clicking on the "..." brings up the "Channel Picker" dialog
(below).

Page 12 Alcorn McBride Light Cue Pro User’s Guide • July 15, 2010
To Select multiple DMX
Channels, use the
"CTRL" & "SHIFT"
keys along with the
mouse drag
Channel Sets are stored
on the user PC but can
be transfered to the
LightCuePro's compact
flash card
To save a channel set:
1. Type the desired name into the "Channel Set" box
2. Check the "Enable" boxes to select which universes and
channels to record.
3. Type in specific channels or click the "..." button to specify a
specific range of channels.
4. Click "Save"
To recall a saved channel set:
1. Select the desired name in the "Channel Set" box
2. Click "Load"
Channel Sets can later be recalled to highlight a specific set of
channels on a specific area in the 'Monitor' screen. (shown below)
Change the "Highlight Channel Set" combo in the top right
corner of the screen to cause certain channels to be highlighted in
yellow.

Alcorn McBride Light Cue Pro User’s Guide • July 15, 2010 Page 13
Playback Cues in LightCue Manager
Files can also be played
back using the "Cue
Names" or "DMX Files
"
window's "Play" button.
To Play an individual
file on 1 universe only,
select the "Individual
File" radio button.
In LightCue Manager, the "Play" window is present when the top
toolbar is in the "Edit" view and the bottom tab "Play" is clicked.
To Play a Cue Name:
1. Type the Cue Name into the "Cue Name or Cue List" box.
2. Select from the following options:
Pile On: Do not stop playing other cues when the new cue is
played. Up to 40 cues may be piled on. (See "Settings" to select
Highest Takes Priority or Last Takes Priority method of pile on)
Loop: Loop cue after cue file finishes playback
Follow SMPTE: Compare incoming timecode with current DMX
File time to determine current look.
SMPTE Start Time: The time of that the first frame of the DMX
File data should start playing back.
Fade-In Time: The amount of time to fade before the Cue Name or
DMX File is played back. Fades from current look to first look in
DMX File.
Monitor DMX Channels
Hint: Go to the menu:
Tools-->Options to
display a DMX channel
value in percent or 0-
255 value
In LightCue Manager, DMX channels on all 4 universes can be
easily watched from the "Monitor Screen" (shown below).

Page 14 Alcorn McBride Light Cue Pro User’s Guide • July 15, 2010
See Section on "Channel
Sets
" for more details
on creating a specific
set of DMX Channels
for Record o
r
Monitoring
Channels that match the "Highlight Channel Set" will be
displayed in Yellow.
Channels that are being "Forced" are displayed in Red. To force
a channel, use the "Control DMX" screen or front panel to set a
DMX channel to a specific value.
Control DMX
Hint: Go to the menu:
Tools-->Options to
display a DMX channel
value in percent or 0-
255 value
Hint: You can use
sliders combined with
the "Record" screen to
record a certain DMX
File for playback.
In LightCue Manager, DMX channels on all 4 universes can be
forced to a specific value using sliders.
Once a slider is moved by a user, a checkbox at the bottom of the
slider will automatically be checked indicating that the user is
forcing the DMX channel to a specific value. The monitoring
screens will now show that channel in red.
To remove the force, uncheck the box at the bottom of the slider.

Alcorn McBride Light Cue Pro User’s Guide • July 15, 2010 Page 15
Input and Button Configuration
Input configuration
information is stored
in the inputs.cfg file
on the compact flash
card
Hints: You must be
connected to the
LightCuePro to make
changes.
If for any
reason the
screen does not fill,
try changing the
Contact/Voltage
buttons to create an
inputs.cfg file on
your LightCuePro
Note: The input
configuration for
voltage/cc may also
be configured from
In LightCue Manager, options for voltage or contact closure, as well
as which files should play on a button or input, are configurable
from the "Input Config" screen. (shown below) Click on the "Input
Config" on the toolbar to bring up this screen.
To create an action for an input or button:
1. Select the action (Play, Stop, Still) from the "Action" dropdown
list.
2. For the "Play" action, select the Cue Name that you wish to play.
3. Select an other options relating to playback:
Pile On: Do not stop playing other cues when the new cue
is played. Up to 40 cues may be piled on. (See "Settings" to
select Highest Takes Priority or Last Takes Priority method
of pile on)
Loop: Loop cue after cue file finishes playback
Follow SMPTE: Compare incoming timecode with curre
nt
DMX File time to determine current look.
SMPTE Start Time:
The time of that the first frame of the
DMX File data should start playing back.
Fade-In Time: The amount of time to fade before the Cue
Name or DMX File is played back. Fades from current look
to first look in DMX File.
To change the Voltage\Contact closure mode of the input:
Check the checkbox of the desired input mode on the lower half of
the "Input Config" screen in the LightCue Manager.

Page 16 Alcorn McBride Light Cue Pro User’s Guide • July 15, 2010
the front panel
Settings
Settings
are stored in
the non-volitile
memory (EEPROM)
of the LightCuePro
Settings
can also be
changed from the
front panel or by
serial/ethernet
control.
In LightCue Manager, settings for the Ethernet configuration, as
well as real time clock, can be setting by clicking the "Settings"
button on the toolbar.
If you are connected to a LightCuePro, the current settings will fill
in the boxes automatically. If you wish to refresh the settings, click
"Refresh All" to retrieve the current settings from the box.
To change a setting:
1. Type in the field or check the box appropriately
2. Click "Set" next to the item box.
3. The setting changed on the LightCuePro and retrieved for
verification back into the item box.
Important Settings:
Last Takes Priority (Yes or No): when set to "yes", the last cue
"Piled-On" for a specific channel will be the value of that DMX
channel. Otherwise, the highest takes priority (HTP) will be in
effect.

Alcorn McBride Light Cue Pro User’s Guide • July 15, 2010 Page 17
Front Panel Controls and Indicators
The Light Cue Pro provides controls that can accommodate a wide variety of installations.
The front panel incorporates a row of twelve (12) pushbuttons that are fully programmable to
control the operation of the unit, six (6) indicator lights, a VFD display, and front panel knob.
Front Panel Menu
Pushing in on the font panel knob displays a menu.This menu
contains options for configuring network settings, status
monitoring, button configuration, and playback.
All of the settings on the front panel can also be configured using
the LightCue Manager software (See LightCue Manager Software
for more detail)
System Menu
Firmware, version information and serial number are present on
this screen.
Options:
Last Takes Priority (Yes or No): when set to "yes", the last cue
"Piled-On" for a specific channel will be the value of that DMX
channel. Otherwise, the highest takes priority (HTP) will be in
effect.
Buttons
The buttons on the front of the LightCue Pro are able to be
programmed to start any Cue Name or to perform another action
(such as record). Using the Front Panel knob, select “Buttons” from
the Main Menu to configure the button’s use. Or, use the
LightCueManager software to easily configure an action for the
buttons.
The buttons function is stored in the "inputs.cfg" file on the
compact flash card.

Page 18 Alcorn McBride Light Cue Pro User’s Guide • July 15, 2010
LED Indicators
Two (2) LED indicators on the left side of the front panel:
LED LED Meaning
LTC Steady Green – Linear Time Code
(LTC/SMPTE) is being received
Power Steady Blue – Unit has power
Four (4) status indicators on the right of the front panel correspond
to the 4 Universes of DMX data. The table below shows the LED’s
meaning:
Status (green, yellow or red)
LED Behavior LED Meaning
Steady Green Media is being accessed and DMX data is
being played back.
Flashing Green DMX data is paused or stilled
Steady Yellow DMX data information has been searched
Steady Red Light Cue Pro is recording.
Amber Recording is armed, waiting for DMX
data changes to begin.
Flashing Red Search Error or other command error
LCD Display
The LCD Display will indicate which cue(s) are playing on each
universe.
SMPTE: Reading at 30fps
00:01:02:03
SMPTE Time/Mode
Current Operation
SMPTE Status
Frame Rate
1: Stopped
Univer
se
2: Playing
dmx00001.dmx
3: Stopped (FT)
4: Stilled
MyCueName
Cue Name or DMX File
Feedthrough

Alcorn McBride Light Cue Pro User’s Guide • July 15, 2010 Page 19
Rear Panel Controls and
Connectors
The rear panel provides the four (4) DMX input and output
connectors, a SMPTE In connector, MIDI In connector, an RS-232
control port, a Parallel input/output port, a 4 Position select switch
for Reset, a USB port, two (2) Ethernet ports and the power
connector.
Reset Select Switch
This switch, when flipped to the “Up” position next to the word
reset, will restore the factory default settings for IP Address, front
panel buttons, and other non-volitile stored settings.
Power
The power input is a barrel connector with center pin (+) and the
outer rim (-). The Light Cue Pro requires 9.0 VDC at 1 Amp. DO
NOT EXCEED THE SPECIFIED INPUT VOLTAGE RANGE. An
external 115 or 230 VAC power supply is provided with the unit.

Page 20 Alcorn McBride Light Cue Pro User’s Guide • July 15, 2010
RS-232C Controller Input
This input is a standard DB-9 male RS-232C connector, intended
to be connected to an Alcorn McBride V16/V4 or other controller
using a straight-through (not null-modem) 9-pin cable. The
pinout appears below.
Pin
No
.
Function
1 not used
2 TXD (data from Light Cue
Pro)
3 RXD (data to Light Cue
Pro)
4 not used
5 GND
6 not used
7 not used
8 not used
9 not used
This manual suits for next models
1
Table of contents