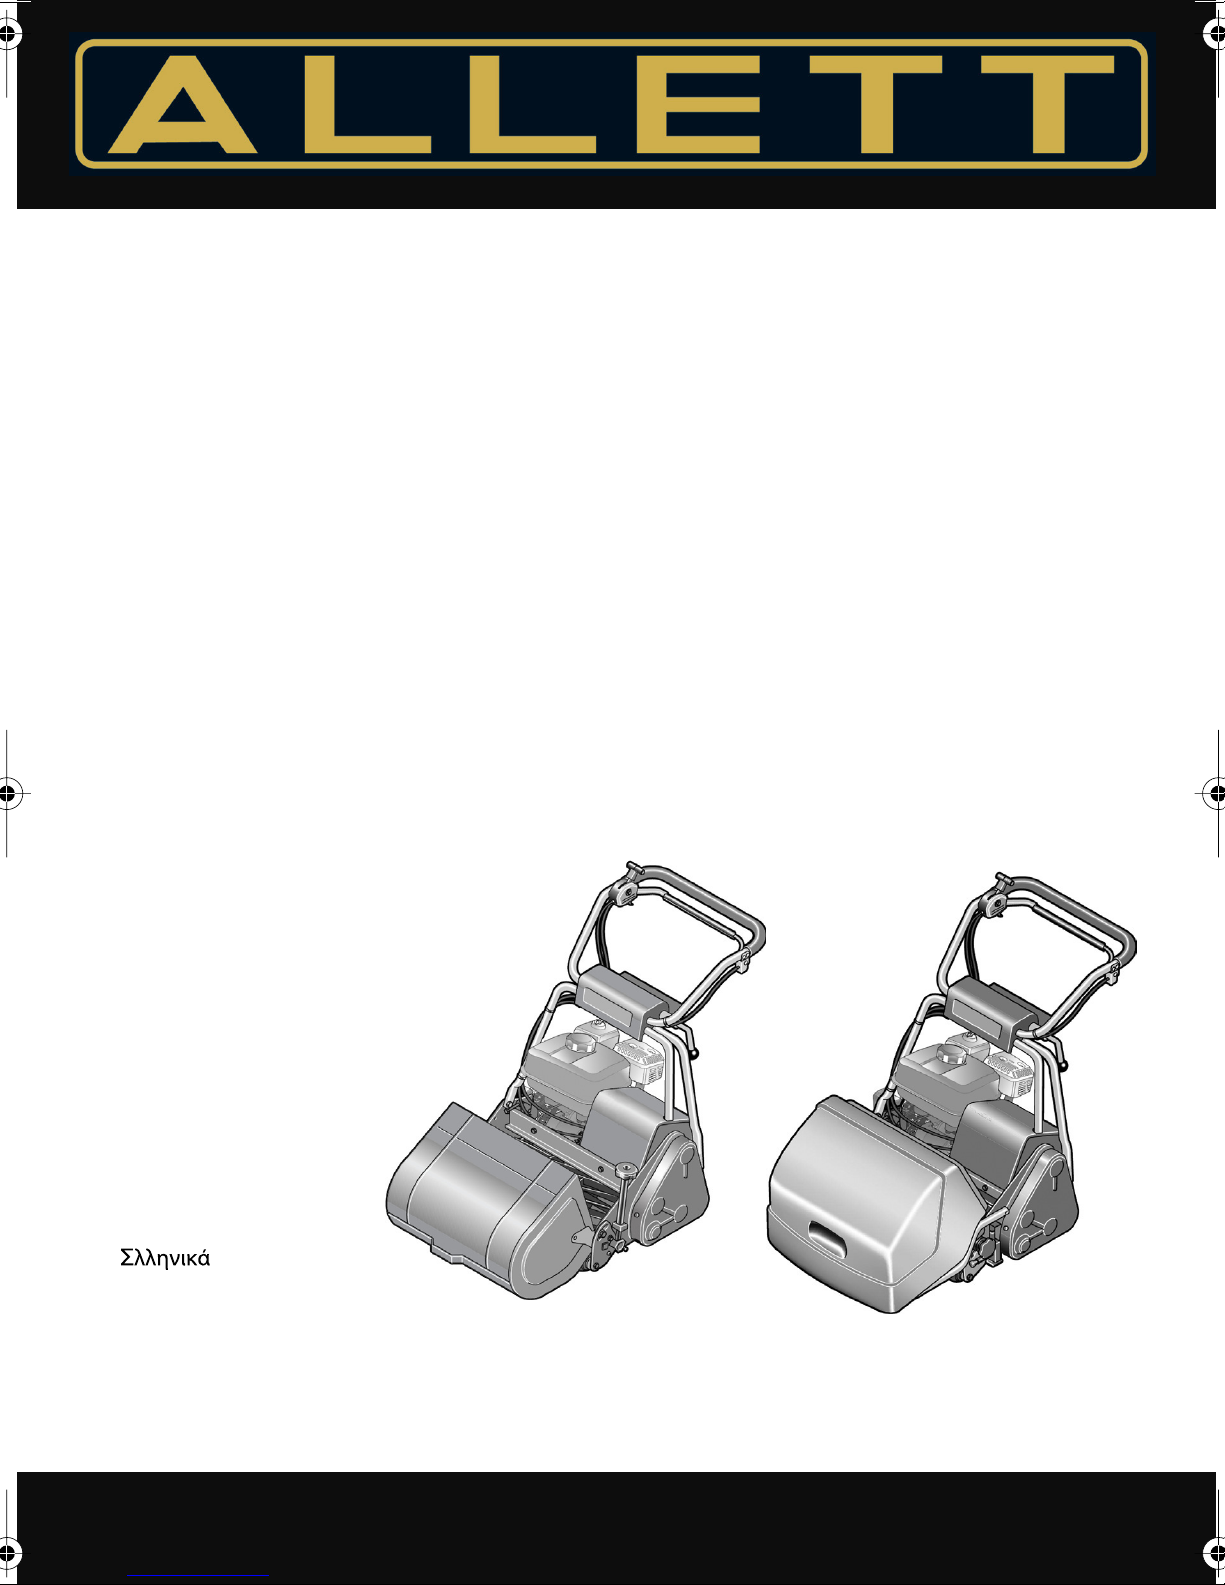
Allett BUCKINGHAM 20H User manual
F0169J10009A
BUCKINGHAM 20H
BUCKINGHAM 24H
BUCKINGHAM 30H
WESTMINSTER 20H
Deutsch
English
Français
Español
Português
Italiano
Nederlands
Dansk
Svenska
Norsk
Suomi
Türkçe
OPERATING INSTRUCTIONS

WESTMINSTER 20H
1
2
3
5
6
7
4
STOP
F016J10009A page2

BUCKINGHAM 20H
BUCKINGHAM 24H
BUCKINGHAM 30H
1
2
3
4
7
6
STOP
5
F016J10009A page 3
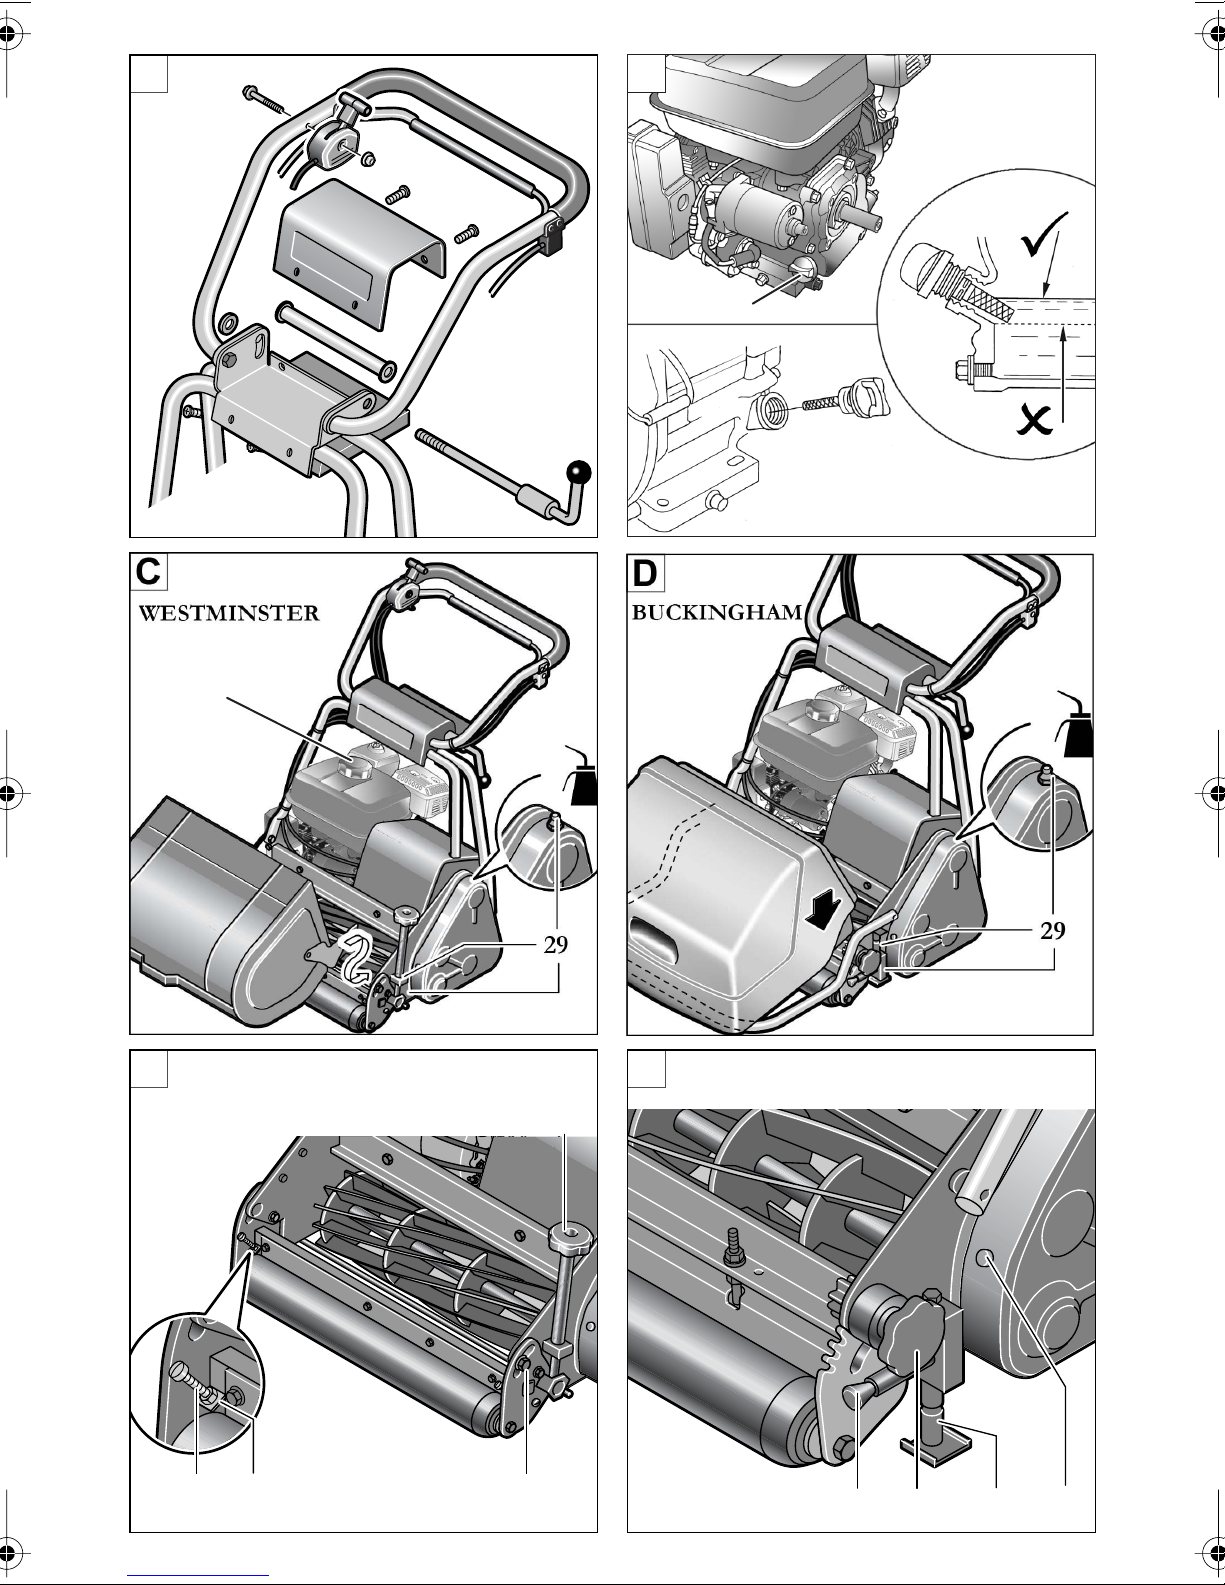
A
6
15 14 10
8
EF
11 12 29
8
F016J10009A page 4
WESTMINSTER BUCKINGHAM
9
B
5

BUCKINGHAM
28
G
26
27
8
13
16
17
P
19
25
23
2
H
I22
21
18
20
J
K
24
L
31
30
F016J10009A page 5
This manual suits for next models
3
Table of contents
Other Allett Lawn Mower manuals

Allett
Allett C 34 User manual

Allett
Allett C 34 Guide

Allett
Allett C 34 User manual

Allett
Allett Liberty Classic Push 30cm User manual

Allett
Allett BUFFALO 24" Product manual

Allett
Allett Stirling 43 Aerator Cartridge User manual

Allett
Allett Liberty Classic Push 30cm User manual

Allett
Allett Kensington 17 User manual

Allett
Allett UltraChange Series Product manual

Allett
Allett ELMOW 20 User manual


