9
switch for operation. Wait for the green light next to the switch to show
continuously (if it does not see trouble shooting section).
•The cutting cylinder will start to spin in the reverse direction, the reverse
speed is limited to 25% of the normal speed.
•After the desired period of time has passed switch OFF (0) the cylinder
activation switch.
•Make the mower safe by removing the battery isolation key, next carefully
remove all the lapping paste from the cylinder and bottom blade.
7.0 Mowing
•Prepare to operate the mower (refer to the previous section)
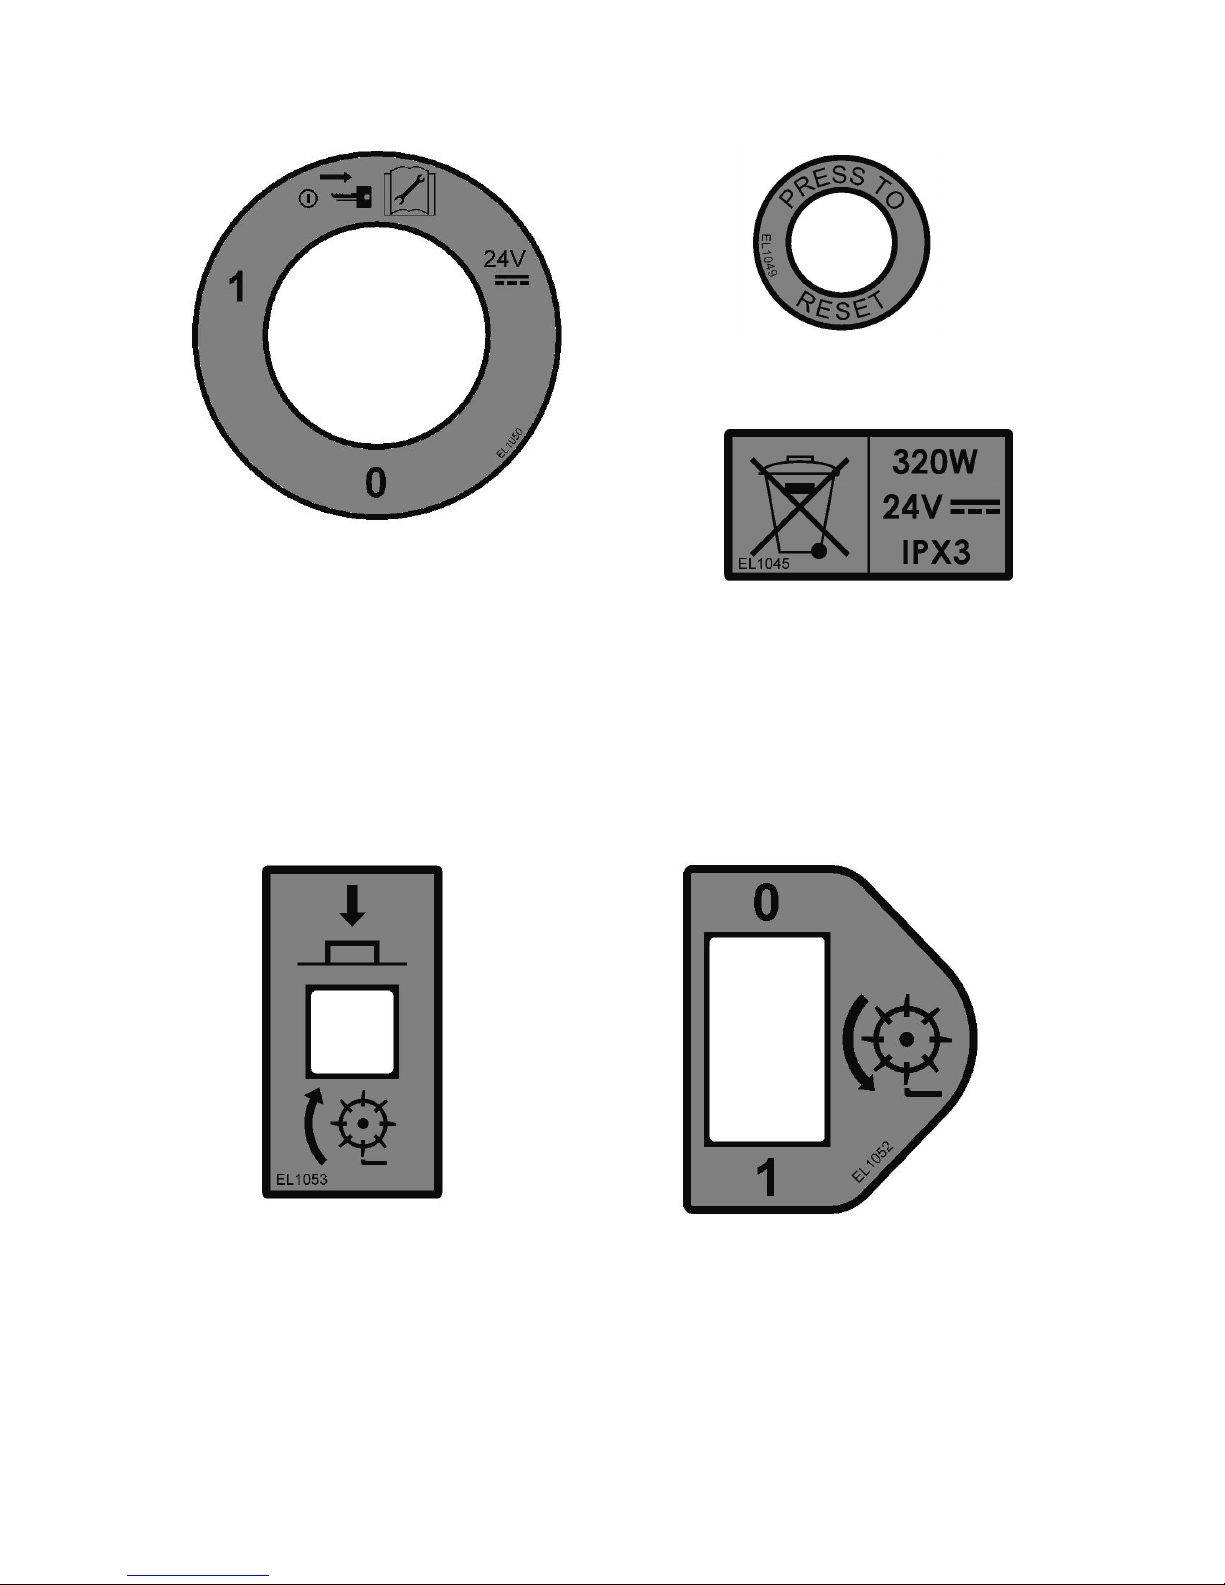
•Switch ON (1) the land roll controller activation switch located on the right
hand panel. Wait for the green light next to the switch to show continuously (if
it does not see trouble shooting section).
•Press one or both of the red operator presence controls to the handle bar.
•Switch ON (1) the cutting cylinder controller activation switch located on the
left hand panel. Move the small red central switch first to unlatch the main
switch for operation. Wait for the green light next to the switch to show
continuously (if it does not see trouble shooting section).
•The cylinder will start to spin.
•With both hands firmly holding the handle bars move the central throttle
control forwards gradually. The mower will move forwards. Increasing the
forward rotation of the throttle control will increase forward speed.
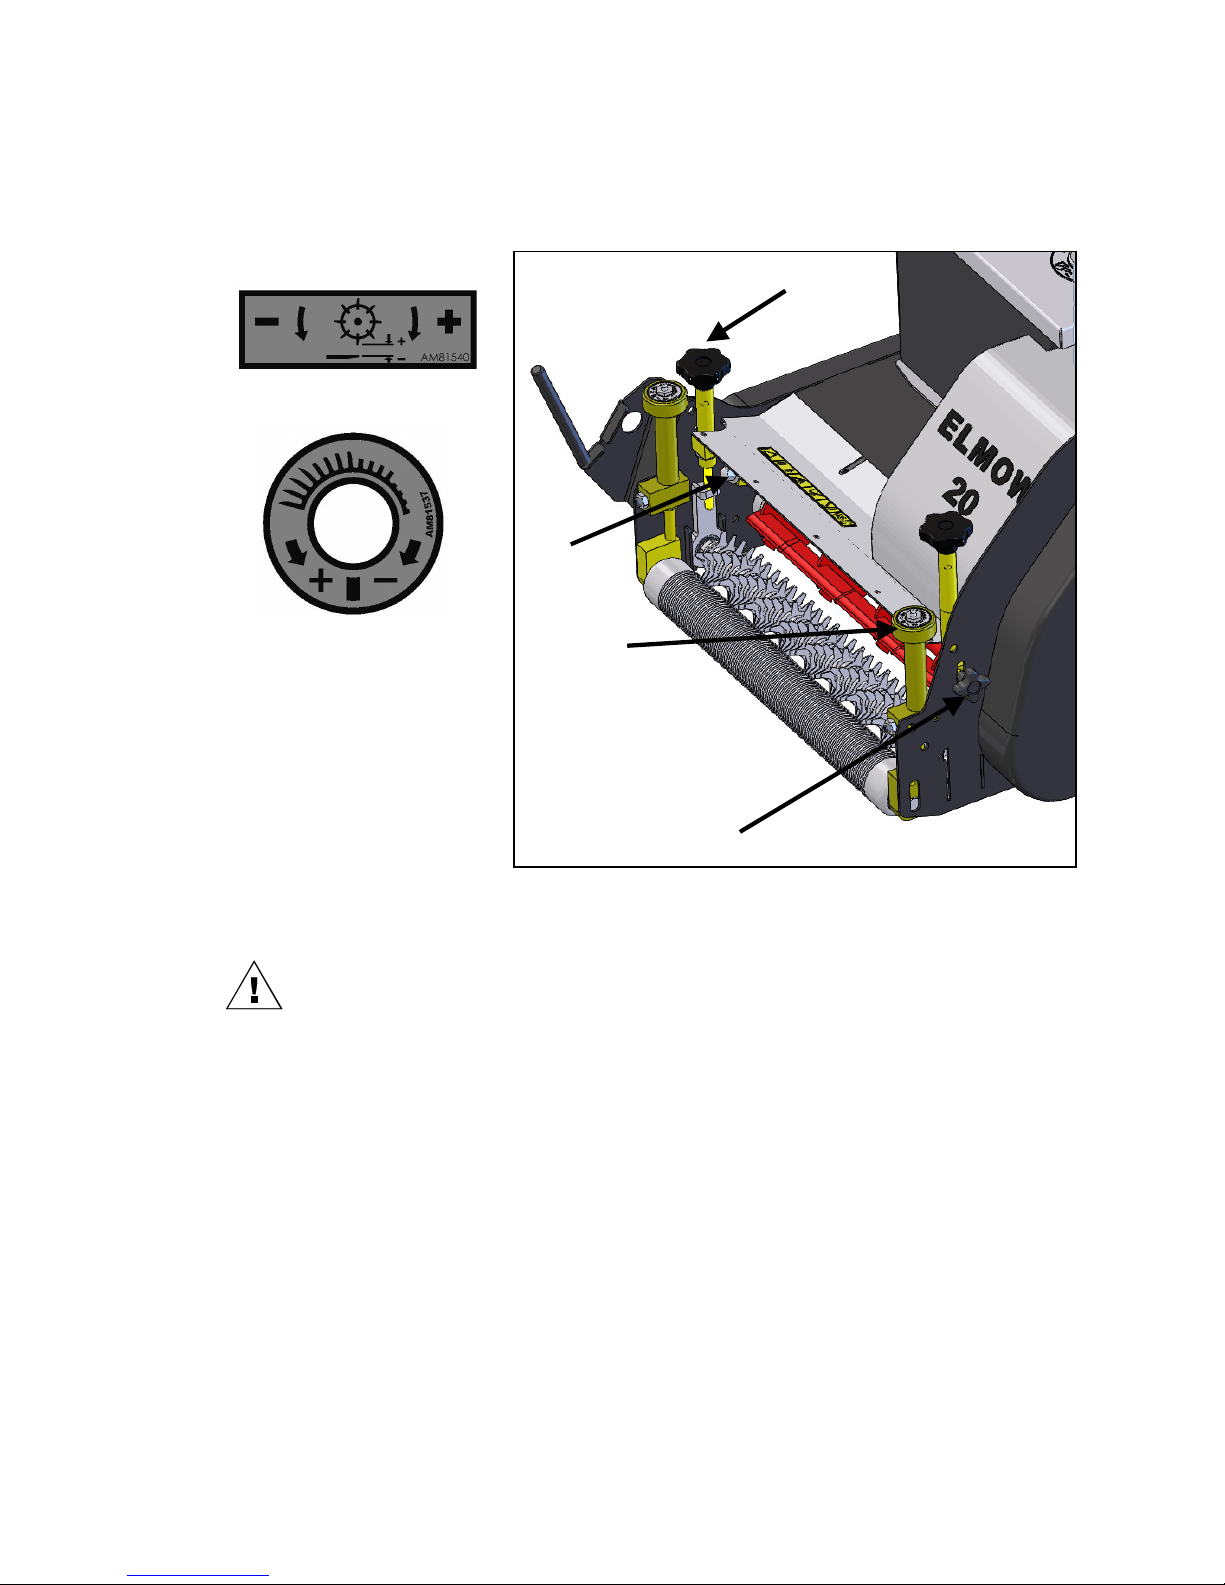
•Maximum speed can be adjusted by the rotary speed switch located on the
right hand control panel. Turn the dial to select between the three speeds. As
forward speed is increased by this rotary switch, clip rate will automatically
increase.
8.0 Stopping and charging
•Turn OFF (0) both the cutting cylinder controller activation switch and the land roll
controller activation switch.
•When the mower and cutting cylinder are stationary let go of the handle bars (the
park brake will be applied automatically)
•Turn the battery isolation key to the OFF (0) position and remove the key.
•Unplug the battery pack lead from the mower power socket.
•Plug the charger into the battery pack lead.
•Turn ON (1) the battery isolation key, so the batteries can be charged by the charger
9.0 Hints and tips for mowing
•Only one operator presence lever needs to be held to activate the cylinder.
•The operator presence levers are not needed for transport, the presence of
the operator is confirmed by an input into the throttle.
•It is recommended for battery life and ease of use to leave the cylinder
spinning when turning at the end or each mowing run.
•The mower can be easily slowed on the approach to a turn by using the
central throttle. This will allow the operator more time to make a turn with out
the need to reverse.
•The mower can not be pulled back, in tight spaces use the powered reverse
which is selected via the central throttle. Take care as reverse is powered.