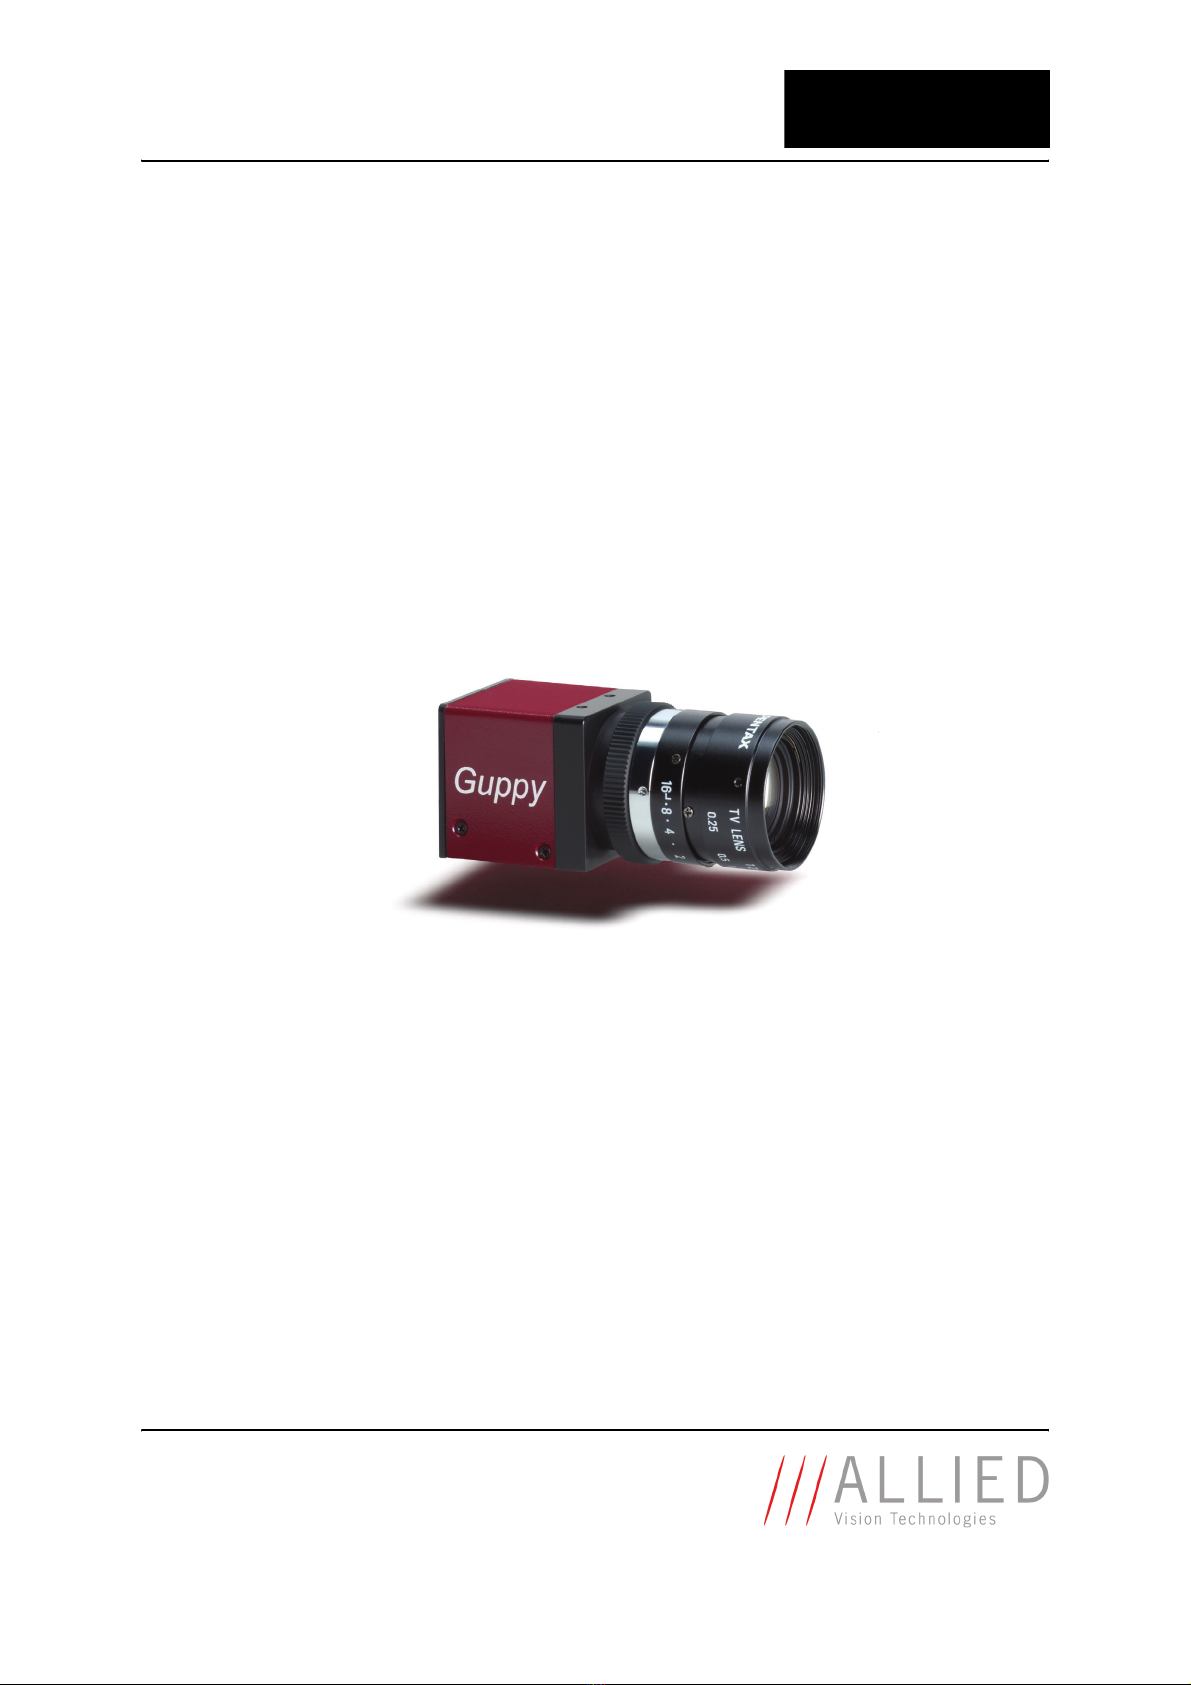
GUPPY Getting Started V4.0.1
4
Software conditions ...................................................................................................... 32
Overview Direct FirePackage ........................................................................................... 32
Installing IEEE 1394 adapter .......................................................................................... 33
Connecting camera to PC or laptop.................................................................................. 33
Installing Direct FirePackage .......................................................................................... 33
Starting SmartView for WDM ........................................................................................... 35
First steps with SmartView for WDM................................................................................. 35
Troubleshooting ........................................................................................................... 36
Further steps with SmartView for WDM ............................................................................. 37
Quick start with Fire4Linux..........................................................................41
Hardware conditions ..................................................................................................... 41
Operating system conditions .......................................................................................... 41
Software conditions ...................................................................................................... 41
Overview Fire4Linux ...................................................................................................... 42
Installing IEEE 1394 adapter .......................................................................................... 44
First steps with cc1394.................................................................................................. 44
Troubleshooting ........................................................................................................... 44
Further steps with cc1394.............................................................................................. 45
Specifications .......................................................................................................50
Guppy F-033B .............................................................................................................. 50
Guppy F-033C............................................................................................................... 52
Guppy F-033B BL (board level) ....................................................................................... 54
Guppy F-033C BL (board level)........................................................................................ 56
Guppy F-036B .............................................................................................................. 58
Guppy F-036C............................................................................................................... 60
Guppy F-046B .............................................................................................................. 62
Guppy F-046C............................................................................................................... 64
Guppy F-080B .............................................................................................................. 66
Guppy F-080C............................................................................................................... 68
Guppy F-080B BL (board level) ....................................................................................... 70
Guppy F-080C BL (board level)........................................................................................ 72
Spectral sensitivity ....................................................................................................... 74
Camera dimensions ..........................................................................................80
Guppy standard housing (old CS-/C-Mounting) .................................................................. 80
Guppy standard housing (new CS-/C-Mounting)................................................................. 81
Guppy board level......................................................................................................... 82
Guppy board level: CS-Mount .......................................................................................... 83
Guppy board level: C-Mount............................................................................................ 84
Guppy board level: M12-Mount ....................................................................................... 85
Tripod adapter ............................................................................................................. 86
Cross section: C-Mount (old CS-/C-Mounting) .................................................................... 87
Cross section: C-Mount (new CS-/C-Mounting)................................................................... 88
Cross section: CS-Mount (old CS-/C-Mounting) .................................................................. 89
Cross section: CS-Mount (new CS-/C-Mounting) ................................................................. 90