8
Normal Video/Photo
After the camera is turned on, press START/STOP button to start recording a video and press
the button again to finish the video. Press PHOTO button to take photos.
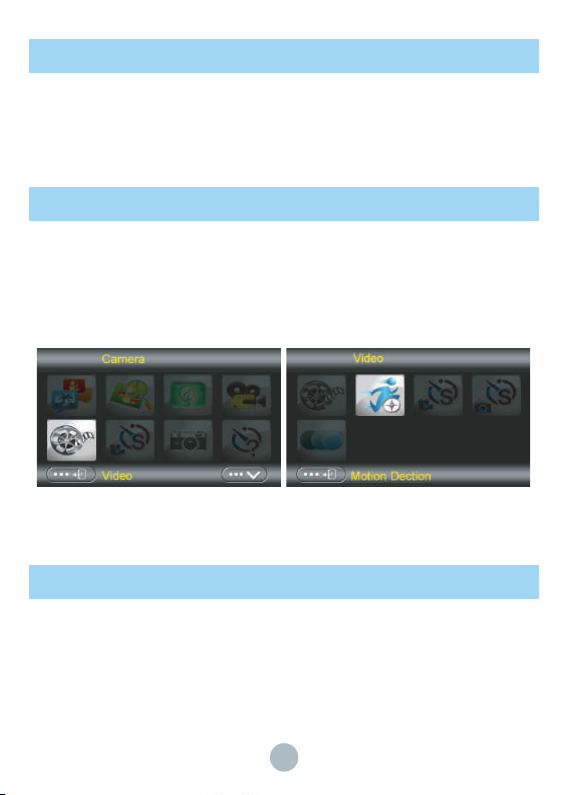
Motion Detection
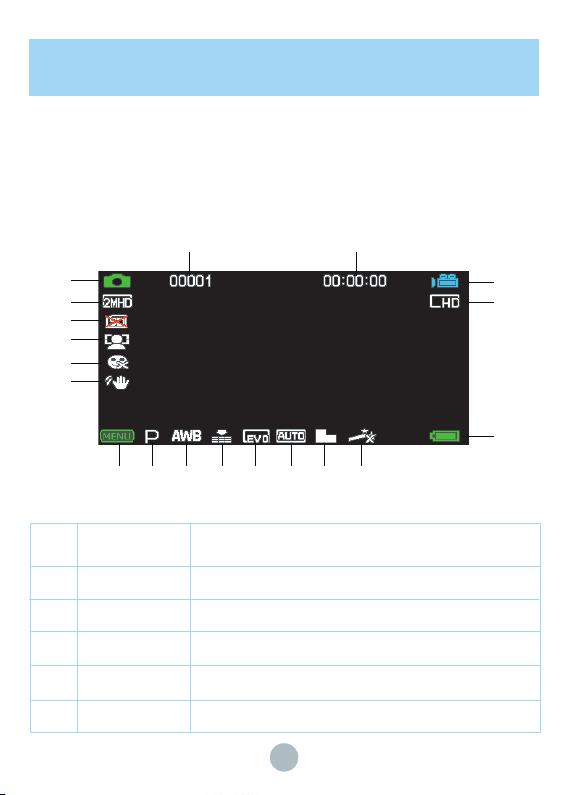
Under photo/video interface, press Menu button to enter the setting interface, under “Video”
item, choose “Motion Detection” , press OK button, and the icon of motion detection will be
displayed in the upper right corner of the preview interface, then press START/STOP button,
the camera will start recording when it detects something moving. If there is nothing moving
in the lens range, the camera will delay recording for twenty seconds, then enter the standby
state. The camera will not restart recording until it detects there are something moving again.
Time Lapse Recording
Under photo/video interface, press Menu button to enter the setting interface, under “Video”
item, choose “Time Lapse Recording” and press OK button, the icon of time lapse recording
will be displayed in the upper right corner of the preview interface. Then press START/STOP
button, after five seconds countdown, the camera will turn off the display and enter the
time-lapse recording state. It will record the time-lapse video according to the time-lapse
recording time setting and interval setting. To save power during time-lapse recording, the c
amera display turns off. The working status is displayed by the indicator light. The camera will
not exit the time-lapse recording mode until it is turned back on.