- 4 -
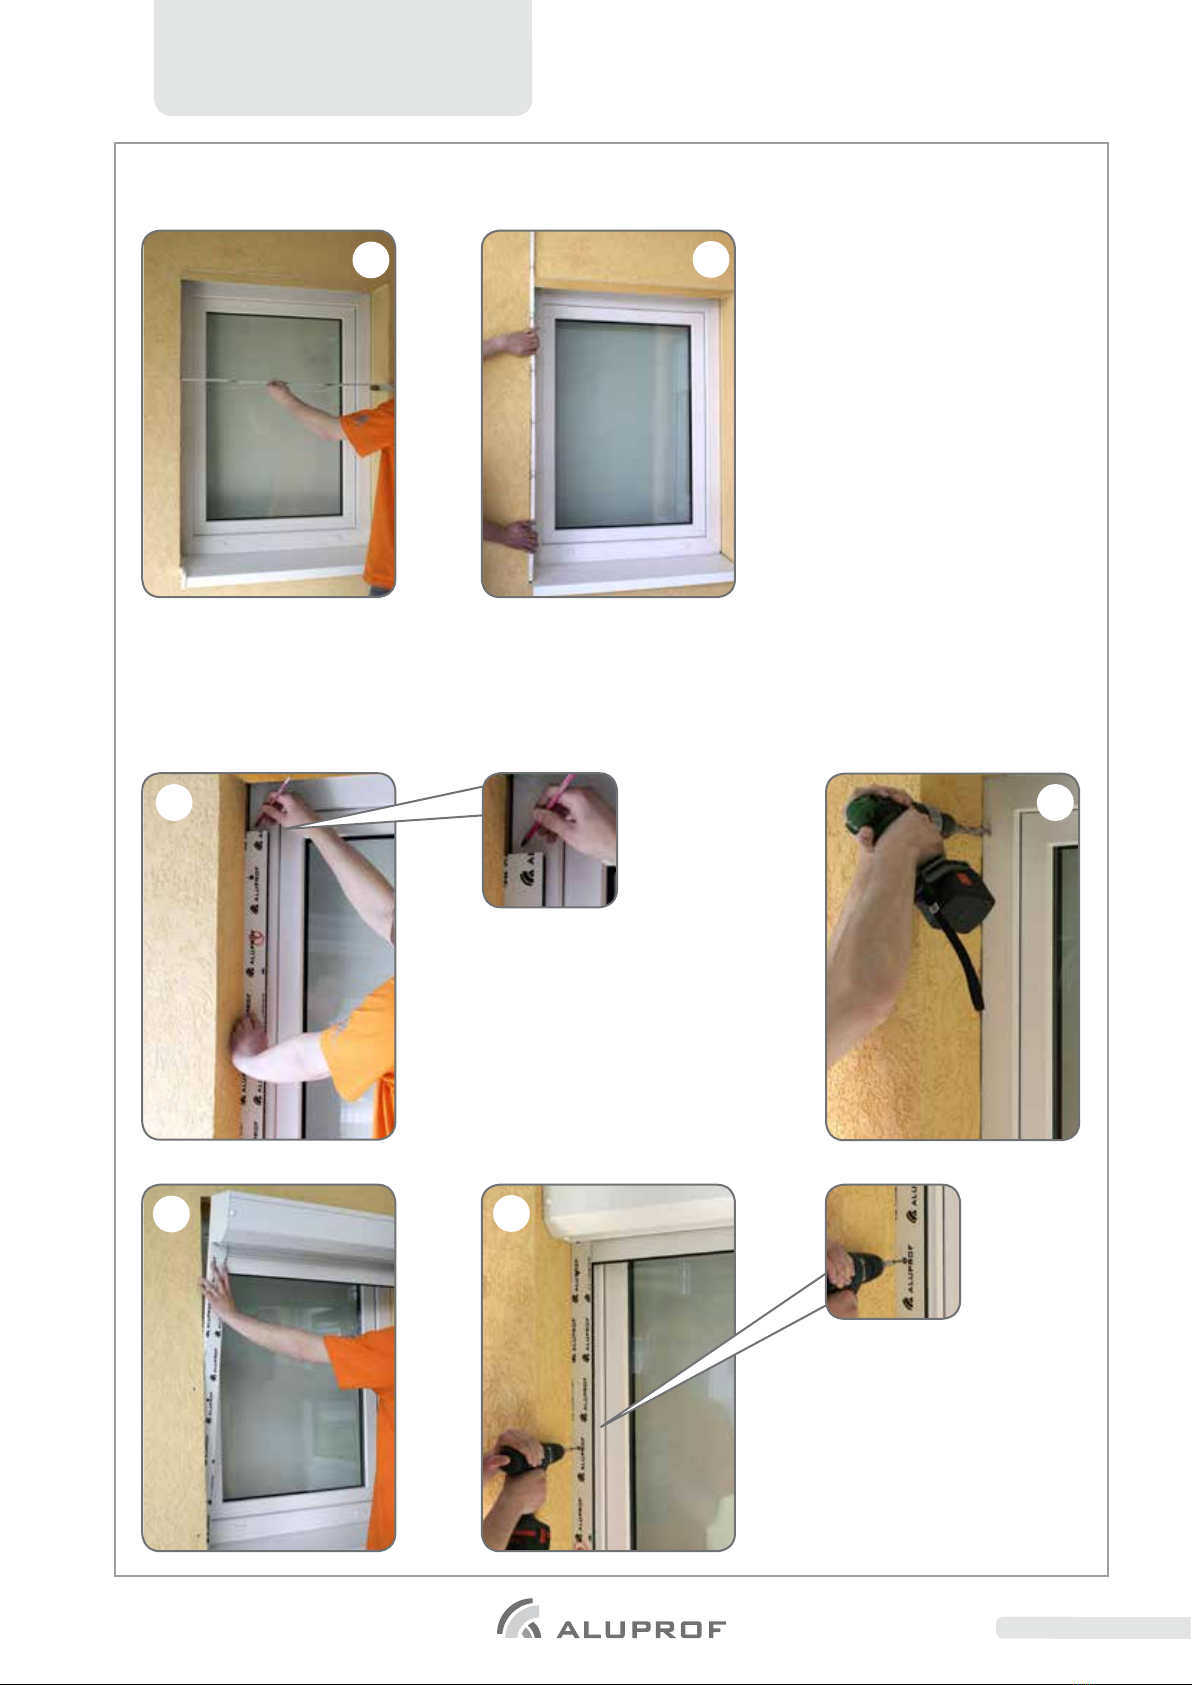
Instruction for montage of outside roller shutters in
ADAPTING system, type SK
and in
ADAPTING system, type SK with MOSKITO.
SK_+_moskito_m_uk
We reserve the right to any technical change. Valid on: 2009-06-02
56 7
24
8 9 10
3
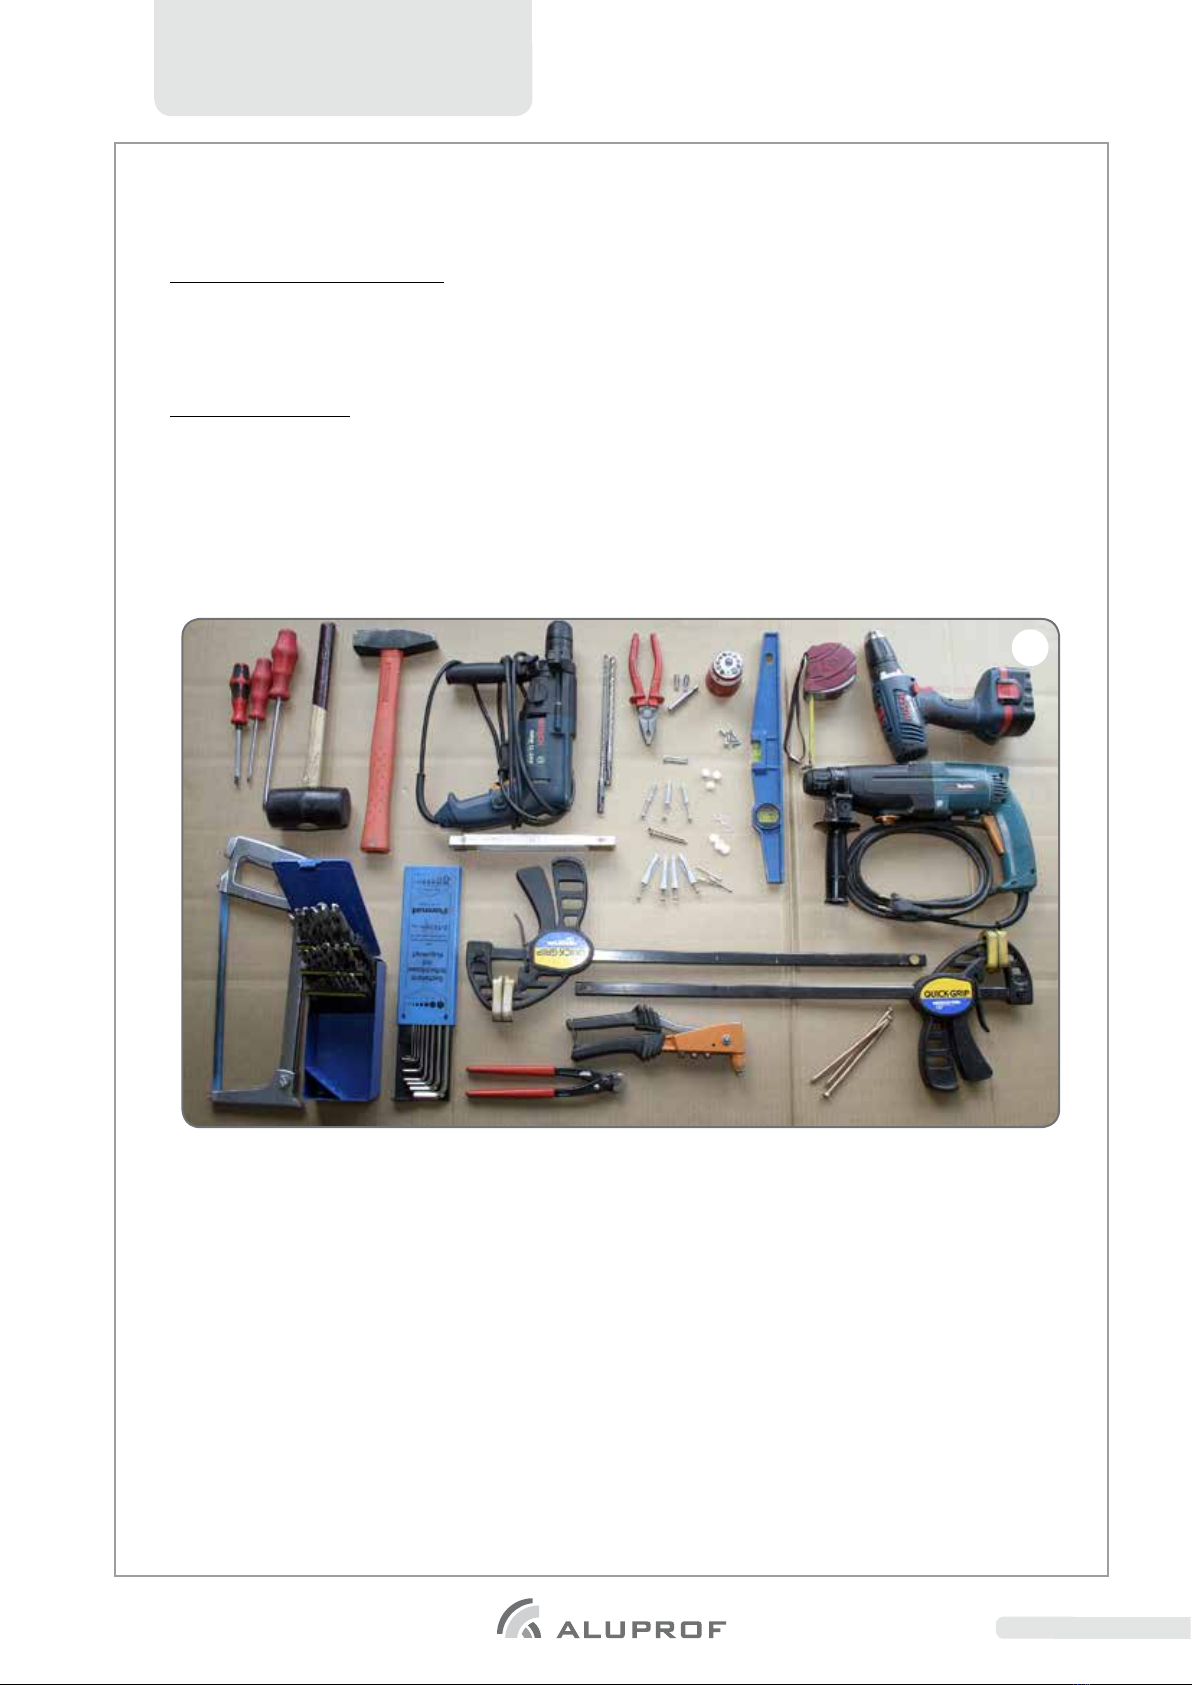
2. The roller shutter’s unpacking
Before the assembly, unpack the goods and check them with respect to the quantitative and qualitative terms.
a) Shutter box [2], guide channels [3], PVC caps to hide the screws in guide channels [4].
Outside strap box coiler, tabular strap
guide, strap grip [5],
Outside rope box coiler, rope guide,
rope grip [6].
Winch for strap, angle for winch, strap
guide, handle [7].
Winch for rope, angle for winch,
rope guide, handle [8].
Handle, Cardan joint 45° or 90°
with hook [9].
Handle, Cardan joint 45° or 90°
with eye [10].
b) Types of applied, manual drives (options):