manuals.online logo
Brands
  1. Home
  2. •
  3. Brands
  4. •
  5. Regency
  6. •
  7. Indoor Furnishing
  8. •
  9. Regency LWMS3015 User manual

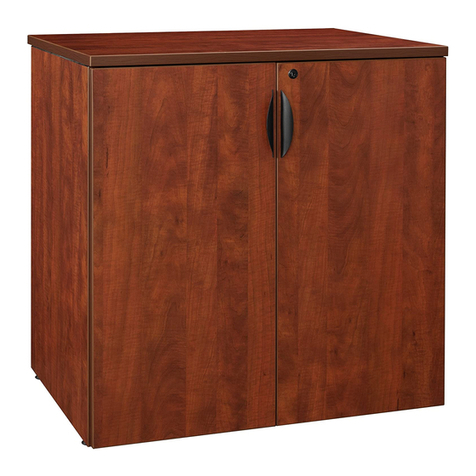
Regency LWMS3015 User manual

This manual suits for next models

1

Other Regency Indoor Furnishing manuals
Regency ONBFLF3020 User manual

Regency

Regency ONBFLF3020 User manual

Regency MADET2540 User manual

Regency

Regency MADET2540 User manual

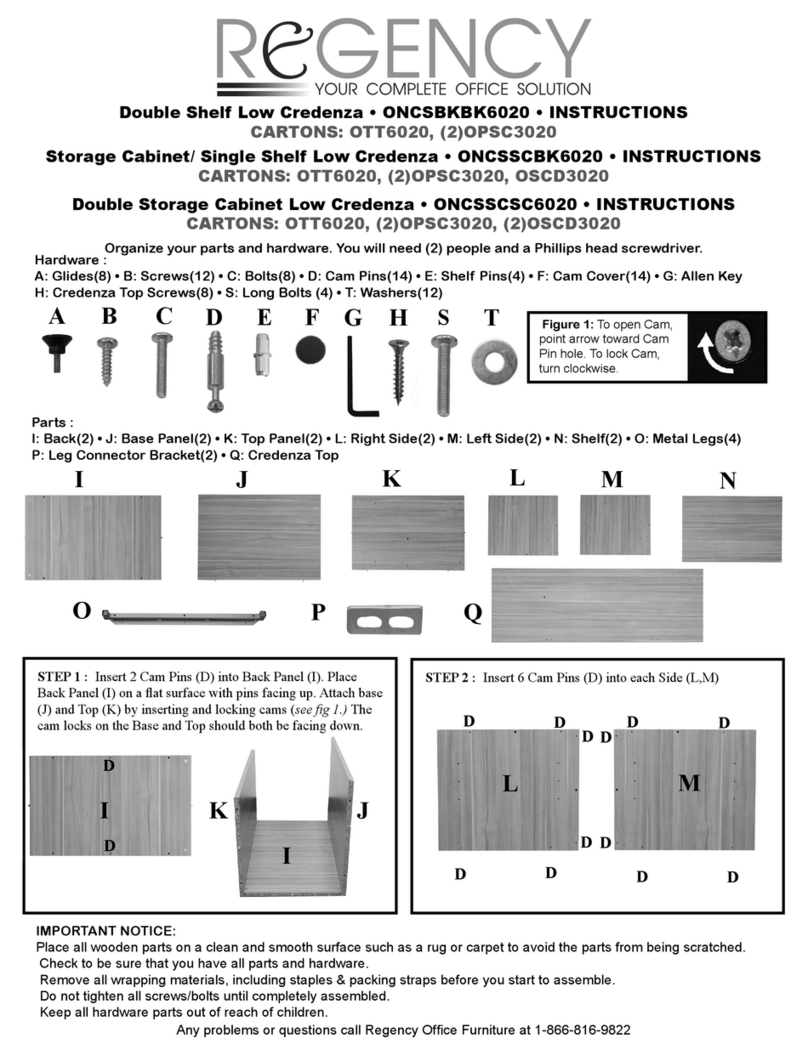
Regency ONCSBKBK6020 User manual

Regency

Regency ONCSBKBK6020 User manual

Regency LEGACY STORAGE CABINET LSC3535 User manual

Regency

Regency LEGACY STORAGE CABINET LSC3535 User manual

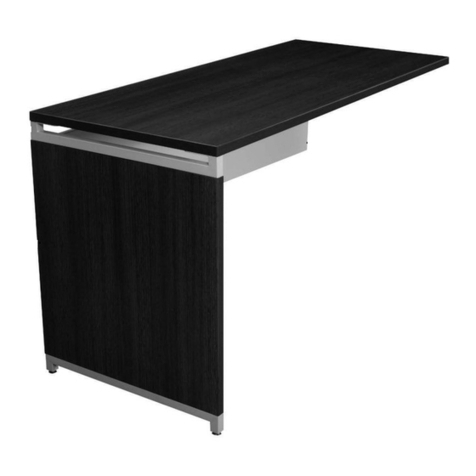
Regency ONRT6224 User manual

Regency

Regency ONRT6224 User manual

Regency LEGACY STORAGE CABINET LSC2935 User manual

Regency

Regency LEGACY STORAGE CABINET LSC2935 User manual

Regency 9476 User manual

Regency

Regency 9476 User manual

Regency LSC7236 User manual

Regency

Regency LSC7236 User manual

Regency BBNCH2148 User manual

Regency

Regency BBNCH2148 User manual

Regency Legacy LCTRT12047 User manual

Regency

Regency Legacy LCTRT12047 User manual

Regency TTRC4824 User manual

Regency

Regency TTRC4824 User manual

Regency Kobe MKTRCT4824 Instruction Manual

Regency

Regency Kobe MKTRCT4824 Instruction Manual

Regency ONHD3033 User manual

Regency

Regency ONHD3033 User manual

Regency ONCSDP7124 User manual

Regency

Regency ONCSDP7124 User manual

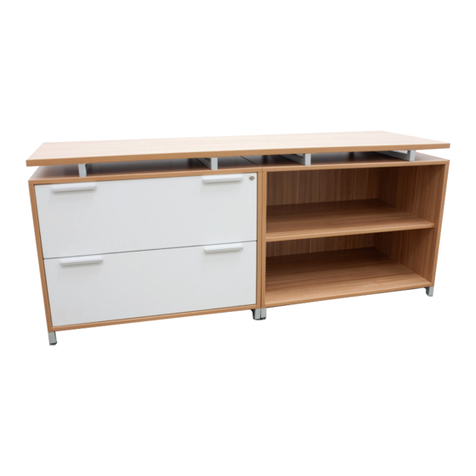
Regency ONCSLFBK6020 TT6020 User manual

Regency

Regency ONCSLFBK6020 TT6020 User manual

Regency Racetrack LCTRT7135 User manual

Regency

Regency Racetrack LCTRT7135 User manual

Regency TVCTRC12048 User manual

Regency

Regency TVCTRC12048 User manual

Regency 72” STORAGE CABINET LSC7236 User manual

Regency

Regency 72” STORAGE CABINET LSC7236 User manual

Regency ONRTSP4224 User manual

Regency

Regency ONRTSP4224 User manual

Regency Legacy LCTRT14452 User manual

Regency

Regency Legacy LCTRT14452 User manual

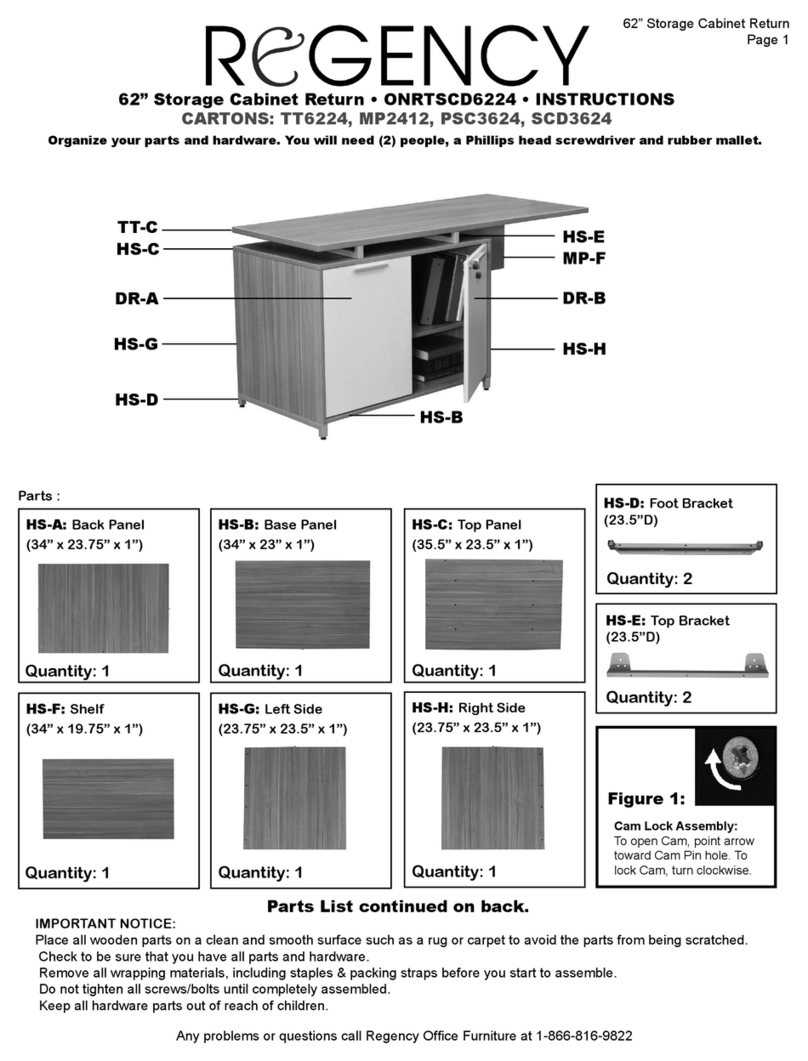
Regency ONRTSCD6224 User manual

Regency

Regency ONRTSCD6224 User manual
Regency BCTRC12048 User manual

Regency

Regency BCTRC12048 User manual

Regency BCTRC12048 User manual

Regency

Regency BCTRC12048 User manual

Regency Legacy LBC3020 User manual

Regency

Regency Legacy LBC3020 User manual

Popular Indoor Furnishing manuals by other brands

Furniture of America CM7751C Assembly instructions

Furniture of America

Furniture of America CM7751C Assembly instructions

Safavieh Furniture Estella CNS5731 manual

Safavieh Furniture

Safavieh Furniture Estella CNS5731 manual

PLACES OF STYLE Ovalfuss Assembly instruction

PLACES OF STYLE

PLACES OF STYLE Ovalfuss Assembly instruction

Trasman 1138 Bo1 Assembly manual

Trasman

Trasman 1138 Bo1 Assembly manual

Costway JV10856 manual

Costway

Costway JV10856 manual

moss DESIGN Caisson Credenza Assembly instructions

moss DESIGN

moss DESIGN Caisson Credenza Assembly instructions

Aquaglide FULL DECK 15.0 owner's manual

Aquaglide

Aquaglide FULL DECK 15.0 owner's manual

AREBOS AR-HE-SW30 user manual

AREBOS

AREBOS AR-HE-SW30 user manual

Till-Hilft Fulda 87005.330 Assembly instructions

Till-Hilft

Till-Hilft Fulda 87005.330 Assembly instructions

Twoey Outside 2010 quick start guide

Twoey Outside

Twoey Outside 2010 quick start guide

Hettich Easys 200 operating instructions

Hettich

Hettich Easys 200 operating instructions

The bedboss RELAX 404 Series owner's manual

The bedboss

The bedboss RELAX 404 Series owner's manual

Oeseder Möbelindustrie Bern 991 720 Assembly instructions

Oeseder Möbelindustrie

Oeseder Möbelindustrie Bern 991 720 Assembly instructions

Costway HW68469 user manual

Costway

Costway HW68469 user manual

Next ALIX A27743 Assembly instructions

Next

Next ALIX A27743 Assembly instructions

BROSA Hans Assembly guide

BROSA

BROSA Hans Assembly guide

Prodigg MINIKA PBA015T-FUR installation manual

Prodigg

Prodigg MINIKA PBA015T-FUR installation manual

Whittier Wood Furniture McKenzie 3504AFGACa quick start guide

Whittier Wood Furniture

Whittier Wood Furniture McKenzie 3504AFGACa quick start guide

manuals.online logo
manuals.online logoBrands
  • About & Mission
  • Contact us
  • Privacy Policy
  • Terms and Conditions

Copyright 2025 Manuals.Online. All Rights Reserved.

PROBLEMS OR QUESTIONS?
Call us at 866-816-9822 or email [email protected]
www.regencyof.com
PG. 1
Assembly Instructions for LWMS3015 &LWMS3615
BEFORE YOU ASSEMBLE:
• Place all parts on a clean, smooth surface to avoid scratching the parts
• Check to be sure you have all parts & hardware
• Remove all wrapping materials, including any staples & packing straps
• Keep all hardware, small parts & packaging out of reach of children
PARTS:
G: 12x Cam
Pins
A: 2x Sides
(Left & Right)
C: 2x Cleats D: 2x Doors
(Left + Right)
B: 1x Back
E: 1x Top
F: 1x Bottom
J: 4x Large
Screws
M: 12x Cam
Covers
P: 2x Flat
Bracket
S: 1x Lock
Ring
T: 1x Pair of
Keys
Q: 4x Hinges R: 1x Lock
N: 2x Door
Handles
O: 1x Locking
Bracket
L: 4x Small
Screws
K: 12x Med.
Screws
H: 3x Large
Bolts
I: 4x Medium
Bolts
HARDWARE:
PROBLEMS OR QUESTIONS?
Call us at 866-816-9822 or email [email protected]
www.regencyof.com
PG. 2
Assembly Instructions for LWMS3015 &LWMS3615
STEP 1: Insert Cam Pins (G) into both Sides (A).STEP 2A: Attach Left Side (A) to Back (B) by lining
up Cam Pins (G) with predrilled holes
and pressing into place.
STEP 3A: Attach the LARGER Cleat (C) to the
Back (B) by lining up the attached dowel
rods with the predrilled holes and on
the Left Side (A). NOTE: Tapered edge
points down.
STEP 3A: Insert Large Bolt (H) into the 3 holes
located on the Cleat (C). Tighten these
bolts using an allen wrench.
STEP 3B: Repeat STEP 2 to attach Right Side (A)
to the assembly. Ensure that the dowels
on the Cleat (C) line up as well. Turn the
remaining Cam Lock to ensure a stable
connection.
STEP 2B: Turn Cam Locks on Back (B) to lock the
Left Side (B) into place.
A
(Left) GA
(Right)
H
STEP 5A: Insert 4 Cam Pins (G) into the predrilled
holes on the Bottom (F). NOTE:
Bottom is smaller than Top (E).
STEP 5B:
Attach Build to
Bottom (F) by
lining up Cam Pins
(G) with predrilled
holes on Sides (A)
and Back (B) and
gently setting in
place.
STEP 6: Turn Cam Locks on Sides (A) To lock Bot-
tom (F) into place.
STEP 7: Insert 4 Cam Pins (G) into predrilled holes
on Top (E).
STEP 8: Attach Top (E) to the build by lining up
the Cam Pins (G) with the predrilled holes
on the Back (B) and Sides (A) and gently
setting in place.
STEP 9: Turn Cam Locks on Sides (A) To lock Top
(E) into place.
STEP 10: Press the end of the Hinge (S) to separate
into two pieces. Repeat for all 4 Hinges (S).
PROBLEMS OR QUESTIONS?
Call us at 866-816-9822 or email [email protected]
www.regencyof.com
PG. 3
Assembly Instructions for LWMS3015 &LWMS3615
G
G
G
G
F
E
F
B
AA
B
F
AA
G
A
A
B
E
G
E
AA
STEP 11A: Insert larger piece of Hinge (S) into
the predrilled holes on the Doors (D).
STEP 11B: Using Medium Screws (K) attach
Hinges (S) to the Doors (D).
STEP 11C:
Repeat STEP 11 for
other Door (D) and
other two Hinges (S)
STEP 12: Carefully turn the build onto its side and
attach the smaller pieces of Hinge (S)
to the Sides (A) using Medium Screws
(K) on the predrilled holes. Repeat for
remaining Hinge Locks.
STEP 13: Attach Doors (D) by lining up Hinges (S)
with Hinge Locks and applying downward
force to connect the Hinges back to the
Hinge Locks.
STEP 14: Repeat STEP 13 for each Hinge (S) with
both Doors (D)
PROBLEMS OR QUESTIONS?
Call us at 866-816-9822 or email [email protected]
www.regencyof.com
PG. 4
Assembly Instructions for LWMS3015 &LWMS3615
K
S
D
D
S
S
K
K
A
STEP 15: Attach door Handle (N) using 2x
Medium Bolts (I) to lock handles in
place. Repeat for other Handle (N)
STEP 16: Insert Lock (R) through the hole in the
right Door (D) and secure using Small
Screws (L).
STEP 17: Place Ring (S) around Lock (R) and push
into place.
STEP 18: To make doors close flush, adjust the
hinge screws until the gap is gone.
PROBLEMS OR QUESTIONS?
Call us at 866-816-9822 or email [email protected]
www.regencyof.com
PG. 5
Assembly Instructions for LWMS3015 &LWMS3615
L
D
D
R
STEP 19: Use Keys (T) to engage locking
mechanism. Take note of where the
locking mechanism is when the door is
closed. Mark this spot and then attach
the Locking Bracket (O) accordingly
using Small Screws (L).
STEP 20: Attach Flat Brackets (P) on the inside
of the LEFT Door (D) above and below the
screws for the Door Handle (N).
PROBLEMS OR QUESTIONS?
Call us at 866-816-9822 or email [email protected]
www.regencyof.com
PG. 6
Assembly Instructions for LWMS3015 &LWMS3615