manuals.online logo
Brands
  1. Home
  2. •
  3. Brands
  4. •
  5. moss DESIGN
  6. •
  7. Indoor Furnishing
  8. •
  9. moss DESIGN Caisson Credenza User manual

moss DESIGN Caisson Credenza User manual

CAISSON
CREDENZA
Mallet or Hammer
Pliers
Tool Required:
Tool Provided:
H1 Wooden Dowel
(8x35mm) x 4
H2 Bolt
(6x40mm) x 6
T1 M4 Allen Key x 1
C1 Main Module x 1
C2 Leg Frame x 2
Placement and Maintenance
Your Caisson Credenza is designed for indoor use on level
floors. Furniture with hard lacquer, wax polish or painted
surface should be dusted with a dry cloth. Spillages should
be wiped up as soon as possible. Our furniture will endure
most temperatures in the home but it is best to avoid placing
furniture next to heat sources such as radiators or fires.
Step 1
Unpack and identify the parts listed below. It is required to
have 2 people to carry and assemble the units over 50Ibs.
The assembly workspace should be a non-marring surface
such as carpet. For missing hardware pieces, visit our web-
site www.mossdesign.us
YNG TAL 14 / MFMT20 D:01.03.2022 / RN 001
H3 Screw (3,5x16) x 2 pcs
H4 Wedge x 1
LOGO GÜNCELLENDİ
MENTEŞE NOTU EKLENDİ
PENSE EKLENDİ
PLASTIC RETAINERS EKLENDİ
STEPLER TAKİBİ
BAŞLIK FONTU DÜZELTİLDİ
HATALI OLAN KOD DÜZELTİLDİ
RAF AYARI GÖRSELİ EKLENDİ
C1
C2
Step 2 - Insert dowels into the holes on the leg frames.
Insert 4 wooden dowels H1 into the holes on two leg frames C2 by using a soft hammer.
Step 3 - Attach the first leg frame to the main module.
Attach the leg frame C2 to the main module C1 by using 3 bolts H2 as shown below. Tighten the
bolts using the allen key T1.
C2
C2
T1
H1
H2
Step 4 - Attach the second leg frame to the main module.
Attach the leg frame C2 to the main module C1 by using 3 bolts H2 as shown below. Tighten the bolts
using the allen key T1.
Step 5 - End of the assembly.
Lift the unit to standing position carefully.
C2
H2
T1
Step 6 - Open the door and remove plastic retainers by using pliers.
1 Place your product in the final
position. Loosen the screws on
the metal brackets just enough
so that the slotted bracket can
be extended to meet the wall.
2 Then re-secure the screws.
3 Mark the wall for drilling
through the hole in the short
face of the bracket.
Then move the unit away from
the wall so that the marked
holes can be drilled.
Ensure you use an appropriate
fixing type for your wall (see
page 6). Then return the unit to
its final position.
4 Secure the unit to the wall
fixings with own screws through
the brackets.
5 Finally add the extra securing
screws (A) to the holes in the
long faces of the brackets and
tighten.
Warning
Serious or fatal crush-
ing injuries can occur
from furniture tipping
over.
To prevent this furniture
tipping over it must be
permanently fixed to the
wall.
H3
1 2
4 5
3
Step 7 - Wall Fixing instructions
A guide to wall mounting and fixings
Warning
Serious or fatal crushing injuries can occur from furniture tipping over.
To prevent this furniture from tipping over it must be permanantly fixed to the wall.
Wall fixing screws are not included, since different wall materials require different types of
screws / fixings.
Please ensure you use the correct screws / fixings for your type of walls and seek profession-
al advice if you are not sure.
Failure of the product due to incorrect fixings is the responsibility of the installer.
Important: When drilling into the walls always check that there are no hidden wires or pipes.
1. General Purpose wall plug
Generally aerated blocks should not be used to support heavy
loads, use a specialist fitting in this case. For light loads, general -
purpose wall plugs can be used.
6. Shield Anchor wall plug - Heavy loads
For use with heavier loads such as TV and Hi-Fi speakers and
satellite dishes etc.
5. Hammer Fixing wall plug
For use with walls stuck with plasterboard. The hammer fixing
allows it to be fixed to the wall rather than the plasterboard. Always
check the fixing is secure to the retaining wall.
4. Cavity Fixing - Heavy Duty wall plug
For use when fitting or supporting heavy loads such as shelving,
wall cabinets and coat racks.
3. Cavity Fixing wall plug
For use with plasterboard partitions or hollow wooden doors.
2. Plasterboard wall plug
For use when attaching light loads on to plasterboard partitions.
Types of walls
You can use one of the following types of wall plug if your walls are made of brick, breezeblock, con-
crete, stone or wood.
Safety: Periodically check all fittings and wall fixings to
ensure they have not come loose and retighten as necessary.
Step 8 - Hinge Adjustment.
Step 9
Use the plastic wedge on uneven surface if required.
Moss Design is a trade name of a Colorado company Moss Furniture LLC
www.mossdesign.us
H4

Other moss DESIGN Indoor Furnishing manuals

moss DESIGN MA User manual

moss DESIGN

moss DESIGN MA User manual

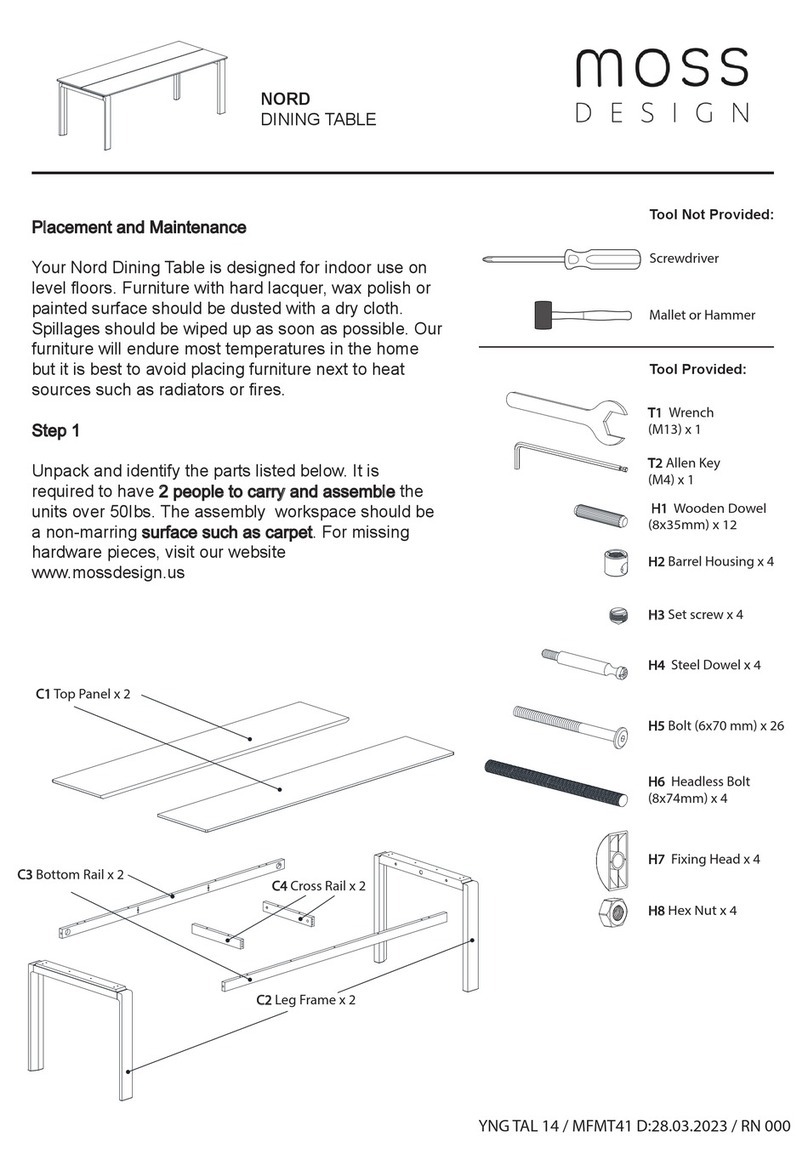
moss DESIGN NORD User manual

moss DESIGN

moss DESIGN NORD User manual

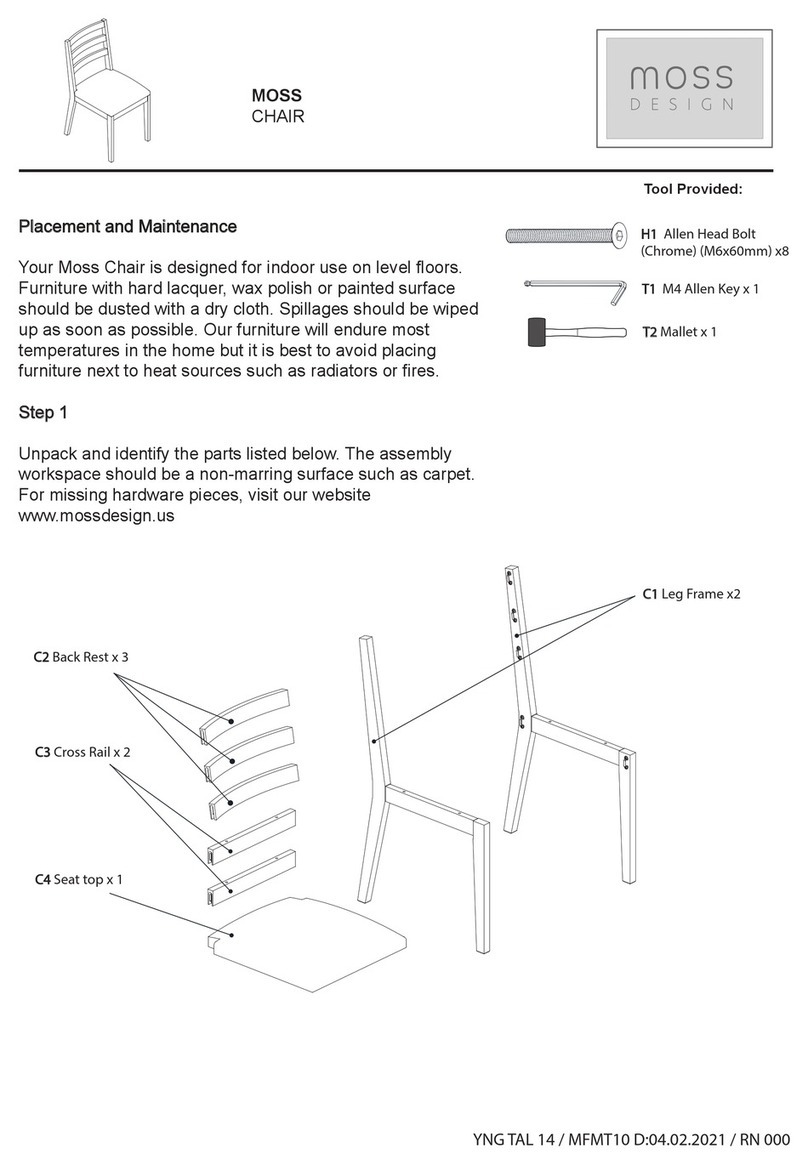
moss DESIGN MOSS User manual

moss DESIGN

moss DESIGN MOSS User manual

moss DESIGN VAIL User manual

moss DESIGN

moss DESIGN VAIL User manual

Popular Indoor Furnishing manuals by other brands

Ave Six WALLSTREET WST51N Assembly instructions

Ave Six

Ave Six WALLSTREET WST51N Assembly instructions

CONFORAMA KARO TV STAND Assembly instructions

CONFORAMA

CONFORAMA KARO TV STAND Assembly instructions

INSPIRE Q Knightsbridge II Beige Linen Tufted Chesterfield... Assembly instruction

INSPIRE Q

INSPIRE Q Knightsbridge II Beige Linen Tufted Chesterfield... Assembly instruction

ExBrite ES-DIY MYJS2020MTBTMB Series manual

ExBrite

ExBrite ES-DIY MYJS2020MTBTMB Series manual

CB2 HALOGEN Assembly instructions

CB2

CB2 HALOGEN Assembly instructions

Madeli Rotating-7 Specification & installation guide

Madeli

Madeli Rotating-7 Specification & installation guide

Madeli Milano - 60" Double Bowl Specification & installation guide

Madeli

Madeli Milano - 60" Double Bowl Specification & installation guide

Seconique Furniture TORTILLA Assembly instructions

Seconique Furniture

Seconique Furniture TORTILLA Assembly instructions

Whittier Wood Furniture McKenzie 1113GAC Assembly instructions

Whittier Wood Furniture

Whittier Wood Furniture McKenzie 1113GAC Assembly instructions

Signature Design by Ashley 10028204 manual

Signature Design by Ashley

Signature Design by Ashley 10028204 manual

Livarno Living 360039 2010 Assembly instruction

Livarno Living

Livarno Living 360039 2010 Assembly instruction

HOMCOM 835-883V00 manual

HOMCOM

HOMCOM 835-883V00 manual

Office Star Products WorkSmart EM60930C operating instructions

Office Star Products

Office Star Products WorkSmart EM60930C operating instructions

Safavieh Furniture Ceres DCH1402 quick start guide

Safavieh Furniture

Safavieh Furniture Ceres DCH1402 quick start guide

Kvik MH519-060 manual

Kvik

Kvik MH519-060 manual

Coaster 800446 Assembly instructions

Coaster

Coaster 800446 Assembly instructions

drew & jonathan P307DJ232 manual

drew & jonathan

drew & jonathan P307DJ232 manual

Naterial LYCO STEEL 3276007277517 Assembly, Use, Maintenance Manual

Naterial

Naterial LYCO STEEL 3276007277517 Assembly, Use, Maintenance Manual

manuals.online logo
manuals.online logoBrands
  • About & Mission
  • Contact us
  • Privacy Policy
  • Terms and Conditions

Copyright 2025 Manuals.Online. All Rights Reserved.