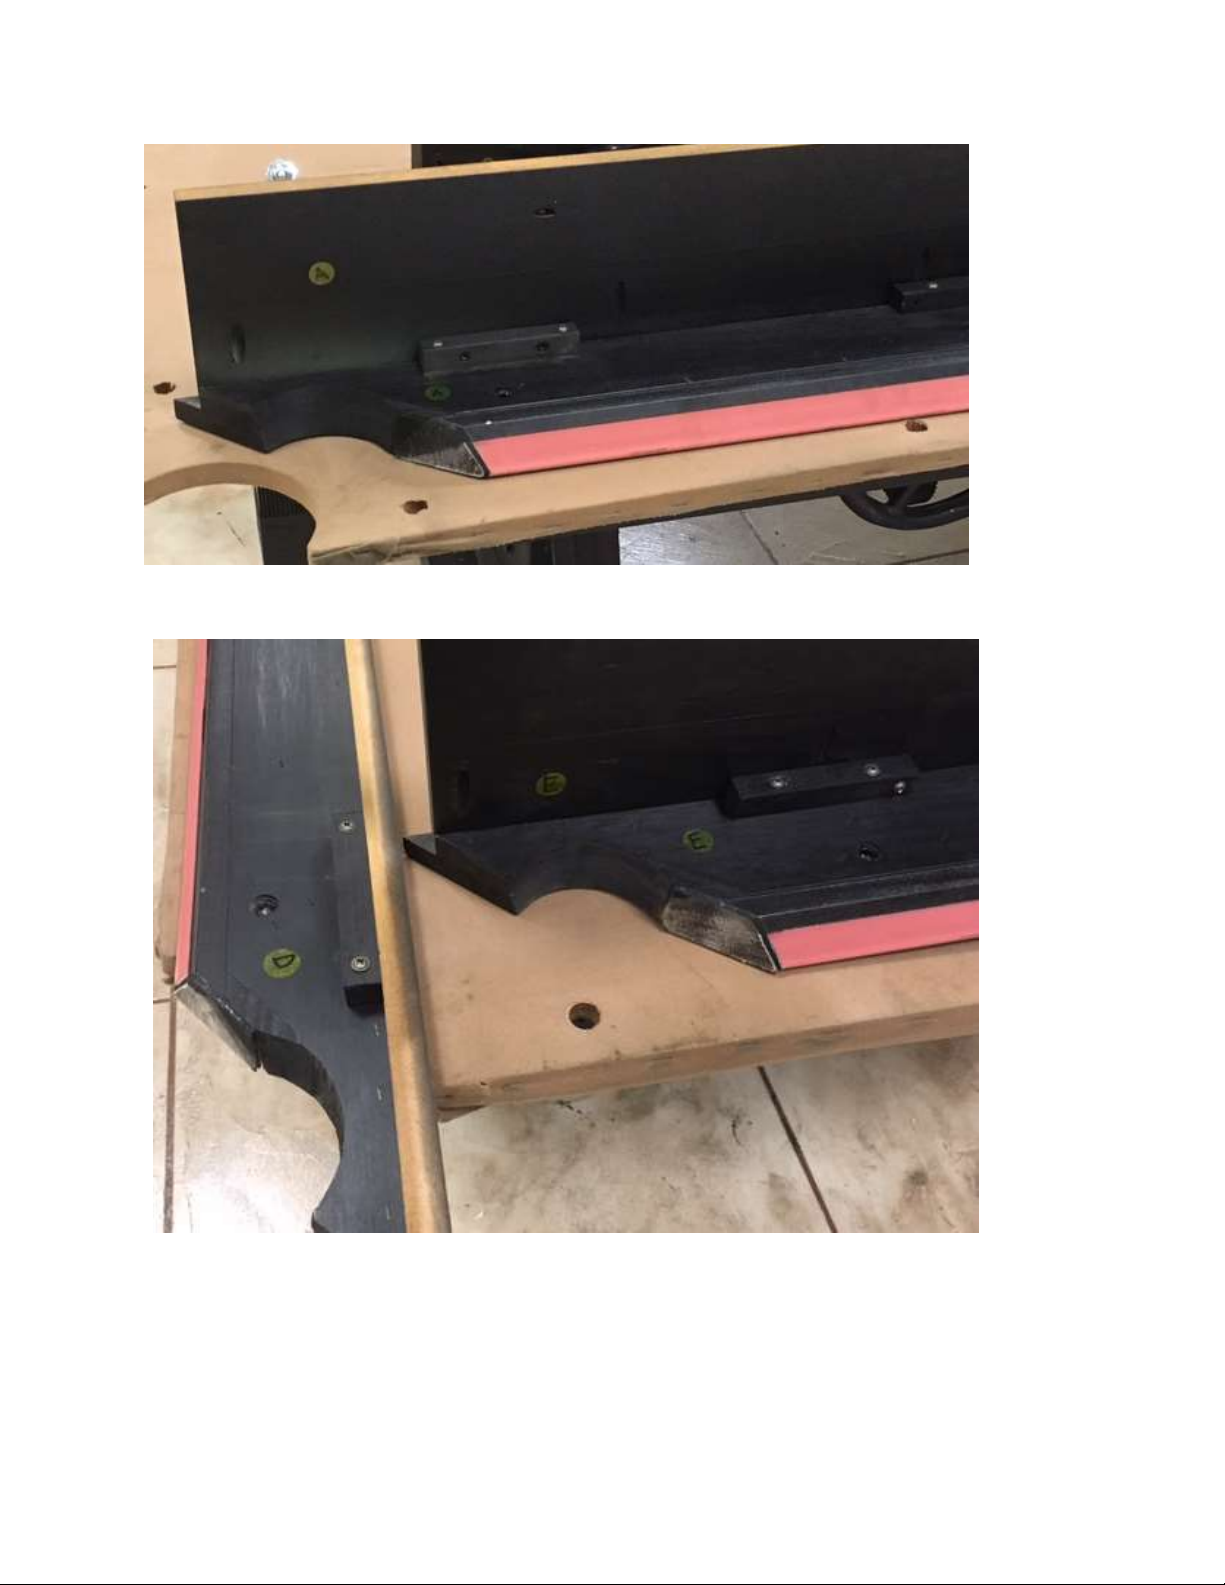
Step 1: The base of the table should be received inside your crate as shown above, no further assembly
is required to the base. There is no hardware required for this step.
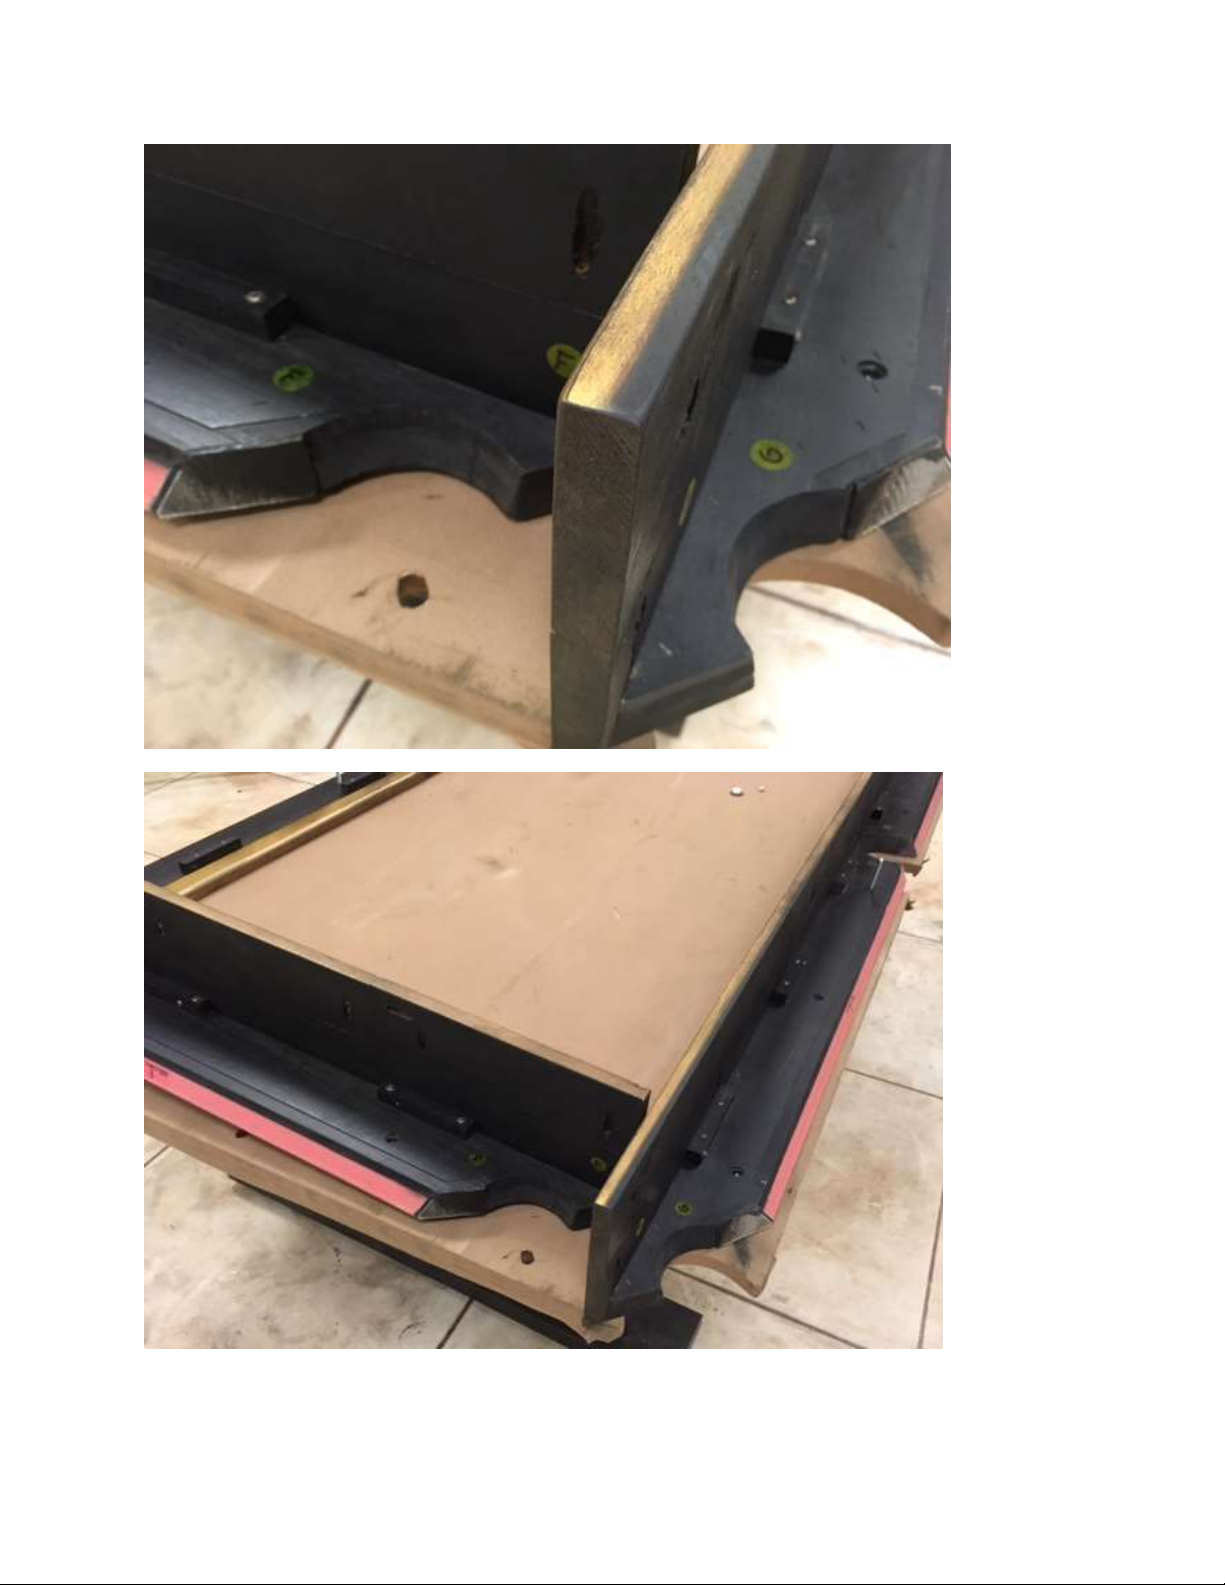
Step 2A: With a tape measure, measure the cross beam assembly diagonally from oppossing corners to
make sure cross beam assembly is square.
Step 2B: Make sure that the long beams are flush with the top of the leg box.
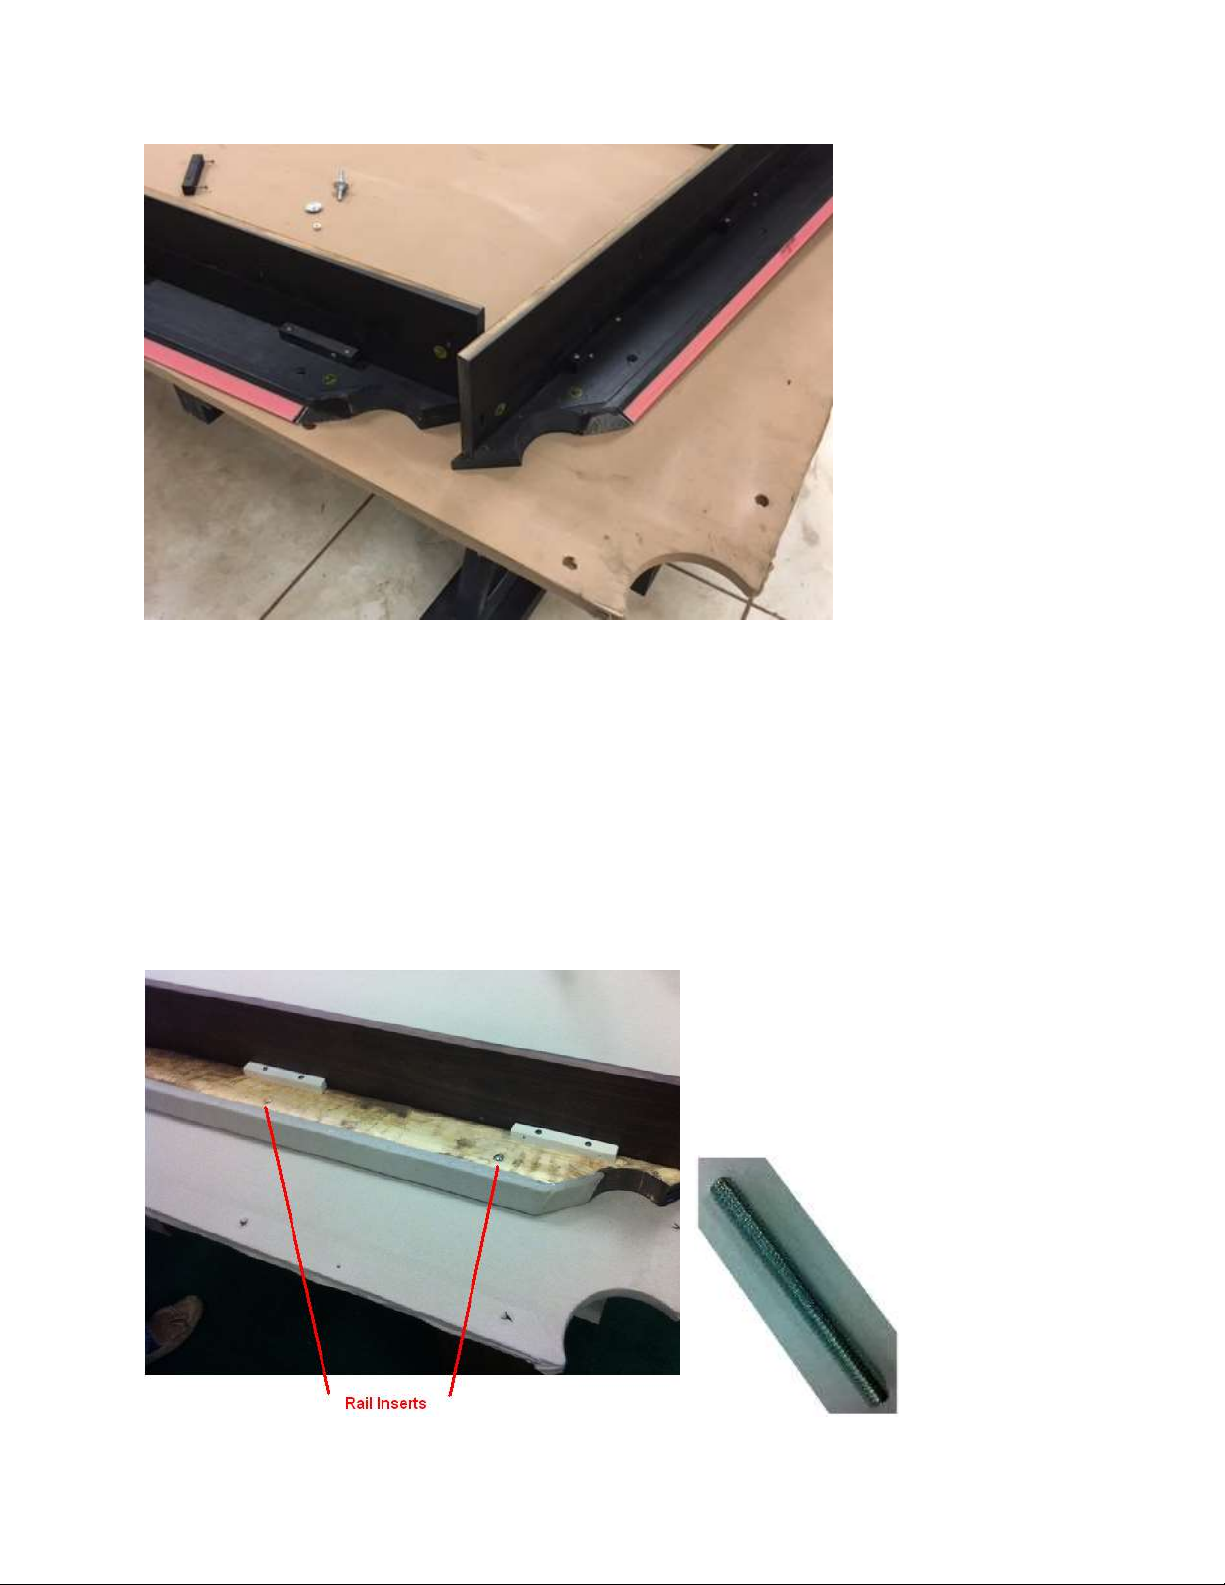
Step 3: Making sure table assembly is in the proper spot in the room, use a level to ensure the frame is
level to the floor. Use flat shims under the legs to adjust if needed.
Step 4A: Locate the center piece of framed slate and position it on the cross beam assembly so that it is
centered to both the length and width of the assembly (you must be very accurate with placement). Pre-
drill hole through slate screw hole using a 3/16” drill bit. Vacuum out debris and secure using slate
screws pictured below (figure 1.A). Continue with same process with both outside sections of slate.
Step 4B:With a level or straight edge, be sure that the slate seams are flat and level. If adjustments
need to be made, loosen slate screws and place a shim(s) in area that needs adjustment. Tighten screws
and check for levleness. Use Bee’s Wax or similar to fuse the seams of the slate together.
1.a