PROBLEM:
SOLUITION:
I inserted the CD but the Installation Menu does not appear.
Windows: Click Start, click My Computer (or Computer) and double-click your
CD-Rom drive. Locate the autorun.exe file and double-click it.
Mac: Locate the CD icon on your desktop. Click to open it. Locate the Install
Software file and click to open the Menu.
How to Upgrade your Antenna
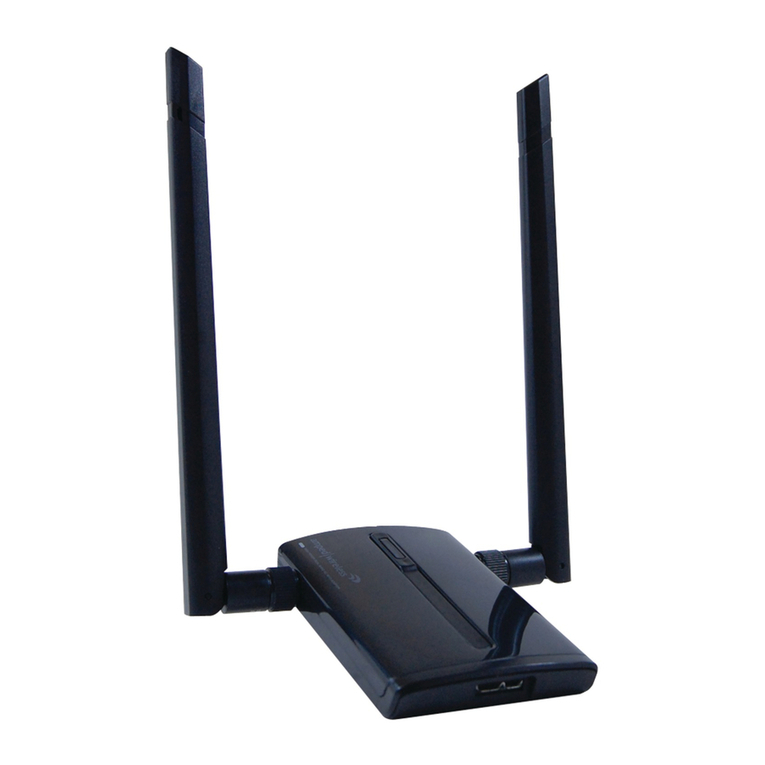
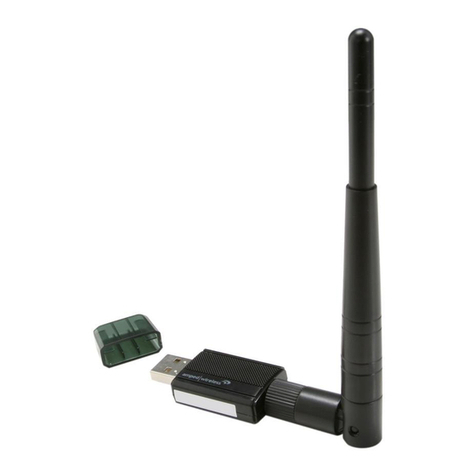
Upgrading your antenna can provide more range and distance for different types of
wireless applications. The Amped Wireless High Power USB Adapter is compatible with
any High Gain 2.4GHz Wi-Fi antenna with a RP-SMA connector. Simply unscrew the
original antenna and screw on the upgraded antenna for more range and distance.
Troubleshooting Tips
C. Select your Operating System
From the CD Menu, select the software version
that your Mac is using to begin installing the
software (i.e. 10.7, 10.6, 10.5 or 10.4).
D. Find the Folder on the Setup CD
Open your OS X version folder, and then
click Installation file to begin the installation.
E. Install the Software
Follow the instructions and click Continue to
install the software. If prompted, select a
destination for the driver software. This is
typically the Macintosh HD. Click Continue.
B. Find your Operating System Version
Click on the Apple Icon (upper-left corner).
Select About this Mac and note the Mac OS X
version.
A. Access the Menu
From the autoload page, click on Start Here
to open the menu. If the menu does not load
browse the CD to find the Start Here file.
Mac OS X
G. Turn Off Your AirPort Card
After the computer reboots, disable any AirPort
cards by selecting the wireless icon (upper right-
corner) and select Turn AirPort Off. If you do not
have an Airport Card continue to Step H.
H. Insert the High Power USB Adapter
Once all Airport cards are disabled you may insert
the High Power USB Adapter into your USB port.
J. Activate the USB Adapter
For OS X 10.4 Tiger and 10.5 Leopard:
Select Ethernet Adapter (en#) and click Advanced.
Continue to Step K
For OS X 10.6 Snow Leopard and 10.7 Lion:
Select 11n Adapter and click Apply.
Continue to Step M
I. Activate the USB Adapter
You may be prompted to activate your USB
Adapter in Network Preferences. If not, select
the Apple Button (upper left corner) and select
System Preferences from the drop-down list.
From there, select Network.
L. Activate the Adapter (OS X 10.4/10.5 Only)
Click Apply to activate your USB Adapter.
K. Activate the Adapter (OS X 10.4/10.5 Only)
In the Advanced menu, check that the adapter
is Using DHCP and then click OK.
N. Connect to a Wireless Network
If your network has security enabled, enter the
security key here. Re-enter it again to confirm.
Click OK to begin using your new wireless adapter.
M. Connect to a Wireless Network
The Amped Wireless Utility should automatically
load. If it does not load, click the Amped Wireless
Utility icon to load the utility. Select the Available
Network tab to view nearby wireless networks.
Highlight your desired network and click Connect.
Note:
Click Add to Profile after highlighting your network to save it
and have the Utility connect automatically when in range.
Amped Wireless Utility
Can be found in your
Applications folder or
the Mac dock
Installation for Mac Operating Systems
F. Restart your Computer
When the software has installed, you will be
asked to restart your Mac. Click Restart to
reboot your computer.
Rely only on high-grade computers & hardware on our virtual shelves.


