Amston CLD-3 User manual
!
1
INSTRUCTION
MANUAL
Cross Line/Dot
Laser Level
Model: CLD-3

TABLE OF CONTENTS
Page
Technical Specifications …………………………..……………..…. 6
Installing Batteries …………..………………………………………. 7
Operating the Laser Level
Self-Leveling Mode ………….…………………….………………… 8
Fixed-Laser Mode …………………………….………….………… 10
Using the Spring Clamp ………….………………………………… 11
Accessories ……………………………………………….………… 13
Checking Laser Calibration ……………………………………..… 14
Maintenance and Repair……………………………….……………14
Additional Resources
Warranty ………………………………………………….…………. 15
Troubleshooting ………………………………………….…………. 17
Frequently Asked Questions ……..…………………….…………. 18
© Amston Tool Company. All Rights Reserved. - -2
THANK YOU
for choosing Amston!
We proudly stand behind every product we sell. If you should ever
have any question, concern, or issue with any product made by Amston
Tools, please do not hesitate to contact us at
CustomerCare@AmstonTools.com.
EXTEND YOUR WARRANTY FOR FREE
This laser level is backed by a 2 year limited warranty to the original
purchaser. You may obtain a FREE extension of the warranty to a total
of 4 years by submitting a warranty registration form in the mail or on-
line at www.amstontools.com/warranty.
© Amston Tool Company. All Rights Reserved. - -3
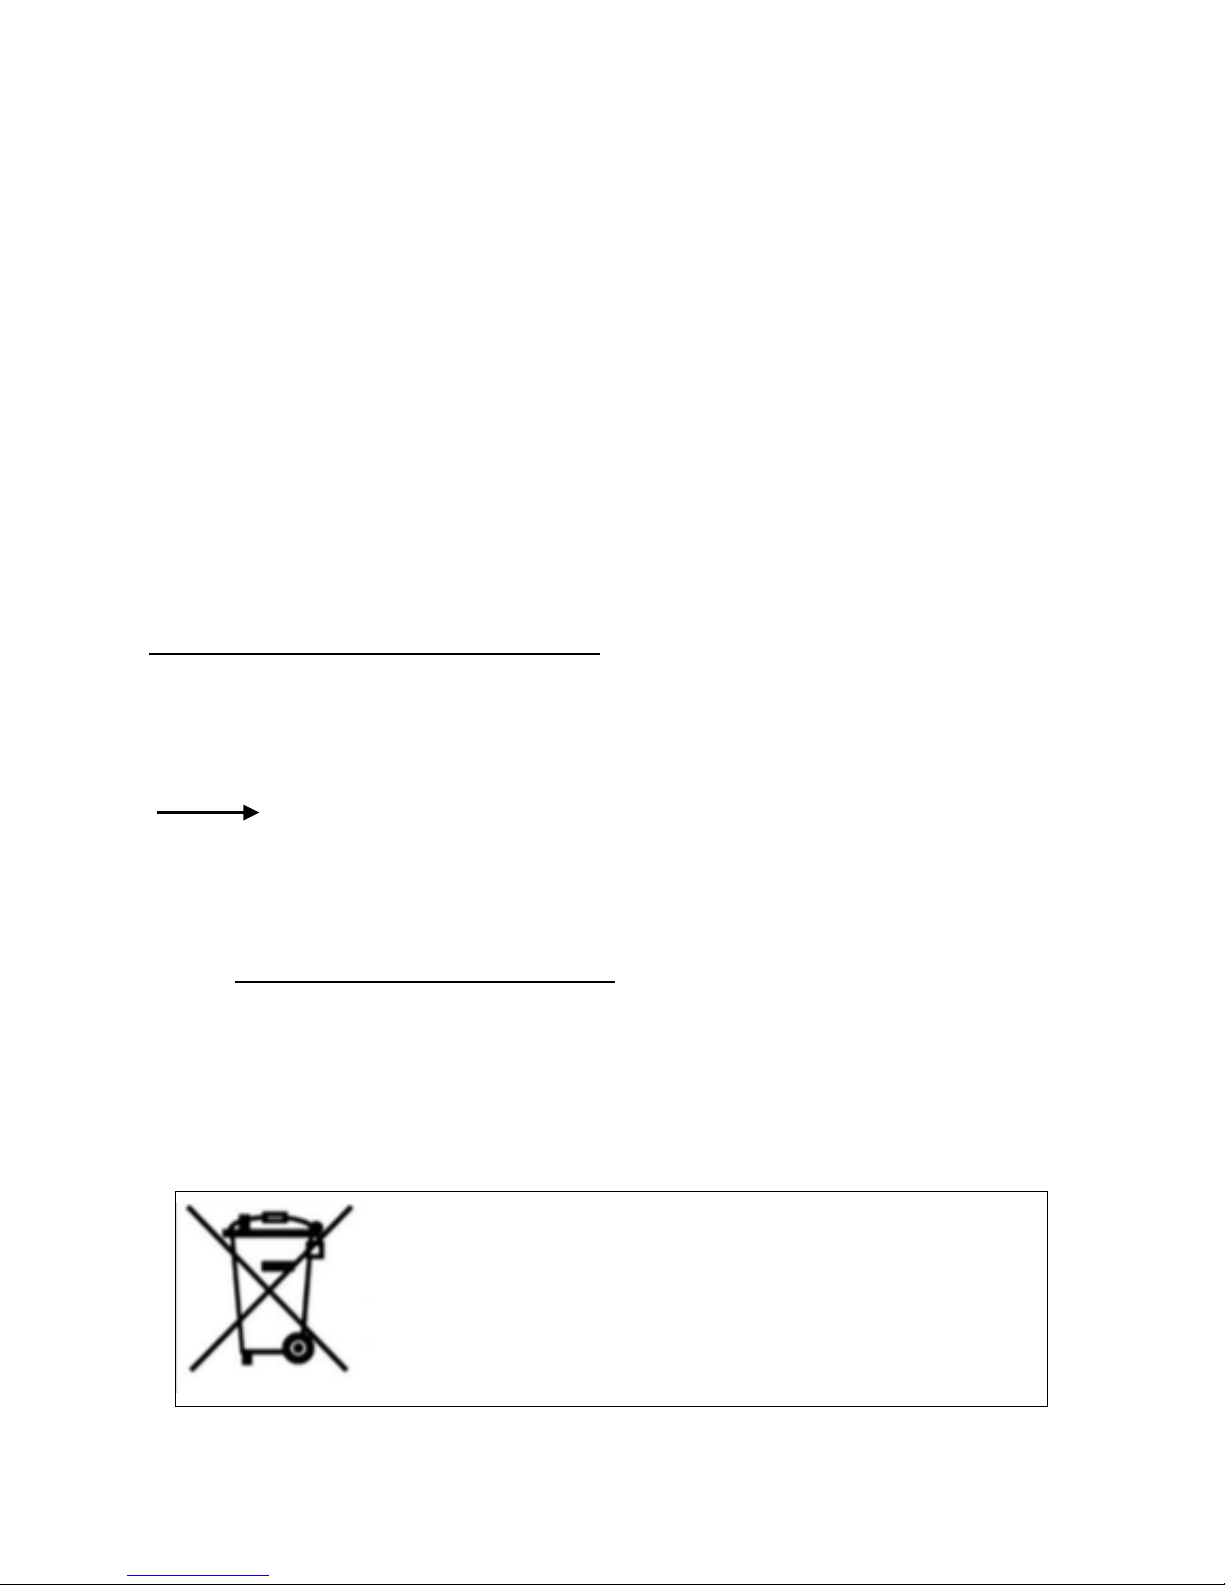
Care for the environment!
Do not discard this product with household waste!
This product contains electrical or electronic
components that should be recycled.

WARNING!
IMPROPER USE OF THIS LASER CAN CAUSE SERIOUS INJURY!
THIS TOOL SHOULD ONLY BE USED BY PEOPLE WHO HAVE
READ AND UNDERSTAND THIS MANUAL.
YOUR NEXT STEPS:
1) Carefully review this instruction manual before use.
2) Save this instruction manual for future reference.
NOTE: A downloadable version of this manual is available at
www.amstontools.com/manuals.
WARNING: The following label is attached to the side of your tool for
your safety and convenience. Do not remove, deface, or cover any
warning labels because it can increase the risk of exposure to laser
radiation. The warning labels are required to be clearly visible to users
in order to comply with FDA & IEC regulations.
© Amston Tool Company. All Rights Reserved. - -4

SAFETY INSTRUCTIONS
This instrument complies with FDA laser Class II and is safe when used
in accordance with this manual.
XNEVER point the laser beam at people or animals.
XNEVER look directly into the laser beam; serious injury may result.
XDO NOT stare at the beam being reflected off any surface. Looking
at the reflected beam for long periods of time can cause eye strain or
damage.
X DO NOT open the laser level shell.
X DO NOT remove, cover, or damage the labels on the laser level.
X NEVER attempt to modify the instrument to increase the laser
power.
X NEVER point the laser beam at highly reflective surfaces that can
reflect the beam back towards the user. The laser can cause serious
and permanent eye damage.
X DO NOT use the laser level for any purpose other than measuring
and marking.
X DO NOT use alcohol or other organic or chemical solvents to clean
the lens. !
© Amston Tool Company. All Rights Reserved. - -5

TECHNICAL SPECIFICATIONS
Laser Type: Class II, 630-670 nm wavelength
Working Range: 30’, depending on lighting conditions
Accuracy: +/- 0.18” at 30’
Self-Leveling Range: +/- 4 degres
Working Temperature Range:40 F to 95 F
Storage Temperature Range: 23 F to 110 F
Batteries: Requires two Type AA batteries (not included)
Weight: 6.5 ounces
Dimensions: 1.75”w x 3.625”h x 2.875”d
© Amston Tool Company. All Rights Reserved. - -6

INSTALLING BATTERIES
The battery cover is on the top of the level.
To install batteries, slide the battery cover towards the rear of the level
(away from the laser) to open the cover.
Insert two (2) AA type batteries. (Not included)
Be sure to position one battery with the positive end up, and the other
with the positive end down, as shown inside the battery slot.
To close the cover, slide it forward until it snaps into place.
!
© Amston Tool Company. All Rights Reserved. - -7
Battery Cover

OPERATION
CAUTION! Use of controls or adjustments or performance of
procedures other than those specified herein may result in
hazardous radiation exposure.
CAUTION! The use of optical instruments with this product will
increase eye hazard.
*NOTE - There are TWO (2) MODES of operation:
1) Self-Leveling Mode
2) Fixed Laser Mode
OPERATING IN SELF-LEVELING MODE
To operate the level in Self-Leveling Mode, push the ON/OFF switch on
the side of the level UP to the ON position.
To turn the Cross-Line laser on or off, press the + button on the top of
the level.
© Amston Tool Company. All Rights Reserved. - -8
ON POSITION/
SELF-LEVELING MODE
(continued…)
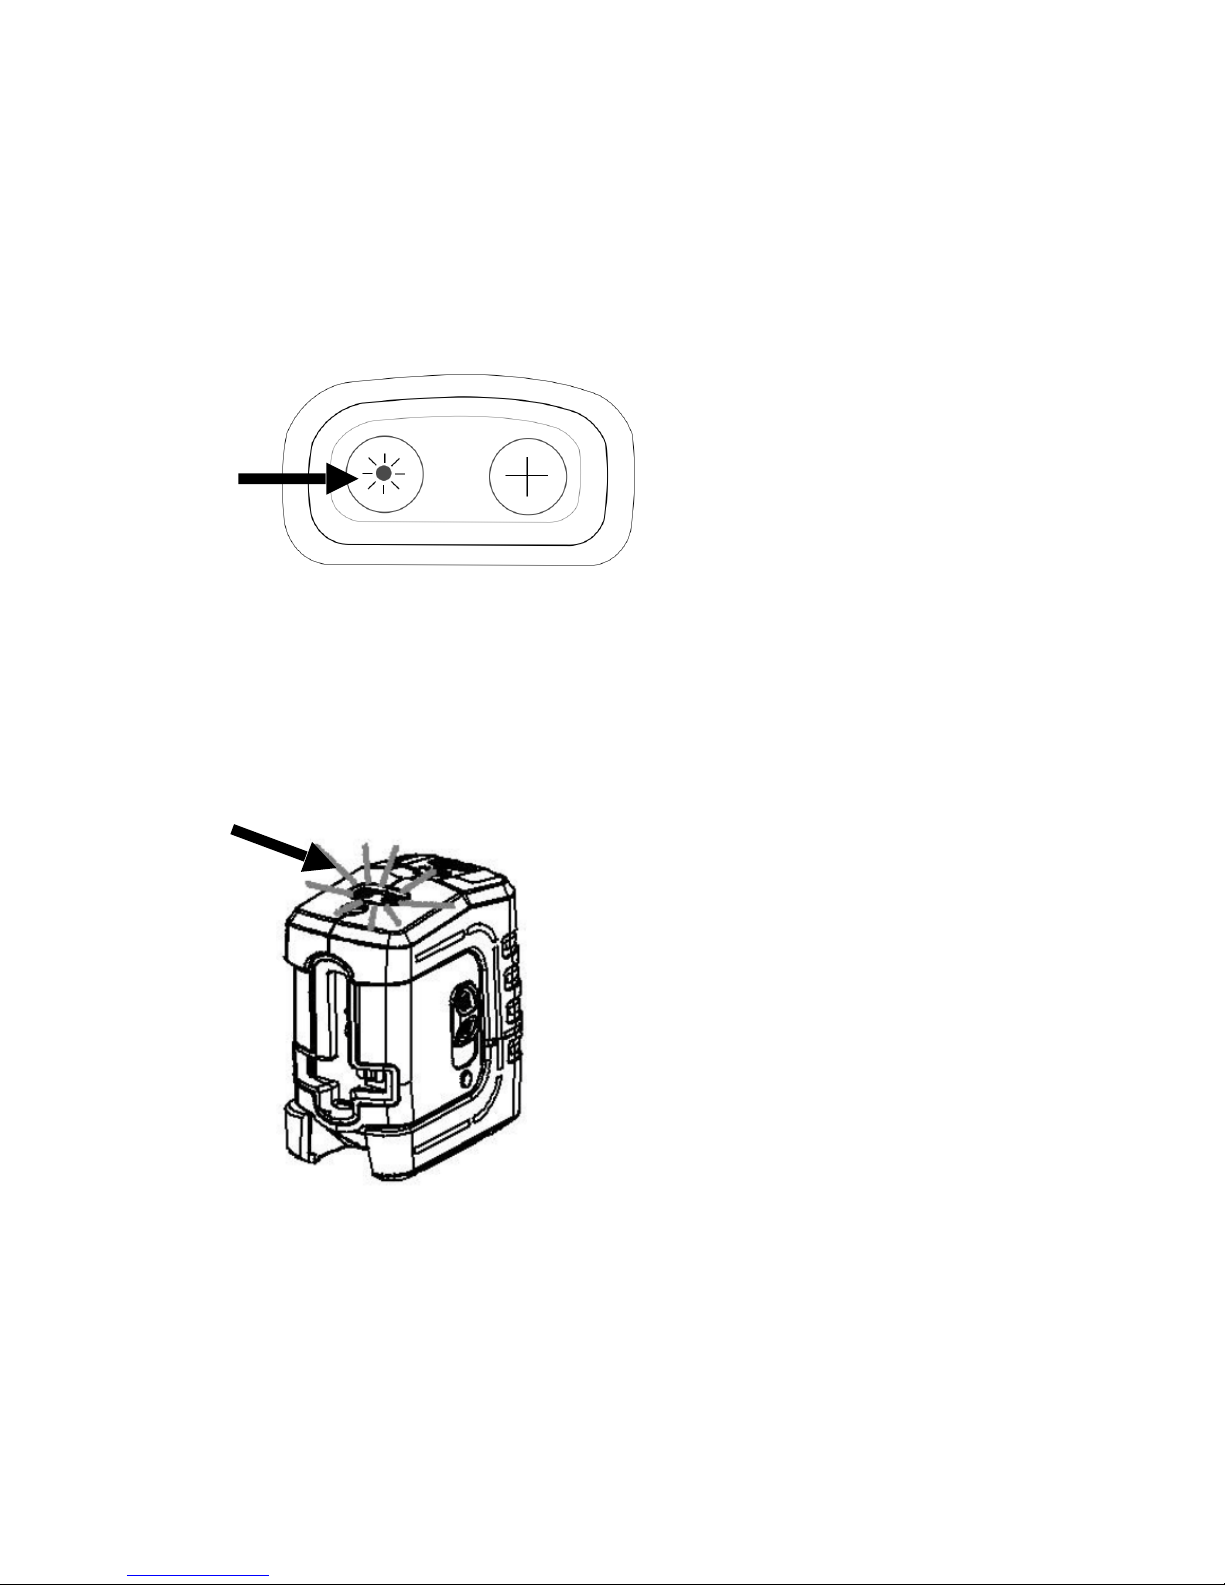
OPERATING IN SELF-LEVELING MODE
To turn the Plumb Dot laser on or off, press the * button on the top of
the level.
The level has a self-leveling range of +/- 4 degrees. If the laser is not
within the self-leveling range when operating in Self-Leveling Mode, a
red light will flash on top of the level and the lasers will turn off. To cor-
rect this, adjust the position of the level until the red light turns off.
If the power switch is in the “ON” position, the indicator light is not lit,
and the laser is not on, press the + or *button on top of the level to turn
the laser on. If it still does not turn on, verify that the batteries are in
the correct position and that the batteries have sufficient charge.
© Amston Tool Company. All Rights Reserved. - -9
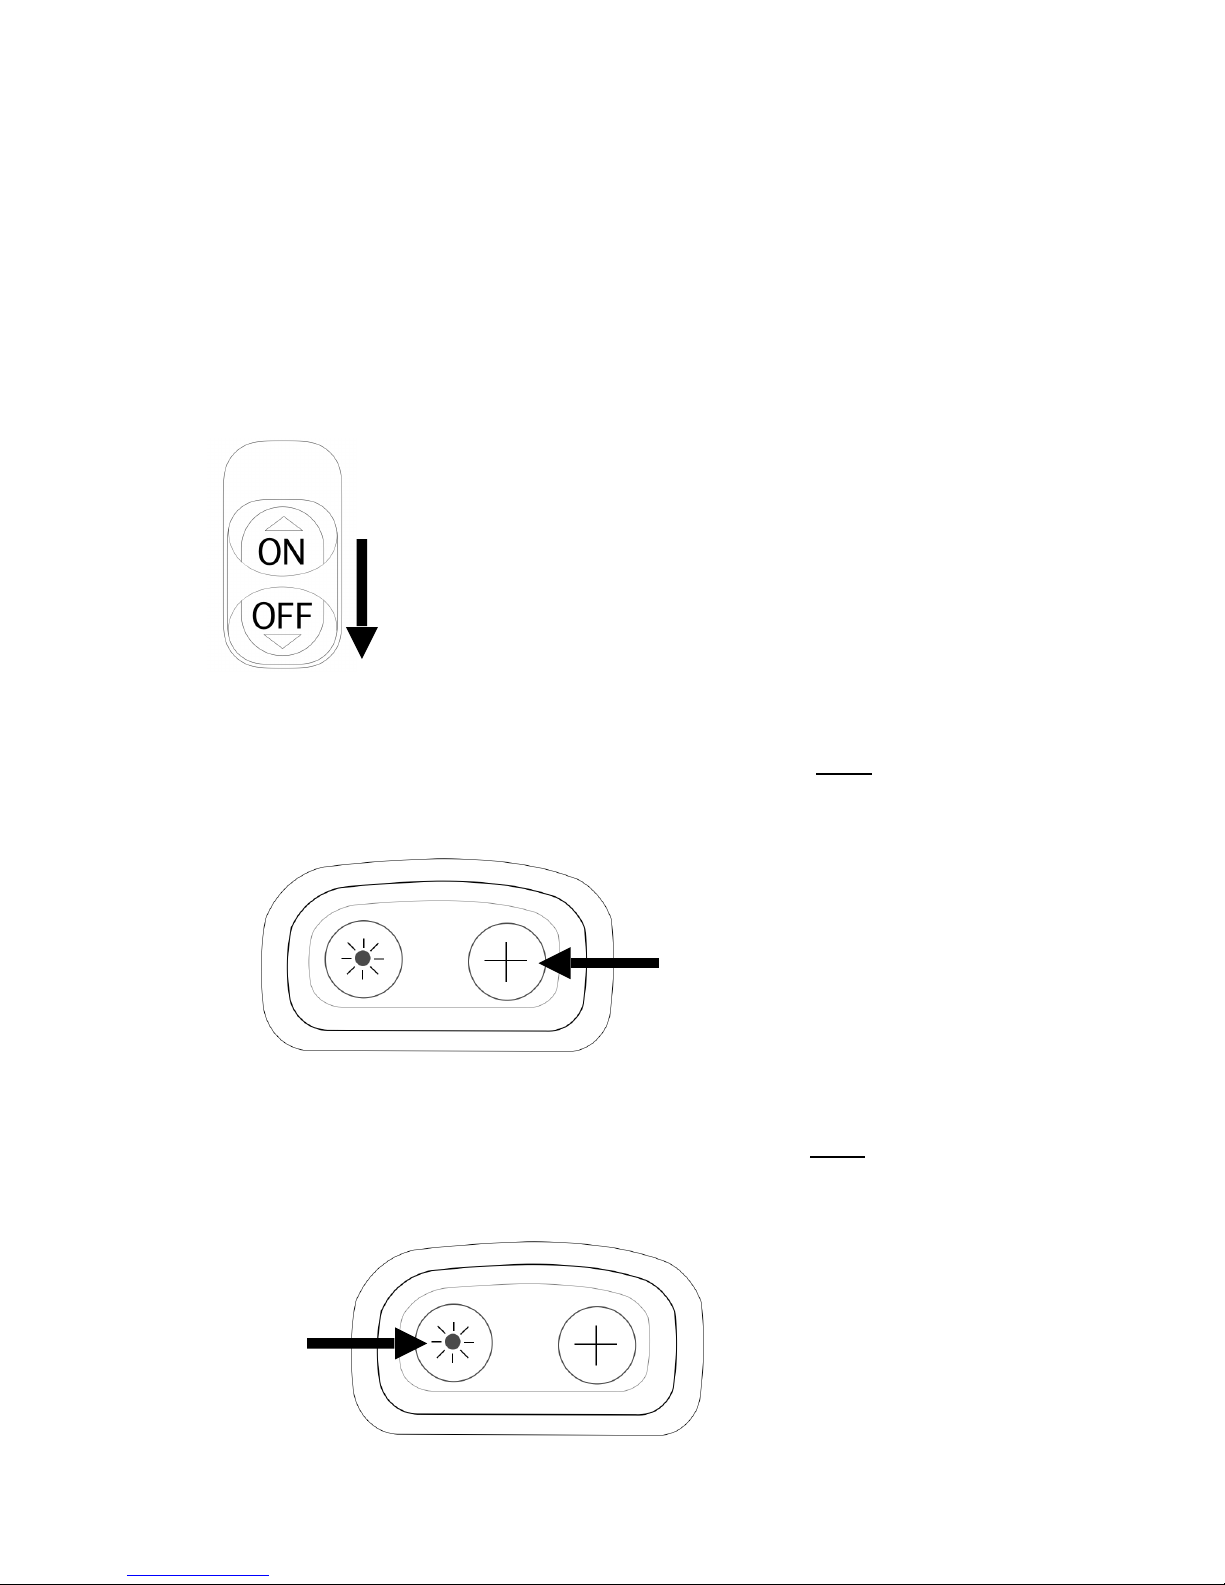
OPERATING IN FIXED LASER MODE
To operate the level in Fixed Laser Mode, push the ON/OFF switch on
the side of the level DOWN to the OFF position. Fixed Laser Mode will
not work with the switch in the ON position.
To turn the Cross-Line laser on or off, press and hold the + button
on the top of the level for 2 seconds.
To turn the Plumb Dot laser on or off, press and hold the *button on
the top of the level for 2 seconds.
© Amston Tool Company. All Rights Reserved. - -10
OFF POSITION/
FIXED LASER MODE
Table of contents


