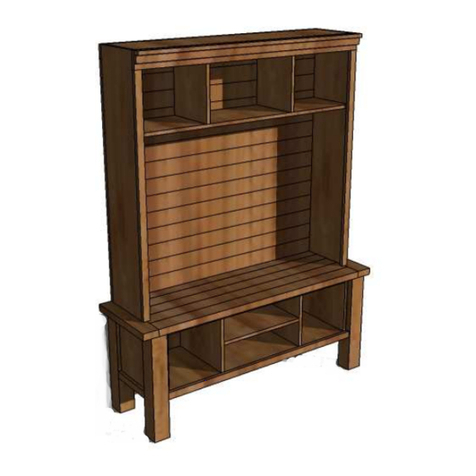
PLANS: Tryde Media Hutch
Copyrighted Material
See www.knock-offwood.com for full disclaimer
Page 6
STEP 5: CROWN
Stack the crown and attach it to
the header as shown above. Use
1 ¼” nails and glue. Also add 2”
nails to the face of the purple
board, nailing though the face
into the top edge of the hutch.
STEP 6: ASSEMBLY
It is recommended that you attach the hutch securely to the wall behind the console to avoid tipping
hazards.
FINISHING
Fill all holes with wood filler. Sand with coarse sandpaper. Fill holes with wood filler again, and sand
with medium grit sandpaper. Then finish with a fine sandpaper. Always sand in the direction of the
wood grain. If you are painting, prime, painting the insides first, outsides last. Add two coats of paint.
You can add a clear top coat if you wish. For staining, always test out a scrap piece, with wood filler. If
the wood filler is not taking stain, you may wish to buy a color coordinated wood filler and fill your holes
with this. If the stain is going on blotchy, you may need to apply a wood conditioner prior to the stain.
Apply a top coat if necessary.


