ANDO ELECTRIC AQ7250 User manual

AQ7250
mini-OTDR
Instruction Manual
ANDO ELECTRIC CO., LTD
©Copyright ANDO ELECTRIC CO., LTD. JAPAN 1999
AS-62488-1 Rev.2.1

Preface
I
Preface
PrefacePreface
Preface
We greatly appreciate your purchase of the AQ7250 mini-OTDR.
The AQ7250 mini-OTDR is a small sized measuring instrument which is equipped with various
functions, and is used for event localization and transmission loss measurement of optical fiber
cables.
Before using the AQ7250 mini-OTDR (hereafter called the instrument), be sure to read this manual
thoroughly. Especially, read the “Safety precautions” in the opening section of this manual and
familiarize yourself with the contents, then use the instrument.
This manual should be stored with great care so that it is accessible while operating the instrument.

Warranty
II
Warranty
WarrantyWarranty
Warranty
• The guarantee period is limited to one year after you purchased the product.
• If you find that the product is defective within the guarantee period, we will repair the
product at no charge to you according to our guarantee.
• If the failure or damage is caused by the user, by a modification or change, or by a natural
disaster, even within the guarantee period, we shall not be liable for free service.
• ANDO ELECTRIC products posses certificates which guarantee quality.
• ANDO ELECTRIC products are shipped after strict inspection has been carried out
according to the ANDO ELECTRIC quality assurance system. If a defect occurs during
manufacturing, or if a defect is caused by an accident during transportation, contact the
nearest office in charge of sales, given at the end of the instruction manual.

Marks and symbols
III
Marksandsymbols
MarksandsymbolsMarksandsymbols
Marksandsymbols
Safety mark and symbol
The following marks are used as guides for the safe handling of the instrument, to prevent you or
other people from being harmed, and to prevent the instrument from being damaged. Familiarize
yourself with these symbols, then read the manual.
WARNING
This mark indicates the presence of a hazard which will cause severe
personal injury or death if the warning is ignored and the instrument is
incorrectly operated.
CAUTION
This mark indicates the presence of a hazard which may cause considerable
personal injury or property damage if the caution is ignored and the
instrument is incorrectly operated.
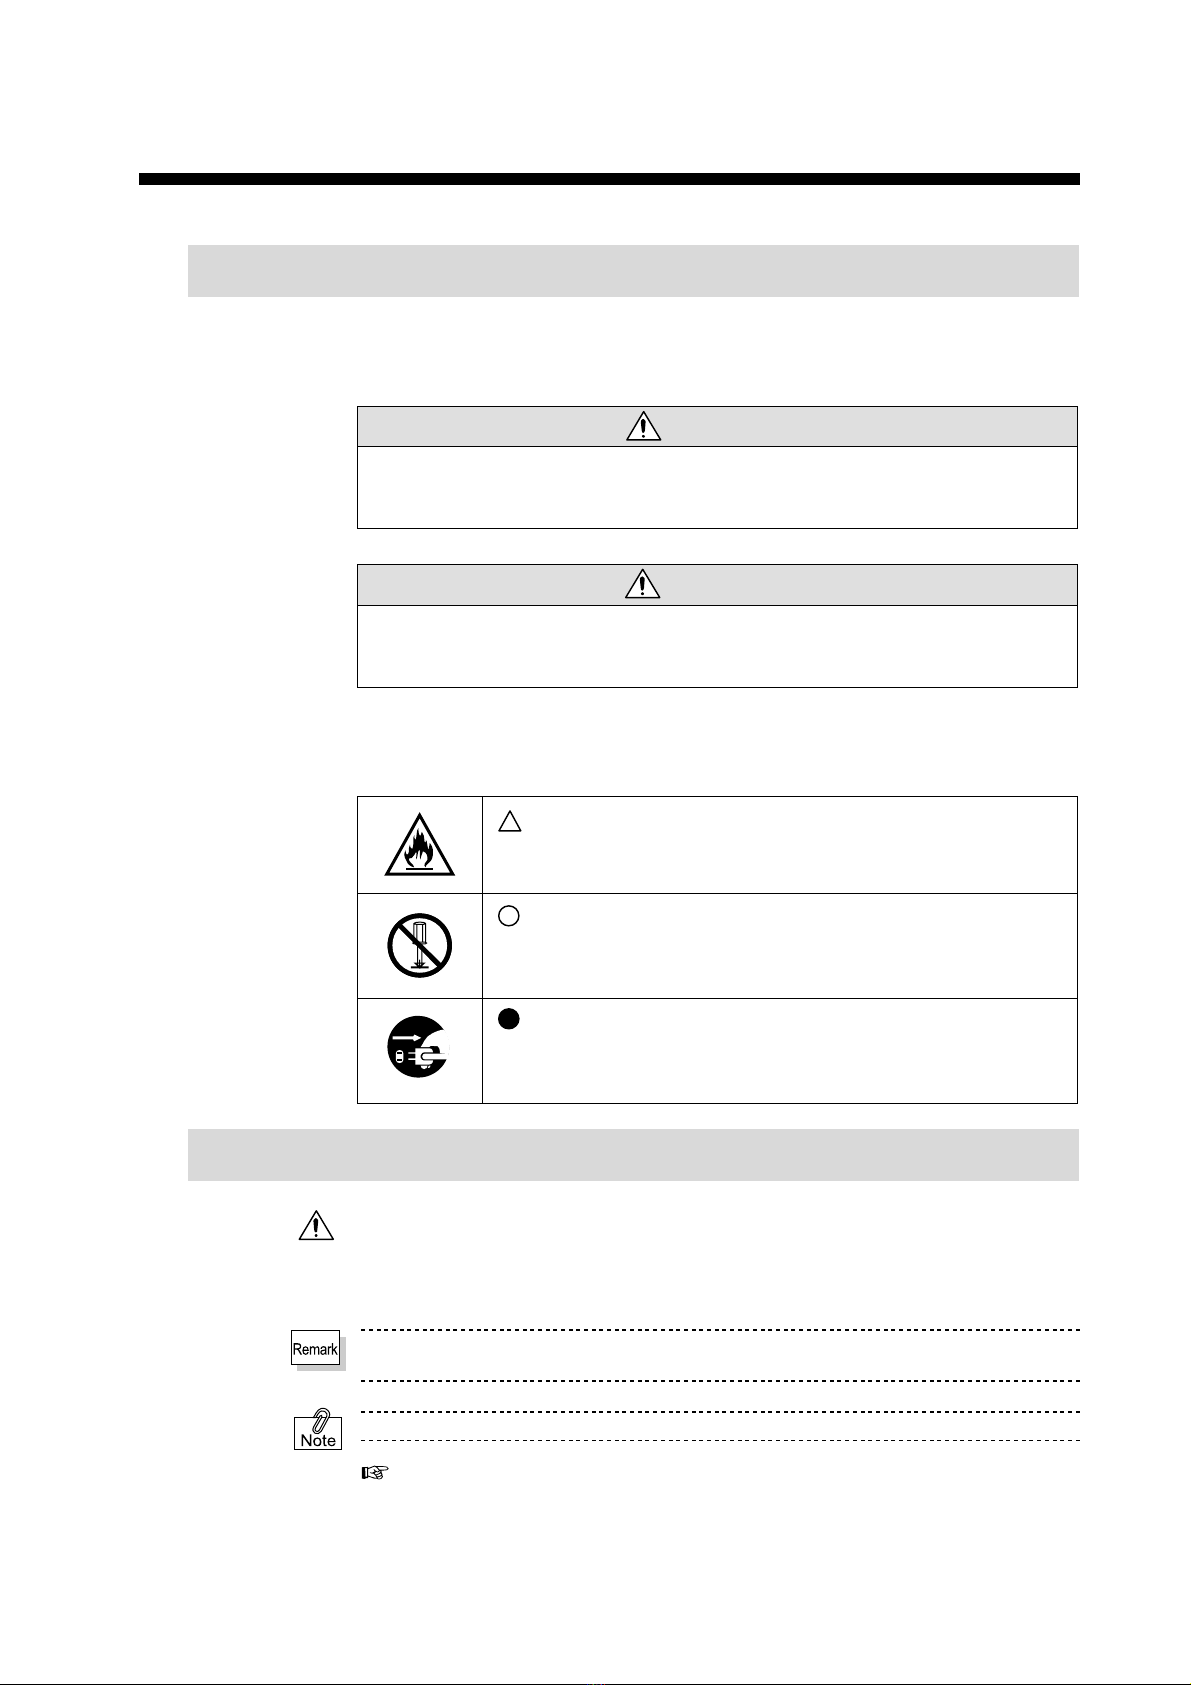
In addition, the following symbols are used along with the above marks to highlight the risk of
personal injury or property damage.
indicates “Attention” such as for warning and caution.
An illustration in the symbol indicates the specific warning.
(The example on the left shows a caution against fire.)
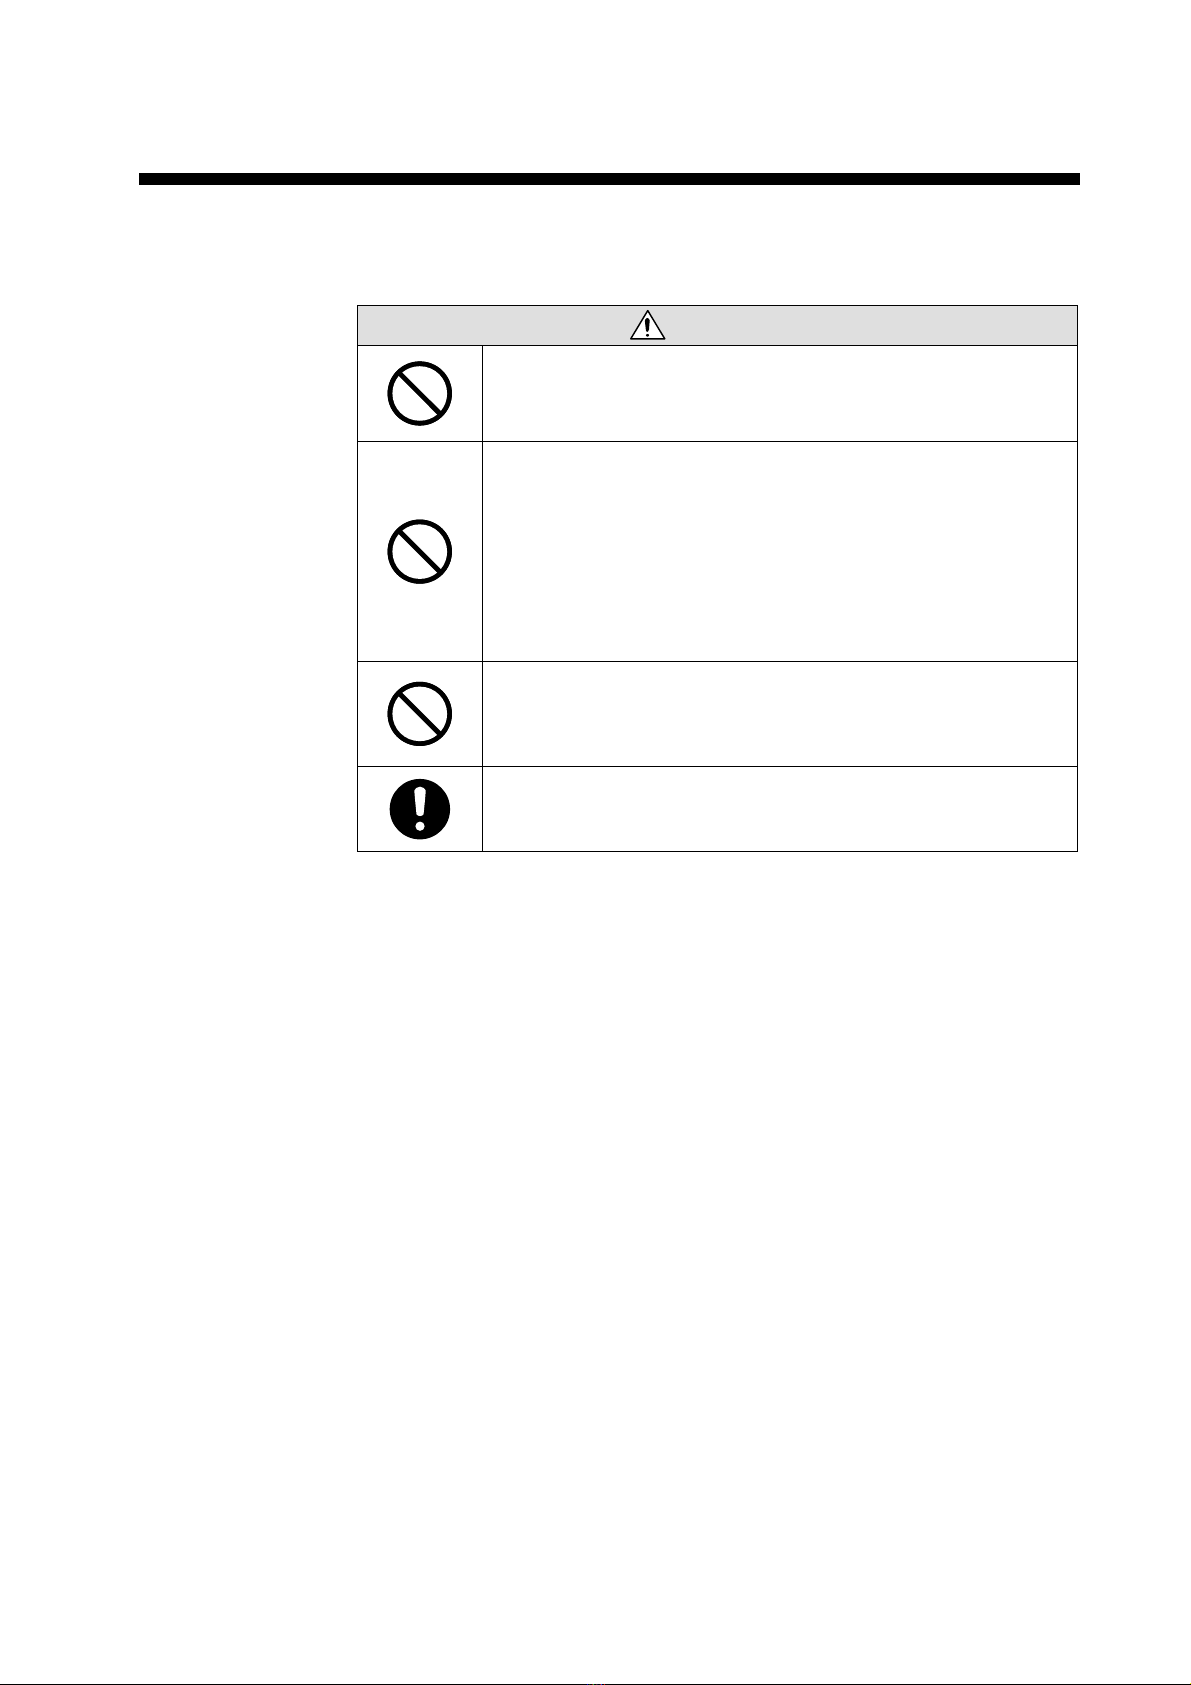
indicates “Prohibition”.
An illustration in the symbol indicates the specific
prohibition. (The example on the left shows a prohibition
against disassembly.)
indicates “Action”.
An illustration in the symbol indicates the specific action to
be taken. (The example on the left shows that the AC plug
adaptor should be removed from the socket.)
Other symbols
This is called the alert symbol.
Text following this symbol refers to an important point of safety. Be sure to observe this
notice. A combination of this symbol with “WARNING” or “CAUTION” indicates the
level of personal injury or property damage.
Indicates precautions, procedures and check items which should be referred to when
handling the instrument.
Indicates information which should be consulted when using the instrument.
Indicates a reference page described in this manual.

Safety precautions
IV
Safetyprecautions
SafetyprecautionsSafetyprecautions
Safetyprecautions
To use the instrument safely, read this instruction manual, especially the section “Safety precautions”
thoroughly. After you have read the manual, be sure to store it in an easily accessible place.
For the safety operation
This instrument is a Class I measuring instrument.
WARNING
When the AC adapter is used, be sure to provide grounding by
using a wire of AWG18 or equivalent (3 m or shorter).

Safety precautions
V
LASER SAFETY
Initial Safety Information for Laser Source Unit.
The Specifications for these Units are as follows.
AQ7254 AQ7255 AQ7259
Laser Type FP-Laser
InGaAsP FP-Laser
InGaAsP FP-Laser
AlGaAsP/InGaAsP
Laser Class
According to
21 CFR 1040.10
(Canada, USA)
1 1 1
Laser Class
According to
EN60825-1:1994+A11:1996
(Europe)
3A 3A 3A
Pulse Width 0.02, 0.1, 0.2, 0.5, 1, 4,
10
µsec
0.01, 0.02, 0.1, 0.2, 0.5,
1, 4, 10, 20
µsec
0.01, 0.02, 0.1, 0.2, 0.5,
1
µsec
Beam Diameter 10µm 10µm 62.5µm
Wavelength 1.31/1.55±0.03µm 1.31/1.55±0.025µm 0.85/1.30±0.03µm
AQ7254B AQ7255B AQ7256B
Laser Type FP-Laser
InGaAsP FP-Laser
InGaAsP FP-Laser
InGaAsP
Laser Class
According to
21 CFR 1040.10
(Canada, USA)
1 1 1
Laser Class
According to
EN60825-1:1994+A11:1996
(Europe)
3A 3A 3A
Pulse Width 0.01,0.02, 0.1, 0.2, 0.5,
1, 4, 10,20
µsec
0.01, 0.02, 0.1, 0.2, 0.5,
1, 4, 10, 20
µsec
0.01, 0.02, 0.1, 0.2, 0.5,
1,4,10,20
µsec
Beam Diameter 10µm 10µm 10µm
Wavelength 1.31/1.55±0.03µm 1.31/1.55±0.025µm 1.31/1.55/1.625
±0.025µm

Safety precautions
VI
NOTE
Canada, USA
The Laser safety warning labels are fixed on the optical unit
NOTE
Europe
A sheet of laser safety warning labels are included with the optical unit. You MUST stick the labels in the
local language onto the outside of the mainframe, in a position where they are clearly visible to anyone using
the instrument.
You MUST return instruments with malfunctioning laser boxes to a Service Center for repair and
calibration.
WARNING
Use of controls or adjustments or performance of procedures
other than those specified for the laser source may result in
hazardous radiation exposure.
Do not emit a laser light when an optical fiber is not connected
on the optical output connector. The optical output connector
is located on the top panel of this instrument.
The LD unit emits laser light when either “REAL TIME”
or ”AVERAGING START/STOP” button is pressed. The
buttons are located on the front panel of this instrument.
“LASER ON” is displayed on the display of this instrument
while a laser light is emitted.
Under no circumstances look into the end of an optical cable
attached to the optical output when the device is operational.
The laser radiation is not visible to the human eye, but it can
seriously damage your eyesight.
Refer Servicing only to qualified and anthorized personnel.

Safety precautions
VII
LASER SAFETY
Informations et Consignew de Sécurité Relatives à l’Utilisation des Lasers.
Les Spécifications des Modules Laser sont les Suivantes:
AQ7254 AQ7255 AQ7259
Laser Type FP-Laser
InGaAsP FP-Laser
InGaAsP FP-Laser
AlGaAsP/InGaAsP
Laser Class
Accordingto
21 CFR 1040.10
(Canada, USA)
1 1 1
Laser Class
According to
EN60825-1:1994+A11:1996
(Europe)
3A 3A 3A
Pulse Width 0.02, 0.1, 0.2, 0.5, 1, 4,
10
µsec
0.01, 0.02, 0.1, 0.2, 0.5,
1, 4, 10, 20
µsec
0.01, 0.02, 0.1, 0.2, 0.5,
1
µsec
Beam Diameter 10µm 10µm 62.5µm
Wavelength 1.31/1.55±0.03µm 1.31/1.55±0.025µm 0.85/1.30±0.03µm
AQ7254B AQ7255B AQ7256B
Laser Type FP-Laser
InGaAsP FP-Laser
InGaAsP FP-Laser
InGaAsP
Laser Class
Accordingto
21 CFR 1040.10
(Canada, USA)
1 1 1
Laser Class
According to
EN60825-1:1994+A11:1996
(Europe)
3A 3A 3A
Pulse Width 0.01,0.02, 0.1, 0.2, 0.5,
1, 4, 10,20
µsec
0.01, 0.02, 0.1, 0.2, 0.5,
1, 4, 10, 20
µsec
0.01, 0.02, 0.1, 0.2, 0.5,
1,4,10,20
µsec
Beam Diameter 10µm 10µm 10µm
Wavelength 1.31/1.55±0.03µm 1.31/1.55±0.025µm 1.31/1.55/1.625
±0.025µm

Safety precautions
VIII
Remarque
Canada, USA
Les etiquettes de sécurité sont affichées sur le module laser.
Remarque
Europe
Les etiquettes de sécurité sont incluses dans le module laser. Il est obligatoire de coller une
etiquette en langage local à l’exterieur de l’appareil de telle sorte qu’elle soit parfaitement visible
par l’utilisateur.

Safety precautions
IX
Il est obligatoire de retourner tout appareil présentant un défaut de fonctionnement du laser
uniquement à un centre de réparation. radiations
WARNING
L’utilisation du laser en dehors de ses limites de performances
et des procédures définies par peut conduire à une exposition
dangereuse de l’utilisateur aux radiations.
Ne pas émettre de lumière quand la fibre optique n’est pas
connecté au connecteur de sorite.
Le connecteur optique de sorite est placé sur le paneau du
dessus de cet instrument.
La diode laser émet quand le bouton <REAL TIME> ou
<AVERAGING START/STOP> est activé
Ces boutons sont situés sur la face avant de cet instrument.
<LASER ON> s’affiche sur l’affichage de cet instrument
pendent l’émlssion de la lumière.
En aucun cas ne tenter de regarder l’extrémité de la fibre
optique attachée au connecteur lorsque le laser est en activité.
Bien que la lumière émise par le laser ne soit pas visible elle
peut cependant être dangereuse pour la vue.
Seul le personnel autorisé par est qualifié pour intervenir sur le
laser.

Safety precautions
X
LASER SAFETY
Sicherheitsinformation für Laser Quellen
Die Spezifikationen für die Lasereinschübe sind wie folgt:
AQ7254 AQ7255 AQ7259
Laser Type FP-Laser
InGaAsP FP-Laser
InGaAsP FP-Laser
AlGaAsP/InGaAsP
Laser Class
According to
EN60825-1:1994+A11:1996
(Europe)
3A 3A 3A
Pulse Width 0.02, 0.1, 0.2, 0.5, 1, 4,
10
µsec
0.01, 0.02, 0.1, 0.2, 0.5,
1, 4, 10, 20
µsec
0.01, 0.02, 0.1, 0.2, 0.5,
1
µsec
Beam Diameter 10µm 10µm 62.5µm
Wavelength 1.31/1.55±0.03µm 1.31/1.55±0.025µm 0.85/1.30±0.03µm
AQ7254B AQ7255B AQ7256B
Laser Type FP-Laser
InGaAsP FP-Laser
InGaAsP FP-Laser
InGaAsP
Laser Class
According to
EN60825-1:1994+A11:1996
(Europe)
3A 3A 3A
Pulse Width 0.01,0.02, 0.1, 0.2, 0.5,
1, 4, 10,20
µsec
0.01, 0.02, 0.1, 0.2, 0.5,
1, 4, 10, 20
µsec
0.01, 0.02, 0.1, 0.2, 0.5,
1,4,10,20
µsec
Beam Diameter 10µm 10µm 10µm
Wavelength 1.31/1.55±0.03µm 1.31/1.55±0.025µm 1.31/1.55/1.625
±0.025µm

Safety precautions
XI
Hinweis
Europe
Ein Blatt mit Laser Warnaufklebern ist jedem Lasereinschub beigefügt. Die Aufkleber müssen in
der Landessprache, für den Anwender gut sichtbar, an der Aussenseite des Grundgerätes angebracht
werden.
Defekte Lasereinschübe müssen zur Reparatur oder zur Kalibration an ein Service Büro geschickt
werden.
WARNING
Bedienung, Abgleicharbeiten oder die Durchführung von
Tests, die nicht im Handbuch angegeben sind, können zum
Austritt gefährlicher Strahlung führen.
Ist kein Lichtwellenleiter an den optischen Ausgabeanschluβ
angeschlossen ist, die Laserausgabe nicht auf ENABLE
stellen. Der optische Ausgabe-Anschluβbefindet sich auf der
Oberseite des Systems.
Der Laserstrahl wird durch Betätigen der “REAL TIME” oder
“AVERAGING START/STOP”-Taste an der Vorderwand des
Systems ausgegeben.
Während der Laserstrahl ausgegeben wird, zeigt des
LCD-Display des Systems “LASER ON” an.
Wenn der Laser eingeschaltet ist, darf unter keinen
Umständen in das Ende des optischen Kabels oder in den
Laserausgang am Gerät geschaut werden.
Der Laserstrahl ist für das menschliche Auge unsichtbar, kann
aber das Sehvermögen ernsthaft verletzen.
Reparaturarbeiten dürfen nur von qualifliziertem und
bevollmächtigtem Personal durchgeführt werden.

Safety precautions
XII
Precautions for the power supply
Three types of the power supply can be used for the instrument. Use each power supply after
reading the precautions thoroughly.
Special AC adapter
WARNING
Be sure to provide grounding before operation.
Not grounding may cause an electric shock or damage to the
equipment.
CAUTION
Do not connect or disconnect the AC adapter when the power
supply is turned ON.
The equipment may be damaged.
Battery pack
WARNING
Use only the special battery pack.
Otherwise an electric shock, fire, or damage to the equipment
may occur.
When the battery pack is to be attached or removed, turn off
the power switch, and remove the AC adapter.
An electric shock may occur.
Do not throw the battery pack into a fire.
An explosion may occur.
CAUTION
Do not disassemble or modify the instrument.
An electric shock, fire, or an accident may occur.
Keep the instrument away from raindrops.
An electric shock, fire, or damage to the equipment may occur.
Do not short-circuit a terminal.
A fire, or damage to the equipment may occur.

Safety precautions
XIII
CAUTION
Do not shake or drop the instrument.
The equipment may be damaged.
Do not place the instrument in a heated place such as a place
exposed to sun glare, or in the glove box of a car, or in a humid
place.
Solution may leak or rust may occur on the metal surface.
When the instrument is not to be used for a long time, remove
the battery pack.
If the battery level is low, charge the battery as soon as
possible.
Leaving the level low may cause over discharge, reducing the
battery pack performance and life.
If solution from the battery (dilute sulfuric acid) comes in
contact with the skin, wash it immediately using a lot of water.
• To prevent battery failure, carry out regular visual checks to confirm that there is
no
damage such as cracks or leakage.
• Prolonged storage may shorten the battery life.
In this case, charge/discharge the battery several times. Normal battery life can be
recovered in this way.
• To prevent over discharge, charge the battery regularly (every three months).
• Charge the battery pack at a temperature between 5°C and 35°C. Charging at other
temperatures will reduce the battery pack performance and life.
• Please remove a battery pack, when you do not use AQ7250 for a long period of
time. Please keep the removed battery pack in the place with little humidity of
-20°C and +30°C.
• If charge is repeated and is performed without using up the electric power of a
battery pack completely, a battery will memorize the charge level, and if the level
at the time of electric discharge is reached, although electric power remains, the
"memory effect" of stopping an electric power supply is caused.
In order to return battery capacity, after carrying out full electric discharge once
or twice, the influence of a “memory effect” is cancelable by repeating the method
of carrying out full charge.
+12VDC external power supply
If the external power supply is to be used, special consultation must be taken.
WARNING
Be sure to consult us before using the external power supply.
We shall not be liable if an accident or failure occurs due to
use without consultation.

Safety precautions
XIV
Precautions for the operating environment and conditions
Rule for the operating environment
WARNING
Be careful not to let the instrument get wet.
A fire, electric shock, or damage to the equipment may occur.
Rule for the operating conditions
WARNING
Be sure to use the authorized battery pack and AC adapter.
A fire, electric shock, or an accident may occur.
Precautions for installation and system setting
Precautions for personnel who carry out installation and
system setting
WARNING
Be sure to provide grounding before operation.
Not grounding may cause electric shock or damage to the
equipment.
Do not connect the power supply using parallel connection.
The cable may overheat, resulting in a fire.
CAUTION
Insert the power plug into the socket securely.
If a metal item comes in contact with the power plug, a fire or
electric shock could occur.
When holding the instrument, be careful not to drop it.
This may cause injury.

Safety precautions
XV
Rules and prohibitions relating to the installation
environment and conditions
WARNING
Do not insert a metal bar into the interior from the opening.
A fire, electric shock, or an accident may occur.
CAUTION
Keep the power cord away from the heat sources.
An uncoated cord may cause a fire or electric shock.
Do not connect or disconnect the power plug with a wet hand.
An electric shock may occur.
Do not place the instrument in a humid or dusty place.
An electric shock or damage to the equipment may occur.
Do not place the instrument on an unstable surface such as a
shaky or sloping table.
The instrument may fall or move, resulting in injury.
Do not place the instrument on a surface subjected to vibration
or impact.
The instrument may fall or move, resulting in injury.
When the power cord is to be removed, pull out the plug.
If the cord is pulled, it may be damaged, resulting in a fire or
electric shock.
Do not store the instrument in a place exposed to sun glare or
in a car in hot weather.
The temperature inside the instrument may rise, resulting in
failure.
Prohibitions relating to installation
WARNING
Do not damage, break, or modify the power cord.
If a heavy item is placed on the cord, or the cord is overheated
or pulled, it may be damaged, resulting in a fire or electric
shock.
CAUTION
Move the instrument only after the power plug has been
removed from the socket and the external line has been
disconnected.
Otherwise the cord may be damaged, resulting in a fire or
electric shock.

Safety precautions
XVI
Precaution when handling the instrument
For the procedure for handling the instrument, refer to the instruction manual.
If an alert symbol (combined with “WARNING” or “CAUTION”) is found, use the instrument
according to the instructions in the manual.
WARNING
Do not place containers with water or other liquids, or any
small metal pieces above or close to the instrument.
If water spills on the instrument or any metal piece enters, a
fire, electric shock or damage to the equipment may occur.
Do not modify, bend, distort, or pull the power cord
intentionally.
A fire or electric shock may occur.
Be sure to connect or disconnect the connectors with the
instrument after the power supply has been turned off.
A fire, electric shock or damage to the equipment may ocuur.
Do not disassemble or modify the instrument.
A fire, electric shock or an accident may occur.
Do not charge the battery while there is moisture on the battery
pack terminal.
A fire or electric shock may occur.
CAUTION
Check the battery polarity (positive and negative positioning)
before inserting it.
Incorrect positioning may cause the battery to burst or the
solution to leak, resulting in a fire, injury or local contamination.
When an open/close section is to be closed, exercise care not
to pinch or hurt the fingers.
When the instrument is not to be used for a long time, be sure
to remove the power plug from the socket for safety.
Lightening may cause a fire or electric shock.
Do not use the instrument in temperatures of 0°C or less.
An indication error may occur.
Do not short-circuit the battery pack terminal with a metal
object.
A fire, or damage to the equipment may occur.

Safety precautions
XVII
Precautions for maintenance
Regular maintenance is recommended.
Contact the nearest office in charge of sales, given at the end of the instruction manual.
CAUTION
If dust has acculumated in the instrument for a long time
without being cleaned, a fire or damage to the equipment may
occur.
Countermeasures when an error occurs
WARNING
If an error occurs in the instrument, do not repair it by yourself.
An electric shock or injury may occur. The guarantee is void if
the instrument is repaired by the user without our approval.
If the instrument has been dropped or broken, turn off the main
power switch, remove the power plug from the socket, then
contact us.
Continued operation of the instrument may cause a fire,
electric shock, or damage to the equipment may occur.
If foreign matter enters the instrument, turn off the main power
switch, remove the power plug from the socket, then contact
us.
Continued operation of the instrument may cause a fire,
electric shock, or damage to equipment may occur.
If the instrument is operated in a condition where there is
smoke or an unusual odor emitted from it, this may cause a
fire, electric shock, or damage to the equipment. If an
abnormal condition occurs, turn off the main power switch
immediately and remove the power plug from the socket. After
checking that no more smoke is emitted, ask us to repair it.
Never repair the instrument by yourself as it is very dangerous.
If the power cord is damaged, ask us to replace it.
Using the cord as it is may cause a fire or electric shock.
Precautions for discarding the instrument
WARNING
When the instrument is to be discarded, do not throw it into a
fire.
Explosion may cause a fire or injury such as burn, etc.

How the manual is structured
XVIII
Howthemanualisstructured
HowthemanualisstructuredHowthemanualisstructured
Howthemanualisstructured
Chapter 1 Introduction
Describes the names and functions of each part of this instrument, the setup procedure
before using the instrument, and daily maintenance.
After your purchase, read this chapter when installing the instrument.
Chapter 2 Basic Measurement
Explains basic operations which are necessary for using the instrument, such as how to set
up the measuring conditions and how to measure the optical fiber cables.
Be sure to read this chapter.
Chapter 3 Inputting Text
Explains how to input text such as label names and date.
Chapter 4 Storing and Recalling of the Measured Data
Explains how to store, delete, and print the measured data, as well as other data control
procedures
Read this chapter as required.
Chapter 5 Helpful Information
Explains additional operations such as comparisons of the measured results, simultaneous
measurements, etc.
Read this chapter as required.
Chapter 6 Setup
Explains the screen display and setup of the expansion functions.
Read this chapter as required.
Chapter 7 Appendix
Explains the countermeasures against errors during operation, how to use optional items, and
how to operate the instrument using a personal computer.
Read this chapter as required.
Chapter 8 Additional function
Explains the function newly added by Ver.1.20 of Main software.
Read this chapter as required.

Contents
XIX
Contents
ContentsContents
Contents
Preface......................................................................................I
Warranty...................................................................................II
Marks and symbols..................................................................III
Safety mark and symbol............................................................... III
Other symbols .............................................................................. III
Safety precautions.................................................................. IV
For the safety operation................................................................ IV
LASER SAFETY...........................................................................V
LASER SAFETY........................................................................VII
LASER SAFETY...........................................................................X
Precautions for the power supply................................................XII
Precautions for the operating environment and conditions ....... XIV
Precautions for installation and system setting ......................... XIV
Precaution when handling the instrument ................................. XVI
Precautions for maintenance ....................................................XVII
Countermeasures when an error occurs....................................XVII
Precautions for discarding the instrument................................XVII
How the manual is structured..............................................XVIII
Contents ...............................................................................XIX
Chapter1 Introduction.....................................1-1
1.1 AQ7250mini-OTDR......................................................... 1-2
1.2 Name and function of each part ...................................... 1-2
Main body (Front).......................................................................1-2
Main body (Top) .........................................................................1-3
Main body (Right side) ...............................................................1-3
Main body (Back) .......................................................................1-4
Main body (Bottom)....................................................................1-4
Accessories..................................................................................1-5
Optional items.............................................................................1-6
1.3 Screen display ................................................................ 1-8
Screen display.............................................................................1-8
Operation on the screen.............................................................1-10
Reading the trace.......................................................................1-14
1.4 Turning on/off the power ............................................... 1-16
Turning on the power................................................................1-16
Turning off the power................................................................1-18
1.5 Changing the optical unit............................................... 1-19
1.6 Using the battery pack .................................................. 1-20
Replacing the battery pack........................................................1-20
Charging the battery pack .........................................................1-21
1.7 Daily maintenance......................................................... 1-22
Cleaning the main body exterior...............................................1-22
Cleaning the optical fiber cable connector/adapter...................1-22
Cleaning the FD drive...............................................................1-25
Table of contents
Other ANDO ELECTRIC Measuring Instrument manuals