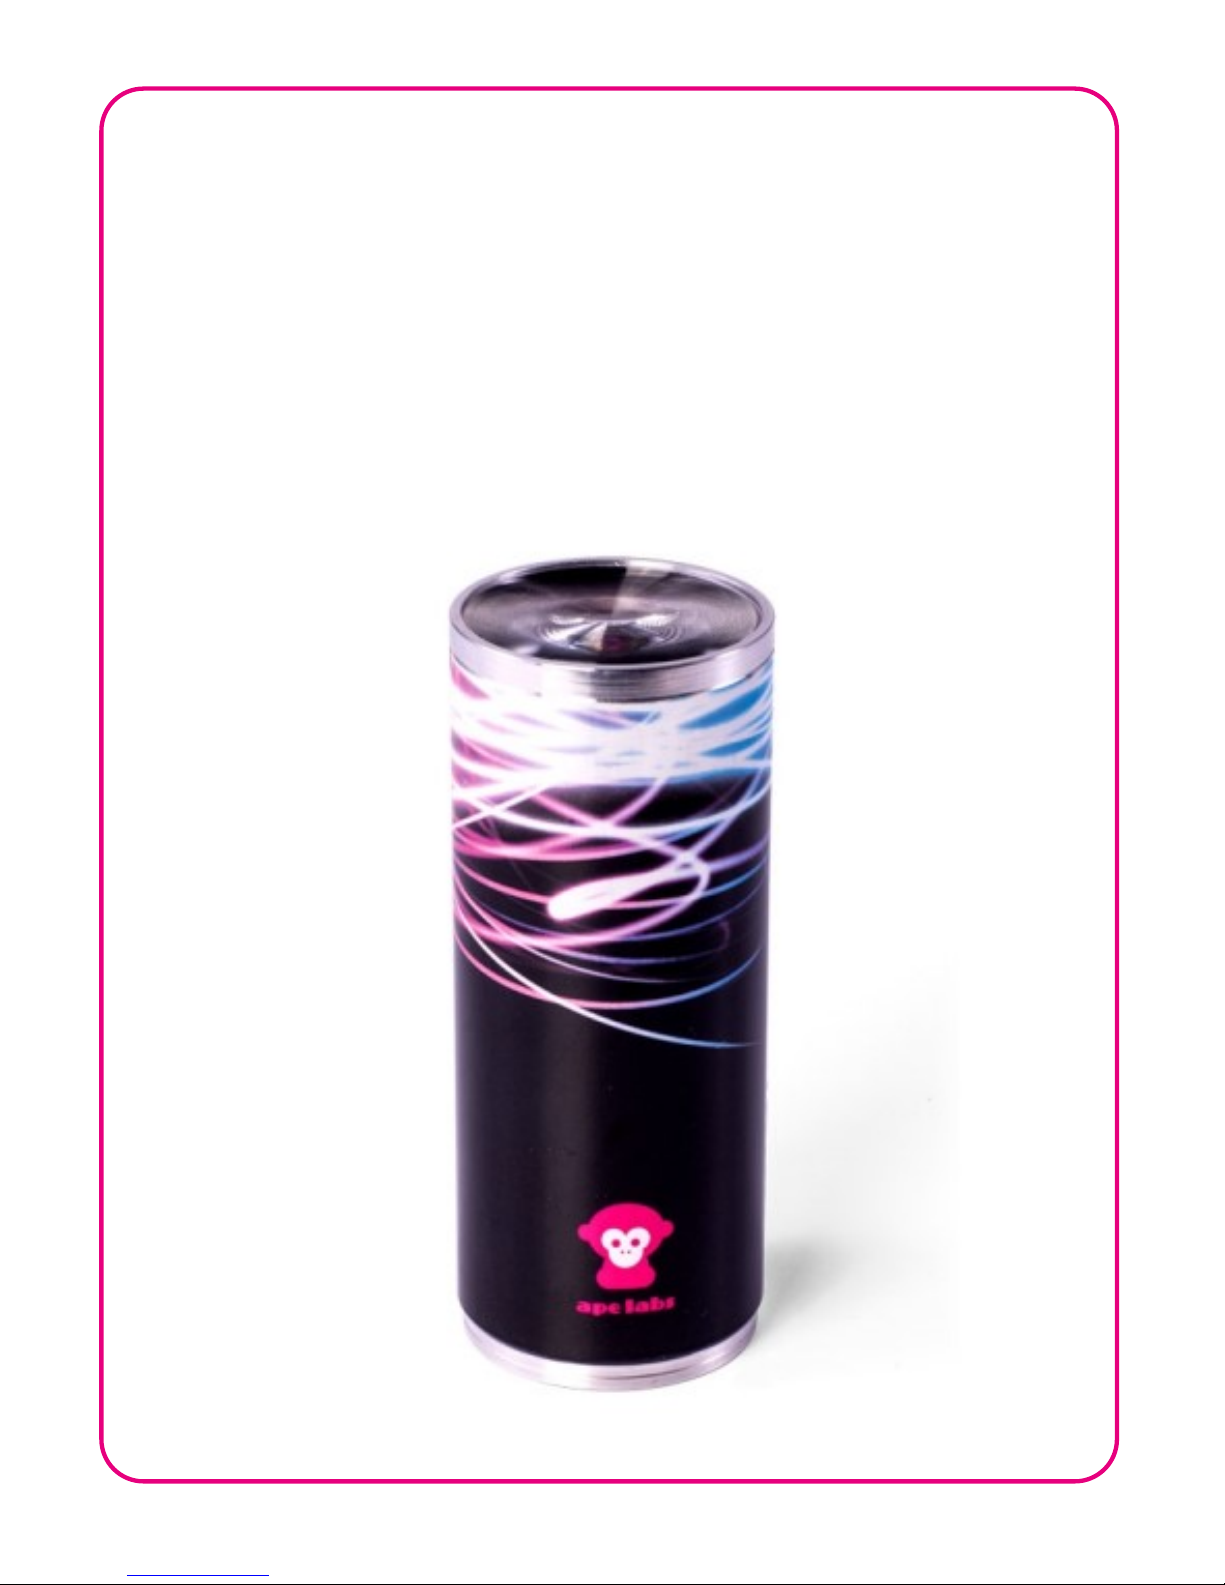
Ape Labs LightCan User manual

LIGHTCAN
BEDIENUNGSANLEITUNG
INSTRUCTION MANUAL

English
1
Safety Instructions
›The LightCan generates heat during operation and
while charging. Therefore, make sure adequate
ventilation and do not cover the light. If you charge
the LightCan in the Tourcase (optional), the
LightCan Tourcase must remain open.
›Do not use the LightCan in areas where the use of
radio equipment is prohibited.
›Do not look directly into the LED. This can cause
damage to the eyes.
General
›The LightCan has a power LED below the lens.
Warning: This LED is very bright! Place the device
about 30cm before a wall to achieve beautiful
lighting effects.
›The device has 20 built-in programs with fixed or
changing colors. The speed of the color chase can
be changed. The lowest level stops the effect.
›You can control the device with the ape labs remote
control. Professional users can control the device
also via DMX (W-APE) by a lighting console. For this

English
2
purpose, a separate wireless DMX radio transmitter
(MobiLight4 / W APE transceiver) is needed.
›The unit can be assigned to one of 4 groups. By
default the device belongs to group 1. The remote
control (respectively the W-APE Transceiver) sends
commands to devices of the same group.
›The device has a build-in microphone. It can be
activated by the remote control to create sound to
light effects.
Preparation
Inserting the battery
Caution! Risk of injury! Components inside of the
device can be sharp!
Caution! Use only NiMH rechargeable batteries! Other
types of batteries may damage the device or cause
overheating during charging!
›Open the device by unscrewing the housing from the
bottom of the LightCan.
›Pull the housing away from the unit.
›Insert six NiMH cells (Mignon/AA, recommended
capacity: 2700mAh) into the battery holder.
›Slide the housing back onto the device and screw it
onto the base.

English
3
Tips for long battery life
The LightCan has a processor-controlled charging
electronic, which monitors and charges the battery.
Please note the following information to achieve a long
battery life:
›Always replace the complete set of batteries and
use the same type only. Different batteries influence
each other and lead to deep discharge or
overcharging of single cells.
›Regularly recharge batteries if they are not used for
a longer period of time. This prevents self-deep-
discharge of the battery cells.
Operation
Turn on and off
›Press the button on the bottom of the LightCan for
about 1 second. The unit turns on and remembers
the previously selected program/brightness.
›To turn the device off, press the button again for
about a second.
The LightCan ignores very short presses of the power
button to prevent unintentional operation.

English
4
Assignment of a group
You can assign LightCans to groups, e.g. to
independently control them in different rooms.
›Immediately after turning the LightCan on, the
current group setting of the LightCan flashes on the
remote control. (Factory setting is group 1.)
›Within this period (group LED flashing), you can
assign another group by pressing the "Group"
button on the remote control one more times. The
LightCan will flash blue for a short time to
acknowledge that.
Note: The remote control switches to a power-save
mode after some minutes and will not detect the
power-on event of a LightCan. Press any key of remote
control to stop the power-save mode.
Using the Remote Control
›Press the "Group" button multiple times until the
proper group LED is lit up. Factory setting is group
1.
›Programs, brightness, speed and sound-to-light
mode can be controlled by the corresponding keys
(see figure).

English
5
1 2 3 4
current
Group
previous
program next
program
brighter
dimmer
sound to
light
select
group
speed up
slow down/
stop
flashlight
blackout
Hint: To control all groups at the same time, press and
hold the "Group" button for about 2 seconds.

English
6
List of Programs
No
Program
1
White
2
Red
3
Orange
4
Yellow
5
Lime
6
Green
7
Cyan
8
Cyan-Blue
9
Blue
10
Blue-Magenta
11
Magenta
12
Red Pastel
13
Green Pastel
14
Blue Pastel
15
Blue > Red
16
Magenta > White
17
White > Blue
18
Red Pastel > Green Pastel > Blue Pastel
19
Yellow > Magenta > Blue
20
Rainbow
Hint: A long press on ‹ respectively › on the remote
control switches to the first respectively the last
program. A long press on "Slow Down" stops a flash
effect respectively a color chase.

English
7
Battery State/Charging
›If the brightness of the LightCan is reduced to zero
(by "Blackout" or "Dimmer" button of the remote
control), the device will show the battery state at low
brightness:
oLED glows green: battery level above 50%
oLED glows red: battery level below 50%
Note: The calculation of the battery level needs at
least one full charge/discharge cycle.
›If the battery is completely empty, the device will
blink 3 times red and turn itself off.
›Connect the provided power supply (5V to 18V DC) or
the USB charging cable to the connector in the
bottom of the can.
›The LightCan flashes red while charging. As soon as
the battery is fully charged, the device will flash
green.
›The device can also be used while a power supply is
connected. In that case the battery will not be
charged (or very slowly).

English
8
Exchange the lens
You can exchange the lens by unscrewing the metal
ring on top of the lens. Depending on the lens various
lighting effects can be created:
›effect lens: The effect lens produces a light beam
with hard edges. Important: The rough side of the
lens must be outside.
›frost filter: The frost filter distributes the light in all
directions.
›10 degree lens (optional available): The 10 degree
lens produces a narrow beam with soft edges.
Extended Control
Sound-To-Light with Sound Master
A "W-APE-Transceiver" makes it possible to create
sound to light effects on multiple LightCans with a
single microphone as source.
›Select "Sound Master" as "Control Mode" at the W-
APE-Transceiver. As soon as this mode is active, all
LightCans within the same group will use that
device as common source.
›A LightCan will switch back to its internal
microphone, if the transmitter is turned off.

English
9
Control by a light desk with DMX
You can control the LightCan also via DMX from a
professional light desk. To transmit the data wireless,
you need a W-APE Transceiver (or a MobiLight4).
›Connect the W-APE Transceiver via a DMX cable to
the light desk.
›Select "DMX" as "Control Mode" at the W-APE-
Transceiver. As soon as this mode is active, all
LightCans within the same group will use the DMX
data.
›If a LightCan does not receive any DMX data for
more than 10 seconds, it will automatically switch
back to the remote control mode.
›The group, the DMX address and the DMX mode of
each LightCan can be changed at a W-APE-
Transceiver (or MobiLight4). Directly after turning
on a LightCan, all W-APE Transceiver will change
the display menu and show the values of the
LightCan: The menu items are: "Remote Config",
"Group", "DMX Mode", "DMX Address" and "Info"
›Use Menu up/down as normal, to toggle through the
menu items. Values can be changed by +/- and will
be applied instantly.

English
10
›If you do not press any key for some seconds, the W-
APE Transceiver will switch back to the standard
menu.
›There are multiple DMX modes available (see at the
end this manual for a full DMX sheet):
oOff: No switch to W-APE/DMX-Mode - the
device is only controllable by the remote
control)
o3C: 3 channels: Dimmer, Program, Speed
o4C: 4 channels: Red, Green, Blue, White (each 1
DMX channel/8 Bit)
o8C: 8 channels: Red, Green, Blue, White (each 2
DMX channels/16 Bit: coarse + fine)
›In the "Info" menu will be displayed:
oBattery level in %
oSerial number
oVersion of the firmware/software

English
11
More Functions and Updates
Disabling of the battery status indicator
The red/green glowing indicator of the battery level can
be disabled. Instructions can be found at
www.apelabs.com.
Pairing
Ape Labs lights, Remote Controls and W-APE
Transceiver can be permanently paired to one another
so that they will no longer synchronize with other
devices. Instructions can be found at
www.apelabs.com.
Reset respectively update of firmware
Press and hold the power button of the LightCan for
about 10 seconds. The device will restart and stay for
about 15 seconds in update mode (flashes red). Within
this timespan an update can be started. Without any
update data, the device will continue to run as normal.
You can find firmware updates at www.apelabs.com
respectively at your dealer.

English
12
Troubleshooting
Problem
Possible
Reason
Solution
LightCan is
dimmed and
flashes
sometimes.
Sound to
light mode
is active.
Press the microphone
button on the remote
control, to deactivate the
sound to light mode.
LightCan
flashes
slowly.
regular
flash effect
Long press (2s) on "Slow
Down" on the remote
control, to reduce the
effect speed to 0.
LightCan
flashes 3
times red and
turns itself
off.
Battery
empty
Connect the power
supply to charge the
battery.
LightCan
glows
permanently
red/green.
regular
battery
status
indicator
The battery status will be
shown by a glow of the
LED. This feature can be
disabled. Instructions
can be found at
www.apelabs.com.

English
13
Problem
Possible
Reason
Solution
LightCan
cannot be
turned on.
power
button was
pressed too
short
Press and hold the
button for about 1
second.
Brightness
is at lowest
level.
Press "brighter" on the
remote control.
Battery is
deeply
discharged.
Connect the 18V power
supply or charge the
LightCan in the
Tourcase. It may take
some minutes until the
charge will start.
Alternatively remove the
batteries from the device
and charge them in a
external battery charger.

English
14
Disposal
If the LightCan is to be put out of operation
definitively, take it to a local recycling plant
for a disposal which is not harmful to the
environment. Never throw exhausted
batteries or defective rechargeable batteries
into the household rubbish: Always take them to a
special waste disposal (e. g. collecting container at
your retailer).

DMX Sheets
15
DMX Modes/DMX Sheets
3 Channel Mode: Dimmer, Program, Speed
This mode can be used with many Ape Labs products,
e.g. LightCan, MobiLight4, ApeStick4, ApeLight,
ApeLight mini and ApeLight maxi.
Ch
DMX
Function
1
0 .. 255
Dimmer
0 .. 100%
2
0 .. 5
Prog 1
White with fade
steps of 6*
Prog 2 .. 19
... with fade
114 .. 127
Prog 20
Rainbow with fade
128 .. 133
Prog 1
White without fade
steps of 6*
Prog 2 .. 19
... without fade
242 .. 255
Prog 20
Rainbow without fade
3
0 .. 255
Prog Speed
0 .. 100%
The programs 1 to 20 are the same as when operating
by remote control.
* Channel 1: Program 1..20 without fade and 1..20 with fade
start at DMX value 0, 6, 12, 18, 24, 30, 36, 42, 48, 54, 60, 66, 72,
78, 84, 90, 96, 102, 108, 114 / 128, 134, 140, 146, 152, 158, 164,
170, 176, 182, 188, 194, 200, 206, 212, 218, 224, 230, 236, 242

DMX Sheets
16
4 Channel Mode: Red, Green, Blue, White / 8Bit
(Default Mode)
This is the default DMX mode.
This mode can be used with many Ape Labs products,
e.g. LightCan, ApeStick4, ApeLight mini and ApeLight
maxi.
If your lighting desk has no matching profile, use a
"Generic/RGBW LED 8 Bit".
Channel
DMX
Function
1
0 .. 255
red
0 .. 100%
2
0 .. 255
green
0 .. 100%
3
0 .. 255
blue
0 .. 100%
4
0 .. 255
white
0 .. 100%

DMX Sheets
17
8 Channel Mode: Red, Green, Blue, White / 16Bit
This mode can be used with many Ape Labs products,
e.g. LightCan, ApeStick4, ApeLight mini and ApeLight
maxi.
If your lighting desk has no matching profile, use a
"Generic/RGBW LED 16 Bit".
Channel
DMX
Function
1
0 .. 255
red
0 .. 100%
2
0 .. 255
red fine
3
0 .. 255
green
0 .. 100%
4
0 .. 255
green fine
5
0 .. 255
blue
0 .. 100%
6
0 .. 255
blue fine
7
0 .. 255
white
0 .. 100%
8
0 .. 255
white fine

f35fd8b813
LSA Projects Ltd
The Barn White Horse Lane
Witham Essex CM8 2BU
+44 (0)1376 501199
www.LSAprojects.co.uk
Table of contents
Other Ape Labs Dj Equipment manuals
Popular Dj Equipment manuals by other brands

SoundCraft
SoundCraft Si Compact quick start guide

Anslut
Anslut 422480 User instructions

PIONEER DJ
PIONEER DJ Serato XDJ-RX3 instruction manual

Chauvet Professional
Chauvet Professional Maverick Storm 1 Wash user manual

BIZZARD LIGHTING
BIZZARD LIGHTING BLOK2 manual

Velleman
Velleman HQ POWER VDL75MSB manual