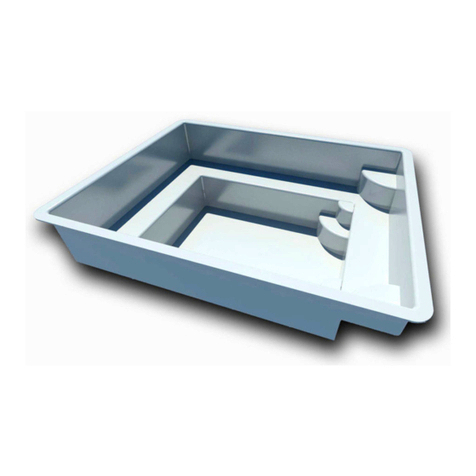
The installation and excavation of your spa must be determined according to your plan.
A spa located under trees will certainly look impressive, but consider that you will
eventually have to deal with falling leaves or twigs which will make spa maintenance a little
more difficult.
Make sure you have made all the usual checks with Info-Excavation and Hydro-Québec
before digging to prevent any potential damage to any underground wires and/or
pipes.
First outline the sides of the spa with stakes, ropes and paint cans.
It is possible you will need to level the ground in order to make up for a vertical drop and
thus create a platform that is sufficiently straight to accommodate the spa and its
rims/edges.
Plan the surroundings of the spa by providing landscaping such as contour stones
(coronation), cobblestone, plants, shrubs, a riprap or a small wall for a waterfall.
Provide a place where the technical housing will be permanently situated that is 25’ from
the spa starting from where the section where the pipes come out of it.
Check with your dealer if you need to plan for a greater distance.
The housing is made of wood and can stay outdoors. It is recommended to put a protective
coating on it.
Housing dimensions
1 pump systems: 42’’ L. X 24’’ W. X 30’’ H.
2 pump systems: 47-1/2’’ L. X 36-1/2’’ W. X 30’’ H.
LAGON spa systems: no housing available (see notes on page 23)
PREPARATION
7


