Thank you for choosing this ARCTIC wireless adapter!
The ARCTIC Wifi N150 supports IEEE wireless standards, and is able to quickly process file transfer, video, multi-media and
other applications that require higher bandwidth.
This ARCTIC wireless adapter also integrates wireless configuration program, which makes it easy and quick to set up the
wireless client. Besides, Soft AP is supported for fast wireless network establishment, and WPS encryption supported for you to
quickly encrypt and secure your wireless network.
All in all, the ARCTIC wireless adapter is easy-to-use, and of robust signal, long transmitting distance.
1.1 Package Contents
Ÿ One Wireless network adapter
Ÿ One Software CD (includes user guide and driver)
The above list is for your reference only, the actual contents may differ according to the product you purchase.
1.2 LED Indicator Description
There is one status LED indicator on the side of the wireless network adapter. It lights up and stays ON when working correctly,
and flashes when transferring data.
1.3 Product Features
Ÿ Supports soft AP feature
Ÿ Detects wireless network and adjusts transmitting rate automatically
Ÿ Provides two working modes: Infrastructure and Ad-Hoc
Ÿ Supports WEP data encryption and WPA-PSK/WPA2-PSK encryption methods
Ÿ Supports WPS (Wi-Fi Protected Setup) encryption to secure your wireless network
Ÿ Complies with Windows 7/XP/ 2000/Vista, Linux, MAC OS, etc.
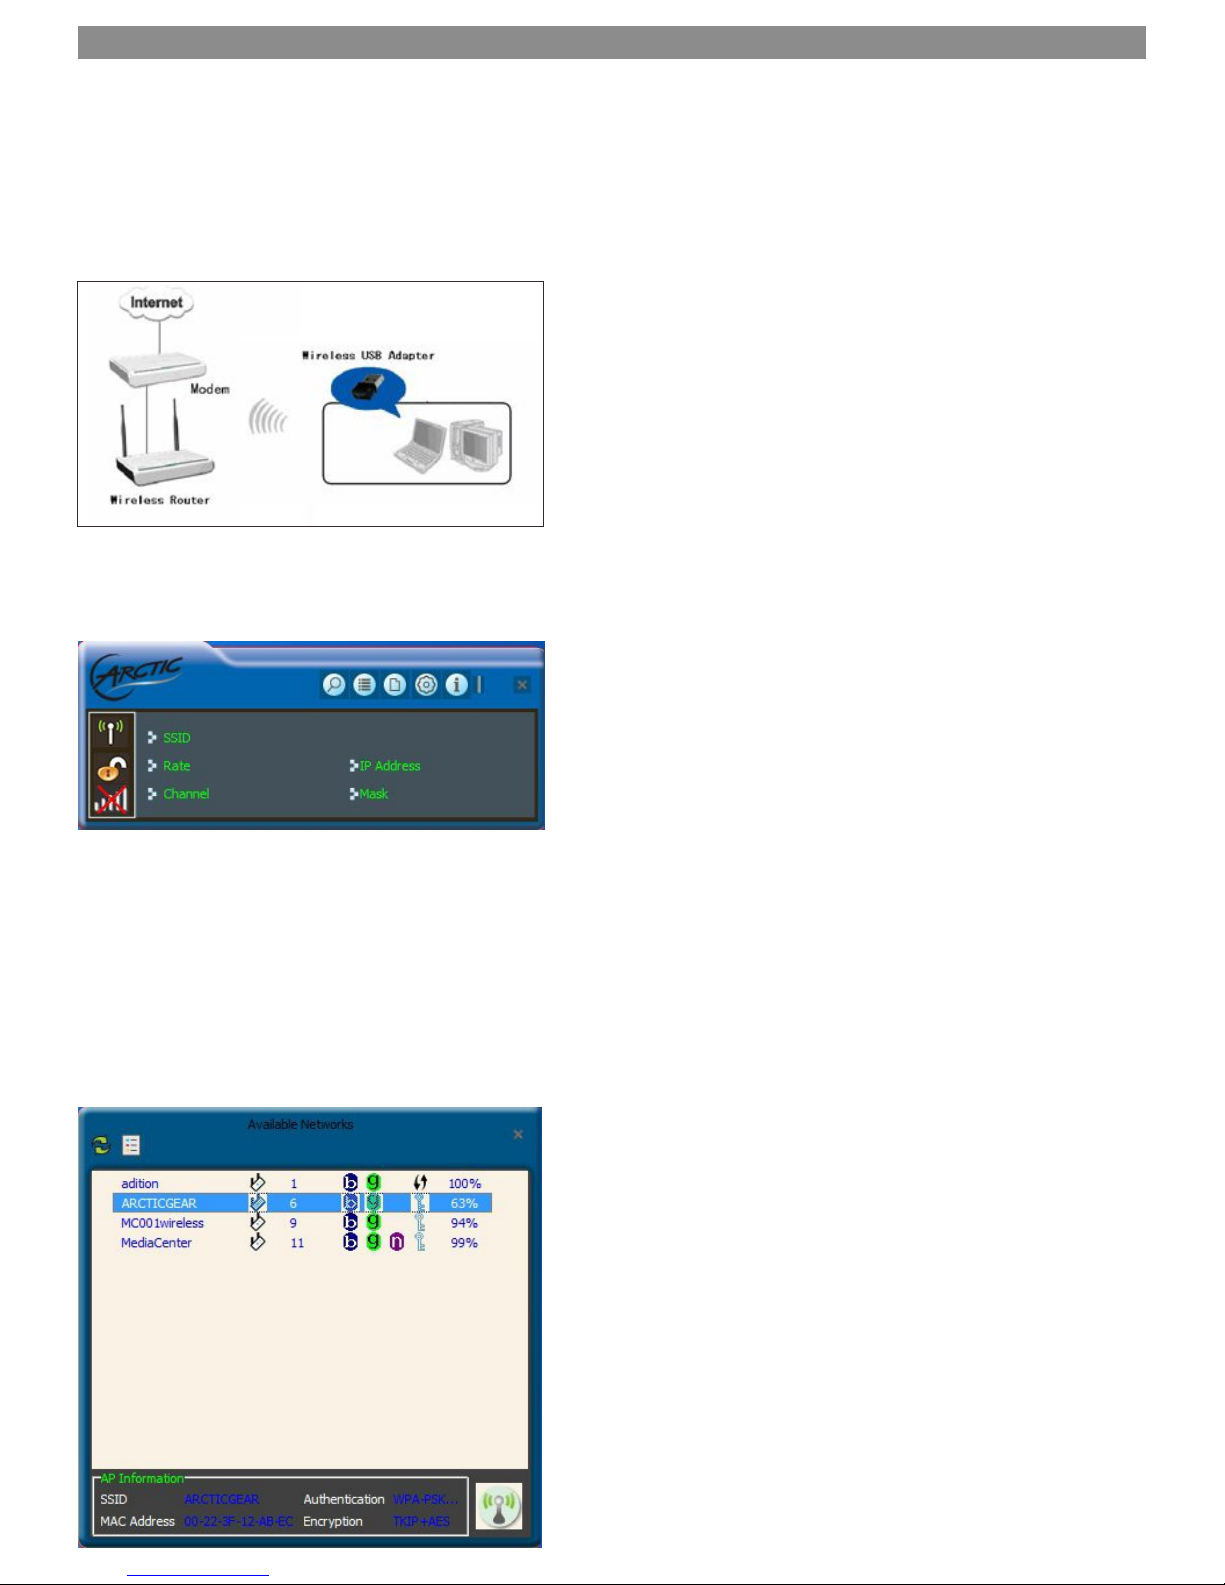
1.4 Product Usage
This ARCTIC Wireless Adapter offers a fast, reliable and exArcticble solution for wireless access.
It is mostly used in the following circumstances:
1. Enables staff members who require higher mobility, to have access to the wireless network anywhere inside their company.
2. Enables wireless communication for companies or places which are not suitable for wired LAN installation because of
budget or building environment restrictions, such as historical buildings, rentals, or places for short-term usage.
3. Suitable for Enterprises or individuals requiring to regularly alter the networking topology
4. Helps enterprises or individuals who would like to use wireless to establish wireless network quickly and frees them from the
trouble of cable distribution.
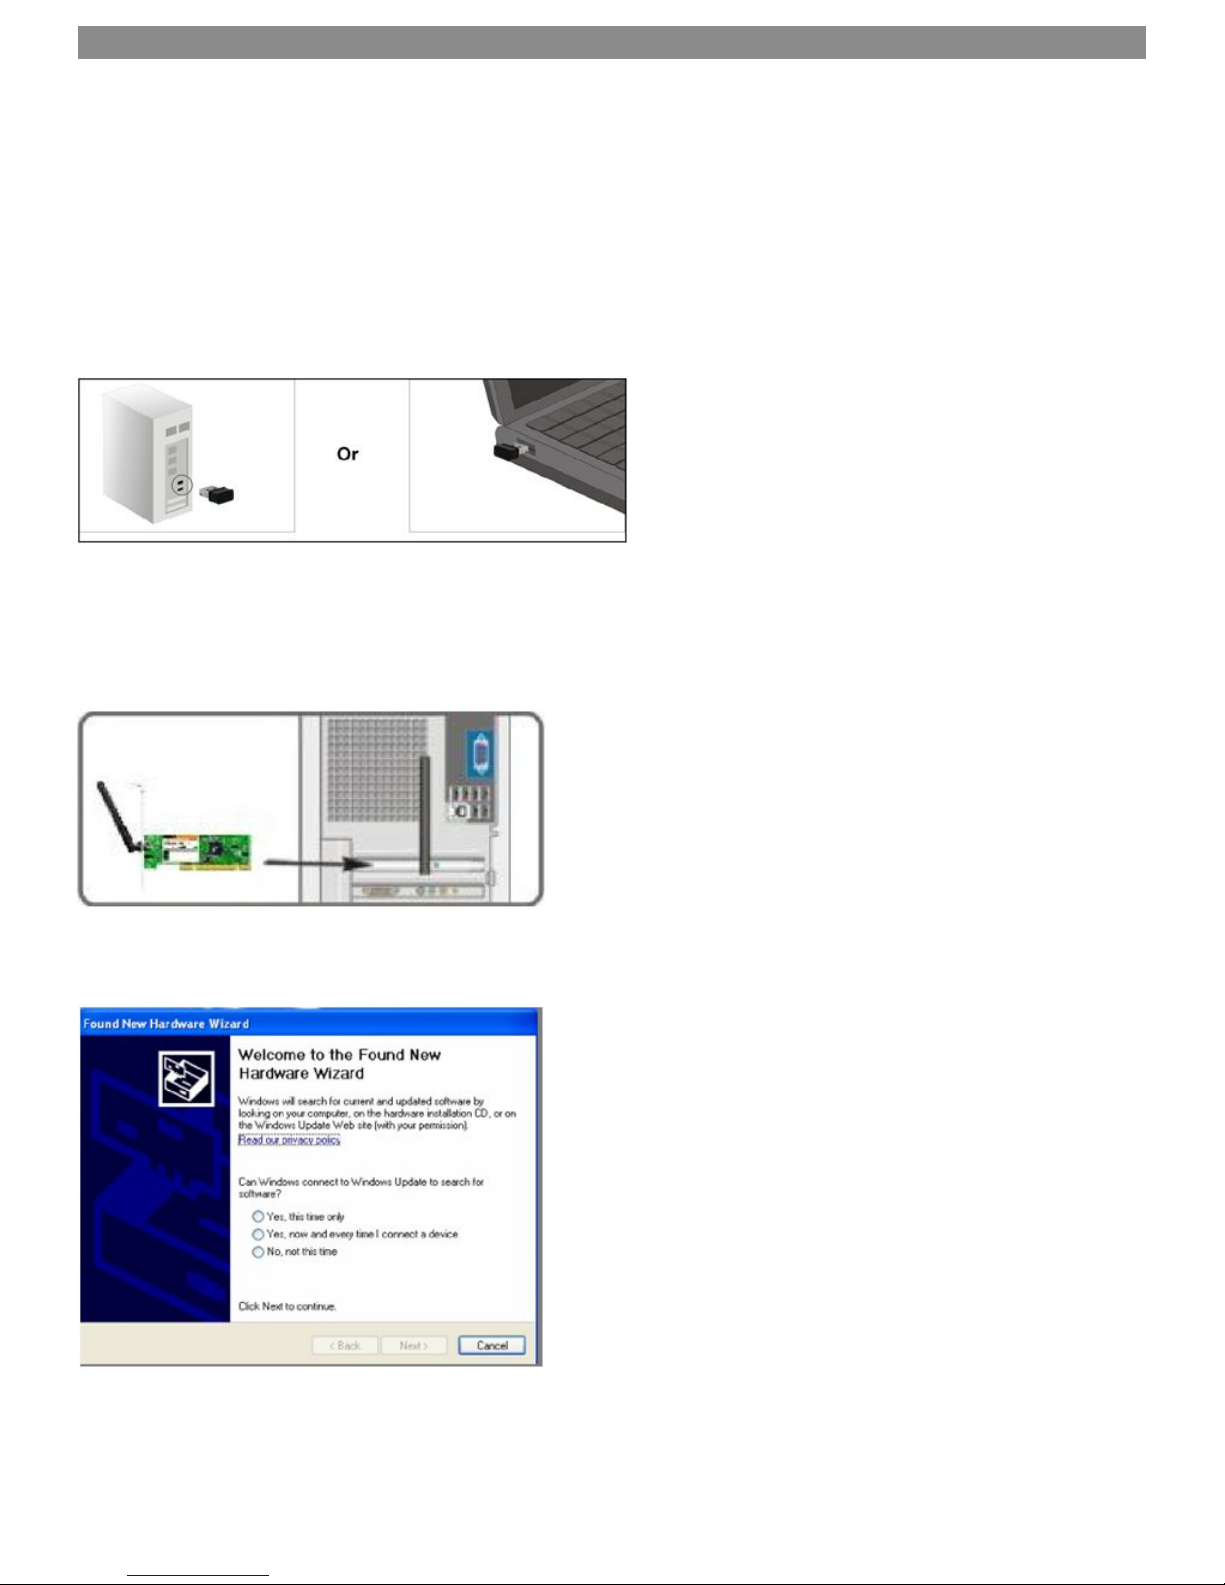
1.5 Before Installation
1. Please read through the whole user guide before you install and use this product.
2. Please close or uninstall the configuration programs of other manufacturers' before you install the configuration programs of
ARCTIC network adapters to avoid possible UI (user interface) conflict.
3. To avoid possible network conflicts between this ARCTIC network adapter and those of other manufactures', we recommend
that you first disable the network adapters of other manufacturers before installing the driver.
Chapter 1 Product Introduction
P.1