LGA50D Evaluation Board User Manual
Artesyn Embedded Technologies LGA50D Evaluation Board
December 2018
Page 5 of 18
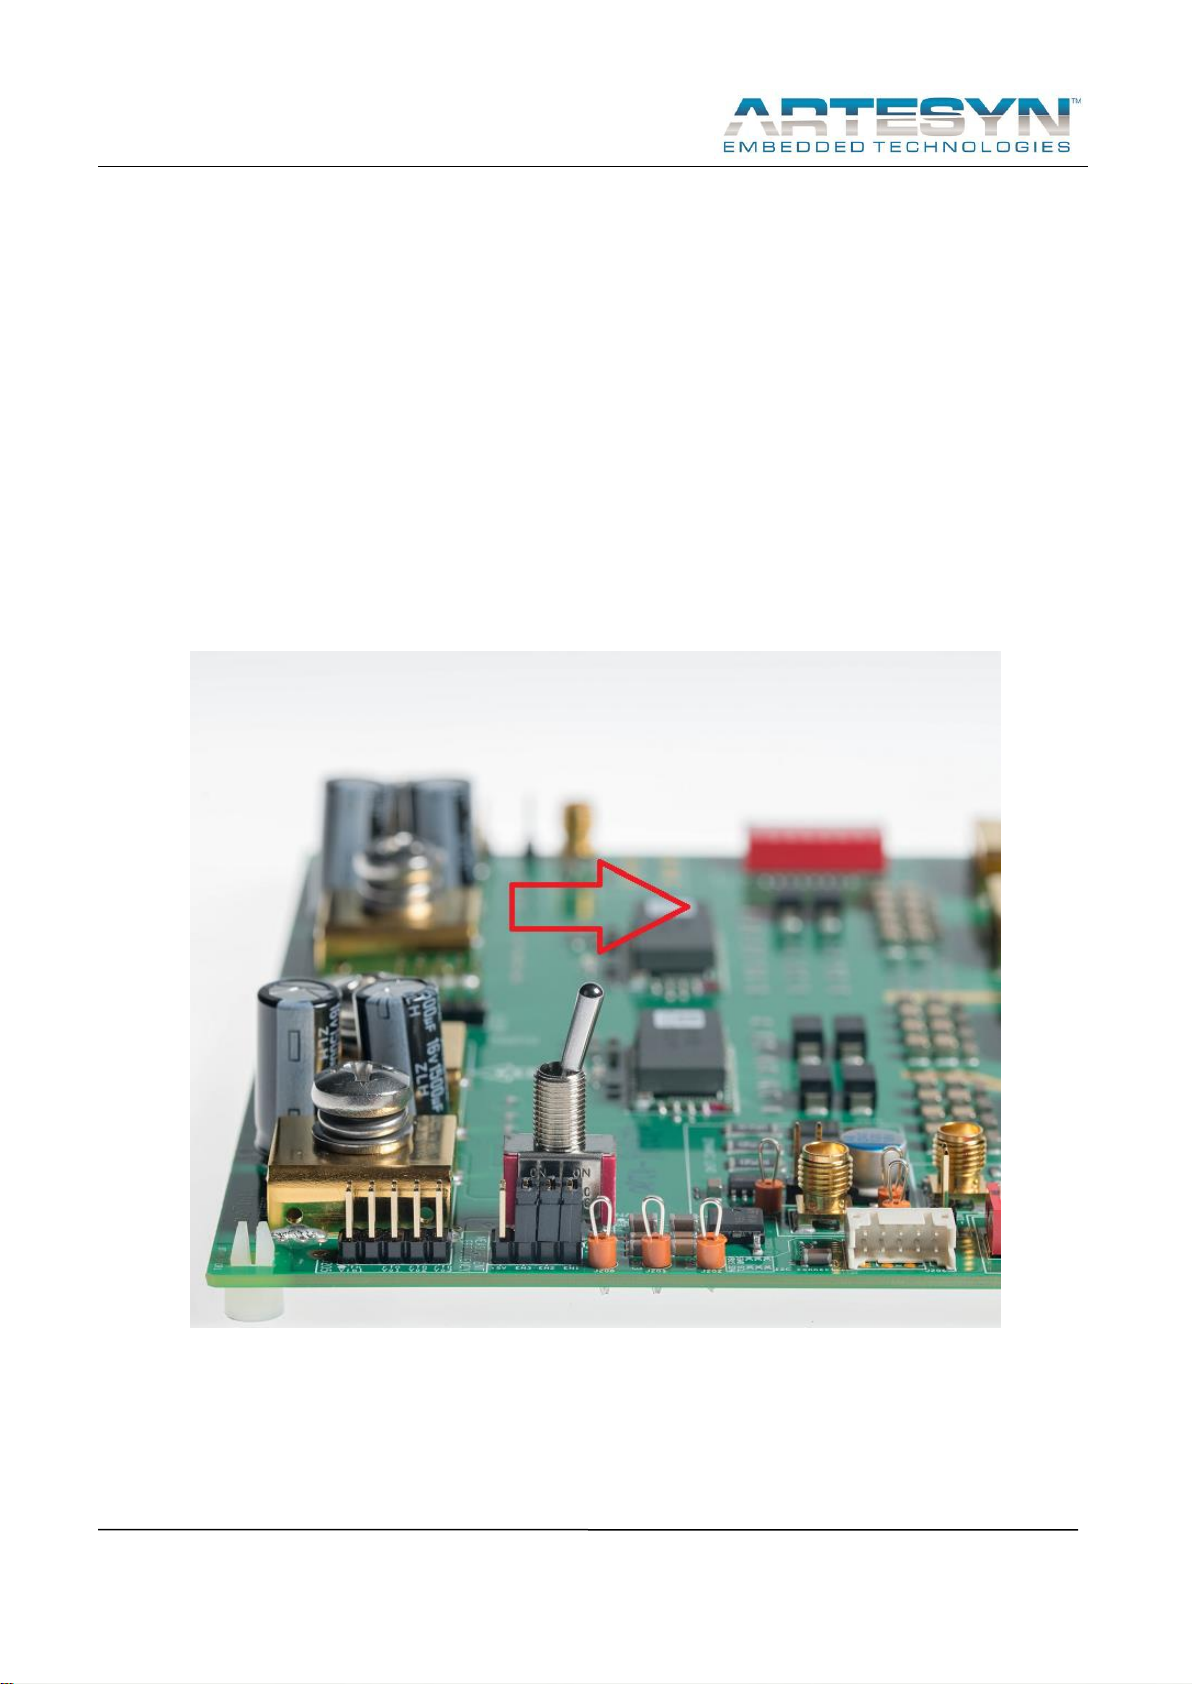
Default settings
The evaluation board has been supplied with the following configuration and set-up by
default.
If no changes are made to the hardware and firmware configuration of the unit then, the
user will see that this board is equipped with 2 LGA50D modules with the following voltage
settings:
- 1 module is configured for a single output
oOutput voltage setting is 1.2V via the dip switches on the PCB
- 1 module is configured for 2 independent outputs
oOutput A voltage is set to 1.2V via the dip switches on the PCB
oOutput B voltage is set to 1.2V via the dip switches on the PCB
The PCB has been equipped with the following value of capacitors. These have been
selected to provide optimum performance under as many different test conditions as
possible, but the user may change or optimize the values according to the specific
conditions that are to be replicated:
- Input capacitance (per module)
6x 22uF/16V ceramic cap
- Output capacitance
oIn single O/P configuration
2 x 680uF/6.3V Polymer Tan caps (T530X687M006ATE010 or equivalent) +
10 x 100uF/6.3V X6S 1210 ceramic caps (GRM32EC80J107ME20L or
equivalent) + 4x10uF/16V X6S 0603 ceramic caps (GRM188C81C106MA73
or equivalent)
oIn dual O/P configuration
2x 680uF/6.3V Polymer Tan caps (T530X687M006ATE010 or equivalent) + 8
x 100uF/6.3V X6S 1210 ceramic caps (GRM32EC80J107ME20L or
equivalent) + 4x10uF/16V X6S 0603 ceramic caps (GRM188C81C106MA73
or equivalent)